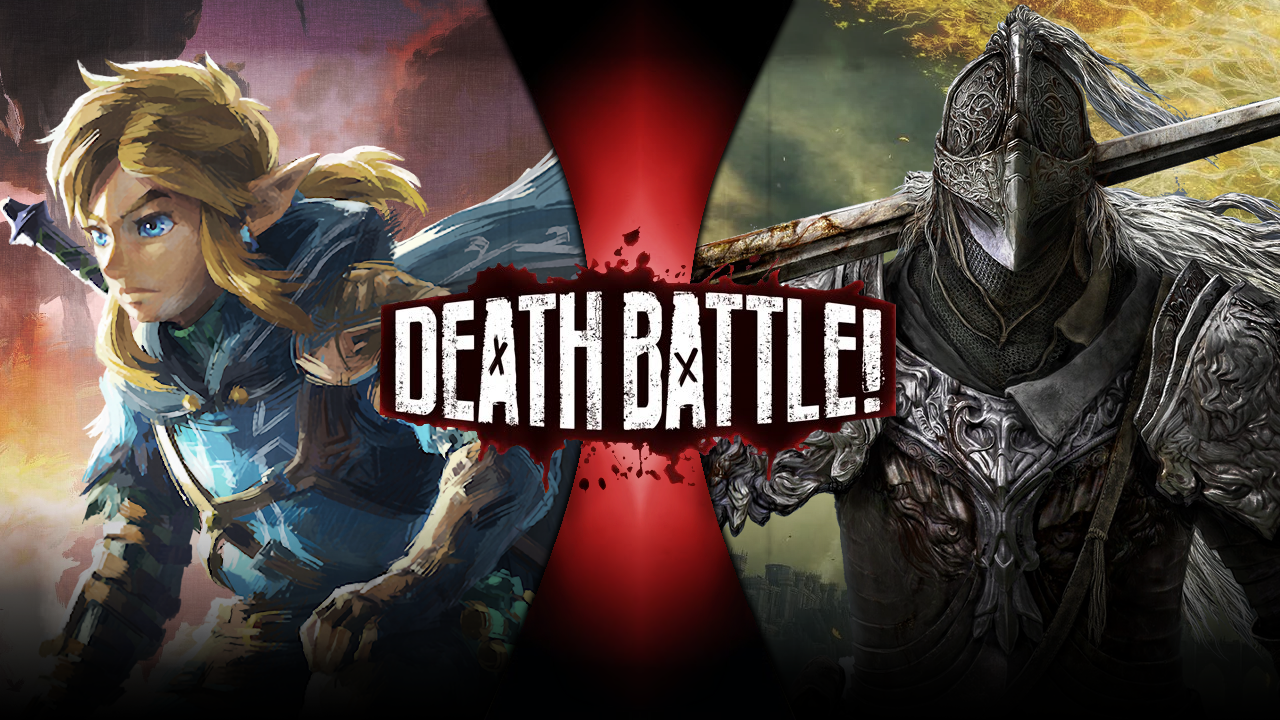
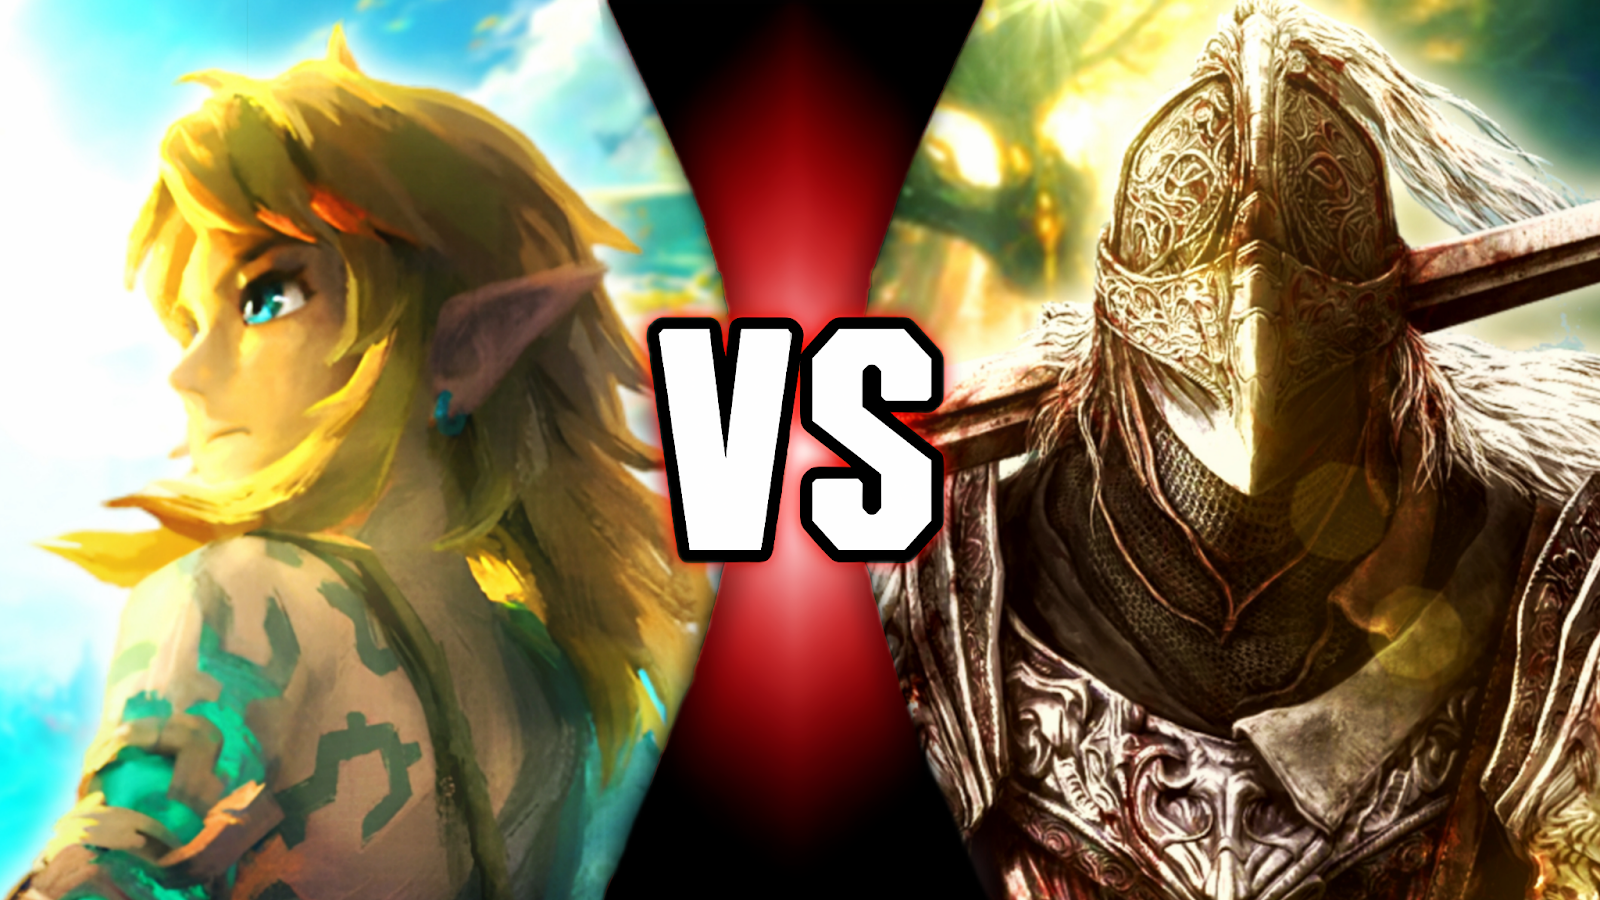
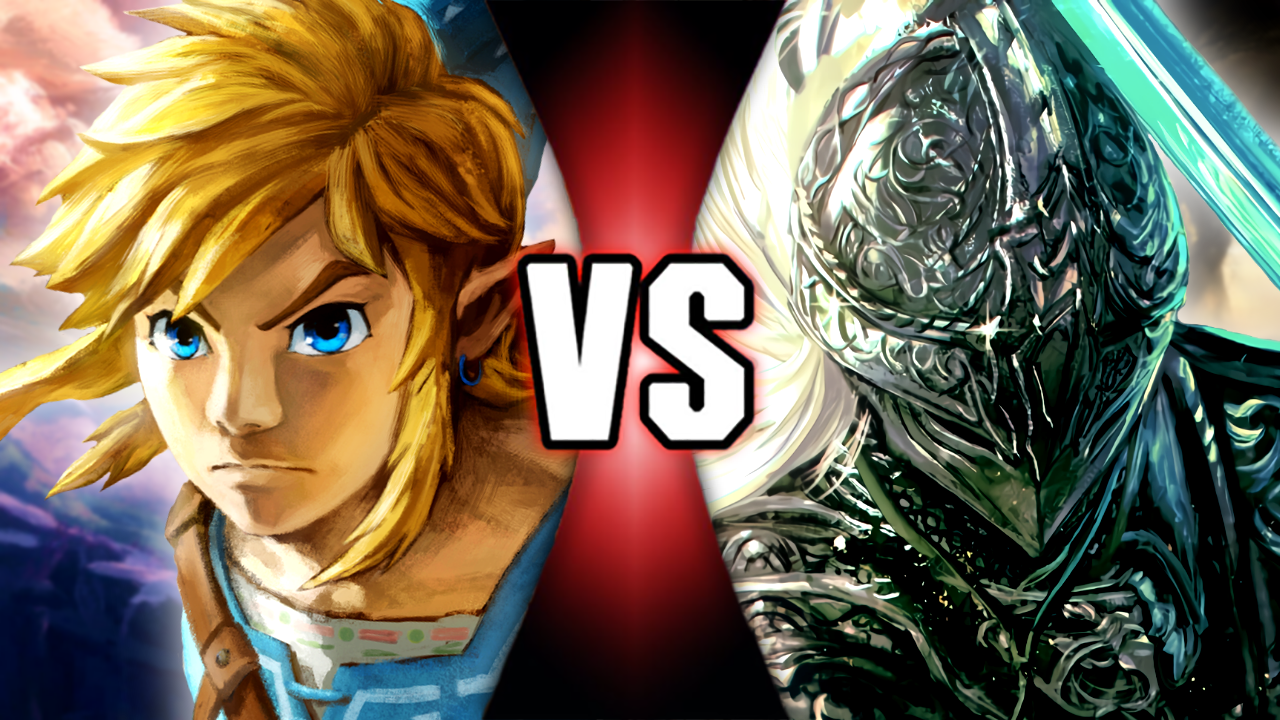
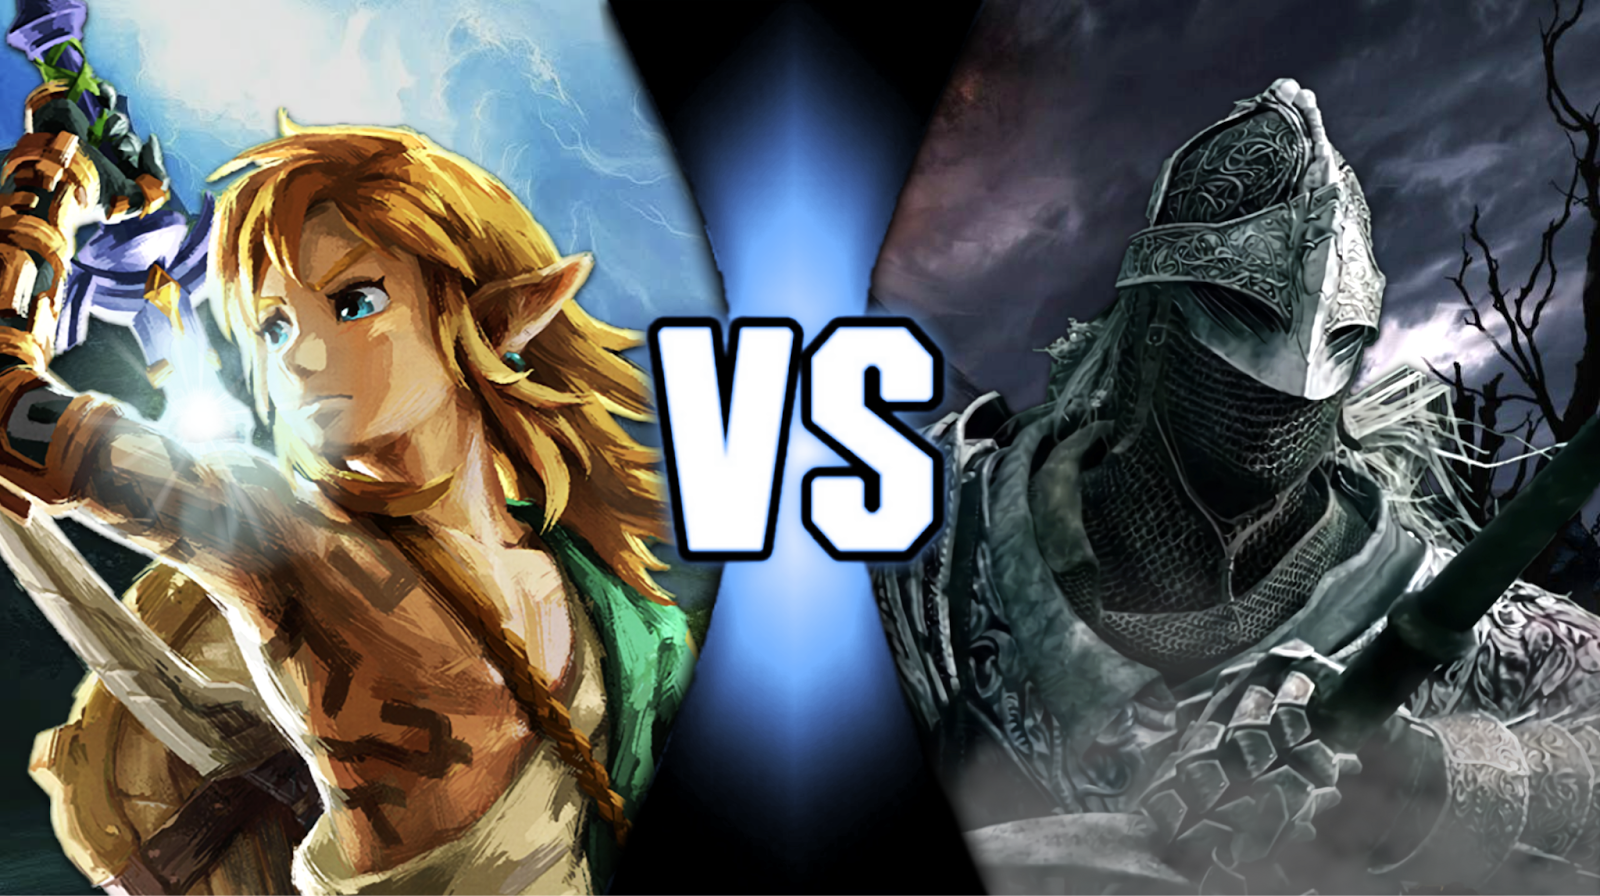
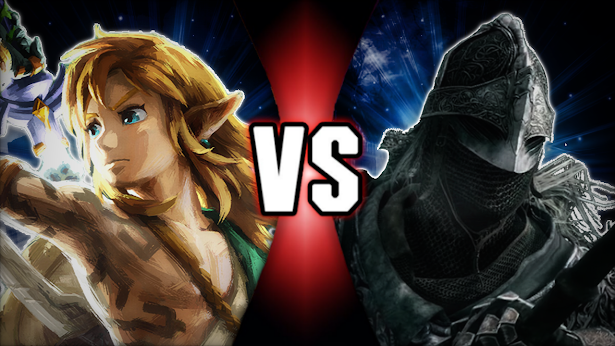
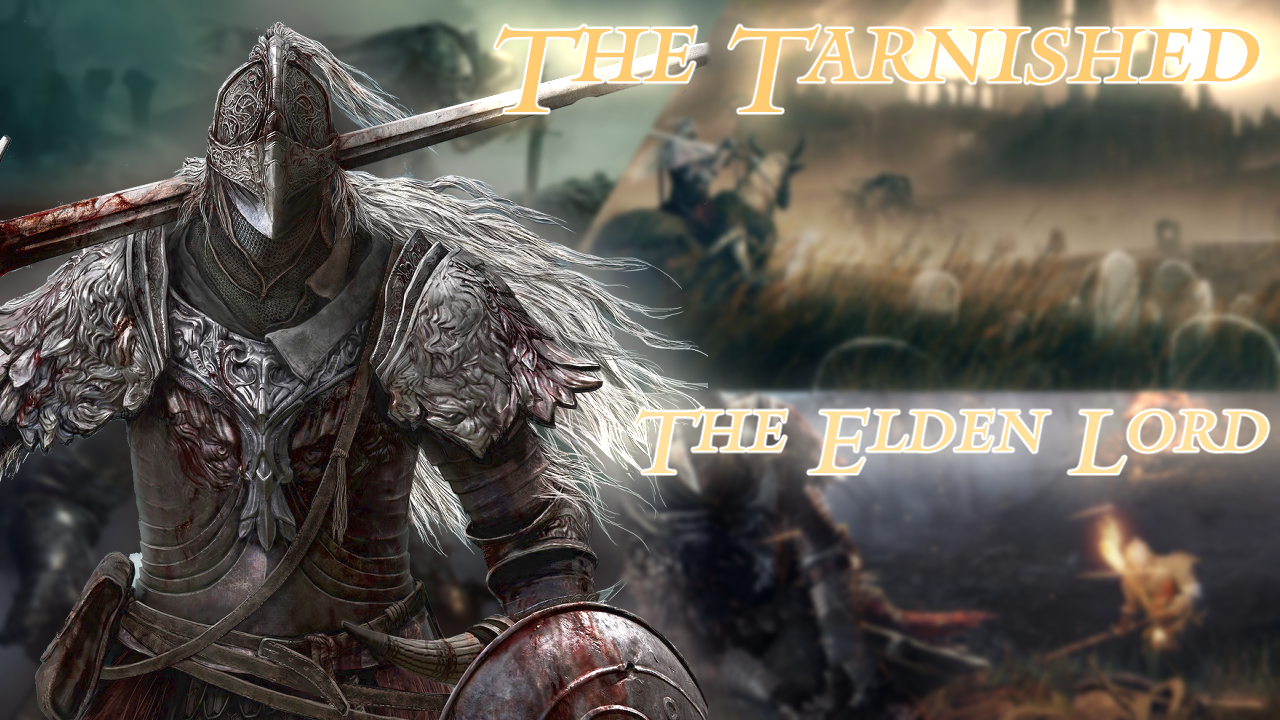
Bang's Blogs: Link vs Tarnished
(TWILTY)
(Flip)
(Rina Antiqua)
(Blue Igneous)
(Pasbros)
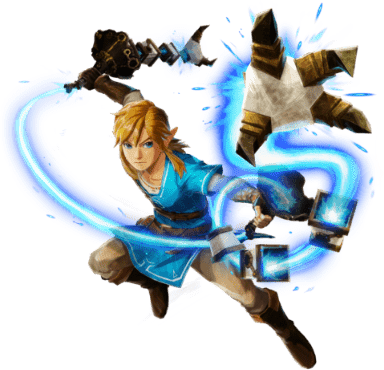
Link, the Hero of the Wild from the Legend of Zelda.
The Tarnished, the one that would bring about a new age from Elden Ring.
In a world that has changed significantly over time with all sorts of malice, rot and gloom, exploring the vast open world would be a daunting and impossible task for anyone, but these two brave warriors have overcome all sorts of danger and explored all of its exciting discoveries and secrets. Whether it be to save it from a calamity or bring about a new age, our fantasy fighters with all sorts of powers have it covered.
Breath of the Wild and Elden Ring have revolutionized the open world genre of video games forever and are adored by millions, but which protagonist will triumph today? Will the Tarnished show why this fairy boy needs to git gud or will Link proceed to leave the maidenless one’s breath away? These two will clash blades at last in this DEATH BATTLE!
Before We Start…
Link has had numerous different incarnations throughout the years in the Legend of Zelda series, but we’ll be focusing on the Hero of the Wild for this bout, so no composite version of Link here. While this doesn’t mean we won’t look at past games for more info for certain abilities (which we’ll explain later), we want to focus on the Wild era games for feats and scaling, so don’t expect classic Zelda feats like the funny Majora moon drop or Vaati starry sky dimension thingy. We’ll mostly be looking at Breath of the Wild, Age of Calamity and Tears of the Kingdom for Link's accomplishments.
Tarnished really only has one game as of the time of this writing, Elden Ring, so what we’ll include for them is straightforward. We’ll also be including the DLC, Shadow of the Erdtree, for more info. Also, since Elden Ring has multiple endings and none are considered the “canon’’ path, we’ll take all of them into consideration. This goes without saying, but obviously no weird cross scaling to Dark Souls or Bloodborne just because both games have the Moonlight Greatsword or something. Just the main game will be used for feats.
We’ll of course be looking at both characters at their hypothetical peak potential, so both are getting max inventory and stats, access to all potential builds, spells and equipment (which is technically possible if you’re willing to grind!) And of course there will be spoilers for both characters. You have been warned.
Without further ado!
Background
Link, The Hero of the Wild
In the very beginning, there was nothing but chaos. No time, no space, just chaos. Then, three goddesses flew down from the heavens, and used their divine power to breathe life into the universe. Din created the world itself, Farore created life, and Nayru created the laws of the land. And once they left, satisfied with their work, they left a symbol of their power, a fraction of what their godlike powers could do, called the Triforce. Anyone who gets their hands on it has unparalleled power. After creating a separate dimension to store the Triforce in, the Golden Goddesses left, never to return.
Eons later, a demon king called Demise waged war on the surface world for the Triforce, clashing fiercely with the goddess Hylia and her chosen knight. After a prolonged battle, Hylia manages to seal Demise away. Hylia decides to ensure the hero's spirit remains ready to protect the world and sets a plan in motion in case Demise ever returns. And he does. But the Hero of Sky manages to fulfill Hylia’s plan, where she incarnates herself into the human Zelda and defeats Demise for good. But the demon king had one last curse: the spirit of the hero, the bloodline of the goddess, and the hatred of Demise would perpetuate a cycle of conflict. These forces would continue to clash throughout the ages, ensuring their struggle persists for all eternity.
Fast forward countless millennia, to the point where the links to the past become mere myths, and usher in a new era with a breathtaking world in the wild. A young man who would take the responsibility of being the hero like many others before him would be born, and his name is Link. Even at a young age, he was an exceptional swordsman, earning the respect of many and even joining Hyrule’s soldiers. He would even be worthy enough to pull out the legendary Master Sword, the blade of evil’s bane, even at just a young age of 12. While seemingly quiet and reserved, he actually stays silent to stay strong and bear any burden that may come, something this rock-eating hero would need to carry as he is assigned to be Princess Zelda’s bodyguard and assist her in awakening her powers to prepare for Calamity Ganon, Demise’s hatred taking form in this era.
After the last Calamity 10,000 years prior, the Hylians prepared for when it eventually returned, gathering champions to fight, excavating ancient tech such as Guardians and Divine Beasts for the Champions, and more. But when the Calamity returned, it was ready as well as it possessed and corrupted the Guardians and Divine Beasts, turning their first line of defense into their biggest threat and killing their Champions. Link manages to flee with Zelda, but barely manages to escape with his life protecting the princess. This awakens Zelda’s familial power, and she manages to seal Calamity Ganon along with herself, and sends Link to the Shrine of Resurrection.
Being forced to sleep for 100 years to restore his strength but suffering amnesia, Link proceeds to roam the land to regain his memories and learn what happened all those years ago. From the hot mountains of Eldin to the deserts of the Gerudo, he would explore the vast land of Hyrule to free it from the Calamity’s clutches. Freeing the Divine Beasts, while also helping out many others and discovering mysteries and secrets (while also getting better as an excellent chef!), he would eventually face down against the Calamity Ganon itself, destroying the darkness and freeing Zelda who had been fighting it by herself for all these years. They would work together again, reunited at last to slowly but surely repair the damage that’s been done to Hyrule.
But a few years later, a weird gloom is leaking from under the castle, and Link and Zelda go to investigate, learning the secrets of the Zonai along the way. This turns out to be Ganondorf’s desiccated corpse, who reawakens, refusing to truly die, destroying the Master Sword and Link’s right arm, and Zelda somehow gets sent to the past after failing to catch her, separating the two once again. After being gifted a new arm by Rauru, the king of Hyrule many years ago, Link would explore the lands once again, saving it from all sorts of disasters. He awakens the Sages, who wind up being his friends from the previous adventure and retrieves the repaired Master Sword from a tragically draconified and immortal Zelda who sacrificed her sense of self to heal the sword.
Together with his trusted allies, Link would face Ganondorf who had been hiding under the gloom infested hole underneath Hyrule Castle. Even when Ganondorf was desperate and lost his humanity as well, transforming into a demonic dragon just to kill the Hero of the Wild, Link would defeat him once and for all, ending his tyranny for good. After reversing time on the draconified Zelda to free her from this curse, Link would catch her and save her for real this time, who’s finally happy to be home upon reawakening, and the two can live happily ever after. Together.
The Tarnished, The Future Elden Lord
Our long and convoluted story doesn’t start with a person or a kingdom, but actually up above in the cosmos. Surprising to probably no one there are beings or gods that are out there. We don’t know what they truly are, their forms, their true power, we know nothing. However what we do know is that they want to be known, their actions remembered. This is where the greater will comes in and blesses The Lands Between with the Elden Beast and soon this beast will be turned into the Elden Ring. The Elden Ring is essentially the world's concepts all mixed into one thing. This Includes time, life, cause and effect, death, etc. This is where life truly started in this vast land.
Time would pass and one name would rise into power, this person is Marika the eternal. Marika was a nemua, or a being that has little to no power. However even with this limit, Marika was chosen by the two fingers to become an empyrean, or for lack of better words a god by the fingers. Thus Marika would be a ruler of the lands between and would be given a shadow, Maliketh the black blade, and a husband Godfrey, who would be set to be the first Elden Lord. With being the ruler of the lands between Marika would live peacefully with Godfrey and even have children together. However this was short lived as Marika has different plans with her spouse.
Shortly after Godfrey won his war against the giants, he was banished from the lands between. While it might not be confirmed it’s very much believed Marika is a seeker for someone working for their power. To her Godfrey lost his fire, his urge to become stronger because to him after his war with the giants, his final worthy foe has fallen. This did not sit well with Marika and thought banishing him and his men, leaving them to face whatever threats were beyond this land would give them their spark back. So because of this Marika would take away their grace, making Godfrey and his army Tarnished!
Now maidenless, Marika would seek a new one, and walks in Radagon. Now a quick thing about Radagon is that he was previously the husband to Rennala, a powerful mage and ruler of the moon. With them came along several children and all seemed well. However, most likely seeking power, Radagon would leave Rennala and marry Marika (also their the same person somehow, no it’s not explained why, no don’t question it gotcha?). Radagon would become the next Elden lord and once again the lands between would become normal once again. However again an event would happen and turn this place into a mess.
See one day Marika had a scary thought about her children dying. This crisis would drive her to messing with the Elden Ring, mainly she would take out a concept, the concept of death or as it’s better known as the Death Rune. With it out she would grant it to her shadow Maliketh as a blade and the land was stripped from death. Everyone would essentially become immortal and grant her children full godhood along with her. Finally with this action she would present the lands between The Golden Order. The Golden Order was a religion and a belief all set by Marika. Though not everyone fully believed in it, one of these people was Ranni the witch who was the daughter of Rannala.
See Ranni didn’t want to have her fate controlled by the fingers or the greater will, she wanted to control her own fate and grant others that ability as well. So soon she devised a plan which would grant her that wish. So with the help of a group of assassins known as the Black Knifes, Ranni would steal the rune of death from Malekith and then turn it into daggers. With these daggers they would target and kill one of Marika and Radagon’s children, Godwyn. This would be the first recorded death of a demigod. With the death of her child Marika would snap. Soon in an act of rage an event would become known as the Shattering. she would shatter the Elden Ring and turn into small runes that would spread around the lands.
Because of this act Marika would be imprisoned, however this was the least of anyone’s worries. Soon the Elden Ring shards would be found by many demigods and they would start a quest to get the remaining shards and become the next Elden lord. And thus started a war with demigods fighting with each other for their pieces, but this war would have no winner and would only bring destruction to the land. The Lands Between became a battlefield and became a shell of its former self. The Greater Will knew this and wanted to fix this. So it came up with a plan, this plan was to bring in an outsider, it was to bring in a Tarnished.
This Tarnished would be given his grace back and set out on a quest. The Tarnished would obtain all the shards of the Elden Ring and become the next Elden Lord. So they would return and explore the land. Now this is where the story can change into three different paths for The Tarnished. The first route is The Tarnished follows his mission fully and rebuild the Elden Ring and become the next Elden Lord. The second is The Tarnished would meet with Ranni and once they rebuilt the Elden Ring, instead of The Tarnished, Ranni would become the next Elden Lord and set the age of stars where everyone would have their own free will. The third one is quite different from the other two routes. This one The Tarnished defines their quest and instead becomes the Frenzy Flamed, and sets chaos in the land, burning it down.
Experience & Skill
Link
As the latest incarnation of the Spirit of the Hero, Link is naturally very skilled. Link is a trained knight of Hyrule, having bested grown adults since he was single digits. Considered THE best swordsman in Hyrule, Link can take on hundreds of monsters and soldiers, shown in Age of Calamity and has always came out on top. Link was considered worthy of pulling out the legendary Master Sword from its pedestal and earned his role of being Princess Zelda’s bodyguard. He’s a master of the Spin Attack, which is shown in the Oracle games to be very hard to learn, let alone master, for anyone other than Link. Link is capable of using the vacuum cutting of the Eightfold Longblade after just picking it up, which explicitly requires a proficient fighter to use in the flavor text. Furthermore, his iconic Flurry Rush is said to be an actual skill he’s learned, capable of focusing to the point where time is slowed down, and other Champions like Daruk have taken note of this. He has deflected Guardian Beams with nothing but a wooden pot lid and defeated Lynels while young.
Speaking of Lynels, he’s been shown fighting Lynels back to back in a colosseum, each stronger than the last. He’s capable of single handedly fighting armies, be it Ganon’s monsters, Gerudos, Rito, Hylians, Yiga, etc., and is even capable of fighting off all of the Blights at once, albeit temporarily. Link’s presence alone changes the tides of war, being able to beat Ganondorf despite Rauru’s elite sages being incapable of beating him in a normal fight, and is able to engage Ganondorf in a Flurry Rush battle. He mastered the Yiga secret technique literally upon learning it, and can wield every weapon perfectly upon picking it up, knowing the exact way to optimally use it (ie: using it one-handed or two-handed or as a spear). He’s especially well known for being a master archer, able to use all sorts of bows and arrows with incredible precision, especially when he focuses.
His more underrated skill is perhaps his amazing puzzle solving. Whether he needs to make sure a ball rolls to its proper location, navigating the lost woods or figure out an enemy’s weak point, Link’s always been to solve any problem he’s come across, which makes this really impressive considering the amount of shrines and tests he’s done alone reach the hundreds. Counting the many enemies, bosses, exploring the open world, even when sometimes he barely has any equipment on, this number can reach the thousands.
Needless to say, Link is clearly an extremely well trained hero and puzzle solver, making it clear why he earned his title of Hero of the Wild. Underestimating the power of “Lore Accurate Link” is one of the last things many enemies did before meeting their end.
Tarnished
At the start of the game The Tarnished skills and experiences are not known. We know that he followed King Godfrey after Marika banished all Tarnished which can leave us to assume The Tarnished have fought whatever is out there. We also know at the start of the game The Tarnished can be skilled in a variety of different skills be it knight, samurai, mage, warrior, or even a naked person for that level 1 run. However throughout the game The Tarnished skills grow dramatically. First off Tarnished is capable of learning every single weapon in the game and mastering it nearly instantly which is impressive because there are over 300 weapons The Tarnished can find in the lands between. This all includes stuff like straight swords, giant hammers, scythes, katanas, daggers, bows, and a goddamn cannon.
The Tarnished have also learned a large amount of spells and enchantments on their own as well. This includes holy spells, gravity spells, Cold spells, Death sorceries, fire spells, the list goes on and on and on. The Tarnished has also faced a number of different foes all steaming from holy knights, skeletons back from the dead, flowers that want to kill you, old ladies on a small boat and most importantly The Tarnished has faced off against a number of demigods which includes faces like Malenia and General Radahn.
This is important to note because these two are arguably the most skilled characters in the lands between. Malenia even after being affected by Scarlet Rot which left her with one arm and no sight still at a young age was stated to be very powerful and also sealed away the god of rot. Radahn himself is nothing to scoff at either, at a young age he mastered Gravity Magic in a very very short amount of time and his own warriors were stated to be masterful fighters alongside him. Hell he was so respected that he had a whole festival so someone could give him a warrior's death because he did not fall to Melania scarlet rot. And The Tarnished fought and killed both of them on his own.
Lastly, and probably the most important skill The Tarnished has up their sleeve is their ability to adapt and learn their opponents. With the sight of grace (more on that later) The Tarnished can die in battle and respawn with a new understanding of their foe. This can lead them to knowing what his opponents move are leaving them predictable and open for attacks. Or The Tarnished can use this info and come in with a new plan of attack and see how well that works out. Essentially it means that no matter how many times you put them down, The Tarnished will figure out his enemy attacks and sooner or later will finally take the win.
Overall, The Tarnished, while not having much experience before the events in the story, is probably the most skilled fighter in the lands between at the end of the game. And with the power to adapt and overcome they become a scary opponent for anyone to face.
Equipment
Link
Master Sword
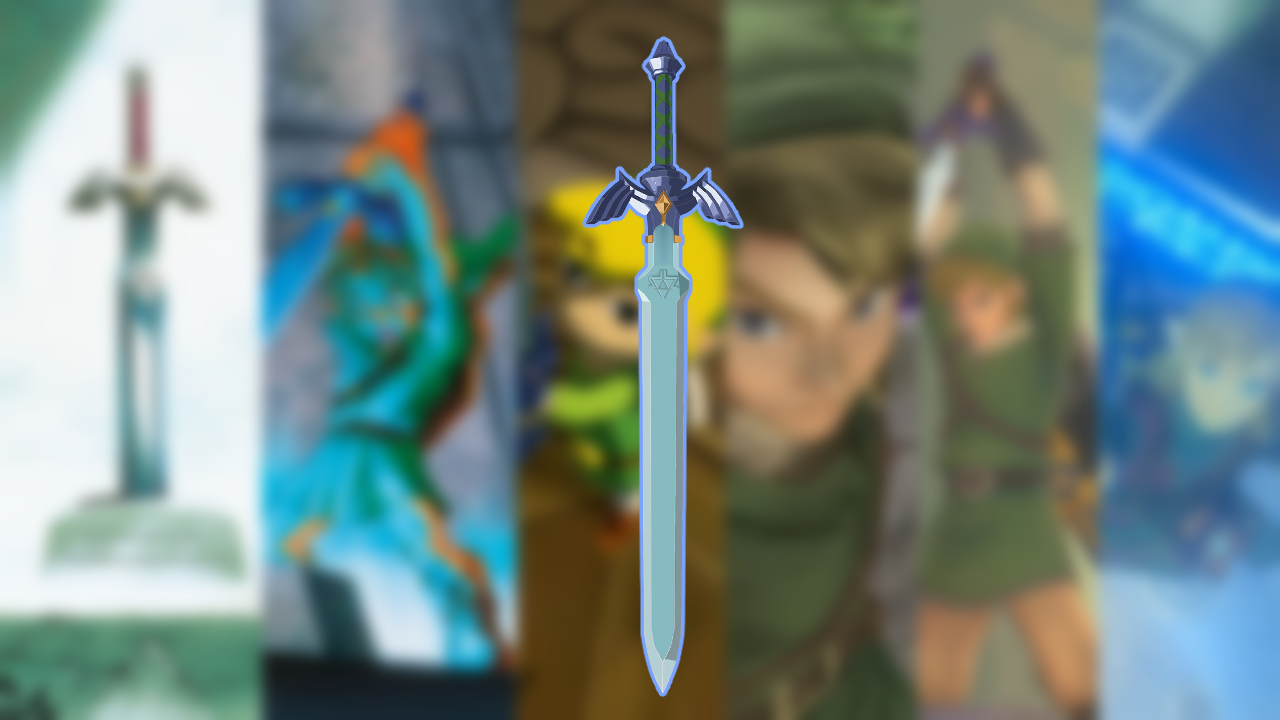
The most iconic weapon in the entire franchise. Forged by the goddess Hylia and strengthened by the Skyward Sword Link, this sword is known as the Blade of Evil’s Bane. It is found in its pedestal deep in the Lost Woods. There is a spirit named Fi sleeping inside the sword, and while she’s nowhere near as much of an asset as she was to the aforementioned Hero of Sky, she still “speaks” to Link in a way (Fi’s sound is even heard when it communicates with Zelda). The sword is also capable of shooting out sword beams while Link is at full health (normally), can be used as a dowsing rod, does extra damage to evil monsters (normally 30 damage, but doubles to 60 around evil), is fully capable of sealing individuals (even Link himself, as what happened with Young Link in Ocarina of Time), can dispel magic, prevents Link from being corrupted (Link was forcefully transformed into a wolf, but the Master Sword undoes that) and more. It is far and away Link’s most useful weapon, and yet it can still be improved on top of that with Link’s fusion tools.
Link is a known expert with it, having been training with it long before his 100 year sleep, and in Age of Calamity, mastered it mere moments after pulling it out of the pedestal. Zelda says that Heroes have been bound to the sword whether they’re “skyward bound, adrift in time, or stepped in the glowing embers of twilight.” The Master Sword’s power can grow even further as in Breath of the Wild’s Trail of the Sword DLC, Link is able to unlock the sword’s true splendor, essentially doubling its strength not just when he’s around evil creatures, but as its new awakened base strength.
During the start of Tears of the Kingdom, the sword gets withered away and destroyed by Ganondorf and his Gloom. It also gets revealed by the Great Deku Tree that the sword does indeed vary in power. But with the sacrifice of a time-displaced Princess Zelda, turning herself into an immortal dragon and healing the blade by sticking it in her forehead and healing it with her magic over the course of hundreds of millennia, the sword is stronger than it has ever been in the Wild era. It now glows with Zonai runes, cuts through Ganon’s minions like butter, and is completely immune to the Gloom that once destroyed it.
Note: In-game in both BOTW and TOTK, the Master Sword can run out of energy and requires a recharge, but this is likely just a gameplay mechanic meant to balance the game that has a weapon durability system rather than it being a flaw of the weapon. The Master Sword will not run out of durability during the final bosses of both games and in AoC, it has no such limit even when fighting entire large armies.
One-Handed Blades

While Link’s Master Sword is certainly his bread and butter, Link’s a master of other one handed weapons too, including:
Soldier’s Broadsword: A mid tier sword that charges quicker for charged attacks.
Knight’s Broadsword: A sword stronger than the soldier’s broadsword, reserved normally for the knights of Hyrule castle, this sword does critical damage if Link is at death’s door with one heart left.
Royal Broadsword: A sword reserved for high level knights recognized by the royal family, it is even better than the knight’s broadsword. A flurry rush is even more powerful when performed with this sword.
Royal Guard’s Sword: True to the name, it is a sword reserved for the guards of the royal family. It is even more powerful than the royal broadsword. On top of that, it peaks in power when it is at the end of its durability lifespan. Apparently they were made as a mass-produced replica of the Master Sword by the Sheikah.
Forest Dweller’s Sword: A sword made by the Koroks for humans. While not the most durable, fusion materials that are supposed to break with the weapon can be reused again and again.
Zora Sword: True to the name, a sword made by the Zora people. It is rustproof and its power output doubles if it is wet.
Feathered Edge: A lightweight sword created by the Rito people. It is made so that the wielder is unhindered by the weight, and it also creates a strong wind when swung.
Moonlight Scimitar: A more powerful version of the normal Gerudo Scimitar. Gerudo women use it for special ceremonies while the basic version gets more use. The sword gains more power when fusion items are attached to it than other types of weapons, but it gets less of a durability buff as a cost.
Eightfold Blade: A ninja sword made by the Sheikah. One of the sharpest blades ever made with construction from ancient technology, it is stronger when used for sneak attacks.
Flameblade: A magic sword created in Death Mountain. True to its name, swinging it around does additional fire damage, setting its target ablaze.
Frostblade: Forged in the frigid mountains of the Hebra region, it does the same thing as its fiery counterpart, but with freezing instead of burning.
Thunderblade: A two-pronged magical sword forged and refined by the lightning of Hyrule Hills, this sword completes the magic sword trifecta by shocking those cut by it.
Ancient Short Sword: A sword made from ancient technology lost to time. The blade only appears when drawn, and its power and sharpness surpasses that of normal metal weaponry.
Guardian Sword ++: The most refined version of the Guardian Sword, made with the same tech as the ancient short sword. It cuts through armor--and I quote--like a hot knife through butter.
Mighty Zonaite Sword: The strongest version of the Zonaite sword. Like the Guardian Swords from the game prior, the blade doesn’t appear until it is drawn. Furthermore, Zonai materials fused to it increase the power significantly.
Savage Lynel Sword: A sword taken from the strongest of Lynels. Its damage output is incredibly high, without any cost to durability either. It’s also really big, and yet somehow Link wields it perfectly with one hand.
Vicious Sickle: A sickle with a very clever name, made by the Yiga. While it has low durability, its shape allows for easy and rapid fatal wounds to be made, as it was literally made for assassinations.
Demon Carver: A “sword” with an incredibly unique shape. It is stronger than the other Yiga weapon and it apparently creates a very fearful sound due to its unique circular shape.
Gloom Sword: An incredibly powerful sword, its ridiculous output is countered by the fact that every hit you land eats away at your life force. It can only be obtained off a defeated Phantom Ganon. It is also immune to the effects of Gloom, though likely because it’s made from it.
Blunt Weapons

Sometimes Link needs to just hit something REALLY hard and these blunt weapons will usually always do the trick.
Torch: Literally just a torch. It gets lit to light the way, and extinguished when put away.
Gnarled Wooden Stick: A dried branch hardened and shaped into a club. It boasts high durability alongside high power.
Dragonbone Boko Club: A Bokoblin’s one-handed club reinforced with the bones of a dragon. Only the peak echelon of Bokoblins can handle its weight.
Iron Sledgehammer: Exactly what it says on the tin. An iron sledgehammer used for mining that Link uses as a weapon. As a mining tool, it is good at breaking rocks.
Spring-Loaded Hammer: A squeaky hammer bought from Kilton. While it is very weak, every fourth hit in a combo sends the enemy flying away.
Stal Arm: Severed arms of skeletal enemies, known as Stalkoblins, Stalizalfos, and Stalmoblins respectively. They’re brittle and keep moving like they’re still alive, but can be useful in a pinch. Bokoblin arms and Lizalfos arms are one handed weapons while Moblin arms are two handed.
Stone Smasher: The upgraded version of a Cobble Crusher, the main weapon of Gorons. It is forged with a special metal mined in Goron City. Its center of gravity is at the top, so centrifugal force is used to smash enemies flat.
Dragonbone Moblin Club: A wooden club used by Moblins reinforced with the bones of a dragon. The basic Moblin Club is already superior to the Dragonbone Boko Bat (the strongest version of the Bokoblin’s equivalent two-handed weapon), and this is the peak version of the Moblin Club.
Savage Lynel Crusher: A powerful weapon used by Lynels. While they can handle it with one hand, Link needs two. It is so strong that a single blow from the weaker variant crushes through armor, shield, and bodies. It is made from a heavy metal from Death Mountain.
Gloom Club: A kanabō with exaggerated spikes Link takes from Phantom Ganons wielding it. Like the Gloom Sword, it takes the health of the wielder as they fight with it.
Boomerangs
Link’s an expert at using boomerangs whether as a weapon he swings with or throws to use as a projectile. These include:
Boomerang: A basic boomerang used by the Koroks. It does exactly as you think. It’s thrown, whacks an enemy, and comes back. It can also be used as a blunt melee weapon.
Giant Boomerang: A stronger, heavier boomerang, this one has blades on the inner curves. Originally used for hunting, it was modified for combat. It gets used like a two-handed weapon when in melee combat, but can still be thrown like any other boomerang.
Lizal Boomerang: Boomerangs used by the Lizalfos monsters. There’s three variants of it, each of them being bladed boomerangs that have sharp bends in them. The first is the basic Lizal Boomerang, which only has one blade. After that is the Lizal Forked Boomerang, which splits into two blades in the middle. Finally, there’s the Tri-Lizal Boomerang, and the name speaks for itself. The more blades, the more power. Lizalfos use them as one handed swords first and foremost, and Link can too. Curiously, despite their unorthodox shapes, they still function perfectly like any other boomerang.
Rods

What’s a Zelda game without a little magic? Link can use these rods with magical properties for the long range with all sorts of elemental blasts including:
Fire Rod: A magical rod that casts fireballs. Its durability is very bad if it hits something like a melee weapon, but it is not supposed to be used that way. It can also be used to make targeted AoE magical strikes. The stronger version of this weapon is called the Meteor Rod.
Ice Rod: Like the fire rod before it, it creates magical ice balls. It can also do the targeted strike, but with ice. The stronger version of this weapon is called the Blizzard Rod.
Thunder Rod: Same as above, but with lightning. The stronger version is called the Thunderstorm Rod.
Magic Rod: A basic rod with no element attached to it. It can, however, be assigned one by attaching a gem to it, to make it a Fire Rod (Ruby), Ice Rod (Sapphire), Thunder Rod (Topaz) or Water Rod (Opal). Attaching a Star Fragment to a Magic Rod has it create light balls, which do nothing offensively but are good for lighting up dark spaces.
Magic Scepter: Basically a magic rod but large enough to require two hands. The magic that comes off of it is stronger due to the fact that it takes longer to swing.
Magic Staff: It is similar to the two above, but it swung like a spear. The magic balls come out in front as they’re “stabbed” out of the weapon.
Two-Handed Blades
While Link can’t use his shield since these require, well, two hands, in exchange Link has far more range and power and Link’s able to use these weapons like an expert.
Double Ax: A battle-ax with two sides. It’s incredibly heavy and requires good technique to use properly. Thankfully, Link has technique in spades.
Soldier’s Claymore: A mid-tier sword used for basic soldiers who use two handed swords. Charged attacks require less stamina using this weapon.
Knight’s Claymore: A slightly stronger sword than the previous, this is used for knights. The weapon gets significantly stronger when Link is almost out of health.
Royal Claymore: The strongest of the normal Hylian swords, this one is reserved for the guard of the royal family. If Link performs his iconic Flurry Rush with this weapon, the power of the technique is increased.
Royal Guard’s Claymore: The sword one step above the one above due to Sheikah technology being implanted into it. When pushed to its limit of durability and is about to break, its power skyrockets.
Edge of Duality: A separate sword made entirely out of Sheikah technology.
Zora Longsword: The Zora’s two-handed blade, it is made of a special metal that gets stronger when wet.
Gerudo Claymore: A claymore only wielded by the most elite of Gerudo soldiers. Like their short swords, attaching material improves the weapon’s power significantly at the cost of not getting as much of a durability buff.
Eightfold Longblade: A long katana used by the Sheikah. If slashed, it creates a vacuum of wind that attacks enemies at a distance. It’s apparently a weapon that requires a lot of skill to use properly. The Yiga version is also called a Windcleaver.
Mighty Zonaite Longsword: A sword with a hard light blade made from Zonai technology. Due to this, it resonates strongly with other Zonai tech and the effects when the two are fused are amplified.
Ancient Bladesaw: An ancient hardlight chainsaw sword. Nuff said.
Great Flameblade: An eternally hot two-handed greatsword with fire magic enchanted to it from the fires of Death Mountain, causing it to burn opponents when the blade glows red.
Great Frostblade: An eternally frozen two-handed greatsword with ice magic enchanted to it from the Hebra Mountains. When the blade glows blue, it emits freezing air.
Great Thunderblade: A golden two-handed greatsword with thunder magic enchanted to it from Hyrule Hills’s lightning. When the blade glows its golden shine, it expels lightning.
Ancient Battle Axe++: The strongest version of the ancient Sheikah’s axes, its cutting power is beyond most weapons possible limits.
Spears

When Link needs to stab stuff from far away at a quick pace, Link can always depend on his reliable spear arsenal, including:
Soldier’s Spear: A well tuned spear used by the guards of Hyrule. Its iron tip is very sturdy, providing it good durability, and it allows Link to charge up his charge attacks more quickly than normal.
Knight’s Halberd: A sharp spear made for the knights of Hyrule. When Link is low on health, it packs greater power.
Royal Halberd: A strong spear given to the knights that defended Hyrule’s throne room. They have incredible durability and strike with more power during Link’s Flurry Rush attack than most weapons.
Forest Dweller’s Spear: What would seem like a normal wooden spear, the Forest Dweller’s Spear actually has a unique property in that materials attached to the sword that normally burst after one hit (like Puff Shrooms or Muddle Buds) will actually be usable for more than one attack.
Zora Spear: A spear made by the Zora and their primary weapon of choice. Gains additional strength if wet.
Drillshaft: A spear-like tool made from recycled metal. It is normally used for mining and breaking rocks, though its toughness still makes it a strong weapon.
Feathered Spear: A spear made by the Rito which produces a strong wind when used to attack.
Gerudo Spear: A large weapon made by the Gerudo, it will double the damage increase of any item attached to it.
Ancient Spear: An energy producing spear created by the Sheikah Scientist Robbie out of Sheikah technology, capable of impressive damage and boasting high durability.
Royal Guard Spear: An extremely powerful slender weapon that was created using ancient technology from the Sheikah to fight against the Calamity. It unfortunately is left with a critical design flaw that gives it low durability, but makes up for that issue as its final attack before breaking will be stronger than normal.
Flamespear: A spear forged in the heat of Death Mountain, which produces a large amount of fire whenever it is swung, though too many swings will lead to it needing to recharge for a small moment before its fiery power can be reused.
Frostspear: A spear forged from the ancient ice found in the Hebra Mountains. It expels large amounts of ice when used and thus completely freezes its victim whenever it hits them, though too many swings will lead to it needing to recharge for a small moment before its icy power can be reused.
Thunderspear: A spear that will produce large amounts of electricity whenever it is swung, resulting in the victim being electrocuted, though too many swings will lead to it needing to recharge for a small moment before its electric power can be reused.
Dragonbone Boko Spear: A wooden spear strengthened with fossilized bones, which makes it perfect for stabbing enemies with impressive force
Dragonbone Moblin Spear: A fan favorite spear of the Moblin’s with solid striking power and durability.
Savage Lynel Spear: A metal spear used by Lynels, with enough strength to cut through almost any enemy due to its sharpness and weight
Gnarled Long Stick: A strong and modified slender wooden stick with quick swings that pack a punch
Mighty Zonaite Spear: A spear made of Zonaite, that will either gain massive strength when fused with sharp Zonai objects, or increase the efficiency of attached Zonai devices. This can lead to various effects such as an enhanced frost emitting spear or a rapid fire cannon ball launcher.
Magic Staff: A slender magic scepter that can shoot out fast magic attacks depending on which gem is attached. A Ruby will result in fireballs, a Sapphire in giant instantly freezing ice blasts, Topaz in electric blasts, and Opal in blasts of concentrated water.
Gloom Spear: A spear of incredible strength due to Gloom, though this power will lead to the user being infected by Gloom overtime due to its usage. It’s stated to reap the souls of its victims with a single cleave.
Korok Leaf

A giant, sturdy leaf that while does next to no damage, it creates a terrific gust of wind off of a single swing.
Flail
Made from the claw of a Guardian, Link was gifted the flail weapon(s) by Purah and Robbie, as he is the only one capable of wielding such a difficult weapon. Not only can he swing it around like a pro, he can use it to steal weapons from enemies to create an energy duplicate to temporarily attach to the flail, increasing both damage and range significantly. They come in three types. The normal Guardian Flail, pictured above, the Fortified Flail, which excels in both offense and defense and can perform a perfect guard while attacking, and the Ancient Bladed Flail, which has a Guardian’s energy blades attached at the end and Link can fire blasts from the “heads” on the weapon.
Bows

Almost as important to him as his sword is his bow. This Link is a master archer, being able to shoot with so much precision that time seems to slow down for him, and can shoot arrows with such speed and precision that he can launch several arrows one after the other in the quickest succession to end a sword combo.
Traveler’s Bow: The bow Link is normally presented with, as shown in the pictures above. It’s nothing special.
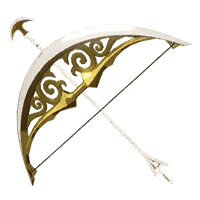
Royal Bow: The strongest of the basic Hylian bows, its strength is only rivaled by its exquisite design. Back in the day, the king would only give this bow to the most skilled archers in the land.
Phrenic Bow: A Sheikah created bow that has the technology to hit targets that are far away just as easily as if they were nearby.
Duplex Bow: A Yiga-made bow that is designed to shoot two arrows at once, for the purpose of quick yet painful execution.
Forest Dweller’s Bow: A bow made by the Koroks. It’s a wooden bow capable of firing three arrows at once.
Zora Bow: A bow made by the Zora. It boasts high durability at the cost of low firepower.
Falcon Bow: The stronger of the two bows made by the Rito, the other being the Swallow Bow. It boasts an incredible firing rate, allowing for easy midair sniping.
Gerudo Bow: A Gerudo made bow that specializes in aiming at faraway targets.
Royal Guard’s Bow: A prototype bow made by the Sheikah. It has a very high firing rate and high firepower, but its durability is lower than the average.
Ancient Bow: A bow made by Robbie and his research. The arrows launched by this bow travel in a straight line.
Savage Lynel Bow: A metal bow wielded by the mightiest of Lynels. Not only is the power of the bow incredibly high, it can launch three arrows at once, and can be upgraded to launch five arrows at once.
Demon King’s Bow: A yumi wielded by Ganondorf and his Phantoms that Link took. Curiously, unlike the other appropriated weapons, this one doesn’t eat away at Link. In fact, it does the opposite. The more health Link has, the stronger the bow is. The only downside is that a low-health Link makes this bow next to useless.
Bow of Light
A bow gifted by Zelda in order to defeat Calamity Ganon, it is very similar to Twilight Princess Zelda’s bow. The bow shoots arrows of light that travel straight and true, and it never runs out. Like the Master Sword, the arrows here are capable of eradicating evil.
Arrows
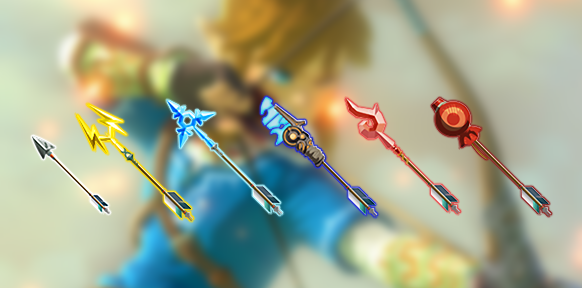
Fire Arrows: Arrows set ablaze at the tips via either magic or magic items. Those hit by them are set ablaze as well. They’re very effective against ice and emit light and heat.
Ice Arrows: Freezing arrows that magically freeze what they break apart and impact. They are incredibly useful against hot things.
Shock Arrows: Arrows imbued with the power of lightning. Things hit with shock arrows are shocked. They’re heavily effective against metal and wet things.
Bomb Arrows: Arrows with bombs instead of pointed tips. They explode on impact for heavy damage.
Ancient Arrows: Far and away Link’s most trusted arrow type in Breath of the Wild, they were made by Robbie 50 years ago for the purpose of defeating Guardians. A well placed shot will instantly destroy one. Normal enemies hit by them will be instantly consigned to oblivion without a trace, leaving neither a corpse nor materials. Unlike other special arrows, they can be retrieved if they miss, as they only activate if they hit an enemy. Ancient Blades can be fused to arrows and weapons to have the same effect as Ancient Arrows. Should be noted some strong enemies including bosses can resist the powerful effects of this special arrow, but it’s likely just a gameplay mechanic since enemies like the Lynel are affected by the arrow’s effects while weaker enemies are not and the Guardian enemies likely just have some sort of resistance using the same technology.
There’s some debate on what it exactly does, but to avoid clutter of this section, we decided to move it to its own Before the Verdict section for better reading.
Shields
Link is of course well experienced with a trusty shield to balance offense on one hand and defense on the other (though it should be noted if Link is two handing a weapon, he can’t use it as much). Whether it be enemy attacks or beams, Link can block just about anything and he can even attach a material with Fuse to it for special effects. He’s even skilled enough to ride his shield like a skateboard (which is…not very practical, but hey it’s really cool!)
Hylian Shield

Commissioned by the royal family and renowned for its durability, the most iconic shield for almost any Link, it is the most durable shield of the era. While it isn’t as strong as its other counterparts, actually being destructible, its durability is so high that to the average opponent, it might as well be. And while it conducts lightning unlike earlier era versions, it still retains its high heat resistance.
Daybreaker
The strongest version of the Gerudo Shield. One of the Arms of the Seven, it is known to be Urbosa’s signature shield that she constantly wielded alongside the Scimitar of the Seven. It was gifted to LInk, as the current ruler of the Gerudo, Riju, believes that as Urbosa’s friend he deserves to have it. It is made of a traditional Gerudo Shield, forged with flint and diamond.
Other Shields
Shield of the Mind’s Eye: A shield made by the Sheikah designed to remove blind spots of the user while not compromising defense.
Ancient Shield: The strongest version of the Guardian Shield. Made by ancient Shiekah technology, it is an energy shield that surpasses that of normal metal shields and can even deflect Guardian Beams.
Mighty Zonaite Shield: The strongest version of the Zonaite Shield subseries. Like the Guardian Shields, it is also an energy shield stronger than most metal shields. However, Zonai technology fused to the shield consumes less energy than any other shield fusion would, even the shields that outclass it durability-wise.
Savage Lynel Shield: Shields wielded by the strongest of Ganon’s “normal” enemies, the Lynel, and the peak echelon of them at that. Not only is the durability of the shield nigh-unmatched, deflecting a blow causes the attacker to have damage reflected to them.
Forest Dweller’s Shield: A shield made from Korok wood, making it as sturdy--if not sturdier--than most metal shields without being electrically conductive.
Silver Shield: The Zora’s strongest shield, known to deflect attacks as easily as rushing water deflects rocks.
Kite Shield: A shield made by the Rito. It is designed for usage with mid-flight combat, and despite its name and appearance, it’s quite durable, being considered a mid-grade shield.
Legacy Weapons
Weapons that resemble iconic weapons from the previous eras of Zelda. It’s important to note that these are very likely not the real versions. They rarely if ever have the properties exhibited in their debut games, they’re breakable, and sometimes even create time paradoxes (for example, Link can acquire the Goddess Sword, even though as said in the Master Sword section above, that sword no longer exists as it became the Master Sword, which is already in Link’s possession). They’re really just powerful weapons (and they look cool!)
Sword of the Hero: The Magical Sword from the Hyrule Fantasy: The Legend of Zelda…or as everyone else calls it, Zelda 1. It’s stated to cause Link to have nostalgia. It’s dangerous to go alone, so Link took it.
Sea-Breeze Boomerang: The boomerang wielded by the Hero of Winds. It smells of the salty sea.
Sea-Breeze Shield: A shield identical to the one used by the Hero of Winds.
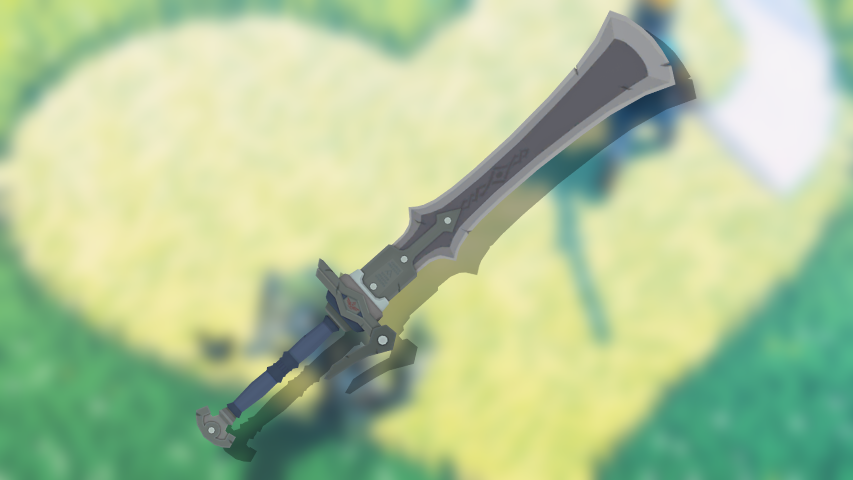
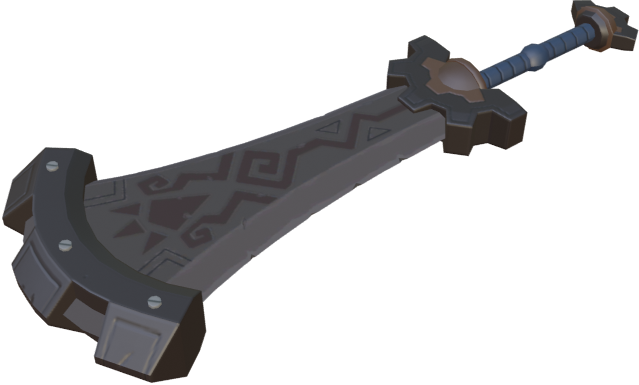
Sword of Sages: The sword that was used in Ganondorf’s attempted execution in Twilight Princess, and later wielded by him after using it to kill his would-be executioner. Called the Dusk Claymore in Tears of the Kingdom, it is a very powerful light-based weapon.
Biggoron’s Sword: The sword the giant Goron Biggoron made for the Hero of Time. It is a very powerful claymore.
Goddess Sword: Allegedly, the sword used by the Hero of Sky. When used, a heavenly breeze kicks up around Link.
Fierce Deity Sword: The sword used by the Hero of Time during his final battle with Majora, after he turns into the Fierce Deity. Link slashes like he was possessed by the very same entity when wielding it.
Dusk Bow: The bow the Twilight Princess Zelda used to fight Ganondorf. It can fire unlimited arrows that travel straight like beams of light.
Champion Weapons
Weapons originally wielded by Link’s old friends, who sadly fell in battle to Calamity Ganon 100 years prior. Their names were Daruk, Urbosa, Mipha, and Revali. These weapons do not decay due to Gloom, and are in the same condition they were when their original wielders died.
Boulder Breaker
Daruk’s signature weapon. It’s the most powerful Cobble Crusher ever. While Daruk could swing it around no problem with one hand, Link needs two as it requires an immense amount of strength for a Hylian to use. True to its name, it can shatter boulders with the greatest of ease, even living and sturdy ones like Pebblits and even Taloses. It is described as sharp, even though it doesn’t act like a sharp weapon. Allegedly, Daruk used this sword to carve a valley into Gortram Cliff in a single night.
Scimitar of the Seven
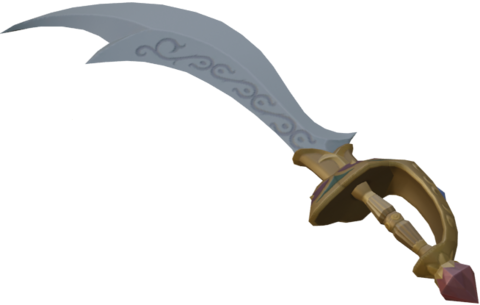
The signature weapon of Urbosa, it is a powerful Gerudo Scimitar and one of the Gerudo Arms of the Seven. Electricity can be channeled through it with ease, and like the Gerudo Scimitars, materials attached to it have their effects boosted.
Lightscale Trident

The signature weapon of Mipha, Link’s childhood Zora friend, created for her as a celebration for her birth. It is the strongest variation of the Zora Spear, being a level above the Ceremonial Trident (a replica of this made to celebrate/mourn Mipha), which in turn is above the Zora Spear. Apparently, Mipha and the trident became one after her passing, and her soul can speak through it, though it is unknown if she can still do this after her spirit moved on. It’ll also double in strength if Link is wet (with water, not like that you pervs).
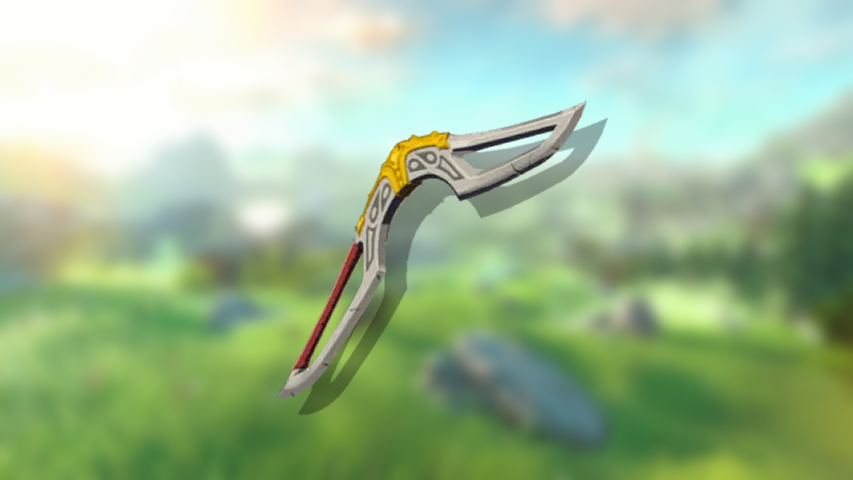
Great Eagle Bow
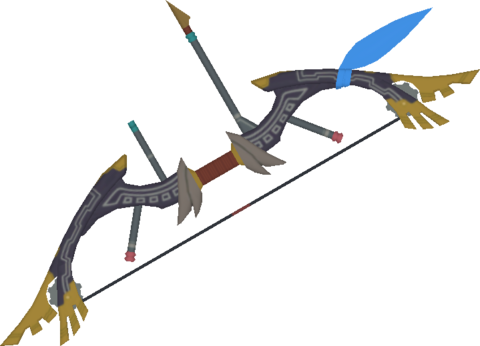
The signature weapon used by Revali of the Rito. Its power is only rivaled by its weight, being able to be fired quickly and efficiently at the speed of a gale by those who are capable of overcoming its weight, as most Rito are incapable of doing. Revali, Link, and Tulin are the only ones known to counteract the detriment. But when mastered, a user can fire three arrows in an instant.
Paraglider
A sailcloth that allows Link to glide in midair. It cushions his falls so he goes undamaged falling from high distances, and he can instantly unequip it to attack from above with his bows and melee weapons. Apparently it takes a lot of skill to wield, as other knights of Hyrule have tried and failed to use it in Link’s absence. His current one is a version made by the Hylian scientist Purah, and can have its sailcloth swapped out for different designs.
Outfits
Link carries a variety of different outfits apart from just his standard attire. Different outfits have different defensive stats, and the majority grant different bonuses, would they be defensive, offensive, or miscellaneous.
Champion’s Leathers: Link’s primary shirt and one of his best armors defense wise, the Champion’s Leathers do not have any special gimmicks, but give him the Hylian Hood with the hood down for his new default look and he looks pretty dang cool while still giving him strong defense. Though their previous version, the Champion’s Tunic, did let Link see exactly how many hit points his enemies still had, making it useful for assessing the state of battle.
Stealth Set: A Sheikah made armor that decreases the volume of any sounds Link makes, increasing his stealth prowess. It also makes Link move faster at night when the full set is worn.
Flamebreaker Set: An armor the Gorons made for Hylians so they could withstand the high temperatures around Death Mountain, with said temperatures being so high they cause the air itself to be lit on fire. Each piece provides a significant increase in fire resistance, with the full set offering a set bonus that makes Link completely immune to fire based damage.
Zora Set: An armor set made for Link by the Zoras that increases his swim speed. The main armor around his chest also allows Link to quickly swim up waterfalls. As for the set bonus, it allows Link’s dashes in the water to be significantly faster.
Snow Quill Set: An armor set made by the Rito to help other visiting races deal with the cold temperatures. Each armor piece gradually raises Link’s cold resistance, with the full set making him completely immune to being frozen as a set bonus.
Climbing Set: A set where each piece greatly increases Link’s climbing speed, with the full set’s set bonus decreasing the stamina needed for big jumps while climbing.
Desert Voe Set: A set sold secretly in Gerudo town (since Voe AKA men are banned from it besides Link) that increases heat resistance, with the full set’s set bonus being an additional increase in resistance to electrical damage .
Gerudo set: A set of Gerudo women garb Link needs to sneak into their town with no additional bonuses aside from oh my lordy lord…
Barbarian Set: An ancient set of armor that was made by a warrior tribe, each armor piece greatly increases Link’s attack strength, with the full set’s set bonus reducing the stamina needed for charged attacks.
Rubber Set: An armor set made of a material foreign to Hyrule that increases Link’s resistance to electricity, with the full set’s set bonus making him completely immune to electrical damage.
Radiant Set: A skeletal looking armor set that glows in the dark, with its set bonus increases the damage done with bone based weapons and making it so skeletal enemies never attack Link unless prompted to.
Ancient Set: An armor set made by the Sheikah Scientist Robbie that decreases damage received by Guardians. The set bonus both increases the damage Link does to Guardians, and increases the damage Link does with Ancient tech generally, like the Ancient Bladesaw to give an example.
Hero of the Wild Set: A green tunic that seems to fit the Hero of the Wild perfectly, it is one of the stronger armors in Breath of the Wild and its set bonus increases the damage of Link’s Master Sword beams.
Armor of the Depths Set: A special armor set Link obtained in the Depths of Hyrule, each piece increases Link’s resistance to Gloom, with the set bonus making him take less damage from Gloom enhanced enemies.
Charged Set: A set of clothes previously used in Zonai rituals, with each piece of clothing raising Link’s attack during thunderstorms. The full set provides a set bonus that makes Link produce large amounts of electricity either when using charged attacks or at the end of an attack combo.
Ember Set: A set of clothes previously used in Zonai rituals, with each piece of clothing raising Link’s attack in environments with hot weather. The full set provides a set bonus that makes Link produce large amounts of fire either when using charged attacks or at the end of an attack combo.
Frostbite Set: A set of clothes previously used in Zonai rituals, with each piece of clothing raising Link’s attack in environments with cold weather. The full set provides a set bonus that makes Link produce large amounts of frost either when using charged attacks or at the end of an attack combo.
Evil Spirit Set: An armor set resembling Phantom Ganon from Ocarina of Time, each armor piece makes Link quieter similar to the Stealth Set, though the armor’s max defense is worse. It makes up for this in that skeletal enemies will never attack Link and bone based weapons increase in power when the full set is worn.
Froggy Set: A frog themed set of armor. Each armor piece individually raises Link’s resistance to slipping on various surfaces while climbing, with the full set’s set bonus making him completely incapable of slipping at all.
Glide Set: A set which increases Link’s air resistance, allowing him to glide far more efficiently through the air. The set’s full set bonus makes Link completely immune to fall damage.
Miner Set: An armor set once used by ancient miners in the Depths, each armor piece produces a small amount of light to help Link see in the dark. With the set’s set bonus causing Link to leave behind glowing footsteps wherever he walks.
Mythic Set: A set of armor rewarded to Link for helping Kolton in his quest to become a magic glowing frog thing. The armor converts damage Link takes to losing rupees, essentially meaning the deeper his wallet, the longer of a bonus health bar he has. For reference in both BOTW and TOTK, Link can have up to 99,999 rupees, and is only losing a couple hundred when taking blows from foes just as strong as he is. Point here is that this armor lets Link shrug off hundreds of hits from comparable foes, even if it makes him broke.
Zonaite Set: An ancient set of Zonaite armor, each armor piece decreases the energy needed for Zonai devices to function. Additionally, the full set’s set bonus makes Link’s Energy Cell recharge its battery twice as quickly.
Lightning Helm: A helm Link somehow rightfully earned from the Yiga that automatically deflects all types of electricity based damage, basically making Link immune to electricity.
Majora’s Mask: No, it is not the one you are thinking of. It still does seem to have a strange power however, as it confuses enemies and makes Link far harder to notice when equipped, somehow.
Ravio’s Hood: A strange purple hood similar to the one worn by Ravio in A Link Between Worlds that makes Link climb faster SPECIFICALLY when climbing sideways. HOW.
Sand Boots: Special boots that let Link walk faster on sand.
Snow Boots: Special boots that let Link walk faster on snow.
Vah Medoh Divine Helm: A helm modeled after the Divine Beast Vah Medoh that strengthens the power of Link’s sage summon Tulin.
Vah Naboris Divine Helm: A helm modeled after the Divine Beast Vah Naboris that strengthens the power of Link’s sage summon Riju.
Vah Ruta Divine Helm: A helm modeled after the Divine Beast Vah Ruta that strengthens the power of Link’s sage summon Sidon.
Vah Rudania Divine Helm: A helm modeled after the Divine Beast Vah Rudania that strengthens the power of Link’s sage summon Yunobo.
Zant’s Helmet: A helm similar to the one worn by the Twilight Usurper, Zant. Wearing it makes Link completely immune to being frozen.
Ancient Hero’s Aspect: By far the best armor in the game when it comes to pure defense, the Ancient Hero’s Aspect is a special item that counts as three armor pieces and also completely changes Link’s appearance to resemble that of the Ancient Hero who defeated Calamity Ganon ten thousand years before Ganon reappeared prior to the events of Breath of the Wild.
Materials
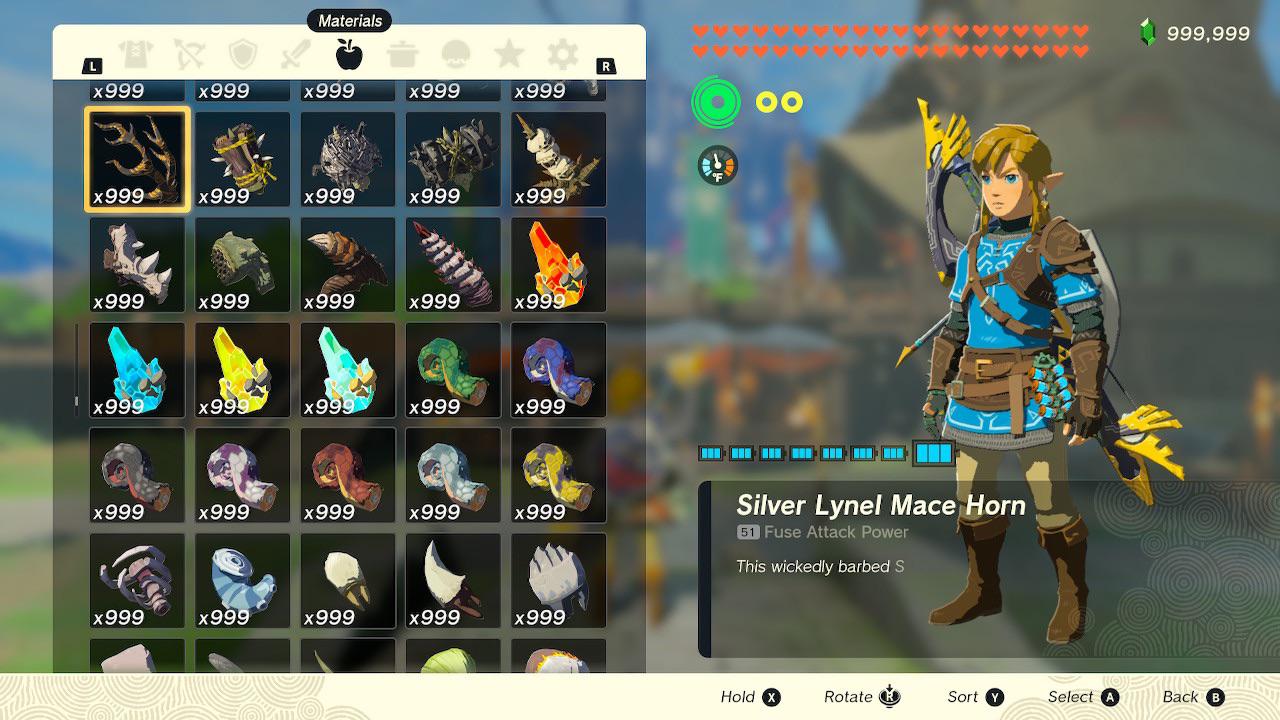
During his travels, Link can acquire all sorts of materials. Whether they be different types of food ingredients, monster parts, minerals and so much more, Link can use them in all sorts of ways. From cooking them or even combining them with his powerful Fuse ability for some really cool effects. For the sake of readability, we’re not including literally everything here, but all are considered. These include:
Keese Eyeball: Link can attach the eyes of Keese (bat-like monsters) to his arrows, causing them to home onto their targets. There are four types of Keese: normal, fire, ice, and electric. All of them but the normal one applies an elemental effect on top of the homing property.
Keese Wing: Link can do the same thing with the wings that he can with the eyes. Instead of creating homing arrows, they make arrows and thrown weapons fly farther. They also have elemental properties.
Aerocuda Eyeball: Link can use eyeballs of the Aerocuda to do the same thing that the Keese eyeballs do. They buff the arrow even more than a Keese eyeball, but because there’s no variants of Aerocuda, there’s no elemental properties that can be attached.
Aerocuda Wing: Like the eyeballs, this is merely a stronger, sturdier alternative of the Keese wing’s purpose.
Octorok Eyeball: An alternative to the Aerocuda Eyeball. There’s nothing special about them, they do the same thing as above.
Octo Balloon: An inflatable organ of the Octorok. If Link wants something to lift in the air (assuming it’s light enough), he can attach an Octo Balloon to it to give it a float.
Like Like Stone: A strange round stone that’ll inflict more damage when fused to weapons and also come in fire, ice and shock variants.
Gibdo Bone: Though it breaks really easily, these bones can be attached to a weapon or arrow for a very powerful +40 damage.
Bokoblin Horn: A sharp horn with multiple barbs when fused will deal +4 damage.
Blue Bokoblin Horn: A two pronged horn with sharp enough edges to give an extra +7 damage when fused.
Black Bokoblin Horn: A really sharp three pronged horn this time gives a powerful +17 damage to fused weapons/arrows.
Silver Bokoblin Horn: Though a bit weird looking, it’s far sharper than it looks dealing a whooping +31 damage to fused weapons/arrows.
Boss Bokoblin Horn: A sharp horn fitting to those of a leader that looks like a sharp sword, giving a good +10 damage to fused weapons/arrows.
Blue Boss Bokoblin Horn: A sharp axe-shaped horn that’ll give an extra +16 damage to fused weapons/arrows.
Black Boss Bokoblin Horn: A double edged sharp shaped looking horn that’ll give a good +27 damage to fused items.
Silver Boss Bokoblin Horn: A circular serrated horn that contains arcane power gives a whooping +37 damage to fused weapons.
Moblin Horn: A weird but hard hone that resulted from a skull mutation that deals a good +6 damage to fused weapons.
Blue Moblin Horn: A large curved harm with extremely hard tips that’ll give a good +13 damage to fused weapons/items.
Black Moblin Horn: A really big horn that has some really tough barbs. Fusing it with a weapon or arrow will grant a +24 damage.
Silver Moblin Horn: A real nasty looking horn that’s super hard giving a whooping +33 damage to fused weapons.
Lizalfos Horn: A small, but still sharp knife-like horn that’ll give a +8 damage to fused weapons/arrows.
Blue Lizalfos Horn: A very sharp and long horn that’ll make weapons look like a katana (and those are cool!) and give a good +16 damage to fused weapons.
Black Lizalfos Horn: A blade-like serrated horn that’ll give a good +26 damage to fused weapons.
Fire, Ice and Electric Lizalfos Horn: These different elemental horns shaped like their elements will give +15 damage to fused weapons while giving fire, freezing and shock elements respectively.
Silver Lizalfos Horn: A horn shaped like a sickle, letting Link reap enemies with how sharp it is by allowing it to give +34 damage to fused weapons.
Lizalfos Tail: A tail from a Lizalfos that when fused to a weapon actually acts like a blunt like whip, greatly extending Link’s weapon reach. They come in regular, Blue, Black and Silver giving +6, +16, +24, and +31 attacks respectively.
Horriblin Horn: A horn shaped like a hammer, useful for smashing rocks and giving +5 damage to fused weapons.
Blue Horriblin Horn: An even bigger hammer with some really spiky bumps giving an extra +11 damage to fused weapons.
Black Horriblin Horn: A very large horn with a hammer like shape that’ll give +22 damage to fused weapons.
Silver Horriblin Horn: A curved horn with an extremely hard tip giving +32 damage to fused weapons.
Lynel Saber Horn: A horn…shaped like well, a saber, sharp enough to give +22 damage to fused weapons.
Lynel Mace Horn: A hard curved horn from a Lynel that’ll give +18 damage to fused weapons.
Blue-Maned Lynel Saber Horn: A sharp blade-like horn that’ll give a strong +33 damage to fused weapons.
Blue-Maned Lynel Mace Horn: Though its ends are split apart, it’s still very tough enough to give a +29 damage to fused weapons.
White-Maned Lynel Saber Horn: A very sharp blade-like horn that can slice through almost anything giving a +44 damage to fused weapons.
White-Maned Lynel Mace Horn: These horns look like claws, though they are all extremely hard, hard enough to give +40 damage to fused weapons.
Silver Lynel Saber Horn: A very sharp and long horn that’ll make your weapon look like a katana AND SO COOL and give +55 damage to fused weapons.
Silver Lynel Mace Horn: A horn hard as a diamond barbed wickedly that’ll give +51 damage to fused weapons.
Soldier Construct Horn: A blade-like horn from a construct that’ll give +3 damage to fused weapons. These are more useful to fuse onto construct weapons like it.
Soldier Construct II Horn: A sharp hooked horn, good for slicing through small branches and plants and gives +8 damage to fused weapons.
Soldier Construct III Horn: A serrated horn that gives +18 damage to fused weapons.
Soldier Construct IV Horn: A horn embedded with a very sharp disc, spinning to slice through almost anything and gives +24 damage to fused weapons.
Captain Construct I Horn: This wavey horn might be small, but still strong enough to give +5 damage to fused weapons.
Captain Construct II Horn: This blade-like horn is very sharp and gives +15 damage to fused weapons.
Captain Construct III Horn: An even bigger blade with a complex tip that’ll give +25 damage to fused weapons.
Captain Construct IV Horn: A very mean looking blade-like horn giving a strong +35 damage to fused weapons. Even moreso to Zonai weapons.
Hinox Horn: A horn wrapped in spiked wood might be strange, but it’s still an effective fused material, giving +12 damage to fused weapons.
Blue Hinox Horn: A horn wrapped up in chains, giving +19 damage to fused weapons.
Black Hinox Horn: A horn wrapped up in dangerous debris, giving a strong +27 damage to fused weapons.
Stalnox Horn: These impaled skulls should serve as a warning, but are strong enough to give +29 damage to fused weapons.
Molduga Jaw: A very hard jawbone from a Molduga that gives a powerful +32 damage to fused weapons.
Gleeok Flame/Frost/Thunder Horn: Depending on the type of Gleeok defeated, they’ll drop these horns, giving +30 damage and imbue the weapons with the respective three elements.
Frox Fang: A giant ore-crunching fang that’ll give +14 damage to fused weapons.
Obsidian Frox Fang: A giant fang that’s very useful for destroying ore, especially when it gives +24 damage to fused weapons.
Blue-White Frox Fang: A giant fang that’s sharp enough to dig through bedrock and give +35 damage to fused weapons.
Dinraal’s Horn: A sharp horn of the spirit Dinraal, it’s powerful enough to give the fused weapon the power of fire and +26 damage.
Naydra’s Horn: A sharp horn of the spirit Naydra that’ll give the fused weapon the power of ice and +26 damage.
Farosh’s Horn: A sharp horn of the spirit Farosh that’ll give the fused weapon the power of lightning and +26 damage.
Light Dragon’s Horn: From the light dragon herself, it has a gentle glow with a calming effect that’ll actually heal Link when used as a weapon and gives +20 damage to fused weapons.
Ruby: A red ore that’ll give a very powerful fire effect especially on magical staffs.
Sapphire: A blue ore that’ll give a very powerful freezing effect to weapons, especially on staffs.
Topaz: A yellow ore that’ll give a very shocking effect (hehe sorry) to weapons, also letting Link cast spells on staffs.
Opal: A ore that’s very pretty to look at but also gives fused the power of water.
Diamond: Some of the rarest ore in the games, letting Link sell them for a huge amount of rupees OR give a powerful +25 damage to fused weapons.
Chu Chu Jelly: The gelatinous mass left over from defeating a common slime monster known as a Chu Chu. The basic version of it does nothing, but elemental stimulus can turn it fire, ice, or electric, which can then either be lobbed as an elemental grenade of sorts, or attached to an arrow to make elemental arrows.
Bomb Flowers: A classic in the Zelda series, also known as the Goron’s special crop, Link can attach these to his arrows to make bomb arrows or his shield so if an opponent makes contact with it, it’ll explode, but leaving Link completely unharmed. They can also be used as classic bombs, to be thrown at enemies or placed as explosives.
Muddle Bud: A flower Link can use to throw/fire at to disorient and confuse foes, making them attack their own allies.
Korok Frond: A mysterious leaf that can be attached to a stick to be used as a fan.
Brightbloom Seed: A seed that’s often found in caves and wells, and when fired with a fused arrow, it’ll bloom and give out a strong light. Useful for exploring the depths/caves.
Puffshroom: An inedible mushroom that releases a ton of spores when stimulus is applied, creating a smokescreen.
Dazzlefruit: Essentially a fruity flashbang, breaking it unleashes dazzling sparkles to blind nearby enemies.
Ancient Blade: A small sharp blade that can be attached to melee weapons and arrows that has the exact same properties as Ancient Arrows, letting Link destroy someone instantly, just with a sword or spear instead of just with his arrows. However, the blade breaks after one use, so using it for arrows is more resourceful.
Fairies: Should Link fall in battle, a fairy will quickly come out and revive him to five hearts, letting him continue the fight. Due to gameplay balance and excluding exploits, Link can only hold up to six fairies at a time, though that usually is more than enough for Link.
Food & Elixirs

Let him cook and we do mean it as Link’s an expert at the culinary arts, seeming able to make almost any dish off basic ingredients. From omelets to delicious meat dishes, mouthwatering desserts, simple but effective elixirs and even pizza itself, all of these are able to heal him to near max health, with some of them granting extra effects and Link’s able to eat all of them (well, mostly) without ill effect. While Link can technically only carry 60 at a time, a fight usually never drags long enough where he needs to consume all of them and he can always make more should he find the time and ingredients.
There’s literally over 200 recipes that Link can cook, so obviously it’d be a little ridiculous to list them all, especially since there’s going to be a lot of overlap in what they do. Food will usually heal as well as give the beneficial effect listed, but elixirs just do the intended effect. If you want the full list, we recommend going here, but they give some very beneficial effects to our hero which include:
Hylian Tomato Pizza: Link somehow invented pizza in Hyrule. This delicious dish technically doesn’t do anything special, but it’ll fill Link’s hearts up really fast. Look, we had to include this, okay?
Sunny Food: Using the special flower known as a Sundelion as an ingredient, Link can cook these types of food to recover from Gloom damage or restore health that normally can’t be recovered.
Energizing Food/Elixir: Eating one of these in combat will immediately replenish Link’s stamina which is going to be useful for performing physical actions such as sprinting or focusing.
Hasty Food/Elixir: Will increase Link’s speed should he consume this. The best versions that Link can concoct will do a 30% increase.
Spicy Food/Elixir: Should Link need more resistance to the cold, the sheer spiciness and heat from eating these will do just that.
Chilly Food/Elixir: This will give Link some really nice heat resistance to the really hot scorching weather.
Electro Food/Elixir: Shockingly, this will give Link more added damage protection from electric based attacks.
Fireproof Food/Elixir: This will give protection from the extremely hot locations like being near a volcano or lava.
Mighty Food/Elixir: After stealing the Yiga’s banana hoard, Link can cook these in a special dish to increase his attack power, making it definitely one of the more useful. The best ones will increase his attack by 50%. Yeah, that’s nice.
Tough Food/Elixir: Link can cook a special meal to increase his defense this time the best ones increase it by 24 points in game.
Sneaky Food/Elixir: Should Link need to be more stealthy, Link can consume one of these to reduce the sound he makes, letting him get around opponents far more easily.
Sticky Food/Elixir: No, not like that. What this actually does is give Link slip resistance, letting him climb wet surfaces more easily.
Bright Food/Elixir: Link will…glow brightly should he eat one of these. It seems weird, but it’s useful for exploring really dark areas like the depths or caves.
Enduring Food/Elixir: Definitely one of Link’s best foods as it’ll not only completely refill Link’s stamina, it’ll give extra temporary stamina, giving Link the energy he needs to accomplish his goals.
Hearty Food/Elixir: Arguably the best one here, should Link consume one of these, it’ll not only completely refill Link’s health, it’ll give him extra temporary hearts too, letting him take extra hits. You could probably be really boring and carry at least 30 of these if you just don’t want to ever die I guess.
Fairy Tonic: I’m not sure why you want to cook a fairy so badly, but if you do, this will give Link an extra way to fully heal himself effectively during a battle.
Sheikah Slate
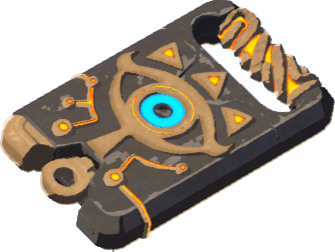
Originally owned by Zelda, Link held onto it during the events of Breath of the Wild. The Slate is capable of a multitude of functions, both useful generally and for combat. It comes packed with a full map of Hyrule, can place markers on said map to guide exploration, teleport between various ancient Sheikah locations, zoom in on things from a distance for better sight, etc, a bunch of quality of life stuff. Extra notable abilities include being able to place teleportation-runes on the map that Link can warp to whenever, and most notably, six distinct runes that let Link use special powers.
Magnesis: This rune lets Link use the power of magnetism to telekinetically move around metal objects.
Bombs: Link can spawn blue energetic bombs to plant in places or throw at enemies. He can spawn either mobile sphere shaped bombs, or stationary cube shaped bombs. He can only spawn one of each type at a time though.
Stasis: Arguably the most useful ability here, Link can aim and freeze the target in time. While frozen, Link can apply and build up kinetic energy by attacking the target and the more he does, the further away they’ll be sent flying. It has since been upgraded to work on sentient beings, making it extremely useful in combat. While in BOTW, Link can only affect one target at a time (likely for gameplay balance), Age of Calamity has shown it’s possible to aim it in a much wider area and affect multiples at once.
Cryonis: This ability lets Link create a platform of ice on lakes, rivers and even waterfalls, up to three at a time. It can also be used to destroy said structures and even ice objects he himself didn’t make.
Camera: A basic camera function that can take pictures that Link can add to the Hyrule Compendium. The Hyrule Compendium gives information about his foes/weapons/etc. possibly letting Link get information on his foe during the fight.
Master Cycle Zero: Gained after completing The Champion’s Ballad quest, Link gained this fast moving, Akira sliding and stylish looking motorcycle, which is actually Link’s personal Divine Beast meant for a “true hero.” It comes with a headlight and moves much faster than a normal horse, but Link is still able to do single handed combat while riding it. Main downside is that it requires fuel, but Link usually always has plenty. In Age of Calamity, Zelda herself uses the cycle as a weapon itself, attacking with wheelies, beams, explosions and even weird teleports. While Link himself has never used it like this, considering his expertise as a fighter, it is possible he could.
It is worth noting that the first four primary runes are able to be used without the Slate.
Purah Pad

A tablet made by the eponymous head Hyrulean scientist Purah. Resembling the Sheikah Slate, it does similar things albeit to a lesser degree. It still allows teleportation, teleportation-rune placing, picture taking, marker placing, and analysis of individuals. Furthermore it still functions as a map, sensor, and binoculars. Mineru’s soul is in the machine too, though she leaves it to possess the mech later on in the story.
Zonai Devices

Thanks to the Zonai, Link has access to all sorts of devices in the form of capsules he can obtain and at his peak grind, he can have access to 999 of each. While technically this uses Zonai magic, these devices function a lot more akin to pseudo technology especially considering their power source is batteries or Link’s energy cell. These devices are surprisingly really flexible for Link as he can Fuse them to his weapons or shields or even use Ultrahand to make all sorts of devastating vehicles (more on this later). The Zonai devices are:
Fan: A device with a built-in propeller that whips up wind.
Wing: A device designed as a mechanical wing, engineered to harness wind for lift, enabling flight.
Cart: A device designed for efficient traversal on flat surfaces, requiring an external force and a power source to operate.
Balloon: A device that ascends when filled with hot air, rising more rapidly as the air temperature increases.
Rocket: A device that generates significant thrust but has a short operational lifespan.
Time Bomb: A device designed for timed detonations, capable of triggering additional Zonai devices upon explosion.
Portable Pot: A cooking device designed for single-use preparation of a recipe, offering convenience and portability with optimal performance on flat surfaces.
Emitters: The Flame variant emits fire, while the Frost variant discharges freezing air, useful for immobilizing and defeating certain monsters and altering the properties of some materials when exposed to extreme cold, the Shock variant produces a shocking bolt exclusively from its horn when impacted, with the remainder of the device safe to handle, and lastly, the Beam variant projects a light beam from its horn, capable of inflicting damage over long distances.
Hydrant: A device that when hit spews out water.
Steering Stick: A device designed to direct movement when attached to a conveyance, capable of simultaneously activating all connected Zonai devices.
Wheels: The big variant of the device is a large, powered wheel that excels in navigating challenging environments due to its robust construction, including shallow water. In contrast, the small variant is a swiftly spinning device optimized for flat surfaces but struggles with hills and even minor bumps, limiting its terrain adaptability.
Sled: A device with a smooth underside that lowers friction to the max. It can be used to blow foes away or even make shield surfing easier to perform on grass and sand.
Batteries: The standard variant of the device stores concentrated Zonai-charge energy, primarily used to temporarily power other Zonai devices. Conversely, the big version features an enhanced compression rate, allowing it to hold multiple times the energy of a standard battery, albeit being disposable.
Spring: A device that once activated, expands with enough power to launch objects away. Even more, it can be used to catapult enemies or Link himself away, both to his advantage.
Cannon: A device that fires explosive shots consecutively. Although powerful, it can be tricky to aim.
Stabilizer: A device is perfectly balanced and stands straight up when activated. That might make it sound pointless, but it is very useful for shattering ores and breaking rocks.
Hover Stone: A device that defies the laws of gravity and hangs in place. It’s very useful for absorbing arrows.
Light: A device used for shining light in the darkness. It only shines in front of Link and its reach is fairly small, but it is useful for dark areas like caves or dark roads.
Stake: A device that can be fixed in place on the ground or a wall. It is mainly used to build a foundation for items such as platforms.
Mirror: A device engineered to focus and reflect light, offering powerful, long-distance illumination capable of deterring certain monsters.
Homing Cart: A device that propels itself forward and automatically aims for enemies nearby.
Construction Head: A device that always faces enemies. When attached to vehicles and such, it will always home in on foes.
Energy Cell
The Energy Cell is an energy container Link obtained that can power Zonai tech. Link has upgraded it to have an astonishing 48 Wells capable of holding charge, letting him power any device for a decent amount of time. The wells automatically recharge while not in use, meaning Link never has to manually charge the Cell himself. That being said, he can do that by feeding the Energy Cell Zonai Charges, or provide an instant 100% recharge as well as unlimited power for a few seconds with a Large Zonai Charge. Considering he can hold tens of thousands of these charges, it is safe to say his power is never running out.
Tarnished
Straight Swords
Straight Swords are reliable, easy to wield weapons for anyone ready to tackle the dangers of The Lands Between. The Tarnished can wield many different types, but to avoid clutter and for the sake of brevity, listing them all 1 by 1 will be avoided. If you do want to learn more about the more common weapons, we recommend the very concise Elden Ring wiki here (we will be doing this for the rest of the weapon types of course). We’ll at least list the really cool unique weapons though.
Unique Straight Swords
Not all weapons in Elden Ring are created equal, some have their own unique skills that can’t be found on any other armament. These are the unique straight swords the Tarnished can wield:
Ornamental Straight Sword
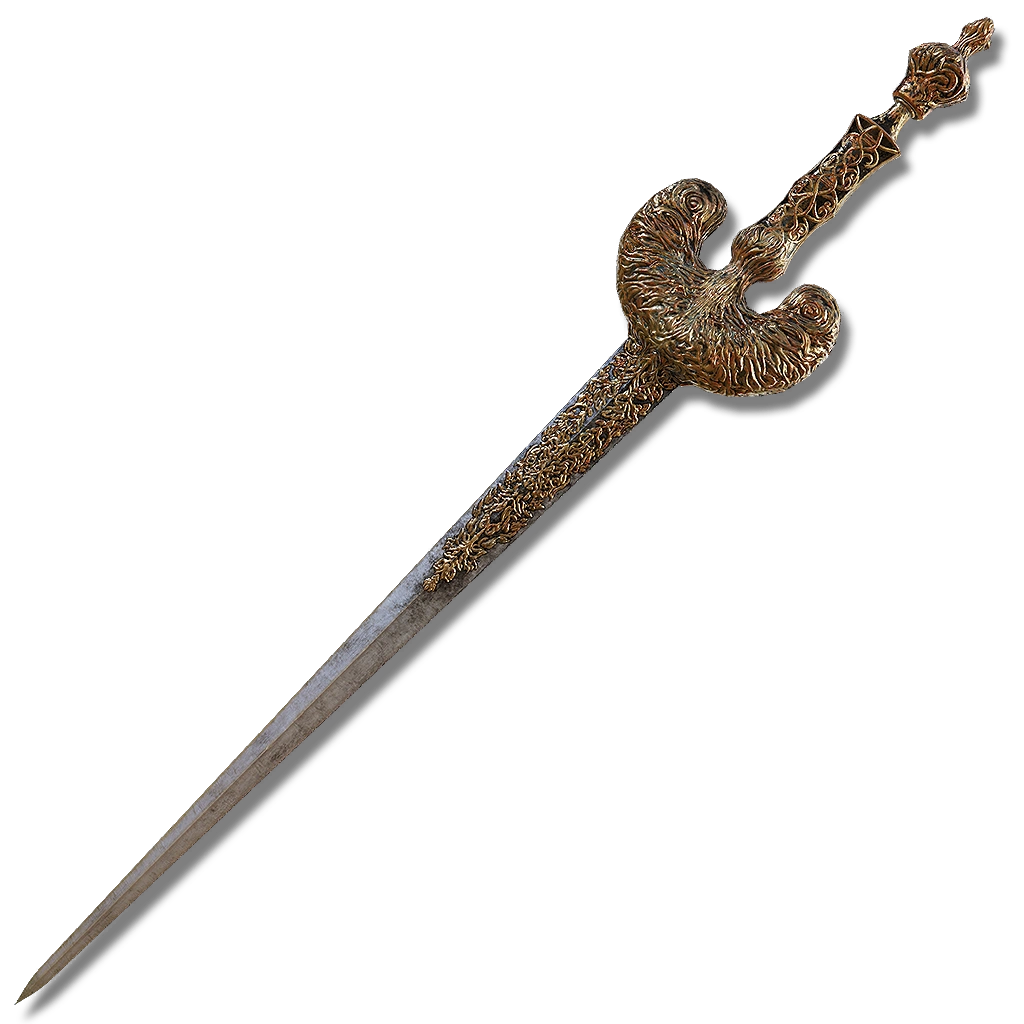
A slender straight sword patterned after an antique ornament that works as a dual wielding paired weapon. Wielded by the grafted Scion we see at the beginning of the game, its unique skill, Golden Tempering, allows the wielder to coat both blades in a holy aura and grants them a brand new moveset consisting of brutal thrust combos.
Golden Epitaph
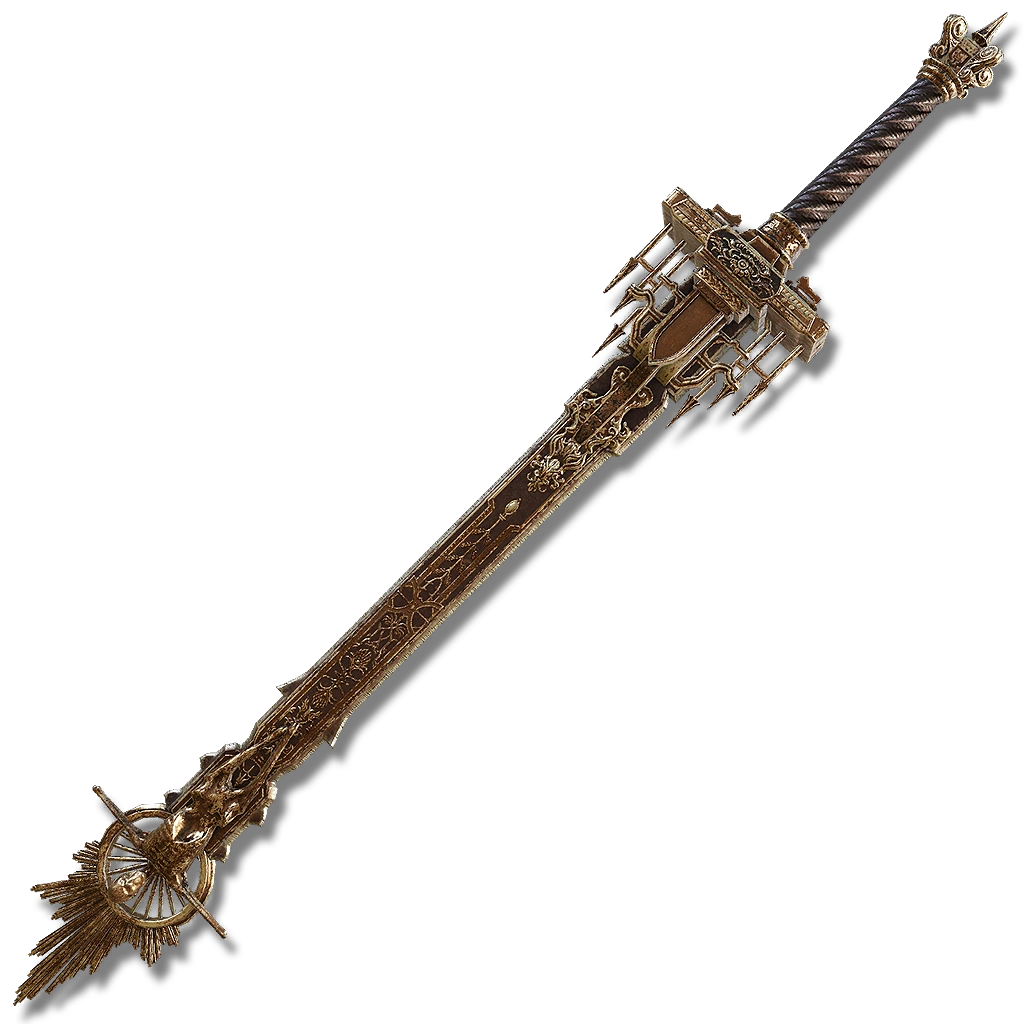
A sword made to commemorate the death of Godwyn the Golden, first of the demigods to die. It is infused with the humble prayer of a young boy, presumably giving it its holy qualities that decimate undead enemies and prevent them from reviving. Its unique skill, Last Rites, further boosts its holy attributes by granting the user and their allies the effect of the Sacred Order giving a flat 10% buff in all damage types and 100% more damage against undead.
Sword of St. Trina

Carried by the clerics of St Trina, this silver sword inflicts the sleep ailment on anyone unfortunate enough to come into contact with its blade. Its unique skill, Mists of Slumber, coats the weapon in a purple mist that also releases forward in a widespread area. Anyone caught in the purple mist quickly builds up the sleep ailment.
Regalia of Eochaid
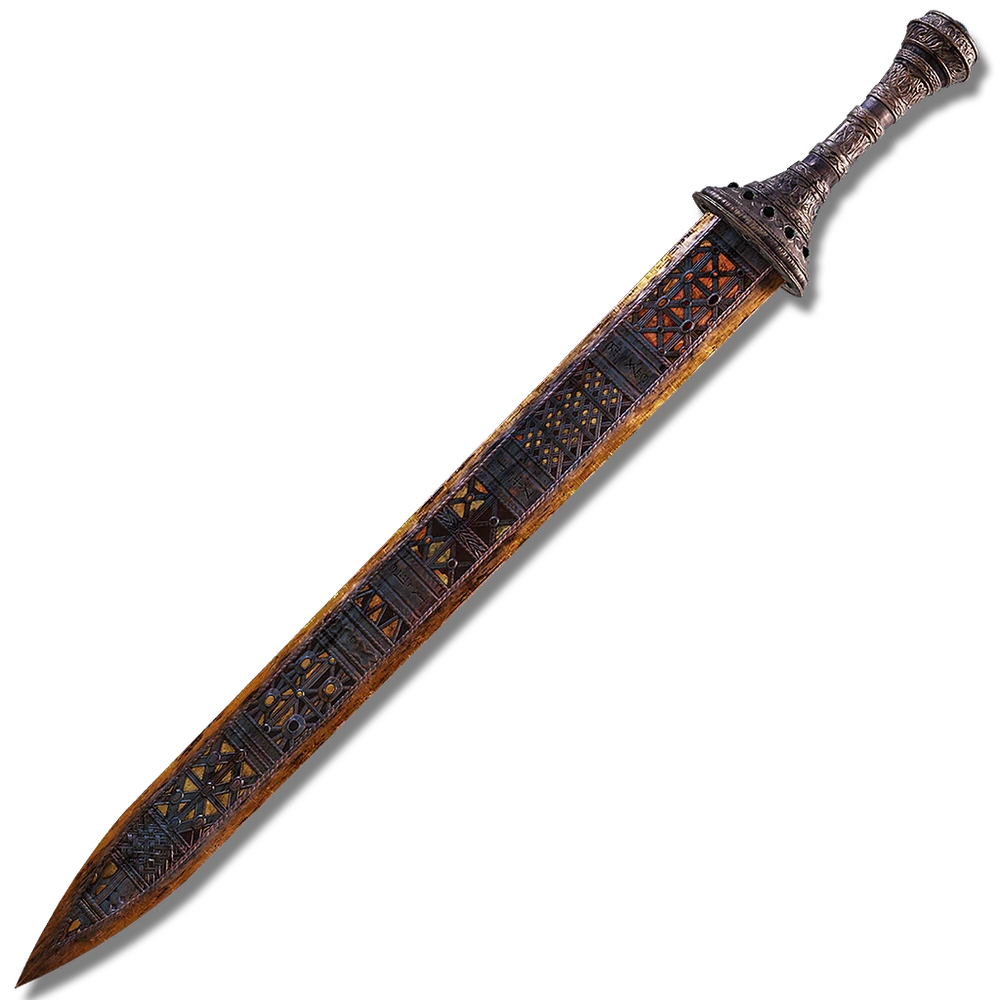
A treasured sword of Eochaid. Its copper coloration is not to be confused for rust, but is a conduit for its wielder to move it by will alone, which the tarnished is more than capable of doing thanks to it’s skill, Eochaid’s Dancing Blade, where the Tarnished infuses the sword with mysterious energy that sends the blade out forward in a corkscrew attack.
Coded Sword
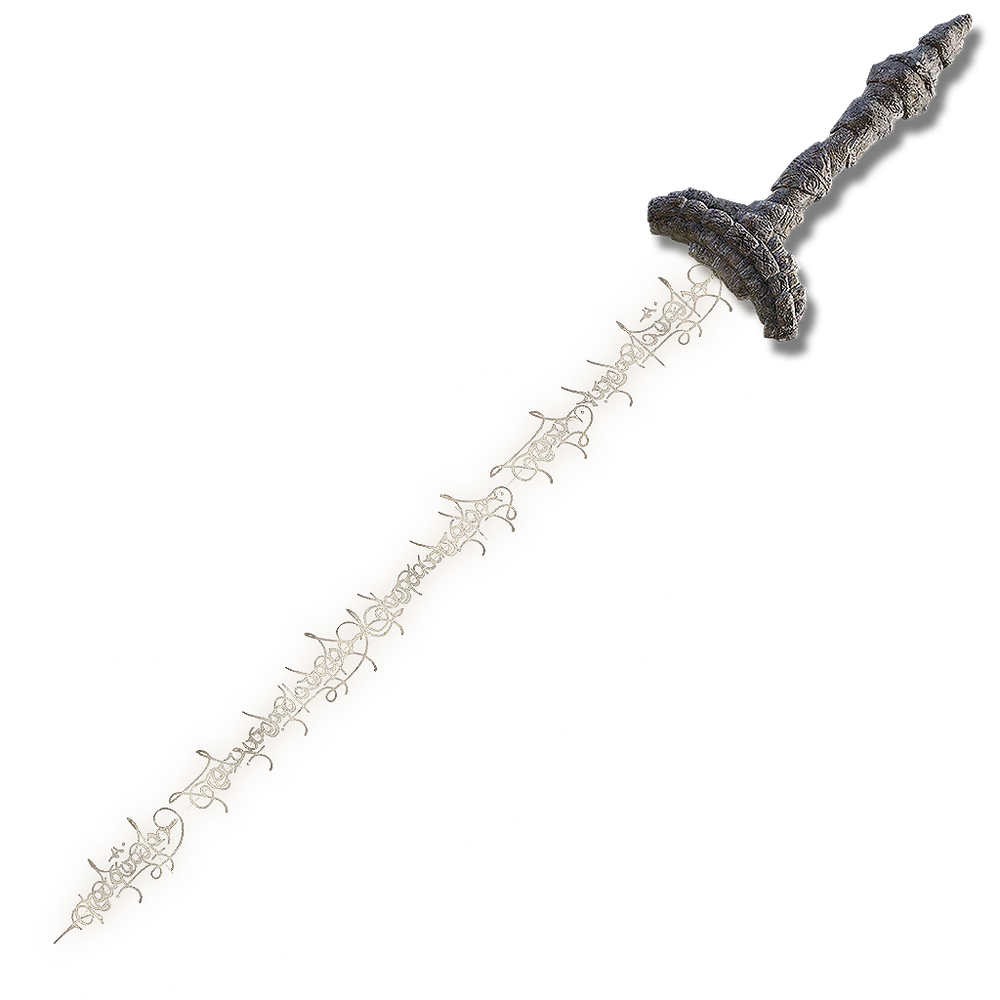
A truly unique straight sword granted to the Tarnished by the Two Fingers. Its blade is a formless cipher which deals holy damage that “no shield can repel”, essentially allowing it to phase past defenses and the environment. It too has a unique skill called, Unblockable Blade, that further imbues the blade with light, extending its range by a significant amount for a single sweeping move that can’t be blocked.
Sword of Night and Flame

The storied and treasured blade of Caria Manor and one of the only legendary armaments in the game. The skill associated with this weapon is Night-and-Flame Stance and it causes the user to enter a stance where they can choose between two different attacks to follow up with, a variant of the sorcery Comet Azur or a large sweeping flame attack. Honestly one of the coolest and most effective weapons in PVE.
Velvet Sword of St Trina
The silver sword of St. Trina is now colored velvet. This powerful sword has a special ability called Mists of Eternal Sleep at the cost of 23 FP where after a swing of the blade it’ll…well, it’ll release a mist that inflicts Eternal Sleep. Basically sleep opponents won’t be able to wake up unless they suffer a critical hit or die.
Sword of Light
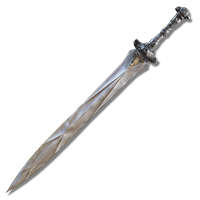
Born from raising the power of the Stone-Sheathed Sword, this blade uses the power of light to deal holy damage to its foes. No better example than with its unique skill, literally called Light where for 30FP it’ll fire beams of light from the blade, dealing holy damage while also boosting the Tarnished’s holy damage overall.
Sword of Darkness
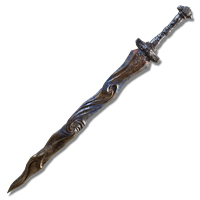
The other option for the Stone-Sheathed Sword if you’d rather embrace the darkness. Despite the name, it still deals holy damage, but it’s nonetheless still pretty effective. Its unique skill costing 30FP and literally called Darkness will blast the Tarnished’s surrounding area with…Darkness, dealing holy damage around them and reduces the opponent’s defense to said holy damage.
Greatswords
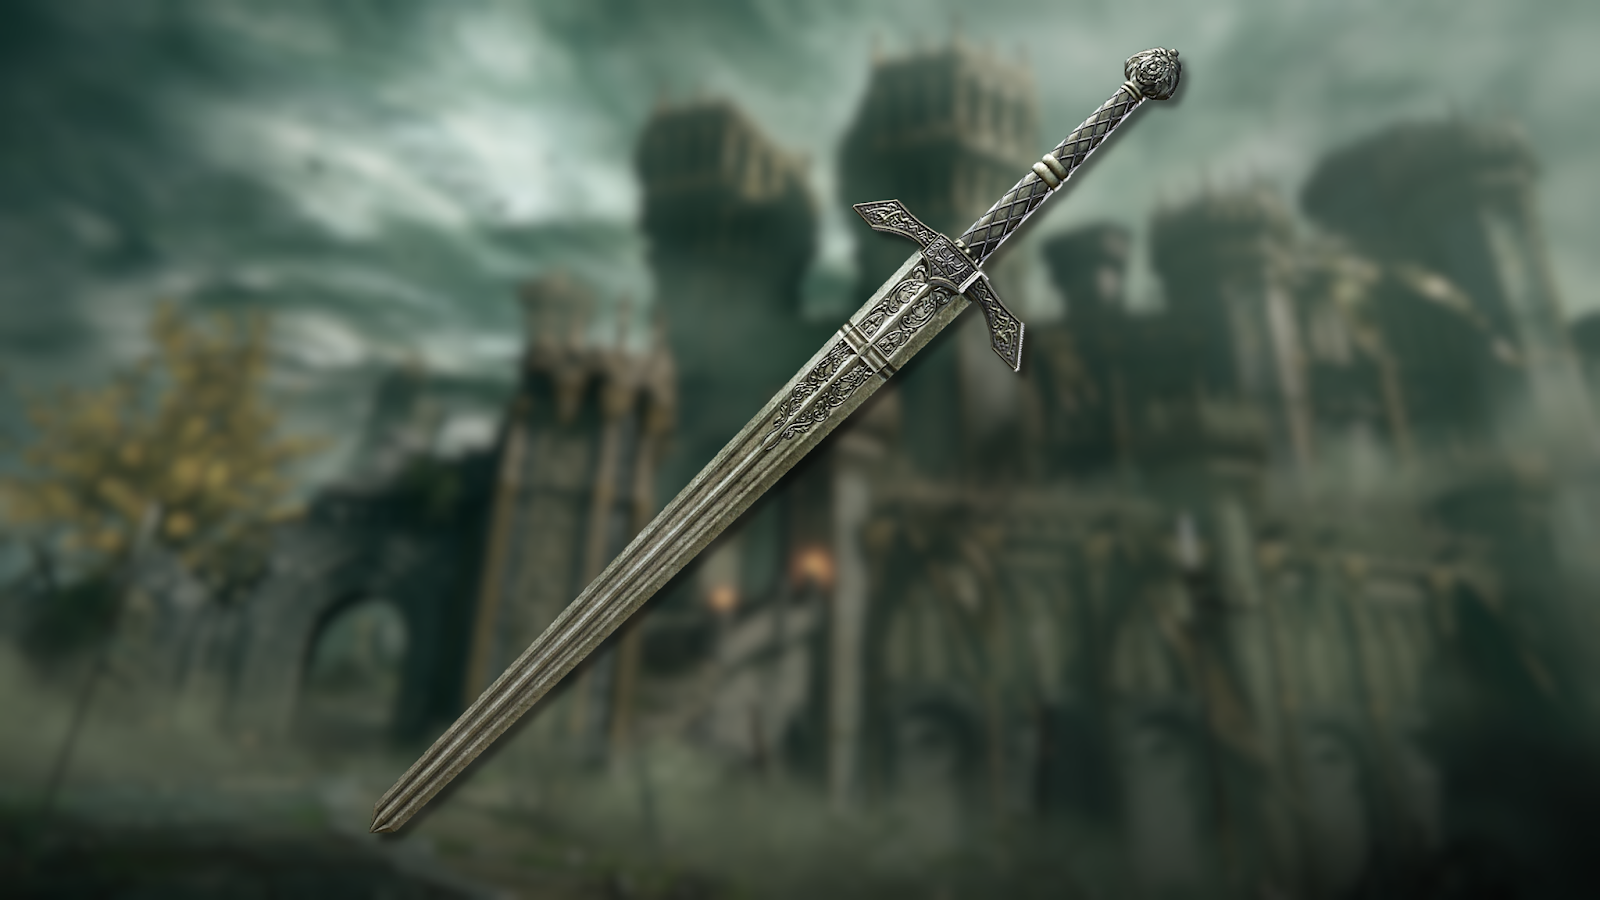
The big brother to straight swords. Greatswords sacrifice speed for some intense power and bigger range. The Tarnished can wield many different types, the full list here.
Unique Greatswords
Gargoyle’s Blackblade
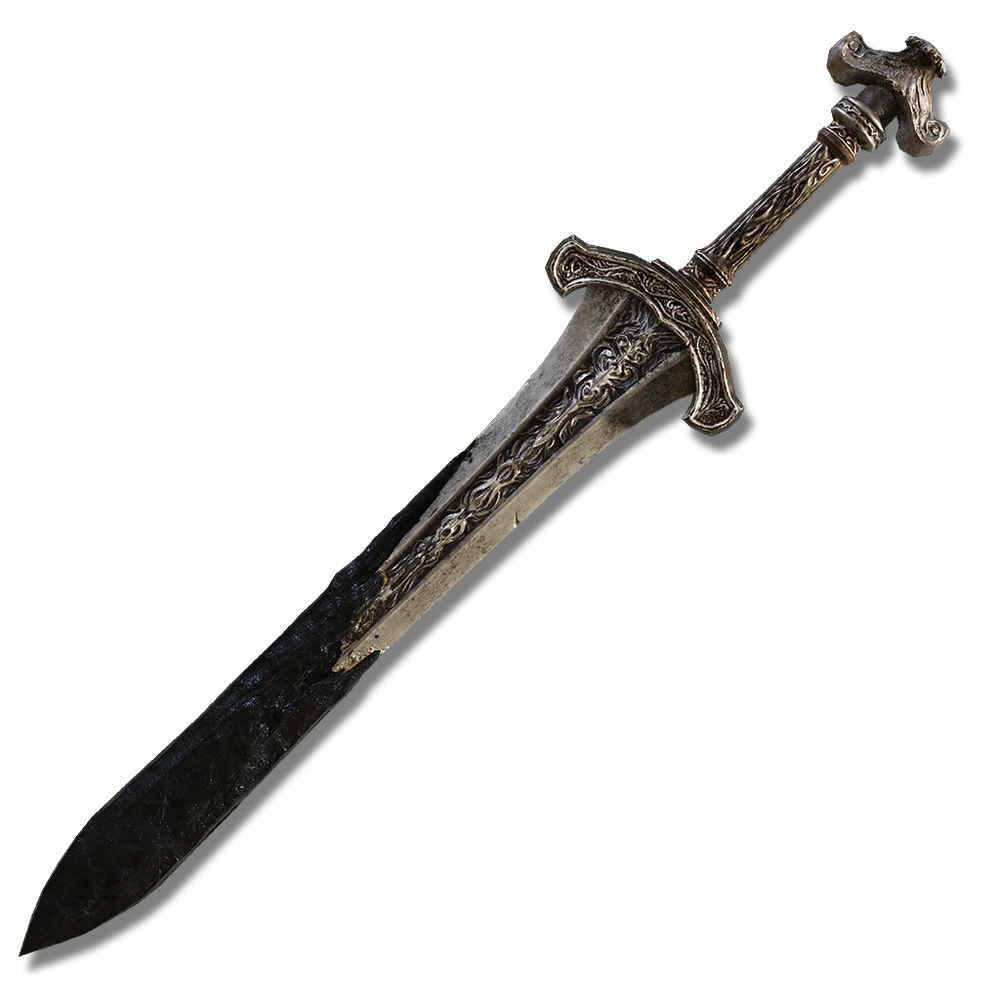
A bronze greatsword wielded by Valiant Gargoyles mended with blackened corpse wax, due to this it has the ability to deal holy damage. With its skill, Corpse Wax Cutter, it is able to release the power of corpse wax and launch it as a blade-like projectile.
Sword of Milos
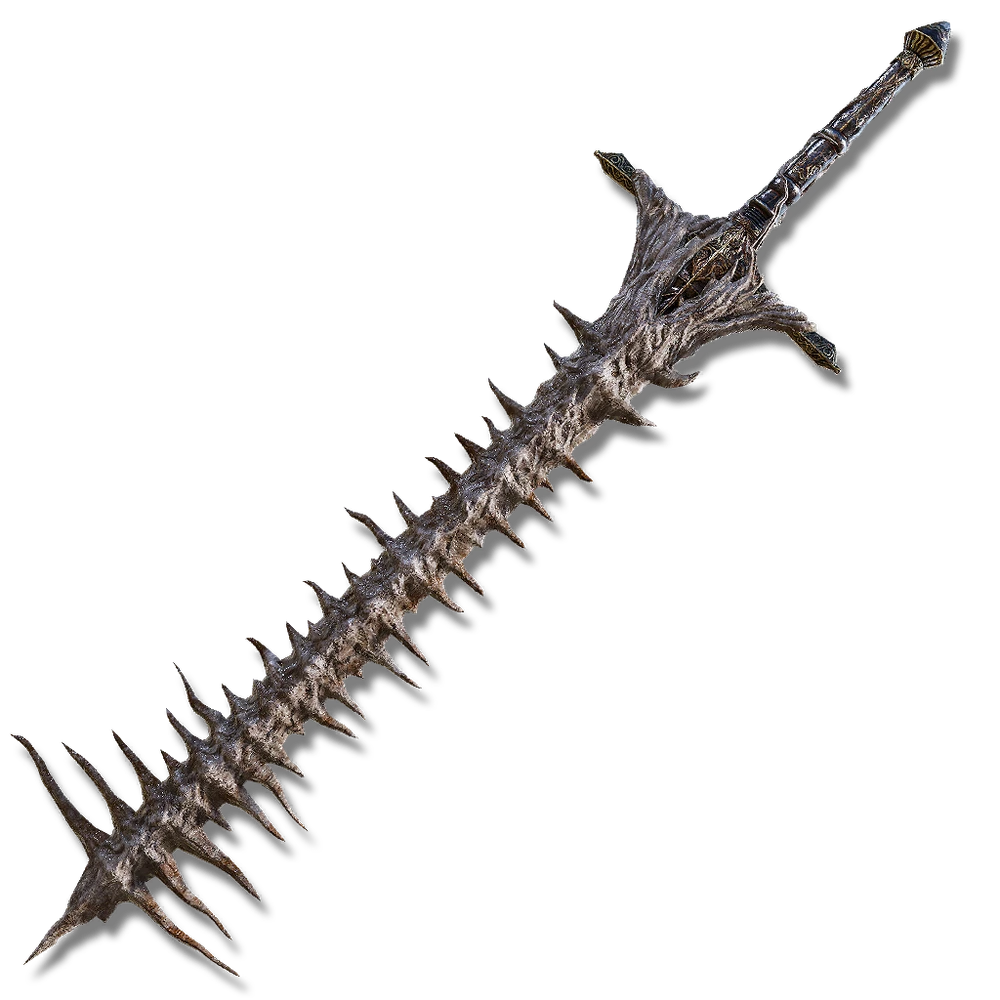
The chosen weapon of the foul, despicable, diabolical and loathsome Dung Eater… Fashioned from the backbone of a giant, it is designed to mete out wounds like a saw blade allowing it to inflict the blood loss ailment and somehow restore FP (Focus points) upon defeating an enemy, the only weapon to do this in the game! Its unique skill is the Shriek of Milos. The user lets out a cursed scream that reduces all damage negation and status resistances for nearby foes, it also changes the Tarnished strong attacks into elaborate combos.
Marais Executioner’s Sword
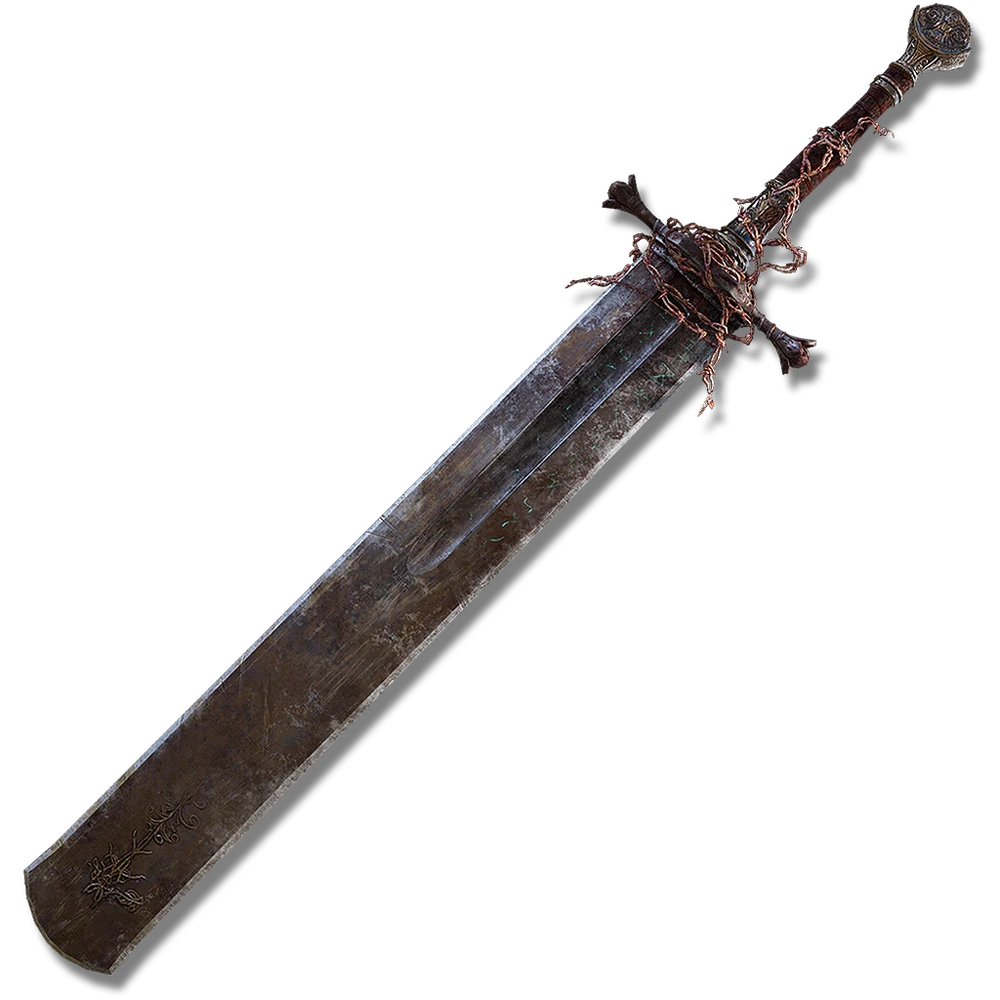
Another member of the legendary category of armament, this greatsword was snatched by Elemer of the Briar from his own soon to be execution site. This weapon shares its unique skill with the previously mentioned Regalia of Eochaid however, due to being a greatsword, the damage is much more intense.
Ordovis’s Greatsword
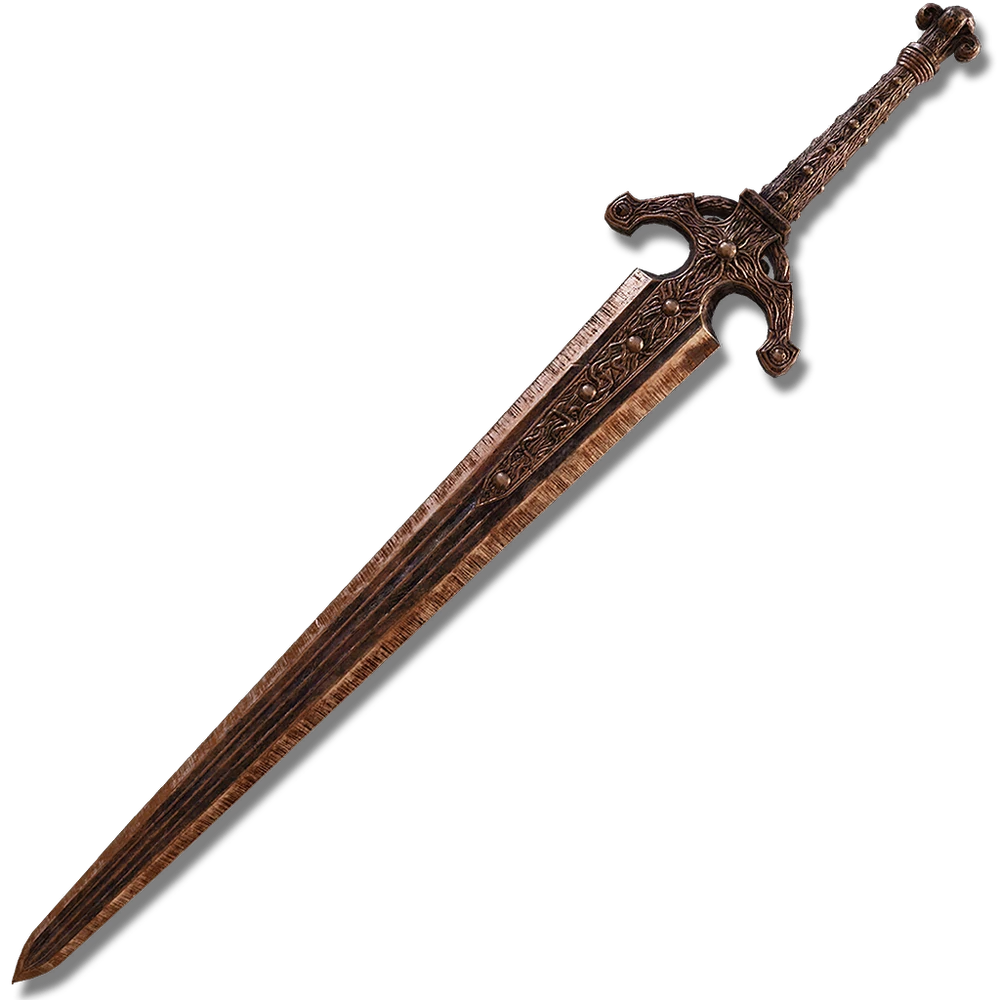
Greatsword of Ordovis, one of the two honored as foremost among the Crucible Knights. The sword is imbued with ancient holy essence. With its flashy unique skill, Ordovis’s Vortex, the wielder can channel the power of the crucible to spin the entire sword in midair before slamming it down into the ground.
Alabaster Lord’s Sword
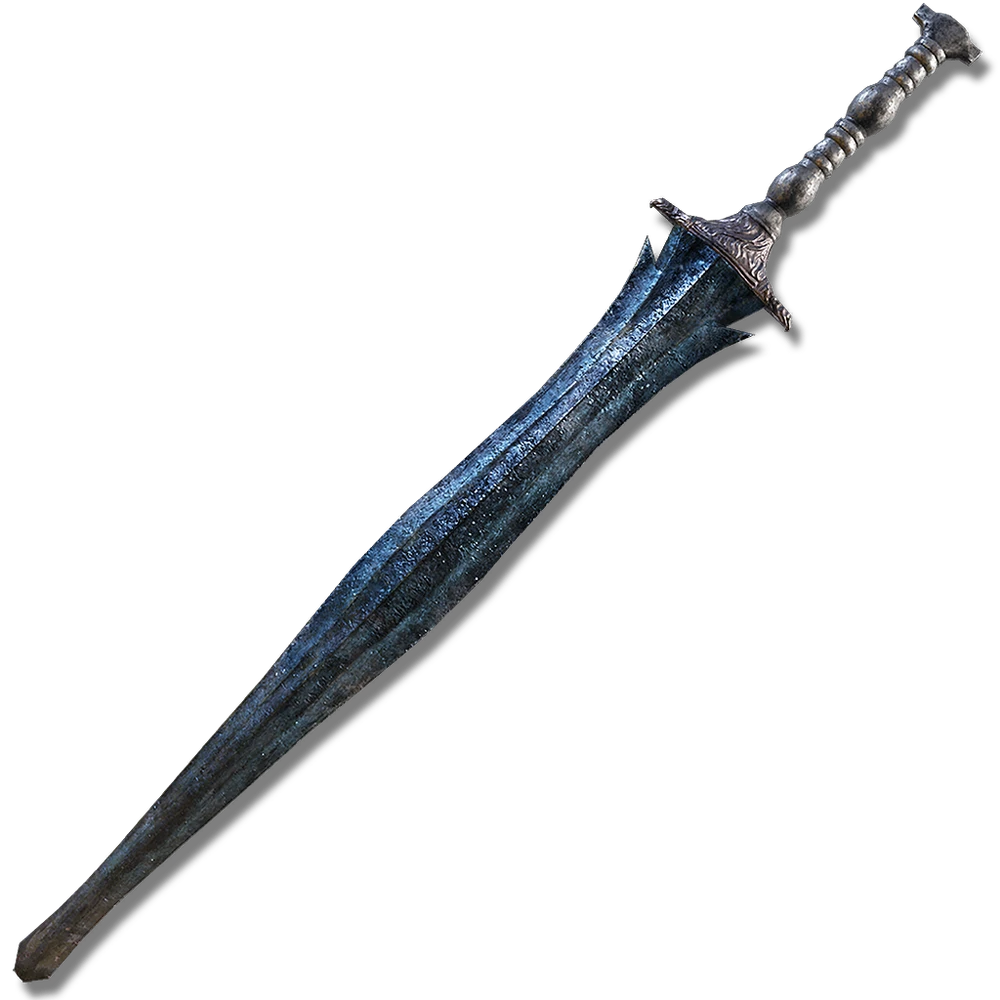
A greatsword forged from a blue-white meteoric ore that also conceals gravity-manipulating magic. As its names suggest, it is typically wielded by the ancient Alabaster Lords who are ironically weak to the very same gravity magic. The Tarnished can utilize this gravity magic with the weapons skill, Alabaster Lords’ Pull, where they thrust the sword into the ground creating a gravity well that, in addition to dealing gravity damage, pulls enemies closer towards the Tarnished.
Death’s Poker
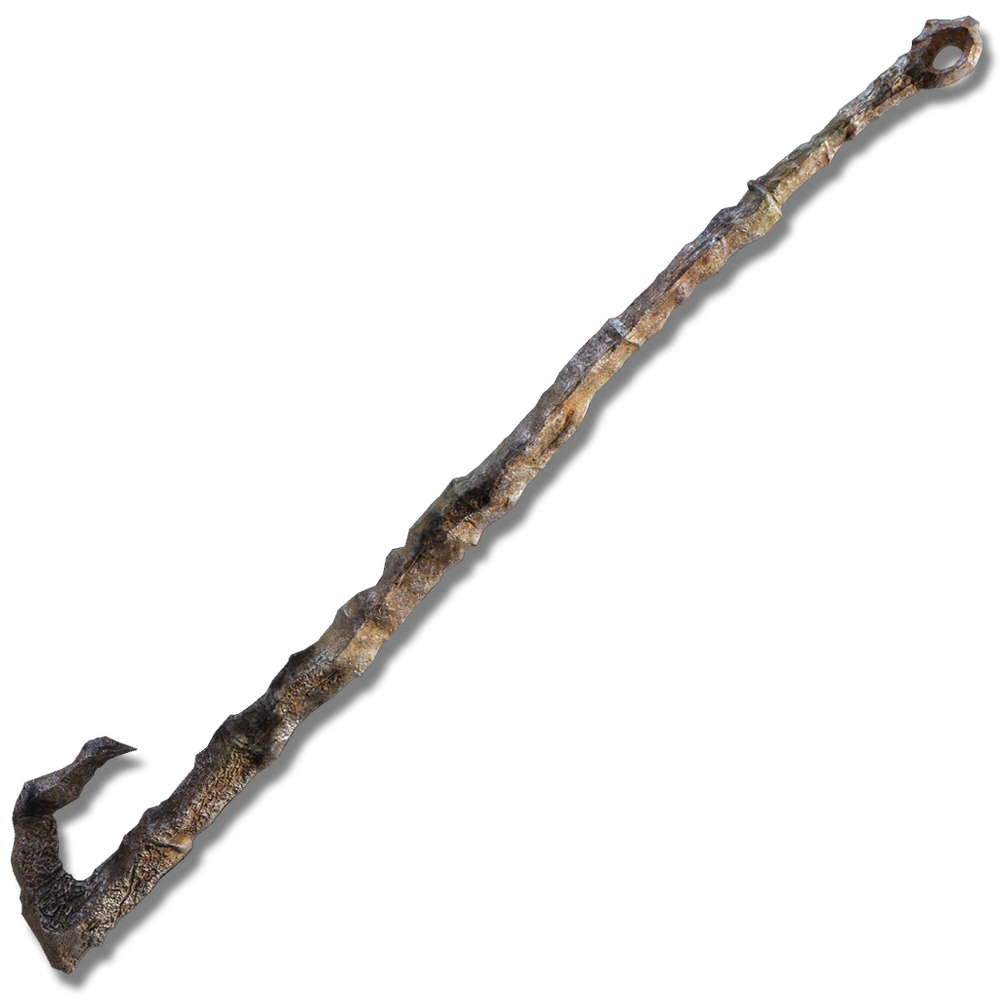
An unorthodox weapon wielded by Deathbirds who use it to rake out the ashen remains of the dead from their kilns. The weapon applies a build up of the frost ailment and can ignite itself with ghostflame thanks to its unique skill, Ghostflame Ignition. The Tarnished can choose to either send the ghostflame across the ground or trigger a massive explosion. Ghostflame is a cold flame that will also build up the frost ailment but not inflict fire damage.
Helphen’s Steeple

A greatsword patterned after the black steeple of the Helphen, the Lampwood which guides the dead of the spirit world. With its skill, Ruinous Ghostflame, the sword can be bathed in ghostflame adding magic damage and frost buildup to every swing
Golden Order Greatsword
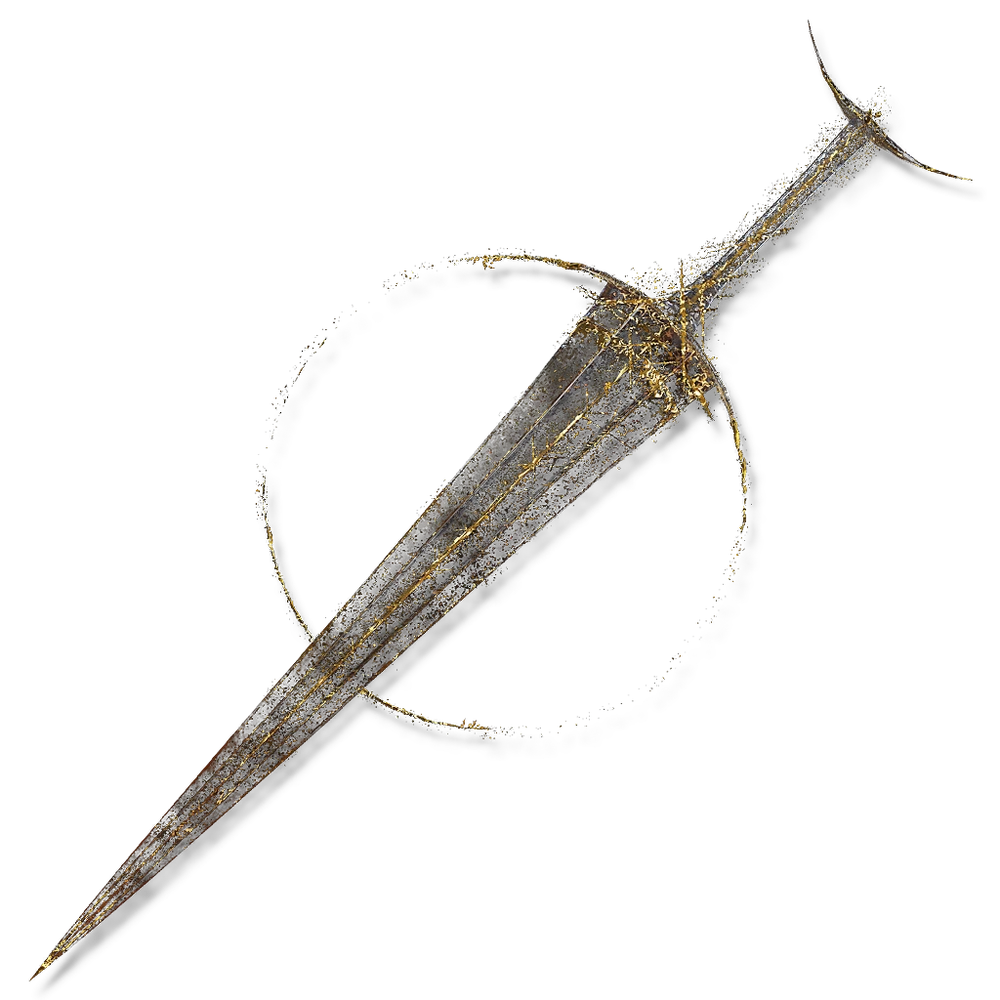
A greatsword made of pure light, modeled after the Elden Ring itself and forged by King Consort Radagon. It is another member of the group of legendary armaments. It can cause a powerful explosion of holy damage and send out waves of golden light with its skill, Establish Order.
Dark Moon Greatsword
The most iconic weapon in From Software’s history re-imagined for Elden Ring and only available after an incredibly convoluted and vague questline for best girl Ranni. With its skill, Moonlight Greatsword, the Tarnished can bathe the greatsword in their very own guiding moonlight allowing for a temporary increase in magic damage, the power to build up the frost ailment with hits and change heavy attacks into power blasts of moonlight.
And it’s just SO FUCKING COOL BRO
Greatsword of Solitude
This steel greatsword was wielded by the Knights of the Solitary Gaol. Its skill is a combo attack in which the Tarnished slashes downward to shoot forward an arc of light before following up with a devastating sweeping blow.
Daggers
Daggers are short blades that lack any good range. However they make up for it with their fast attacks and high critical damage. Full list here!
Unique Daggers
Glintstone Kris
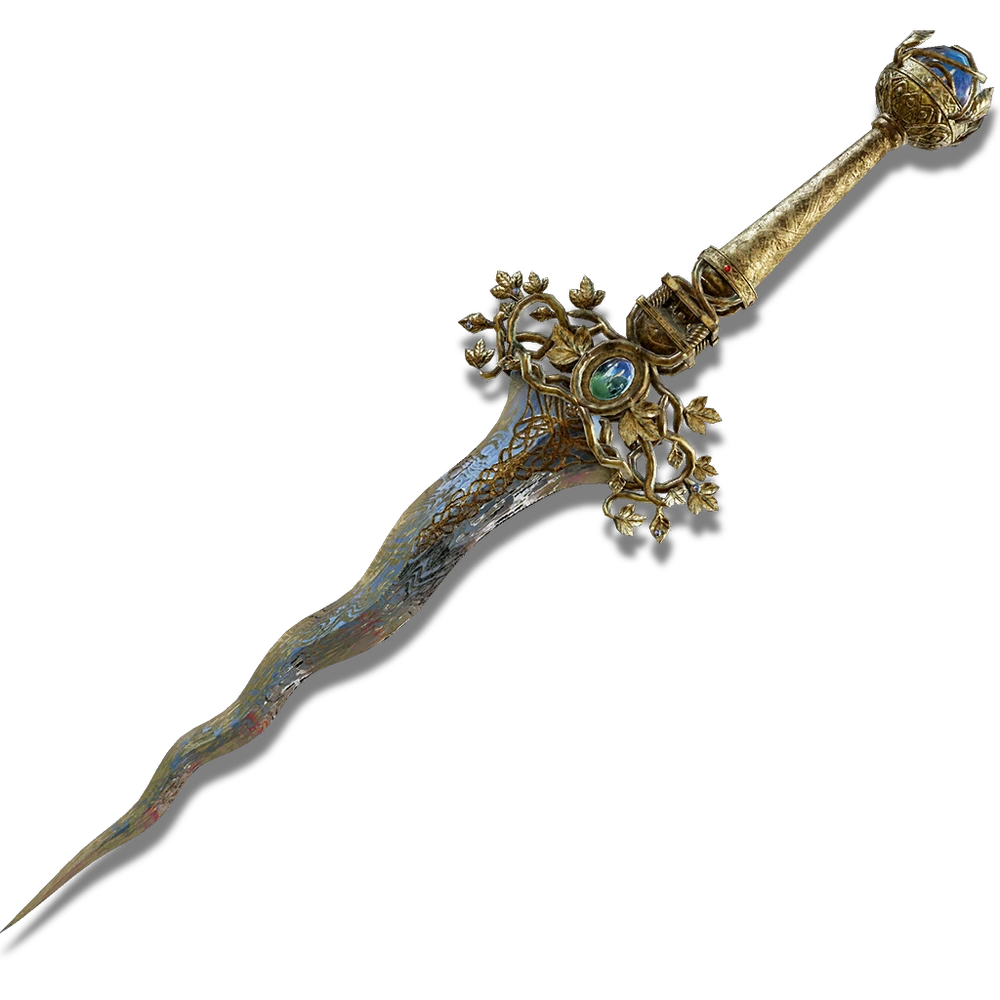
The Glintstone Kris is a blade that was used for Rituals to show to the Academy of Raya Lucaraia. The Tarnished can obtain this blade through Sorceress Sellen. This blade comes with the Unique skill Glintstone Dart which allows The Tarnished to cast Glintstone Pebble and Dart back to back.
Reduvia
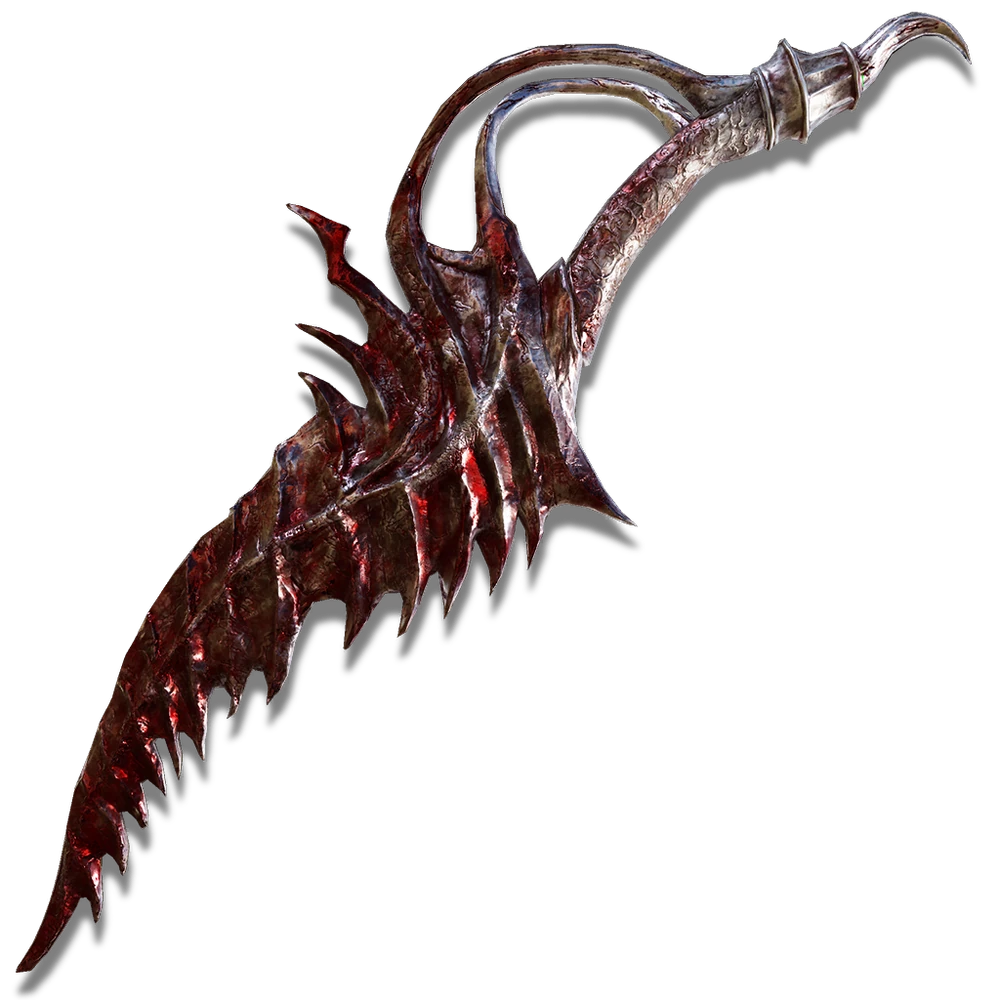
Reduvia is the blade used by Blood Finger Nerijus who was a loyal servant to Mogh Lord of Blood. After defeating them, The Tarnished can obtain Reduvia. While the blade itself doesn’t do much damage, it more then makes up for it with its quick buildup on the Bleed status effect and with its unique skill Reduiva Blood Blade which allows the Tarnished to send a ranged attack which also builds up bleed.
Blade of Calling
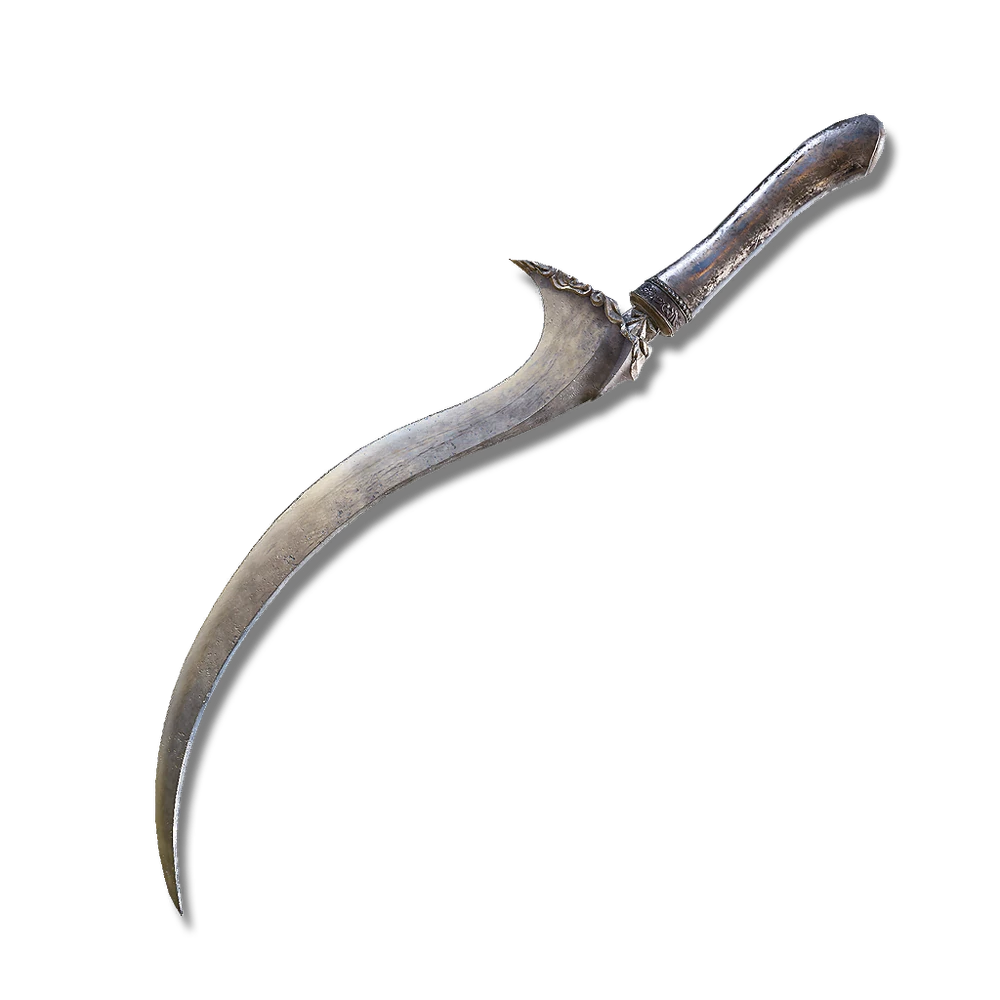
The blade was once used by Melina, the kindling maiden. The blade offers quick damage and has the unique skill Blade Of Gold. With this skill The Tarnished leaps in the air and launches a projectile which does holy damage.
Black Knife
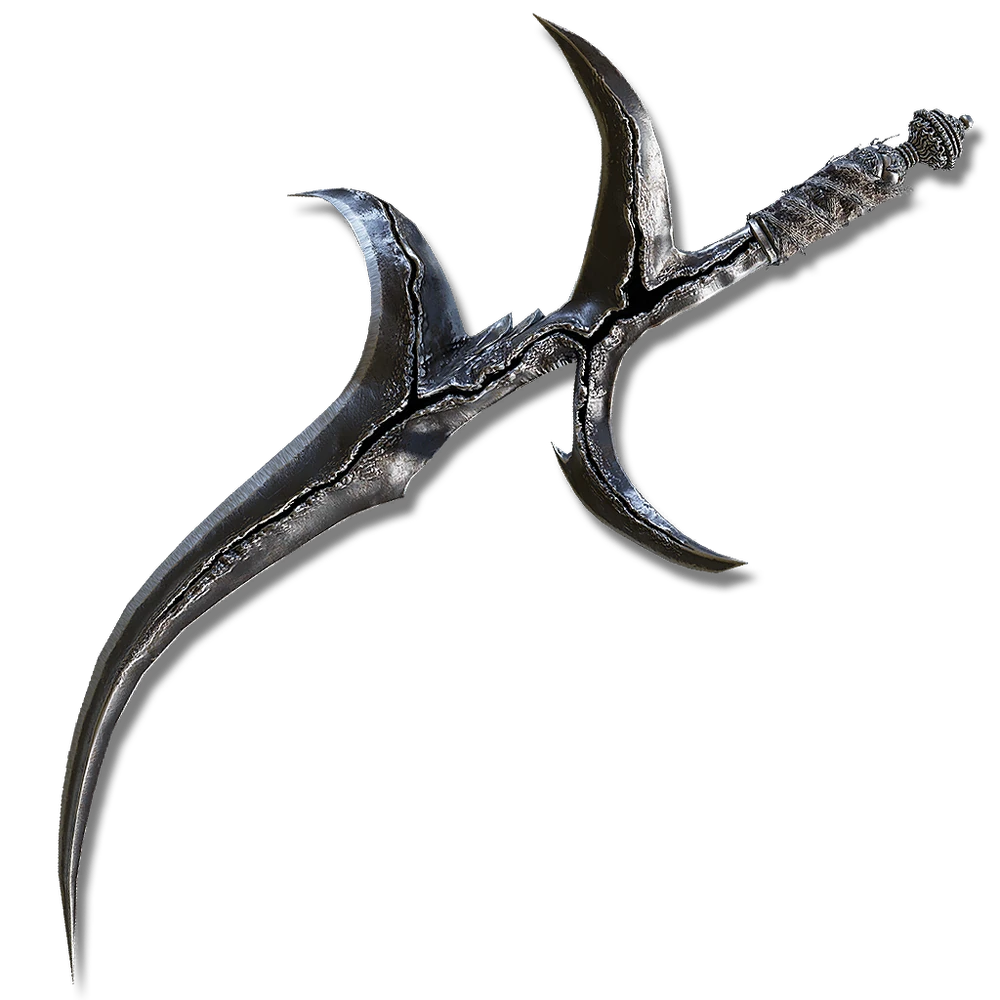
This dagger is a special one as it was one of the blades which was used to kill Godwyn The Golden. After defeating one of the Black Knife assassins, The Tarnished can collect the knife. Due to the knife having a bit of the Rune of Death, The Tarnished with the unique skill Blade Of Death can launch a projectile that will reduce the enemy health and slowly wear them down.
Colossal Swords

At the top of the sword family tree lies the colossal swords. These giant weapons are extremely heavy and slow but make up for it with some insane damage output. The Tarnished can wield many different types which can be found here.
Unique Colossal Swords
Royal Greatsword

The favored weapon of Blaidd the Half-Wolf. It is a greatsword decorated in royal Carian style and imbued with cold magic as proof of Blaidd’s everlasting loyalty towards Ranni the Witch. Its skill, Wolf’s Assault, infuses the greatsword with frost before the wielder lunges forward and plunges the weapon into the ground causing it to release a huge blast of cold.
Grafted Blade Greatsword
The storied sword of Castle Morne, composed of the swords of an entire clan of warriors. Its unique skill, Oath of Vengeance, allows the Tarnished to swear an oath upon the greatsword temporarily raising all attributes for a certain amount of time and increasing poise.
Ruins Greatsword
Originally rubble from a ruin which fell from the sky, this surviving fragment was honed into a weapon. This weapon harbors the destructive power of the meteorite that destroyed the ruin it came from. Its weapon skill is Wave of Destruction where the Tarnished raises the sword above their head and strikes it into the ground sending off a wave of gravitational force.
Godslayer’s Greatsword
The Sacred sword of the Gloam-Eyed Queen who controlled the Godskin Apostles before her defeat at the hands of Maliketh. The black flames wielded by the apostles are channeled from this sword. The Queen’s Black Flame is this weapons’ skill and it allows the Tarnished to set the blade ablaze with the god-slaying black flame before delivering a sweeping slash. The black flames will continue to wear down targets.
Ancient Meteoric Ore Greatsword
This greatsword was fashioned from an arrowhead that once was part of the old god’s arsenal. It deals both high physical and magical damage and comes with the skill White Light Charge which the Tarnished can use to charge forward quickly and cause the light inside the weapon to explode into lightning.
Moonrithyll’s Knight Sword
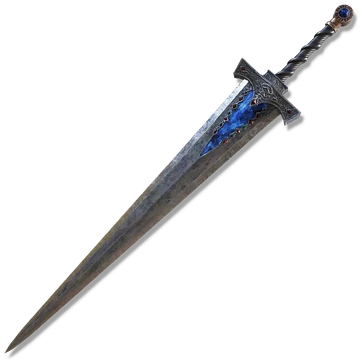
The favored weapon of the Carian Knight Moonrithyll. Tremendous Phalanx is the weapons’ skill, it creates a defensive arc of enormous glintblade that will automatically target nearby enemies.
Thrusting Swords
Thrusting swords are balanced weapons with a focus on fast strikes and a good reach. The Tarnished can wield many different types, but surprisingly there’s only really one unique one. Still, don’t underestimate the range and power of these weapons.
Unique Thrusting Sword
Rogier’s Rapier
Given to you after Rogier decided his fighting days were long past him, while requiring a good amount of dexterity is still an effective weapon excels in successive strikes in a very flowing style. Yes, this is the only one that’s considered unique, but it’s still a useful weapon.
Heavy Thrusting Swords
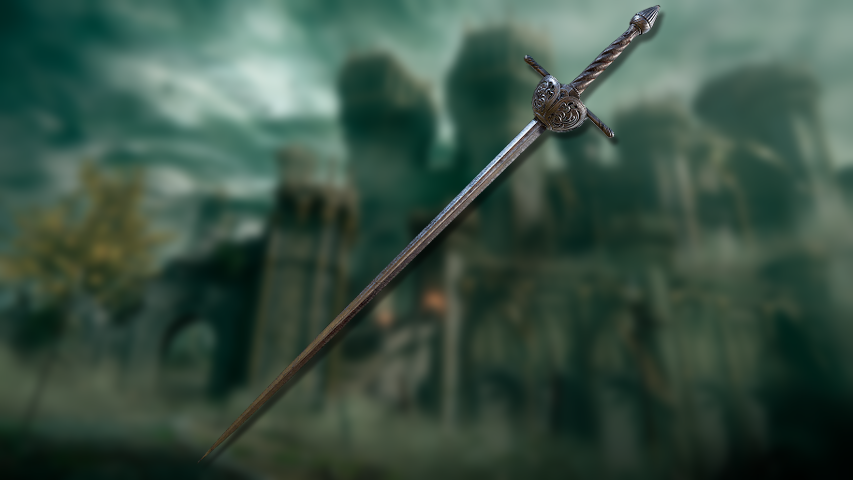
Similar to normal thrusting swords however pose way more damage then the normal ones at the expense of…well being heavier and slower. The notable blades include all these.
Unique Heavy Thrusting Swords
Bloody Helice
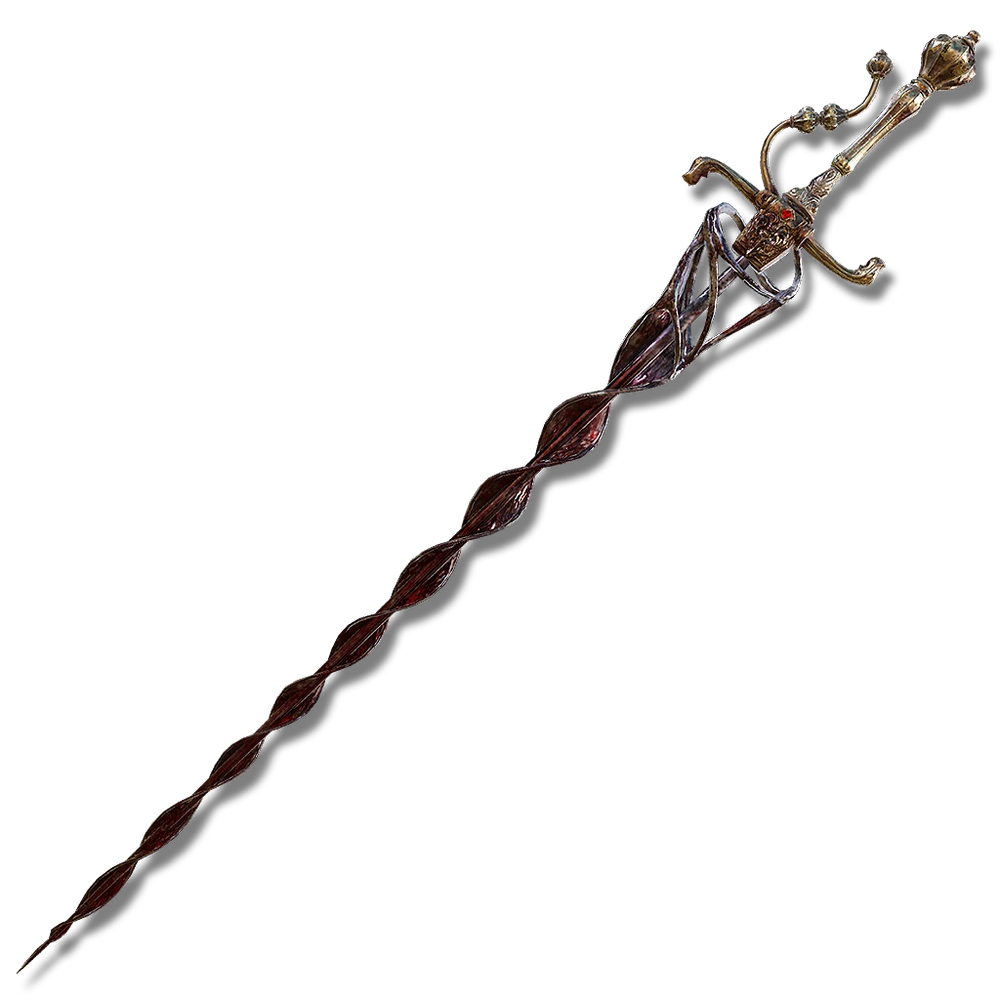
This thrusting sword was used by the many loyal servants to Mogh the lord of blood. The weapon was specifically made to tear in flesh which works because the blade also inflicts the bleed status effect. The weapon also comes with the unique skill Dynast’s Finesse which allows the Tarnished to avoid an incoming attack and charge in with a heavy attack.
Curved Swords

The curved sword is strong but doesn’t sacrifice mobility to cut down their foes. Their speed makes them great for taking down faster enemies. These weapons are more useful for dexterity builds rather than strength, but nonetheless should not be underestimated. Full list here.
Unique Curved Swords
Spirit Sword
A blade that is made in a twisted shape and was made to commune with spirits. The blade comes with the unique skill Rancor Slash which when used will summon spirits that target the opponent and deal damage.
Flax
A long sickle like blade that was made with the purpose of using it for revenge. The weapon comes with the unique skill Revenger’s Blade which allows the Tarnished to charge at his target and deal a damaging double slash.
Dancing Blade of Ranah
A pair of blades which was used by the Dancer of Ranah. The weapon is made for dancers to deal with quick dance-like attacks that deal massive damage. The weapon comes with the unique skill Unending Blade. The skill allows Tarnished to do a dance which deals devastating damage to those who are hit with it.
Horned Warrior’s Sword

A weapon which was used by the Horned Warrior’s who were the keepers of the tower. The unique skill for the weapon is called Horn Calling. The skill uses the hornes of the blade and pierces the sword in the ground which summons more horns under the opponent's feat dealing massive damage.
Magma Blade
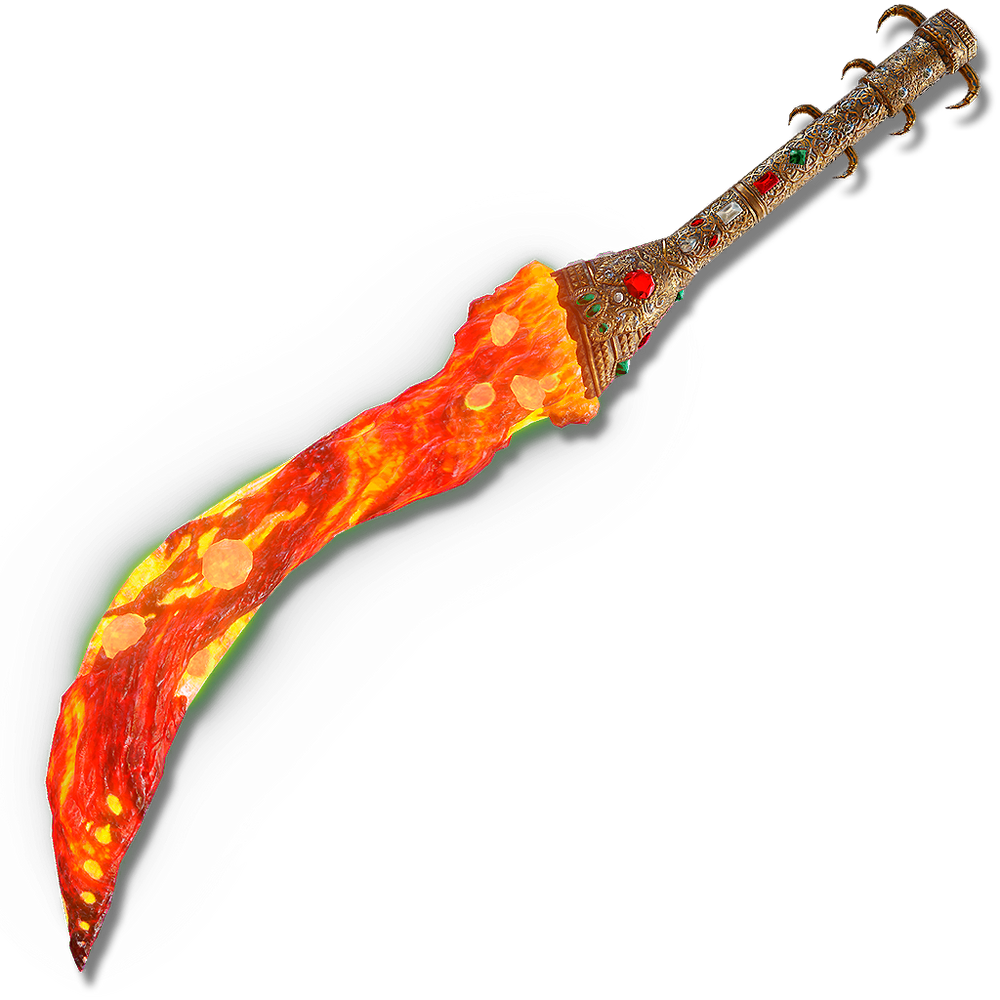
A blade which was made by serpents. The blade was covered in lava from Mt. Gelmir which allows it to deal massive fire damage. The skill for the weapon is called Magma Shower which allows the Tarnished to spin around and spreads magma around the battlefield which deals damage to those who step in it.
Nox Flowing Sword
This sword was used by the swordsmen of the eternal city and was famous because the blade was as fine as a needle. The blade comes with the skill Flowing Form which transforms the blade into a whip which allows for long range attacks.
Wing of Astel
A wing piece which came from Astel, the Naturalborn of the void. The wing was made with the magic from the stars and deals mainly magic damage. The weapon comes with the unique skill Nebula which allows The Tarnished to summon tiny little stars which explode, dealing massive magic damage to those hit.
Eclipse Shotel
A blade that was a treasure to Castle Sol. The weapon depicts a sun eclipse with its color. This is further proven with its skill Death Flare which uses the Prince of Death’s flames onto the targets which are hit by it.
Curved Greatswords
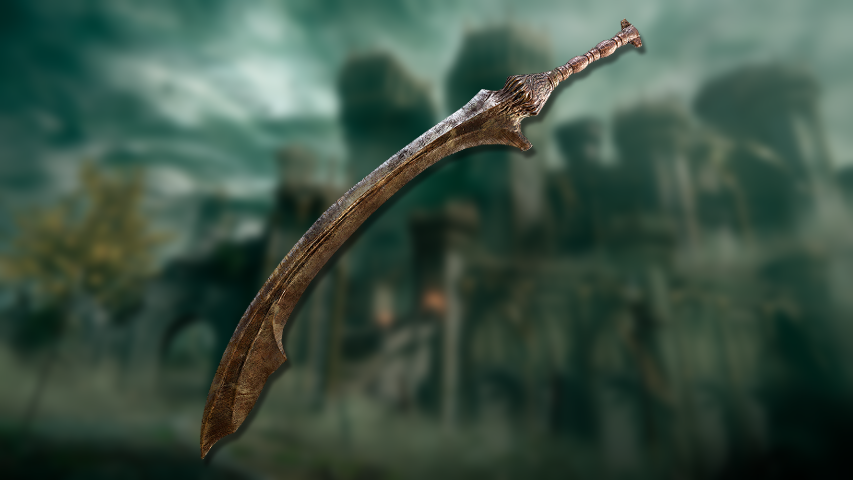
Curved greatswords are similar to their smaller counterparts in that they also are more dexterity based rather than strength based, but they obviously require power to use considering their size. Still effective weapons that you really don’t want to get hit by. Full list here.
Unique Curved Greatswords
Bloodhound’s Fang
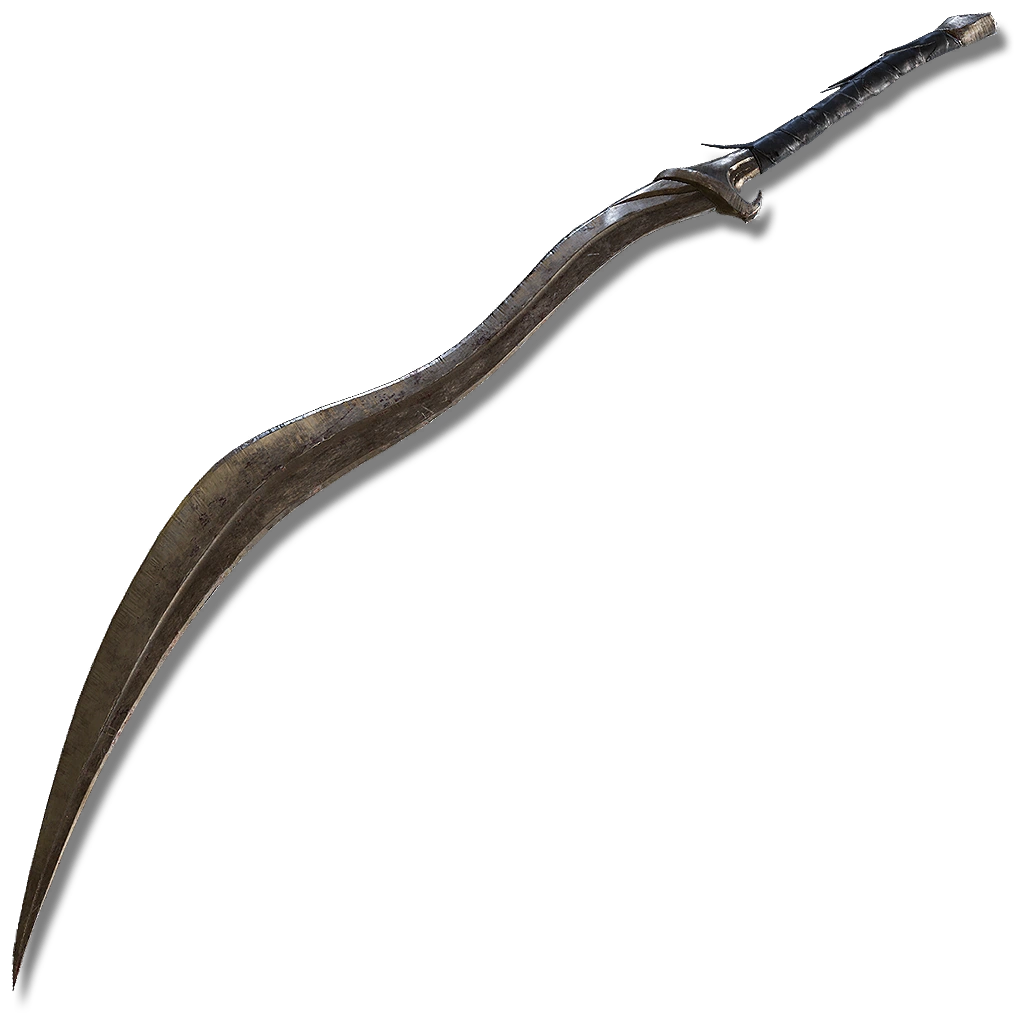
A sword which was used by the Bloodhound knights who were known for their many airborne attacks. The blade comes with Bloodhound's Finesse. The skill is flashy because it allows The Tarnished to do a backflip to get distance only to do a quick attack so fast they seem to disappear only to reappear.
Onyx Lord’s Greatsword
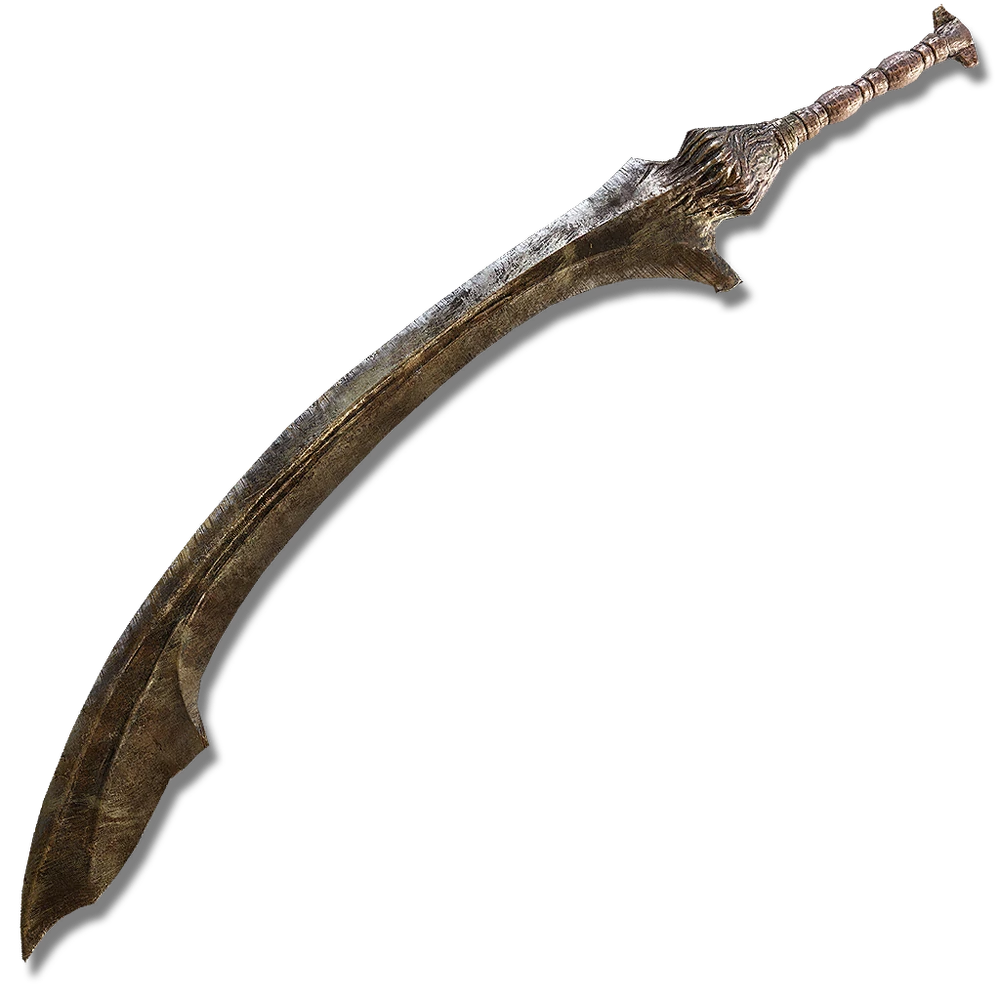
A greatsword which was used by the Onyx Lord who is a leader of a race who is known for their stone-like skin. The blade is fused with gravity magic and is shown with the skill Onyx Lord’s Repulsion. With this skill The Tarnished thrusts the sword in the ground and uses Gravity Magic to push enemies away. This can deal damage and also send foes flying.
Zamor Curved Sword

A sword which was used by The Knights of Zamor, warriors who had full devotion to the winter and were renowned during Godfrey war with the giants. The blade comes with the skill Zamor Ice Storm. This skill allows The Tarnished to make a small ice storm which damages anyone who comes near it.
Magma Wyrm’s Scalesword
A giant sword which was used by Magma Wyrm’s. It's thought that the Wyrm were human knights who took up a dragon-like transformation which is followed up with their blade seeming to resemble a dragon’s jaws. The weapon comes with the skill Magma Guillotine which allows The Tarnished to lunge forward and does a powerful strike that does an explosion with magma.
Horned Warrior’s Greatsword
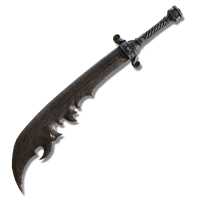
This specific curved greatsword was made for horned warriors, keepers of the tower. This weapon is aptly named as it not only contains great strength, it comes with the Horn Calling: Storm ability where it’ll produce large horns, greatly extending it’s already long reach and summon forth a great storm.
Katanas
Ah, the katana. One of the most consistently reliable (and coolest!) weapons in Fromsoft’s history. These particular swords are well balanced and mostly scale via dexterity, but their biggest benefit is how much easier they proc the bleed status effect compared to others. They’re a very popular weapon class for a reason that many players found success with. Full list here.
Unique Katanas
Meteoric Ore Blade
A Katana that was made with a metric ore that was made to take down beings born from the stars. The blade itself was made so powerful every hit was meant to resemble a crashing meteor. The weapon comes with the skill Gravitas which uses Gravity magic to drag enemies close to them which leaves them open to attacks.
Moonveil
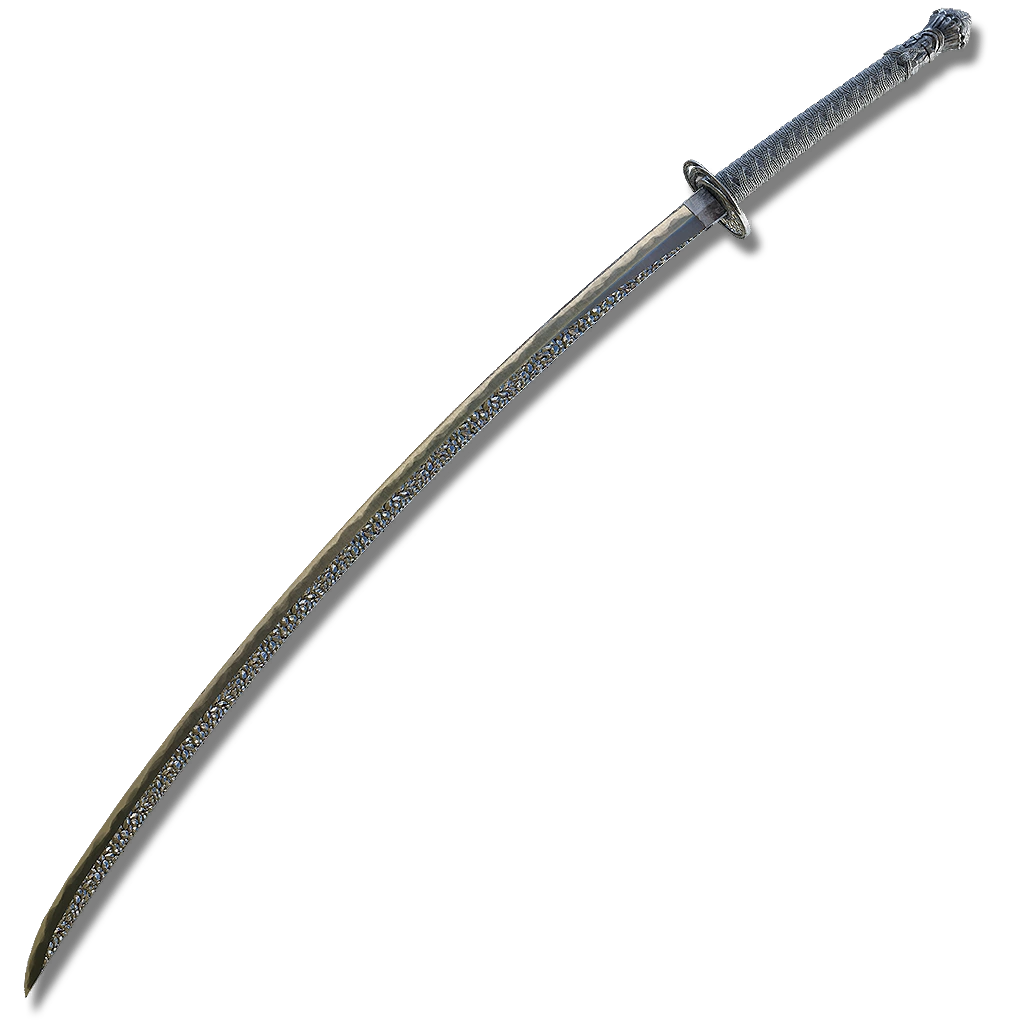
A blade that was forged with Glintstone. The blade deals magic damage and comes with the skill Transient Moonlight. This skill is two attacks back to back. The first attack allows the Tarnished to do a sheathed stance and does a quick slash, which is then followed up with another sheathed stance attack that is more powerful and sends a magic projectile.
Rivers Of Blood

The blood red blade was once a weapon to Okina, a swordsman that was from the land of reeds. The weapon doesn’t offer much damage however allows high bleed buildup with its attacks. This is shown further with the skill Corpse Piler. This skill allows The Tarnished to do two quick slashes which offers decent range and does massive bleed buildup.
Dragonscale Blade
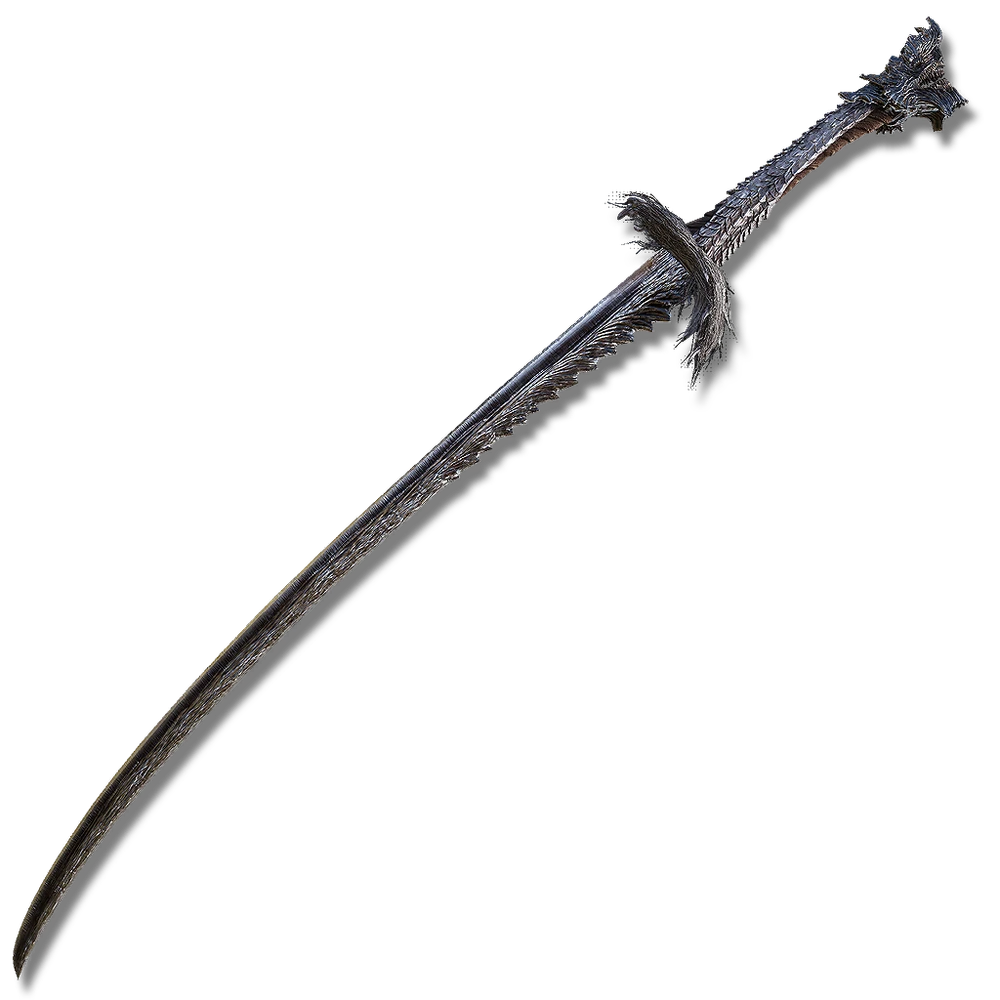
A blade that was made by Gravel Stone scale which was a stone that people thought was a source to the ancient dragon immortality. The blade comes with the skill Ice Lightning Sword. The skill allows The Tarnished to call down ice lightning that covers the blade and does a striking attack which deals both lightning damage and does Frostbite buildup.
Star-Lined Sword
A blade that was encrusted with lines of stars which is also fashioned with glintstone. This weapon specifically was given to a demi-human which was given by their queen. The blade has the skill Onze’s line of stars. This skill allows The Tarnished to extend the blade and do several quick slashes which deal massive damage.
Sword of Night
A pure black blade that was wielded by Jolan, swordhand at night. The blade pure black aesthetic is stated to devouses even light. The blade comes with Witching Hour Slash. The skill allows The Tarnished to infuse the blade with the dark of night and then allows him to do a quick number of slashes that cannot be blocked (and damn does it look cool).
Twinblades

If you ever wanted to be like Darth Maul from Star Wars in a Fromsoft game, this is the closest you’re going to get. These weapons excel at crowd control and doing a lot of hits with their various spinning slash attacks. They’re difficult to use, but there’s just something satisfying using them. Full list here.
Unique Twinblades
Eleonora’s Poleblade
Dropped by the Violet Bloody Finger herself, her poleblade is an exceptional weapon combining physical, fire AND of course bleed damage which it definitely excels at. Look no further than its unique skill Bloodblade Dance where you’ll launch a flurry of spinning attacks while also being an evasive maneuver to avoid counter attacks.
Euporia
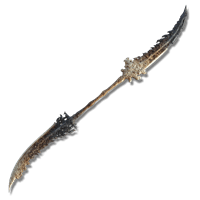
This weapon introduced in the DLC is rather unique, dealing holy damage that’ll increase should it ‘charge’ by consistently landing hits on enemies. This’ll empower its unique skill called Euphoria Vortex where it’ll violently twirl the blade, dealing multiple attacks directly ahead. This is certainly a difficult weapon to use, but still an effective one in the right hands.
Axes
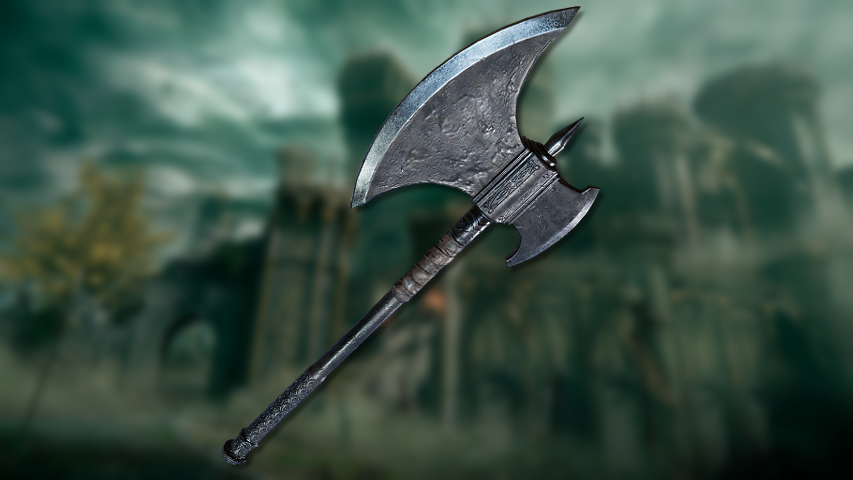
The axe is an oldie, but a goodie. Strong, but surprisingly decent attack speed, only real downside is that you might find the reach a bit lacking compared to other weapon types. Still pretty solid weapons which you can find the full list here.
Unique Axes
Stormhawk Axe
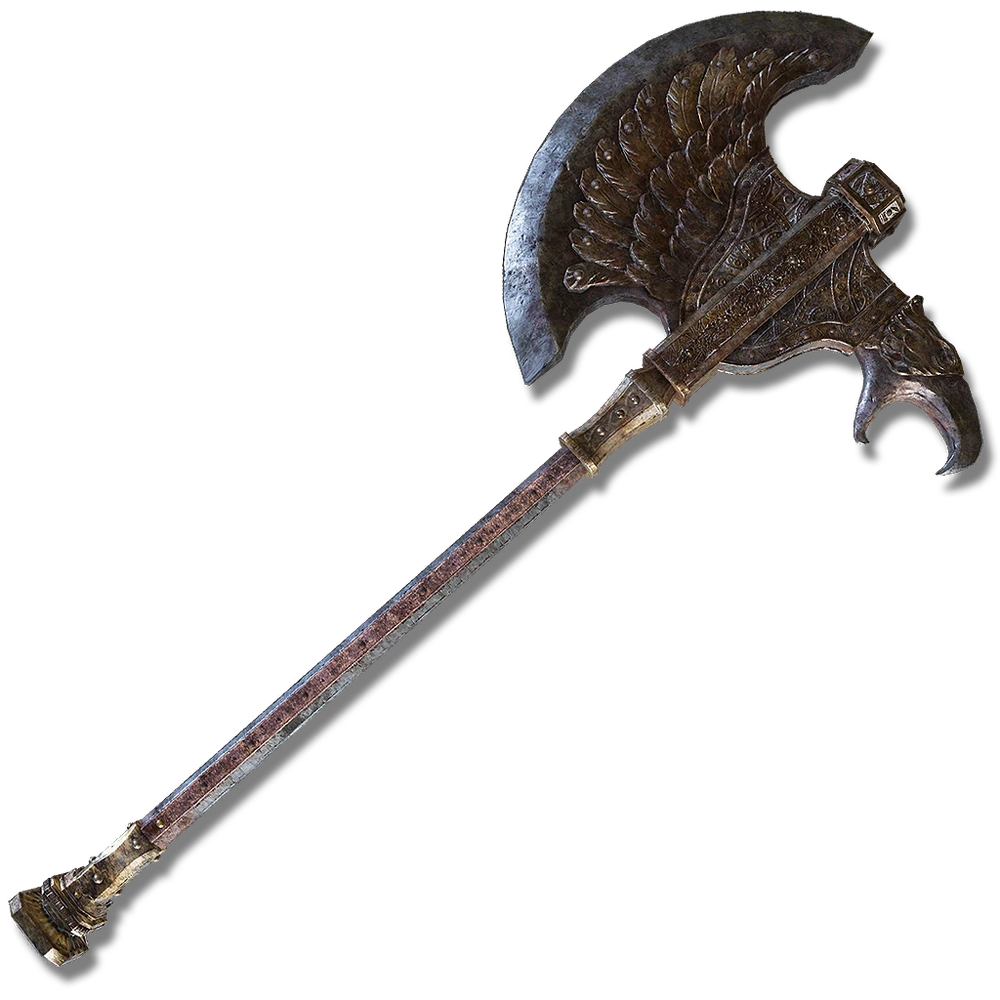
Designed to resemble a hawk, this axe is a powerful slashing weapon that can use the power of the storm, especially its skill called Thunderstorm, where it’ll charge up with lightning and swing forward like a tornado.
Rosus’ Axe
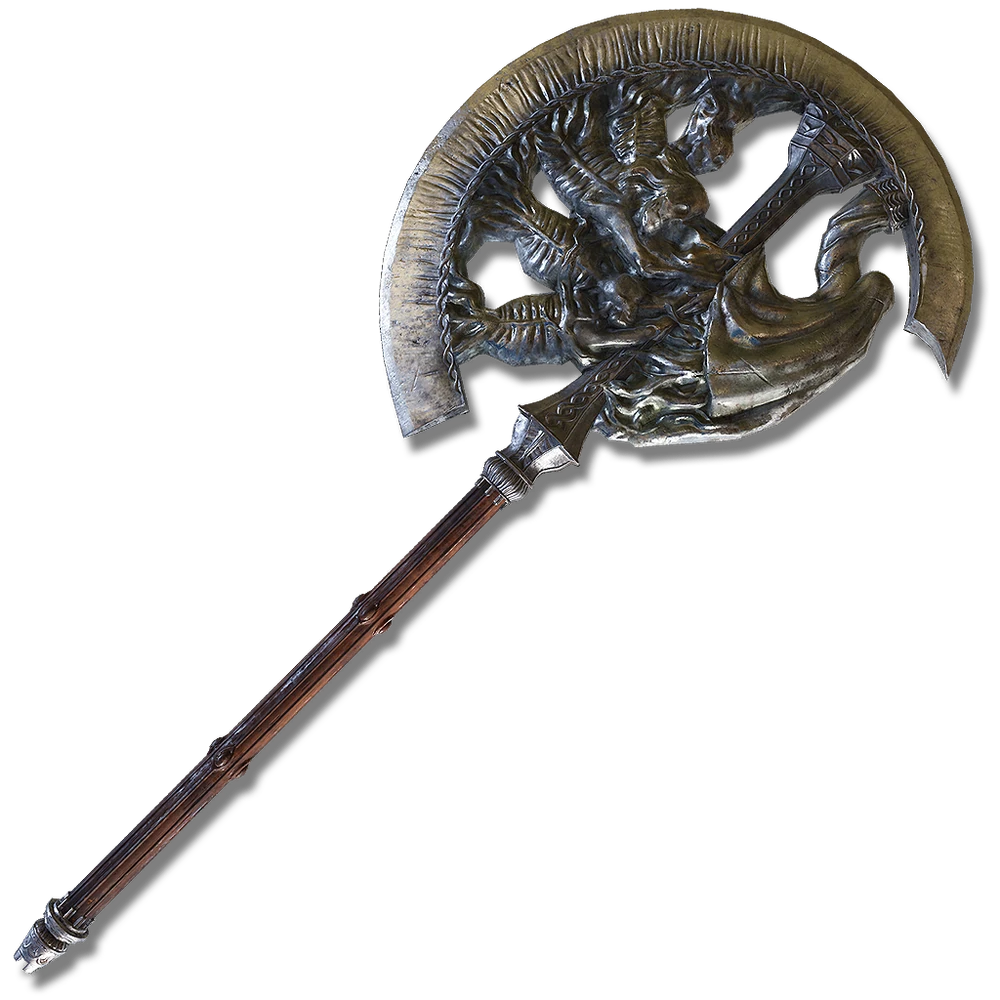
Found inside the Black Knife Catacombs, this axe actually scales with INT as well, making it useful for magic builds. The skill known as Rosus’s Summons uses the power of the dead as it calls three skeletons to swing their own axes before disappearing.
Icewind Hatchet

Known as the freezing fog, the axe as you might have thought uses the power of ice with no better way to show that with it’s skill Hoarfrost Stomp where the Tarnished will stomp their feet before letting lose a powerful ice wave mist at the enemies, potentially triggering frost on them.
Death Knight’s Twin Axes

Used by the Death Knight, these dual axes crackle with the power of lightning, particularly of the capital’s ancient dragon cult. The unique skill called Blinkbolt: Twinaxe has the player transform into a literal bolt of lightning and they can choose to attack after with a lightning-charged spinning slash.
Forked-Tongue Hatchet
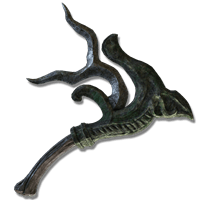
Dropped by Imps (of all things) in catacombs, it’s definitely an unusual looking axe with a dragon for a head, but it’s still a strong one that can cause bleed loss. Its unique skill Dragonform Flame emulates a dragon maw and spews fire in front of the user.
Greataxes
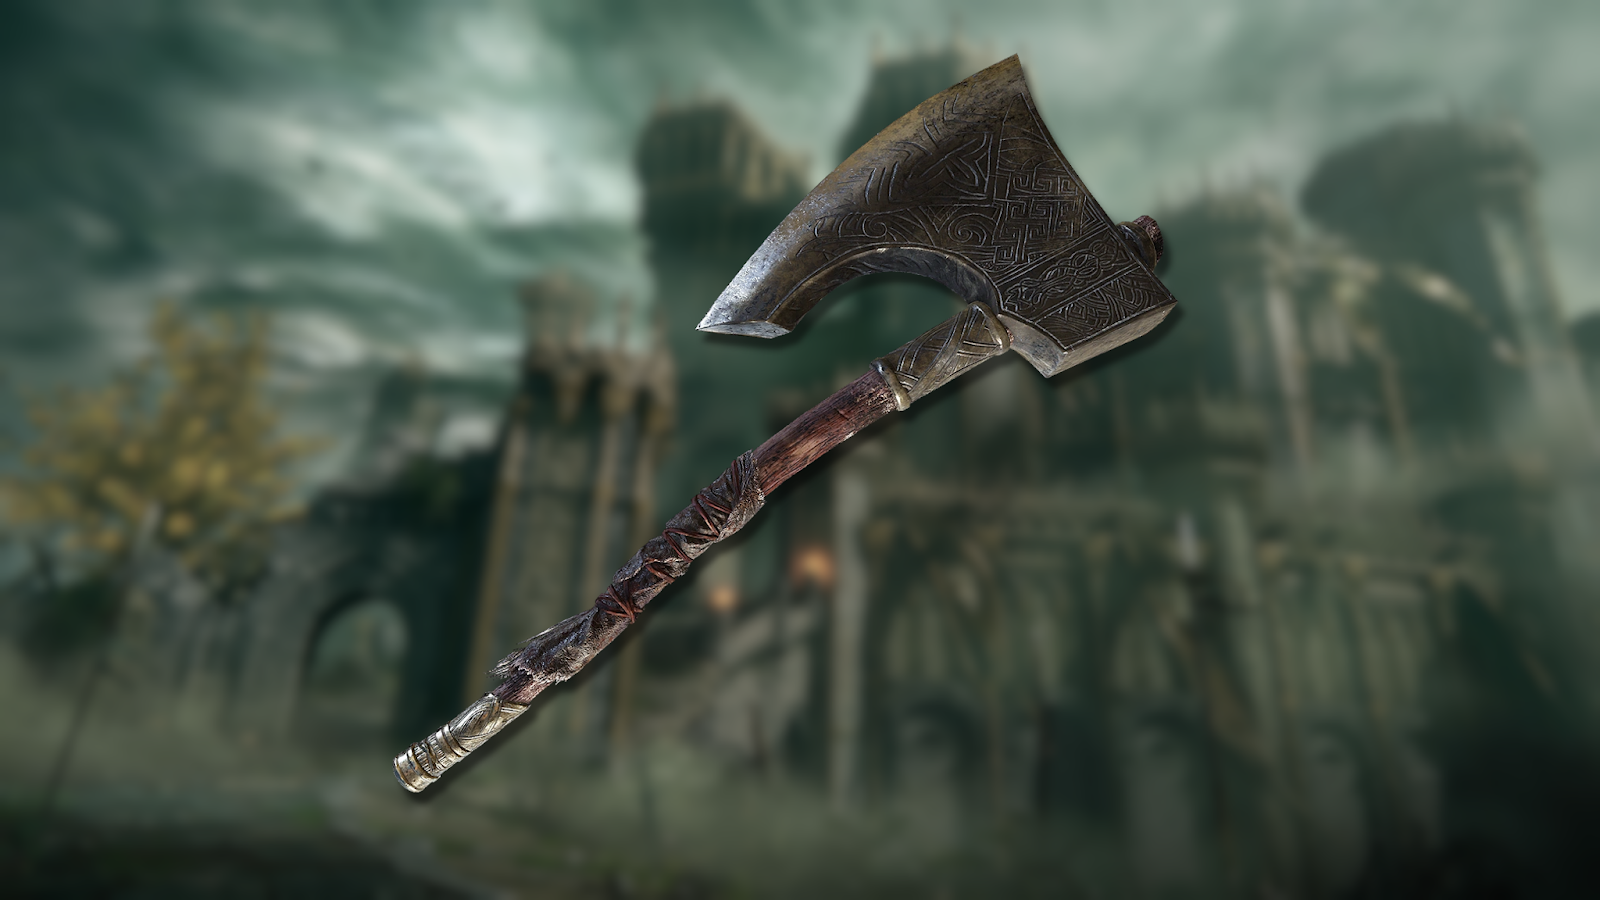
The bigger brother of the axe family. Though the swing speed may be slow, it makes up for that downside by having better range and far better damage output. The Tarnished can wield many different types all listed here.
Unique Greataxes
Winged Greathorn
This large wing-shaped weapon has the power of ancestral spirits, with the power to reap the lives of beings. No better evidence of that than the skill Soul Stifler which summons a soul sapping miasma to lower the defense of anyone affected.
Death Knight’s Longhaft Axe
A golden axe used by the Death Knight, it also has the power of lightning, being able to combine that with its physical damage. It’s unique skill Blinkbolt: Long-Hafted Axe has the Tarnished turn into a literal bolt of lightning before striking their opponent.
Bonny Butchering Knife
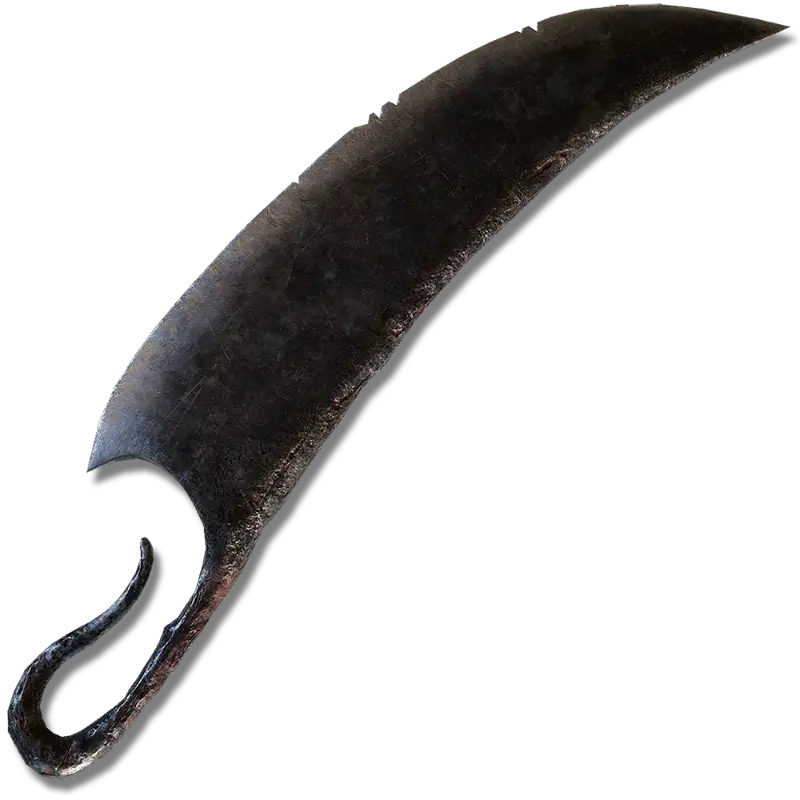
This giant cleaver is a butcher of Bonny Village’s best friend as it’s used to dismember human bodies to make great jars stored in the gaols (jesus christ). It’ll heal the Tarnished for every hit it lands and its unique skill Hone Blade will increase the effect for 40 seconds.
Hammers
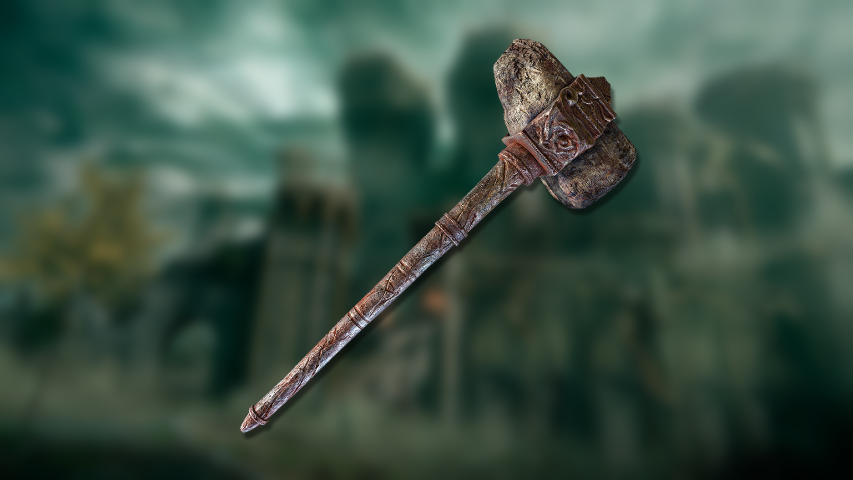
Hammers may not have quite the same oomph as do greathammers, but they nonetheless are extremely viable, lightweight weapons. With them, the Tarnished is able to more readily damage heavily-armored enemies which may resist the slashing and piercing of other weapon types. Options available to the Tarnished include these!
Unique Hammers
Envoy’s Horn
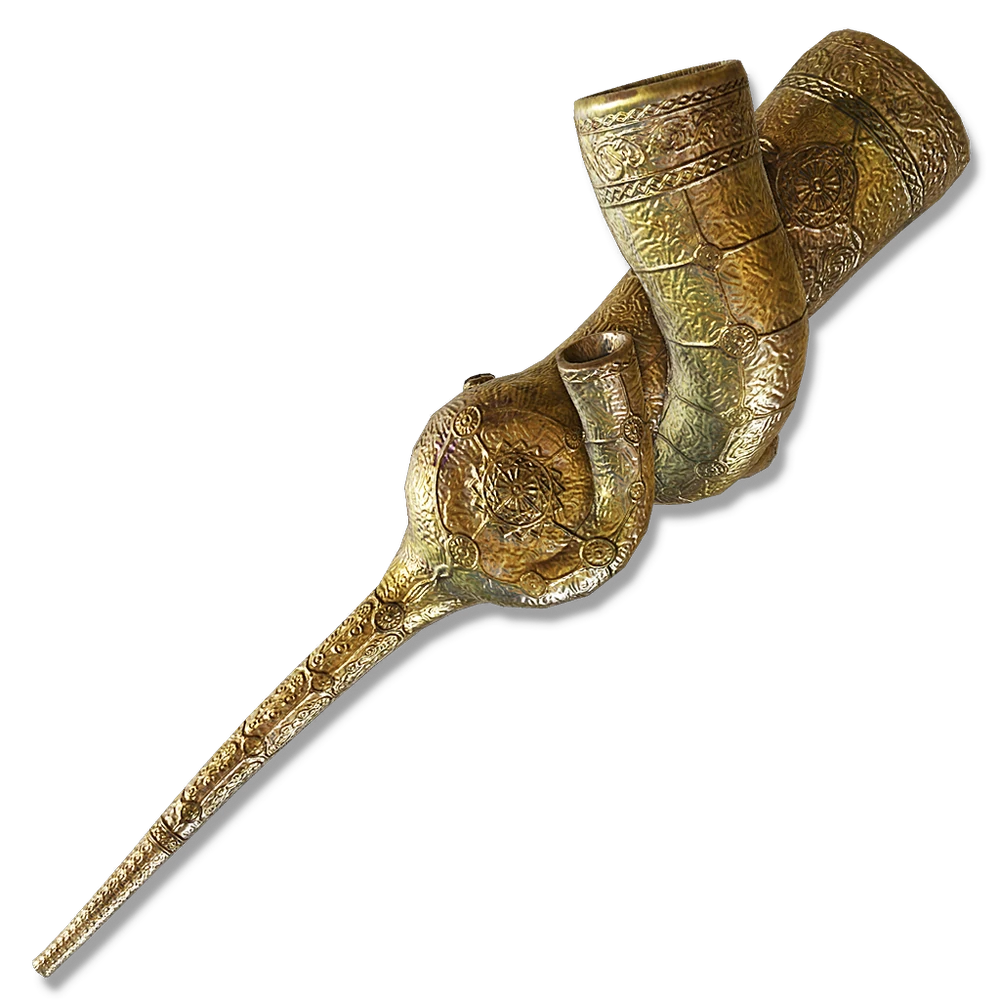
This weapon deals a small amount of holy damage with every strike and comes with a weapon art which cannot be changed, the Oracular Bubble. The Tarnished can, at the cost of six FP, fire a tiny bubble with a tinier doot. The description for the art specifically says that it floats “gently” through the air, and if there’s anything the Tarnished wants to be in a Death Battle, it’s gentle.
Nox Flowing Hammer
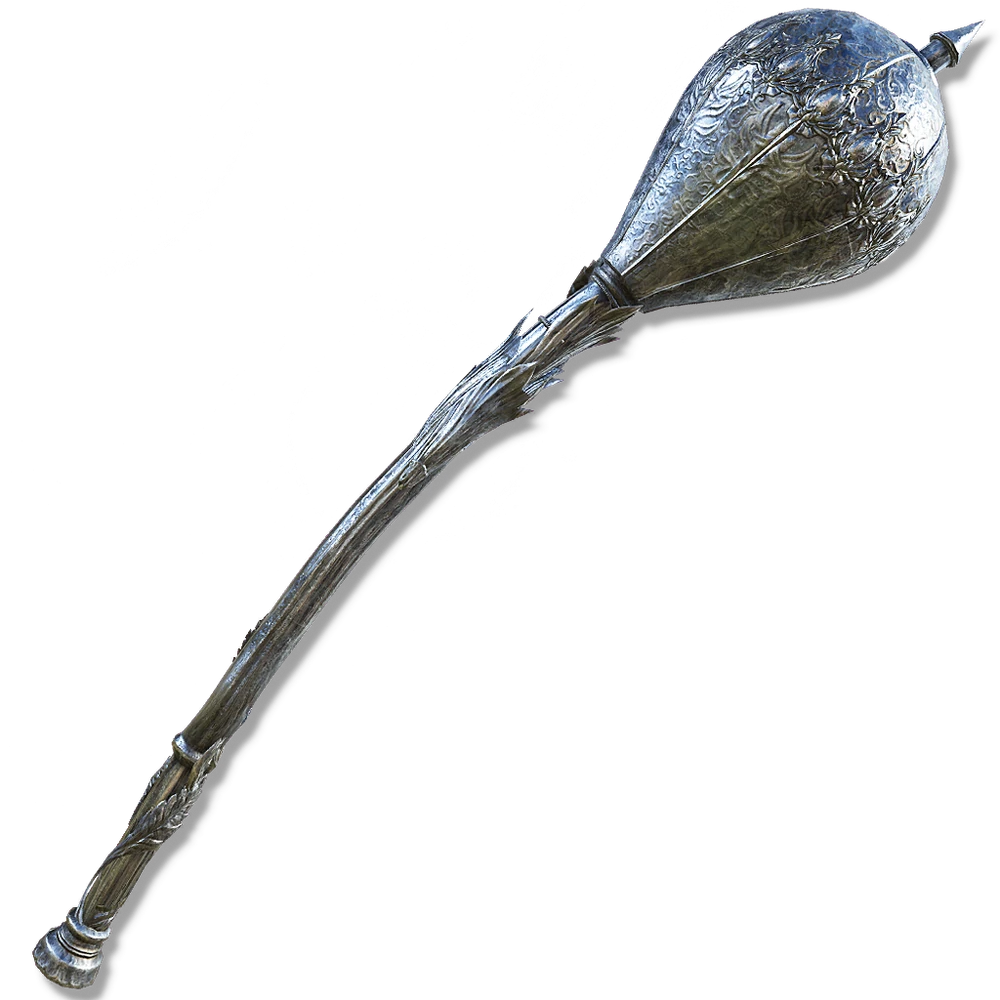
A mace forged from a silver tear’s metallic liquid. This weapon’s weapon art, the Flowing Form, cannot be changed, but allows for a radical departure from the hammer’s typical form. It allows the Tarnished, for the cost of 16 FP, to transform the weapon into a long, slender whip with the devastating bludgeon on the end preserved, allowing the Tarnished to cover a surprising amount of range with a single strike.
Ringed Finger
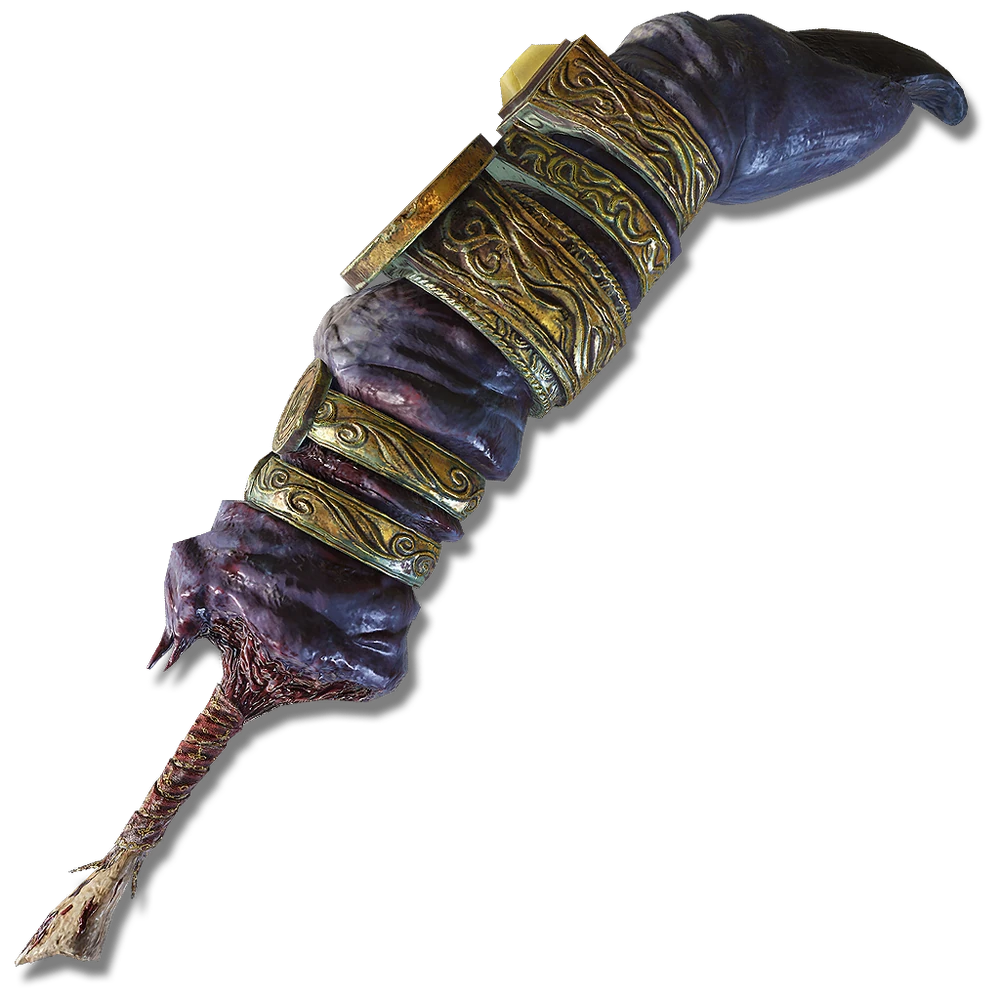
The hammer with the longest reach, even before considering its unnatural and slightly grotesque weapon art, the Claw Flick. The Claw Flick allows it to grow numerous times larger than it normally is and unleash a devastating flick that can blow enemies off their feet. Even worse, the weapon has a gnarly fingernail on the end, and getting that thing in your business can’t be good for you psychologically, let alone physically.
Scepter of the All-Knowing
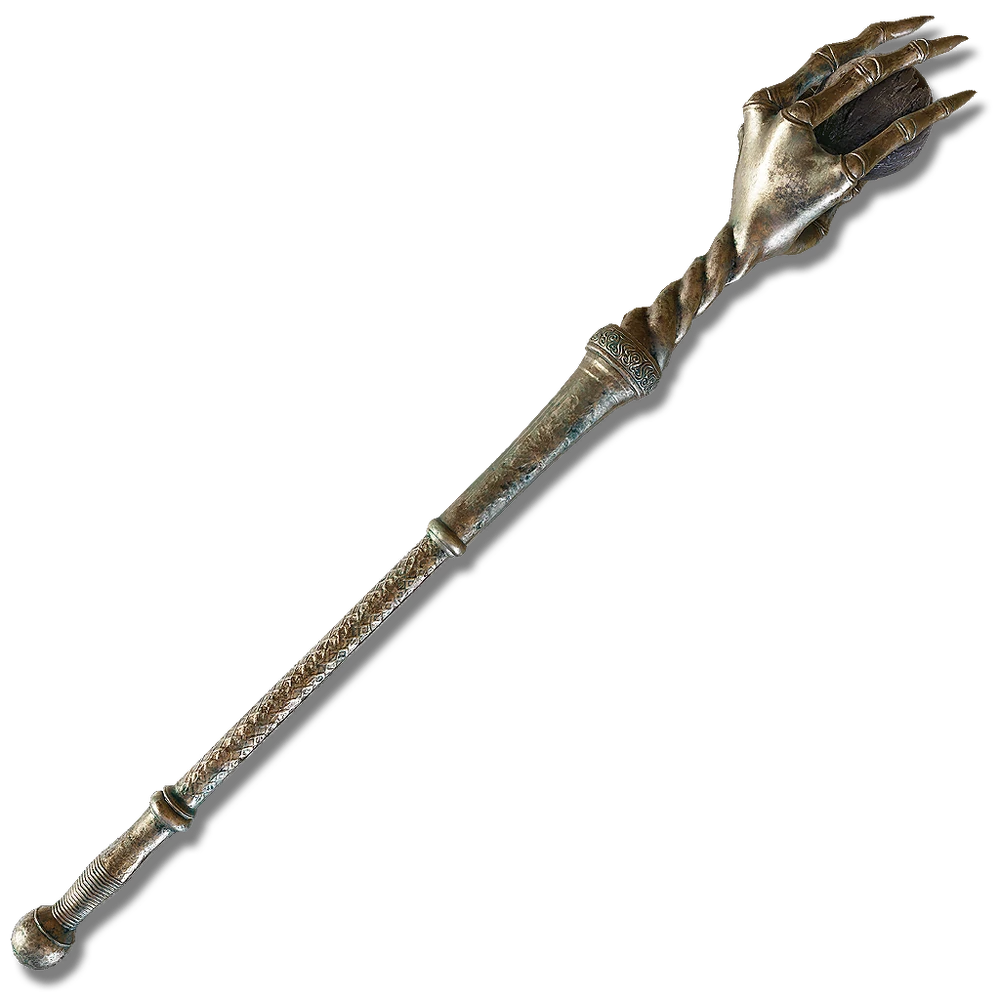
The favored weapon of Sir Gideon Ofnir, the leader of the Roundtable, this hammer has the only non-damaging unique weapon art, Knowledge Above All. It allows the Tarnished, for the cost of 35 FP, to reduce holy and magic damage negation around themselves for sixty seconds. It’s a double-edged sword which would affect the Tarnished as well… but that doesn’t mean it lacks potential strategic utility. It shares more of a moveset with the Morning Star than other hammers.
Flowerstone Gavel
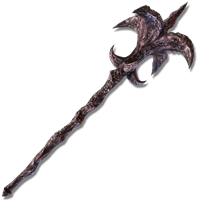
This weapon also comes with a weapon art which cannot be changed, the Flower Dragonbolt. While the name sounds nice, the attack is nasty, allowing the Tarnished to, at the cost of 18 FP, call down red lightning to strike their foe. You can tell it’s particularly bad because it’s red. In lore, the red lightning is used by ancient dragons, and the gavel does additional damage against dragons. Alas, Link is very much human. Better luck next time, Tarnished.
Great Hammers
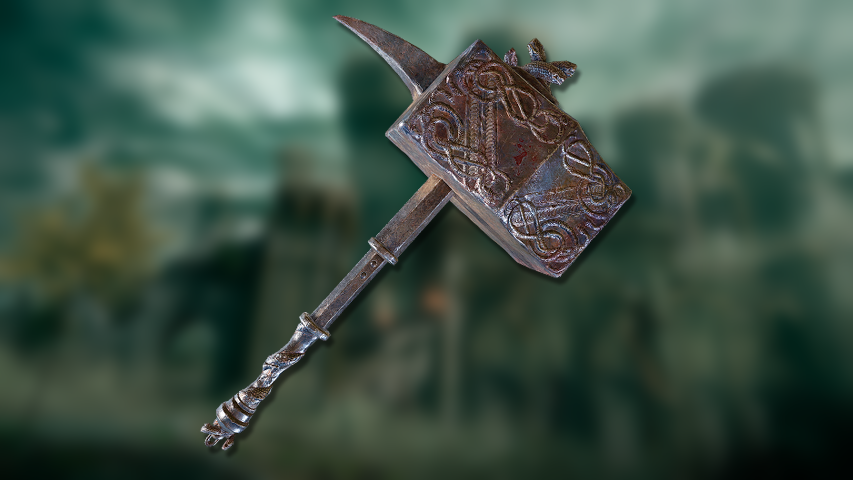
Sometimes you just need to hit something really really REALLY hard and great hammers are certainly effective at that. While obviously lacking in speed, they more than more up for it with pure power, inflicting large amounts of damage that even heavily armored foes with shields have a tough time defending against. Full list here.
Unique Great Hammers
Envoy’s Long Horn
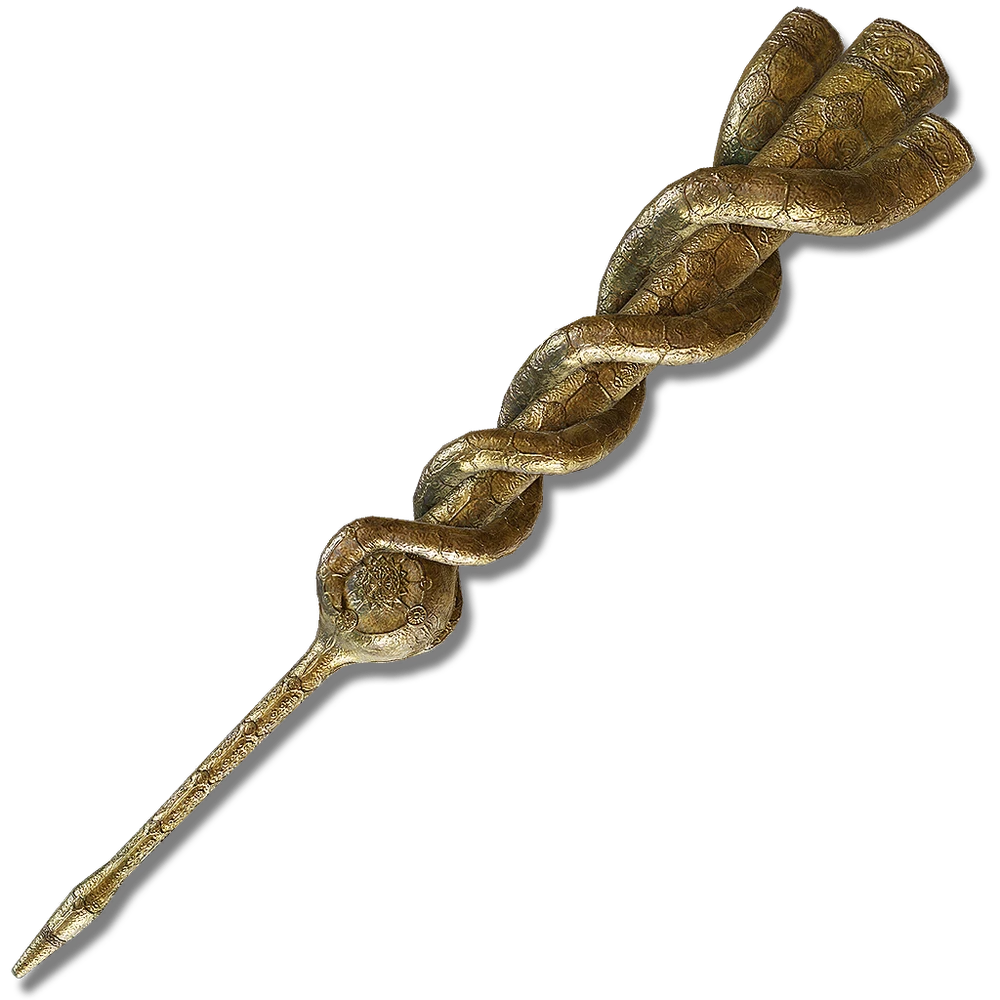
This weapon was originally an instrument but has since been used by Oracle Envoys and the Tarnished as a surprisingly effective weapon that deals holy damage. The Tarnished can blow into the horn with a good TOOT with its unique skill Bubble Shower where it’ll cover the area surrounding the Tarnished damage holy bubbles that’ll deal a LOT if they all hit.
Cranial Vessel Candlestand
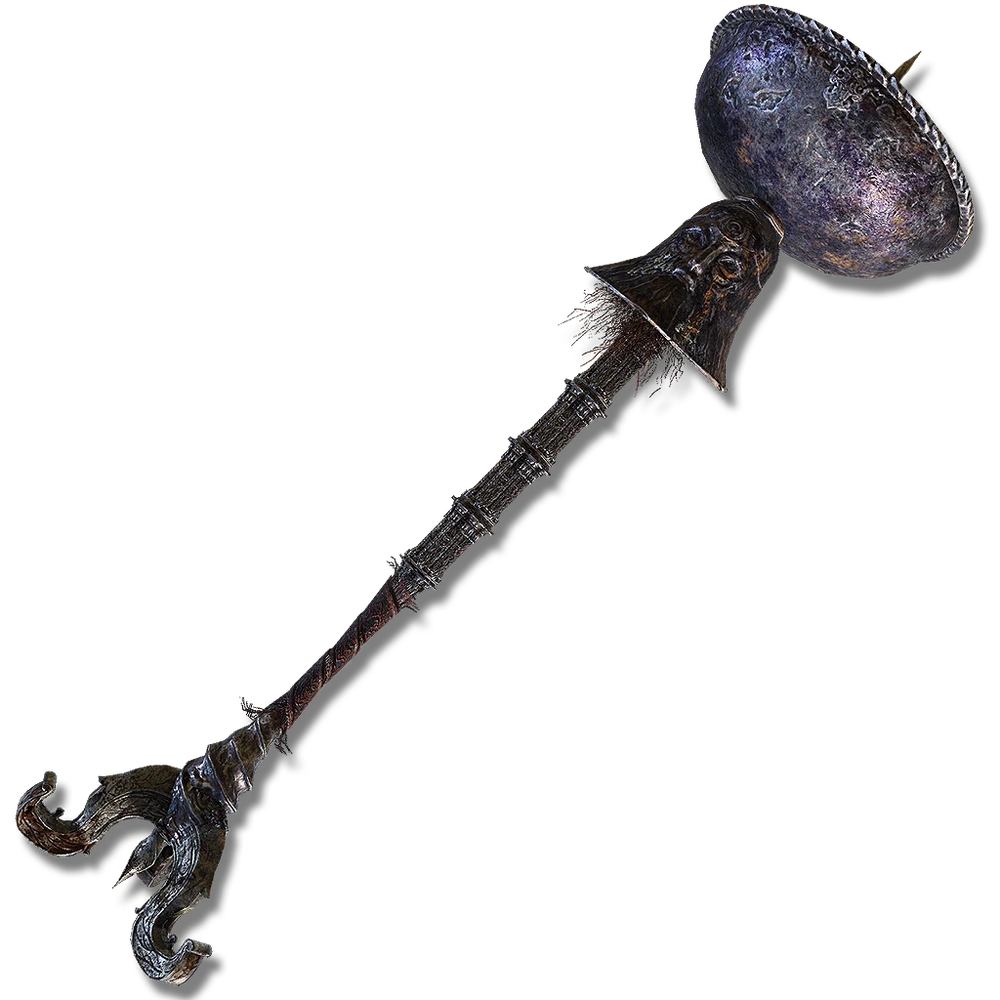
A candle stand used in worship of the monk Birac, it unsurprisingly is able to deal good fire damage as well as physical. Surge of Faith has the Tarnished raise it to the air multiple times to set the area ablaze with fire, racking up the damage fast with a powerful AOE.
Beastclaw Greathammer
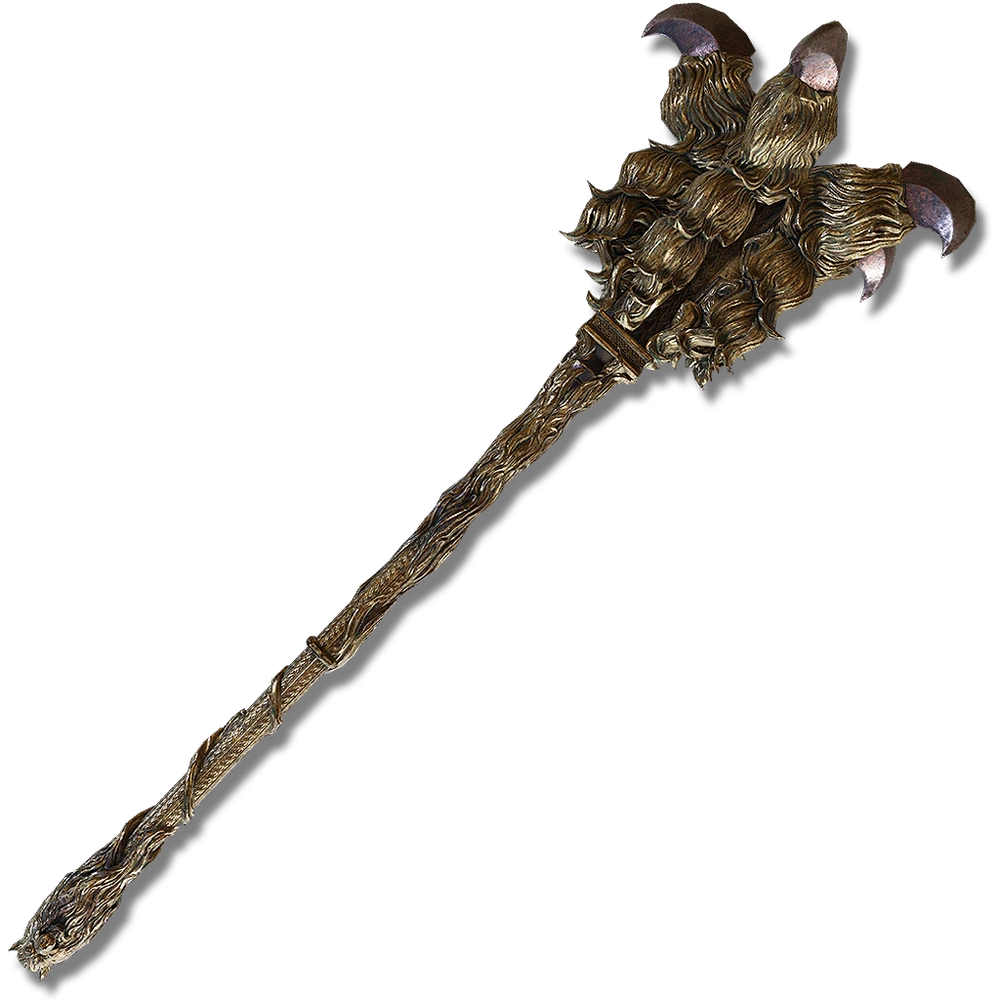
A weapon that Gurrang will reward the Tarnished after their 7th Deathroot, this weapon is modeled to resemble five beastly claws at the end of it. It’s a powerful weapon that deals good physical and holy damage. Regal Beastclaw will have them slam the weapon into the ground, releasing five bestial claws shockwaves in front of them. Hit them all at once for some great damage.
Devourer’s Scepter
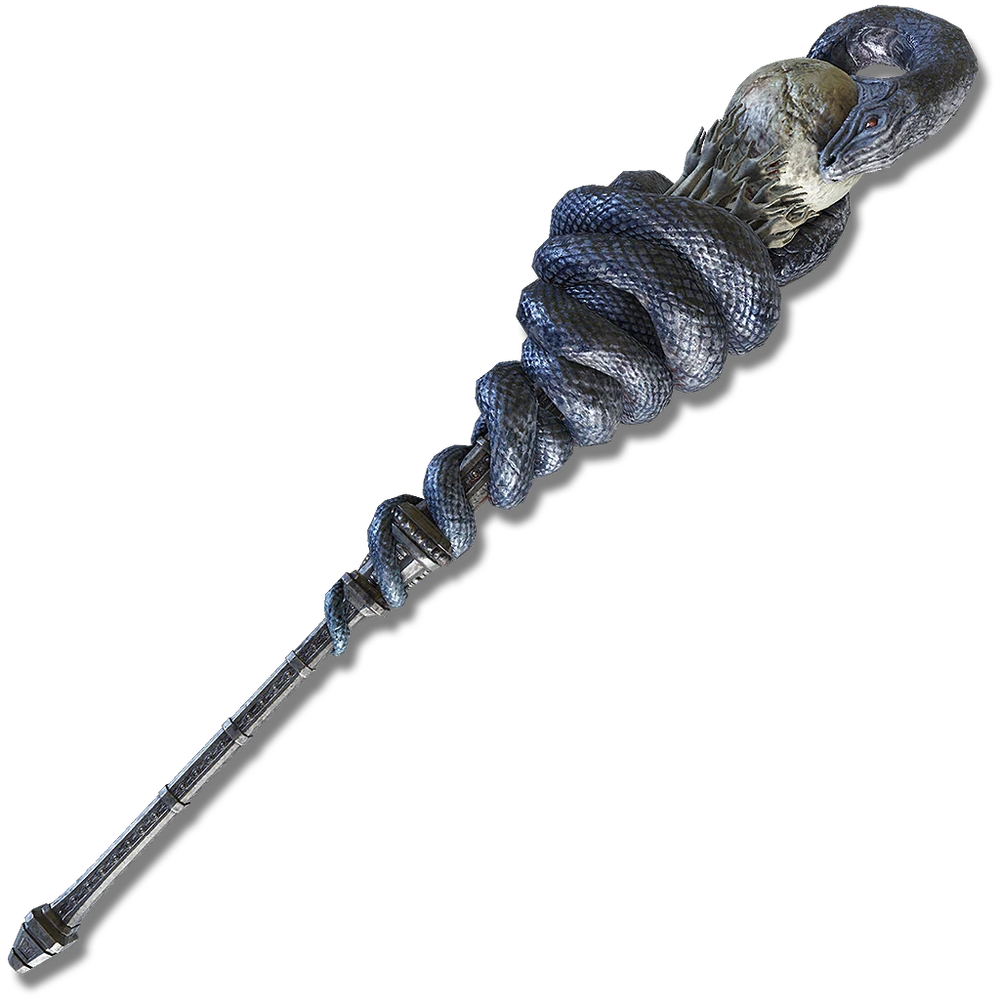
A legendary armament, this scepter is formed in the shape of a snake devouring the world. It would one day become the very symbol of the lord of Blasphemy, Rykard, but today, it’s still a powerful weapon that deals good physical and fire damage. Devourer of Worlds is the unique skill where the scepter will charge with magic as the Tarnished strikes ground, dealing fire damage while actually also healing the Tarnished 15% of the enemy’s max HP for each one they hit.
Flails
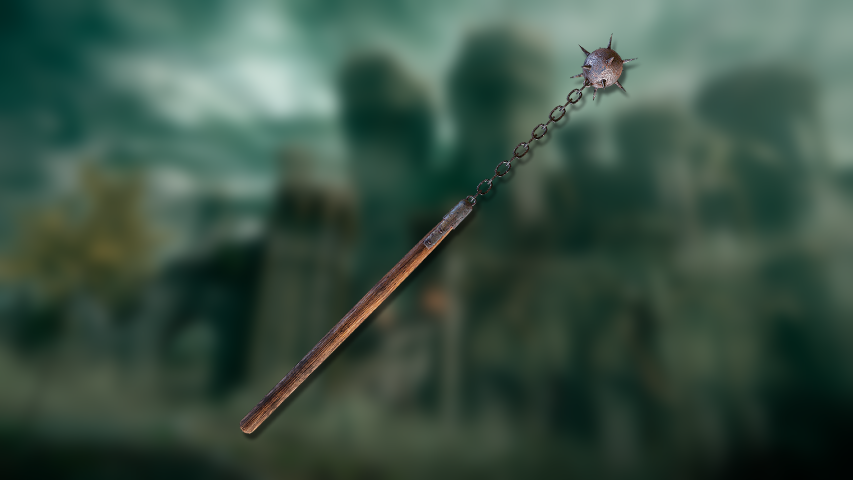
The flail is an interesting weapon in Elden Ring. They’re rather slow, but have good reach and actually can’t be parried. Most of them can be spun around with the spinning chain skill, building up damage. That being said, it’s considered one of the weaker weapons in the game, so the Tarnished likely has better options. Still, in the hands of a pro, it can be an effective weapon. Full list here.
Unique Flails
Family Heads

This flail has three bludgeoning heads on top of it and has the heads of the wife of Necromancer Garris and their two children (jesus christ dude). Questionable design aside, it offers a decent mix of physical and magic damage. Familial Rancor will summon vengeful spirits to chase down foes.
Serpent Flail
A flail with coiled snakes for bludgeoning heads, these are used by Messmer’s army as it’ll deal decent fire damage along with physical. It can do even more with its skill Flare, O Serpent where it’ll ignite a flame inside the snakes and attacks that strike the ground will cause an explosion.
Colossal Weapons
Colossal Weapons are the go to choice making sure your enemies never get off of the ground. The sheer crushing weight of the blows being dealt by this class of weapons breaks poise like it was a brick being dropped on a pane of glass. There are many different types of weapons under this umbrella of a category. Such weapons the Tarnished can use all listed here.
Unique Colossal Weapons
Watchdog’s Staff
An actual Crozier, the Watchdog’s Staff belongs to the Erdtree Burial Watchdogs who protect the catacombs. It’s special skill, Sorcery of the Crozier, creates glintstone shards that track down whoever the Tarnished chooses to target.
Staff of The Avatar
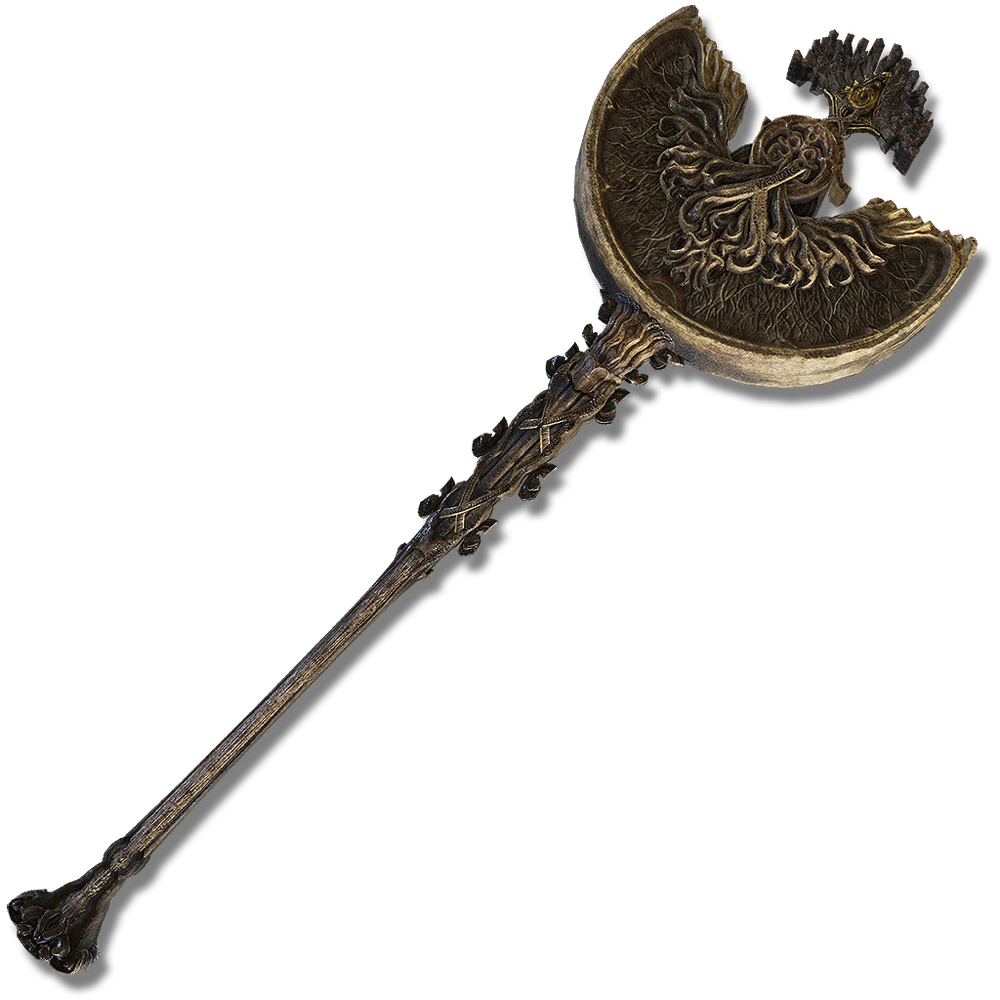
Long ago the demigods lived in perfect harmony. Then everything changed when the Elden Ring was shattered. The Erdtree Avatars protect the offspring of the Erdtree with their lives and massive staffs. It shares its unique skill with the Rotten Staff: the Erdtree Slam. The ultimate troll move is to ground pound your enemies and create an earthquake with your butt.
Rotten Staff
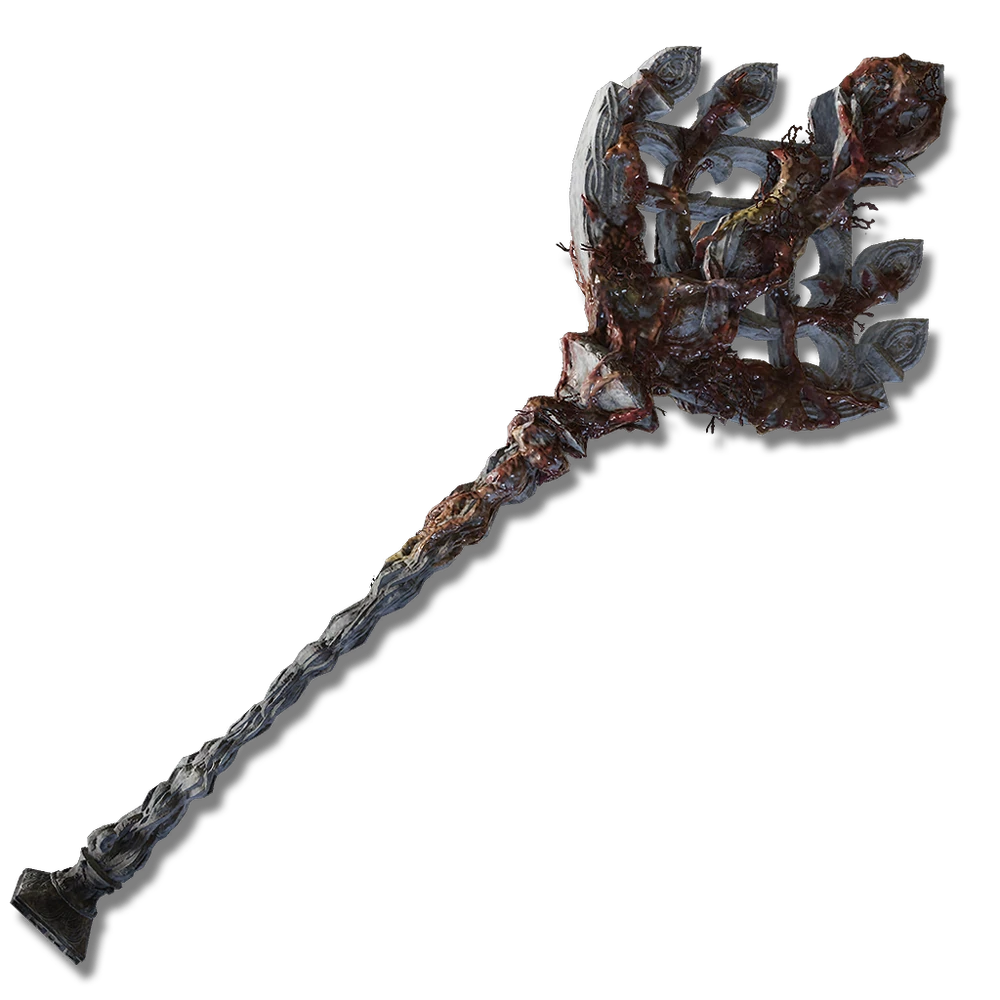
Speak of the devil and it shall infect you with Ebolaids. This variant of the Staff of the Avatar can do everything it can do but with a Scarlet Rot twist instead. It also has the skill Erdtree Slam.
Envoy’s Greathorn
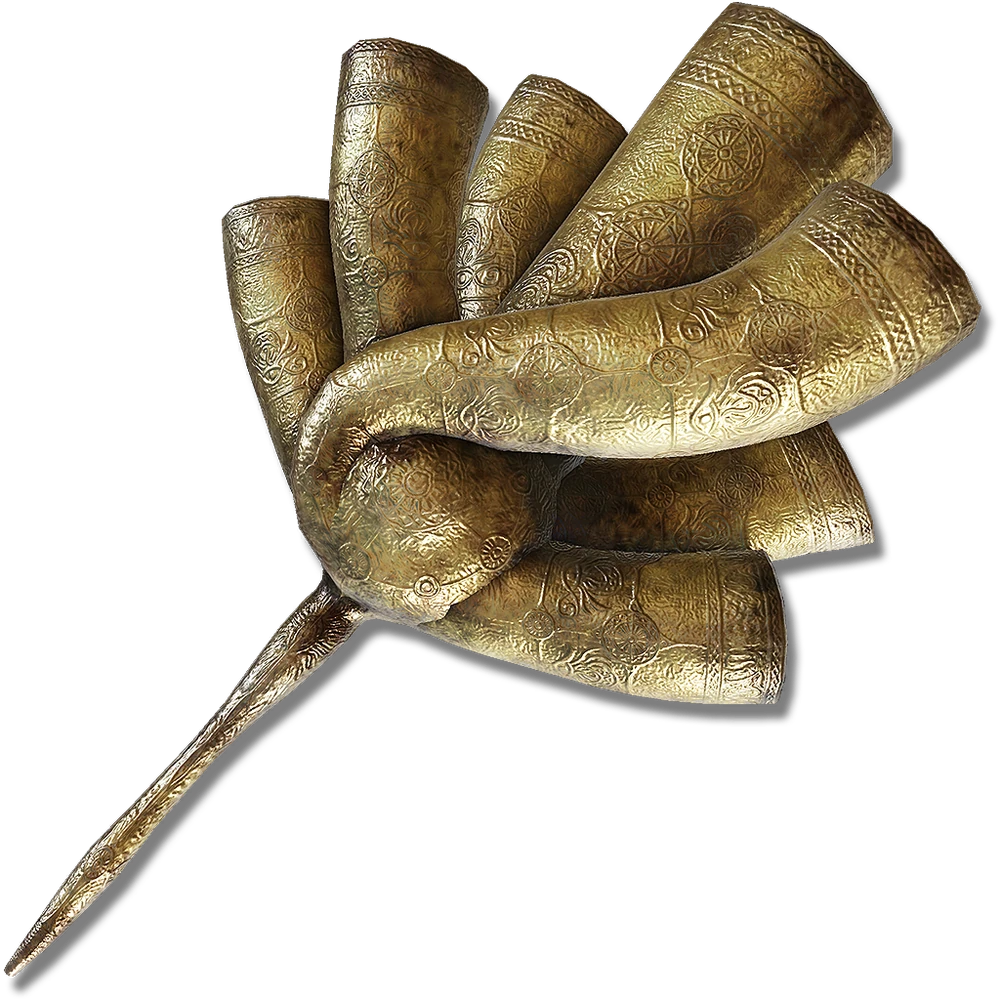
All bubble blowing babies will beat senseless anything that dares interrupt the tunes. This greathorn packs massive holy damage with it. Coupled with its unique skill Great Oracular Bubble, which does indeed blow one massive bubble, makes this weapon terrifying up close and from a distance.
Ghiza’s Wheel
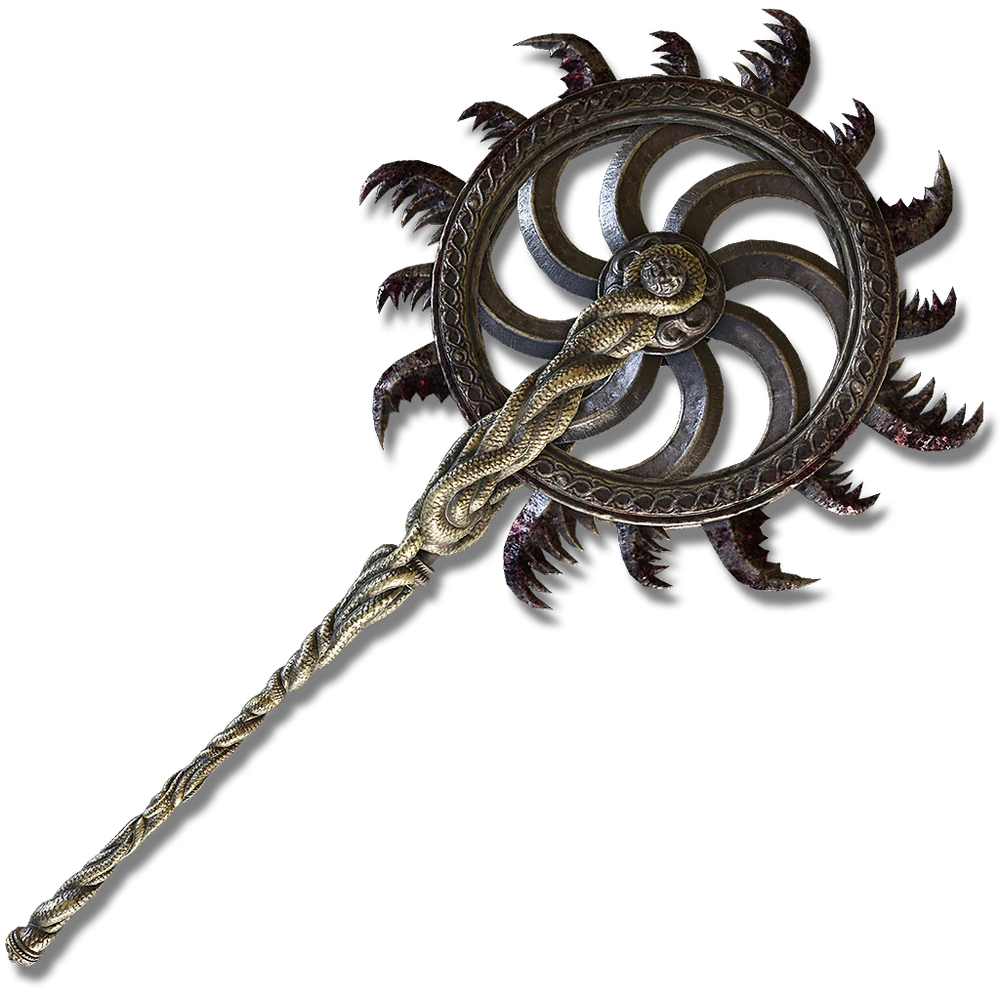
Prelate’s Inferno Cozier but freaky. What can be described as a buzzsaw on a stick shreds through anything unfortunate enough to come into contact with it. Its unique skill, aptly called Spinning Wheel, turns the Tarnished into a walking shredder that stacks up bloodloss incredibly quickly.
Fallingstar Beast Jaw
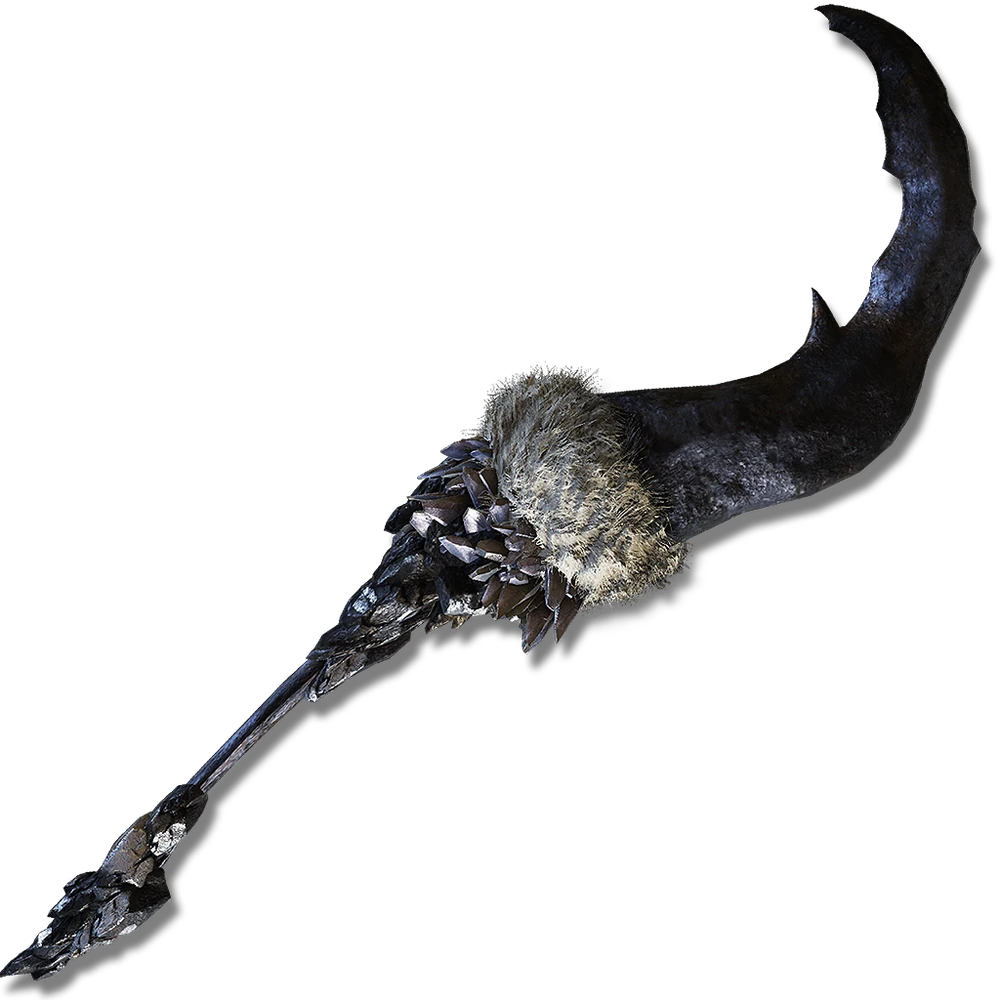
Half of a mandible from a Fallingstar Beast, this weapon has the farthest reach of all Colossal Weapons, making its already point tip especially dangerous. This weapon has the ability to call upon rapid fire gravitational lightning bolts a la its unique skill Gravity Bolt.
Anvil Hammer
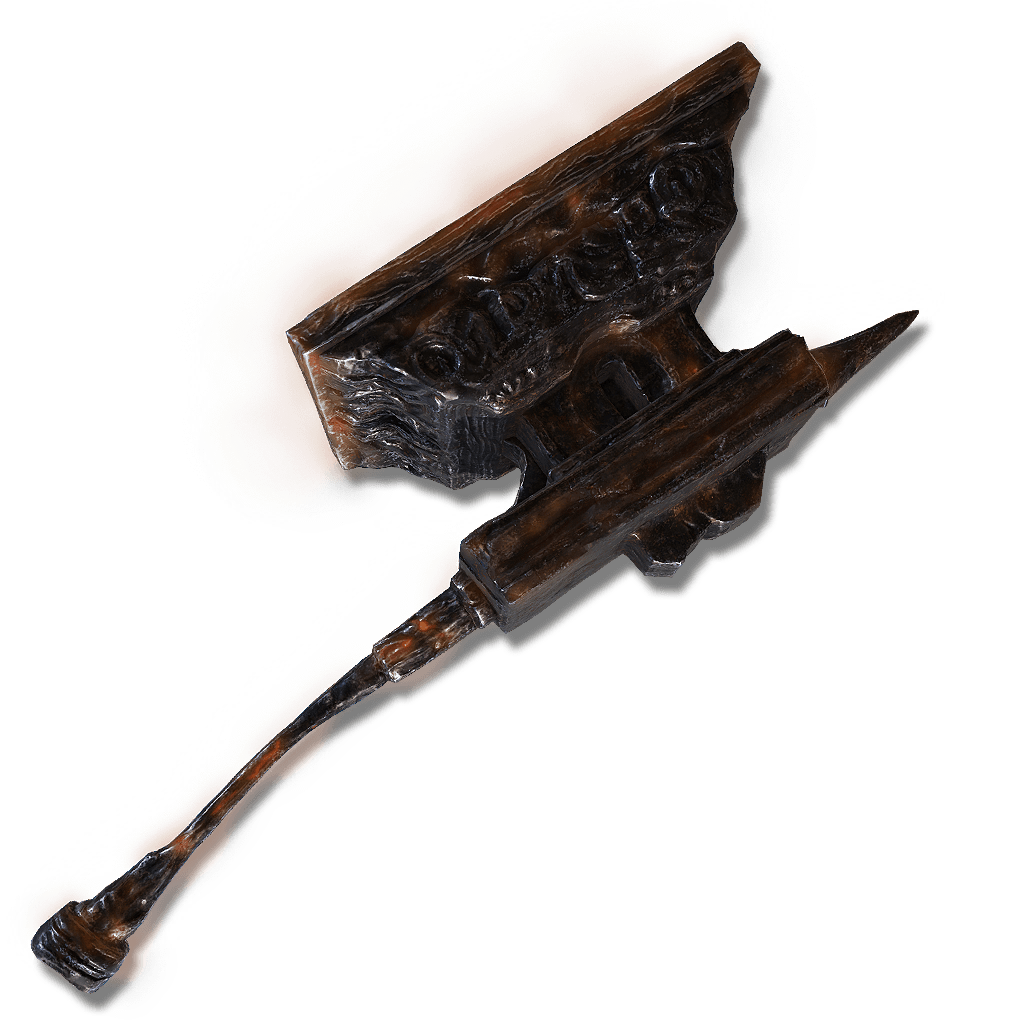
Much like the Executioner’s Greataxe, this hammer is basically just an anvil duct taped to a stick. It does seem to have the ability called Smithing Art Spears to create spears in a trail after it’s slammed into the ground and it does bonus fire damage.
Devonia’s Hammer
Wielded by the longest serving of the Crucible Knights, this hammer is made of “primordial gold” and is inhabited by an “ancient holiness.” It can create a massive shockwave with its skill Devonia’s Vortex.
Spears
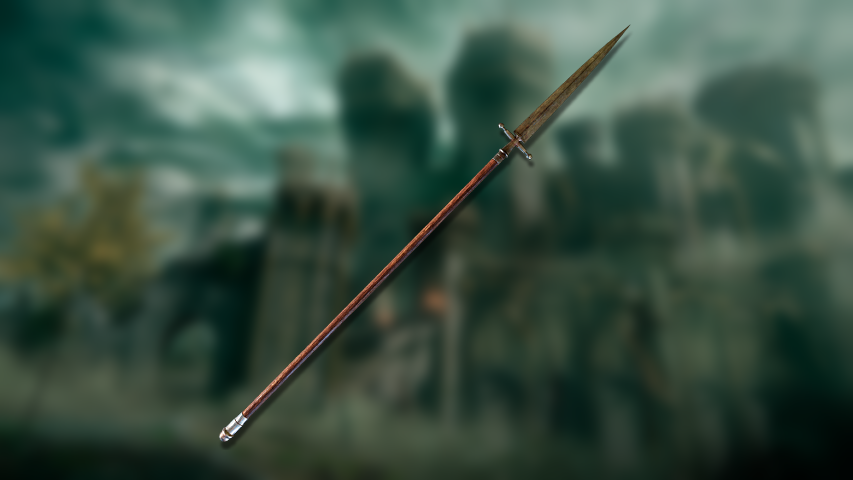
Spears, much like halberds, utilize exceptional reach and poking to harm enemies. Unlike halberds, they can be used while raising a shield on the other hand, making them an excellent option for the Tarnished to use to maintain a stalwart defense and a respectable offense. A full list of all the spears available to the Tarnished is available here.
Unique Spears
Torchpole
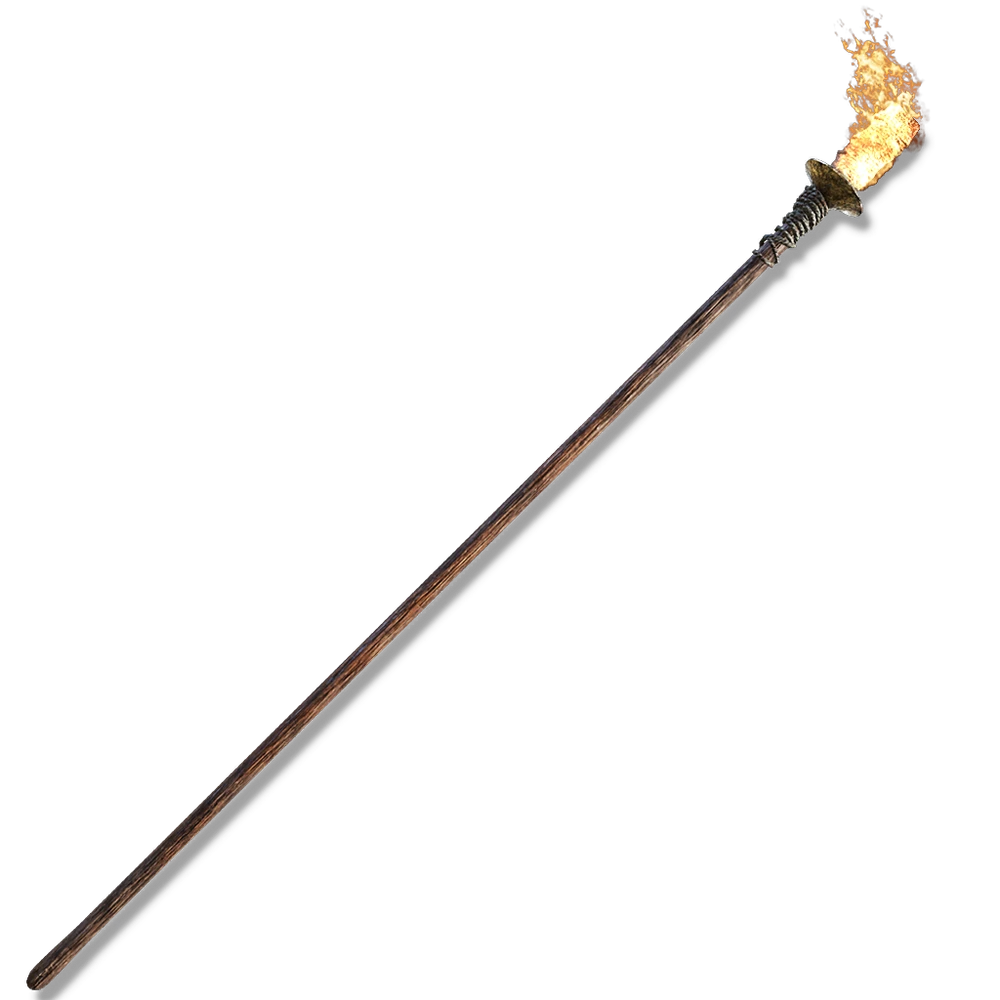
…is this a joke? I’m looking for cameras as I type this, because folks, this isn’t a spear. This is a torch on a stick. Is the blade of the spear burning? Is that what’s going on here? It’s literally a torch on a stick. This isn’t a spear, this is an insult. Anyway, its unique skill is Charge Forth, wherein the Tarnished can charge forward and unleash a massive thrust.
Inquisitor’s Girandole
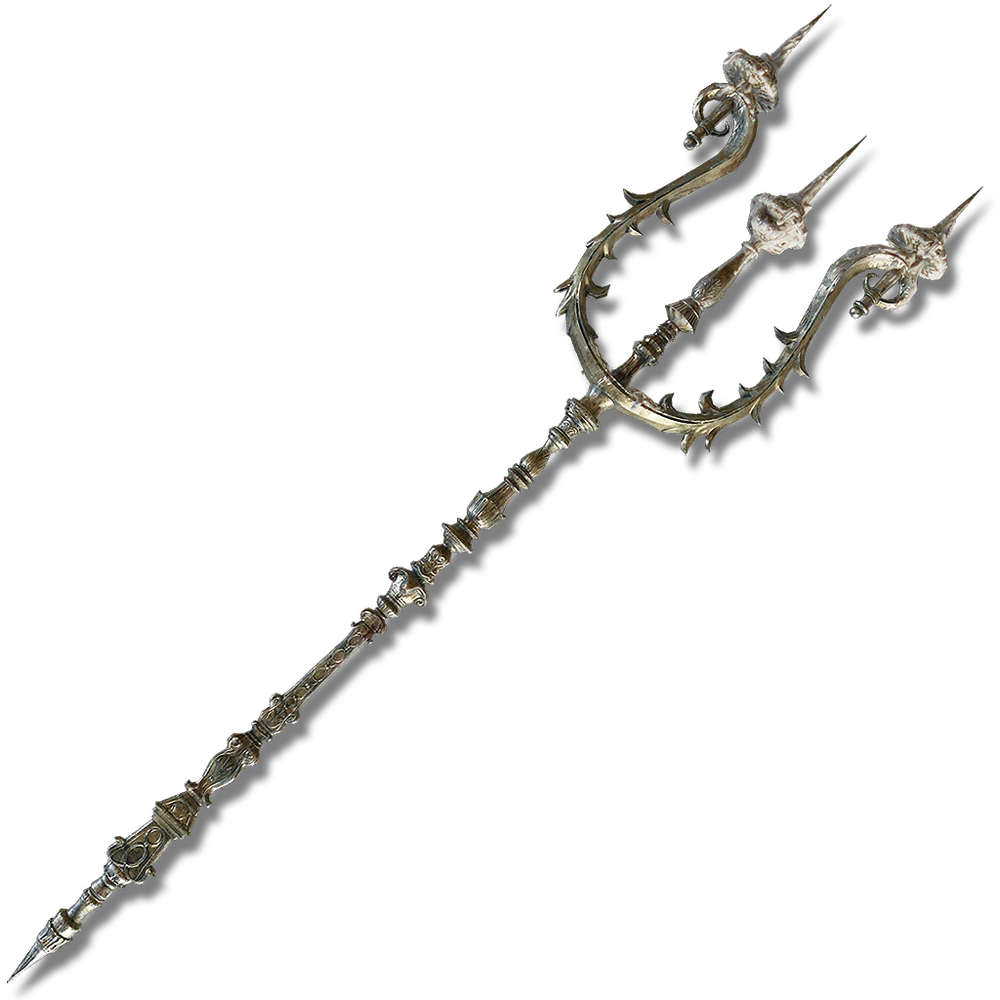
A girandole is a “a branched support for candles,” which okay, sure, I guess that’s a spear now. I’m not sure if this is more or less insulting than the torchpole, and for the sake of my wellbeing, I’m not thinking about it anymore than I already have. This spear’s unique skill is also Charge Forth. Additionally, the candles on top provide a little bit of light, but not as much as the torchpole, given that the torchpole is not a spear but a… Darn it!
Crystal Spear
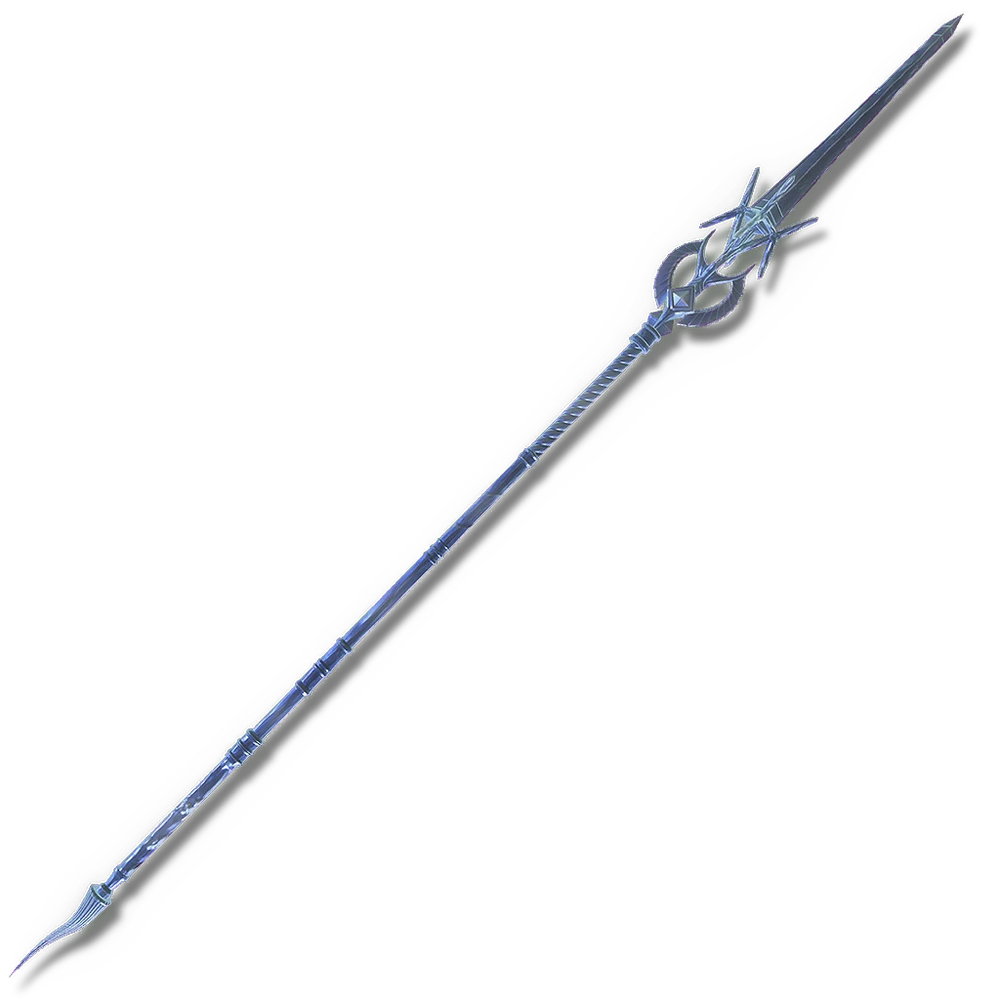
An actual spear made impossibly from crystal that the Tarnished can wield as a spear. Its unique skill is the Impaling Thrust, wherein the Tarnished can lunge forward and unleash a massive thrust. I know it sounds similar to Charge Forth, but they’re different, I swear.
Rotten Crystal Spear
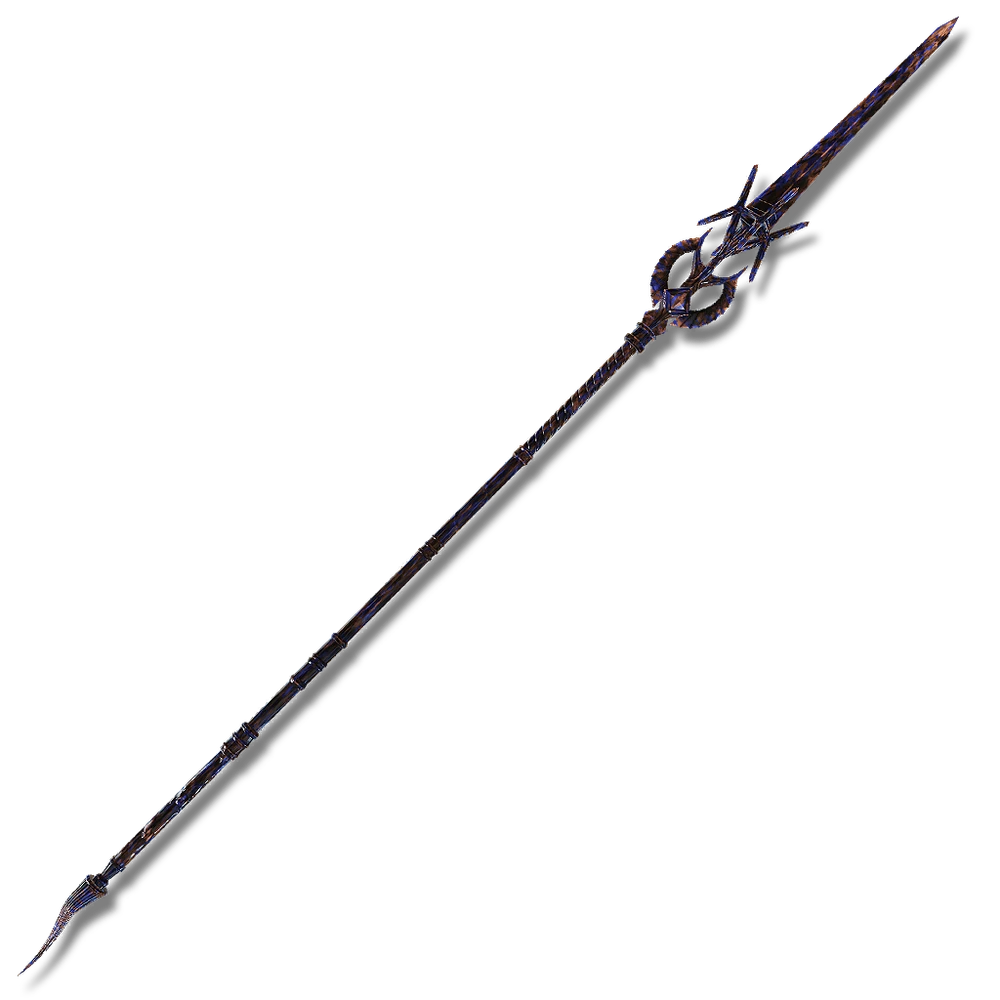
This is a crystal spear that’s festering with scarlet rot. As a result, it can inflict scarlet rot damage with its attacks. Its unique skill is also Charge Forth.
Cleanrot Spear
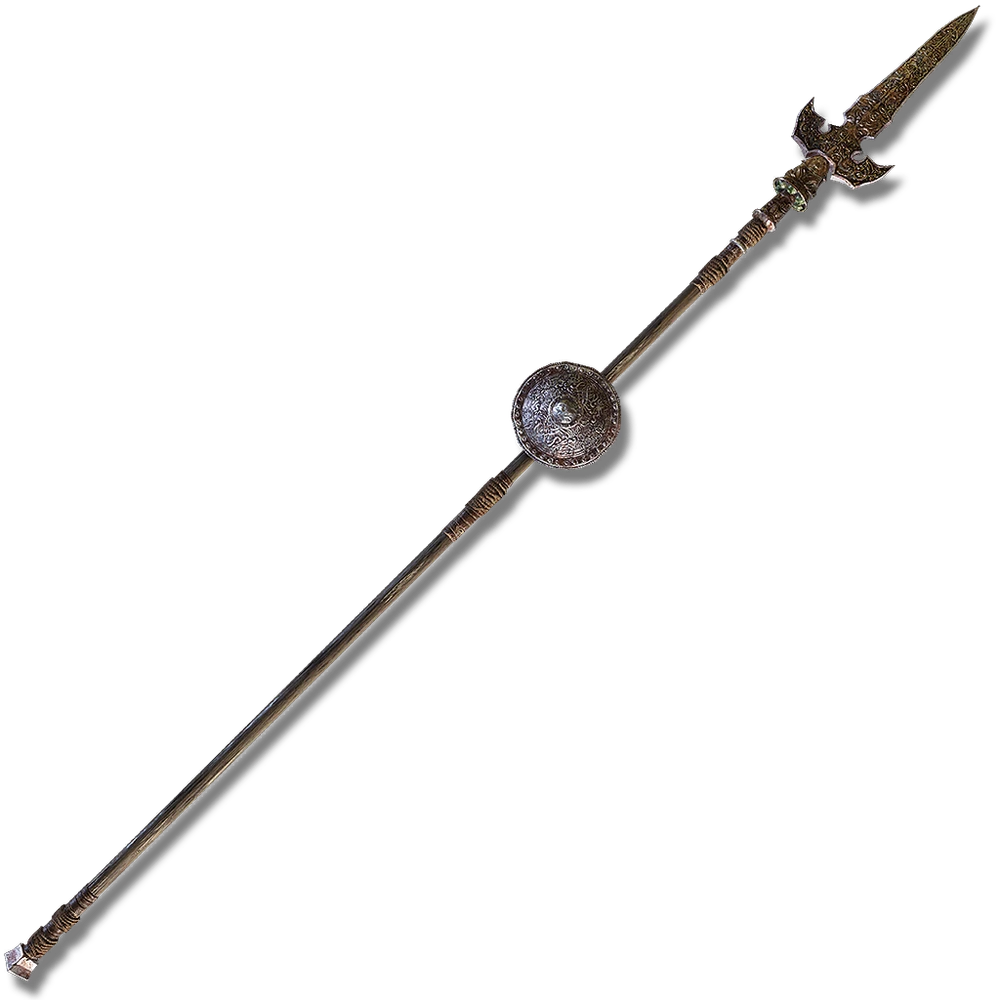
The Cleanrot Spear deals holy damage with each strike, and raises the Tarnished’s immunity stat by 50 points when equipped. Its unique skill, the Sacred Phalanx, causes a palisade of golden magical spears to temporarily erupt in front of the Tarnished.
Death Ritual Spear
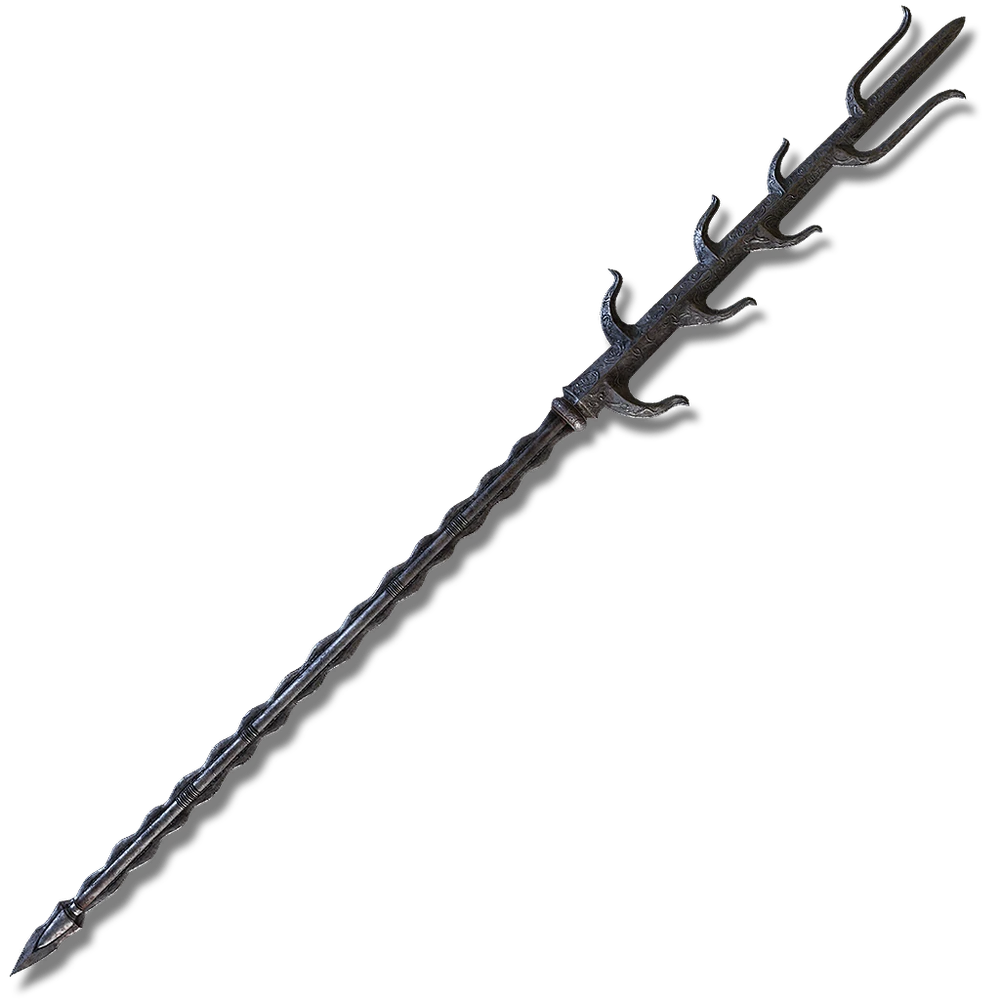
This horrifying looking spear deals both physical and magical damage with each strike. Its unique skill, the Spearcall Ritual, allows the Tarnished to summon a downpour of spectral spears to strike the ground in front of them.
Bolt of Gransax
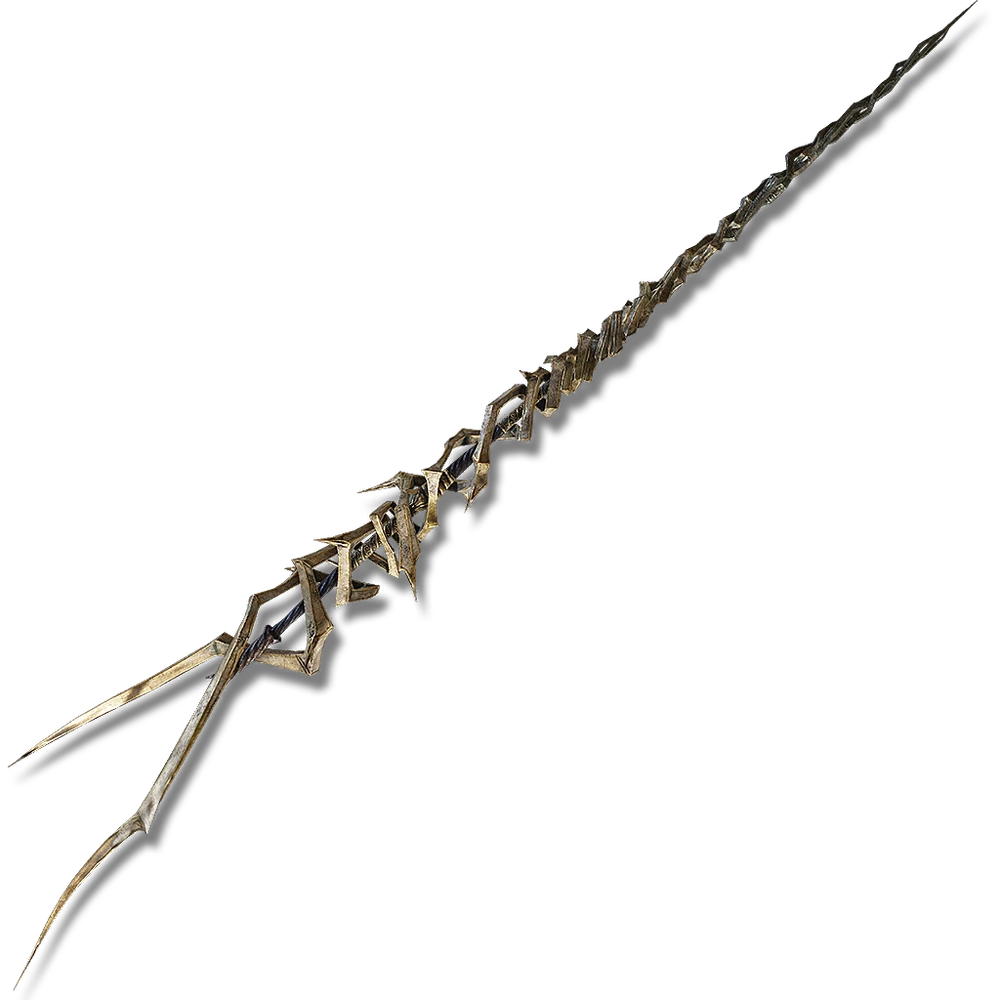
A spear forged from Gransax’s weapon, this formidable spear deals lightning damage with every strike. It deals additional damage to dragons (which will unfortunately not help too much against the Hero of the Wild), and has a devastating unique skill, the Ancient Lightning Spear. This transforms the Bolt of Gransax into a red lightning bolt, the favored weapon of ancient dragons, and hurl it with devastating force, the Bolt of Gransax returning to the Tarnished’s hand after striking its target.
Great Spears

Great Spears, similar to the Greataxes, act as a sort of big brother to the regular spears. While they’re attack speed is slow compared to the regular versions, they make up for it with extreme raw power and great range to attack at a distance. A full list of these weapons can be found here.
Unique Great Spears
Serpent-Hunter
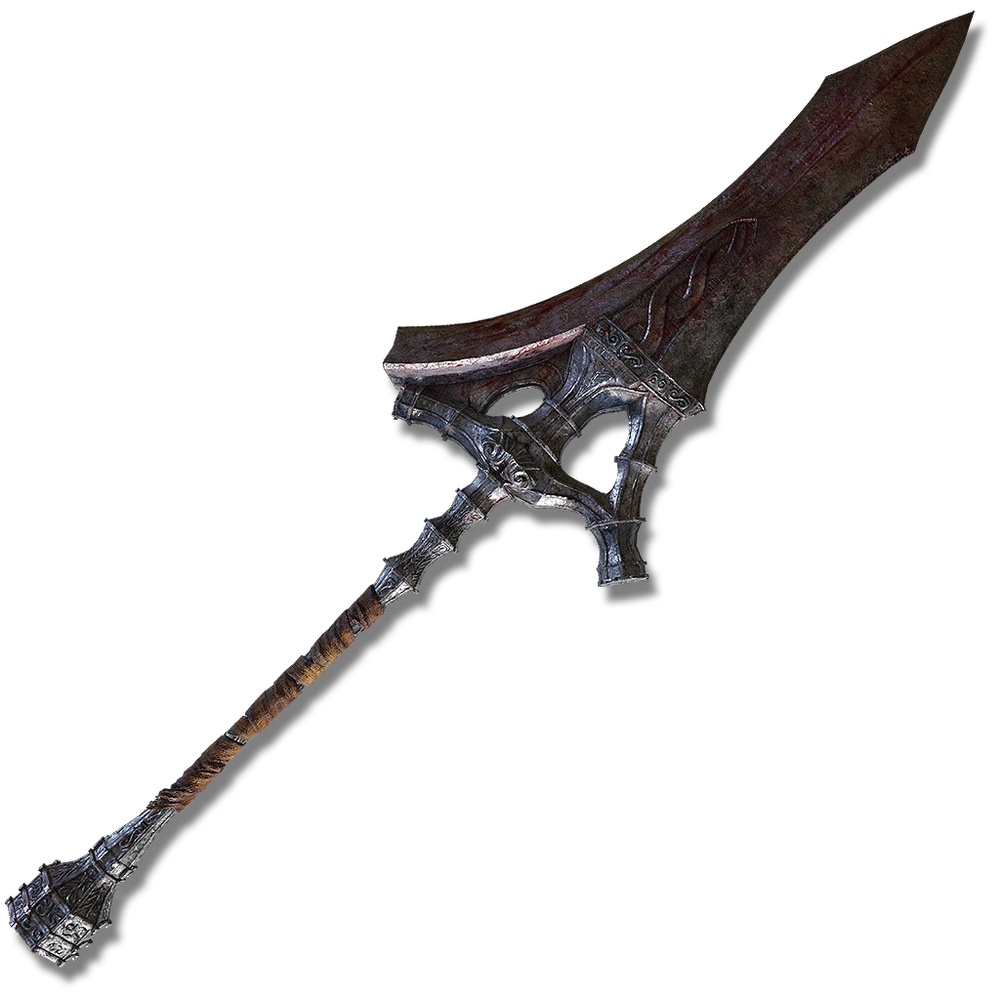
A weapon believed to have hunted and slain a great serpent in the past, it boasts immense range and striking power, befitting of a great spear. Its unique skill, Great Serpent Hunt, lets Tarnished perform a powerful lunge towards the enemy before thrusting upward.
Siluria’s Tree
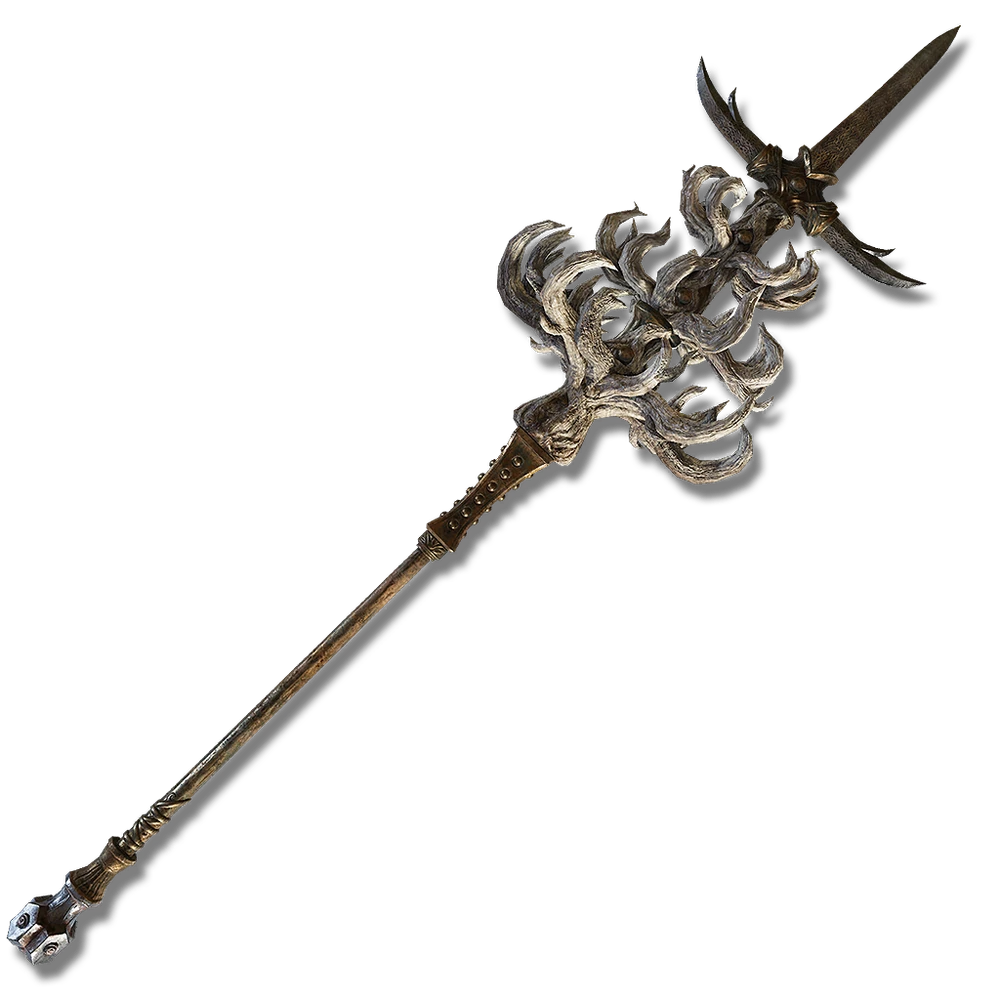
Siluria’s Tree is an ideal weapon of choice if you want to deal some holy damage, fitting for a weapon wielded by one of the honored Crucible Knights. Its unique skill, Siluria’s Wave, lets Tarnished thrust the spear in a spiraling motion. If they charge up the attack, it allows Tarnished to fire a small flaming tornado towards opponents.
Vyke’s War Spear
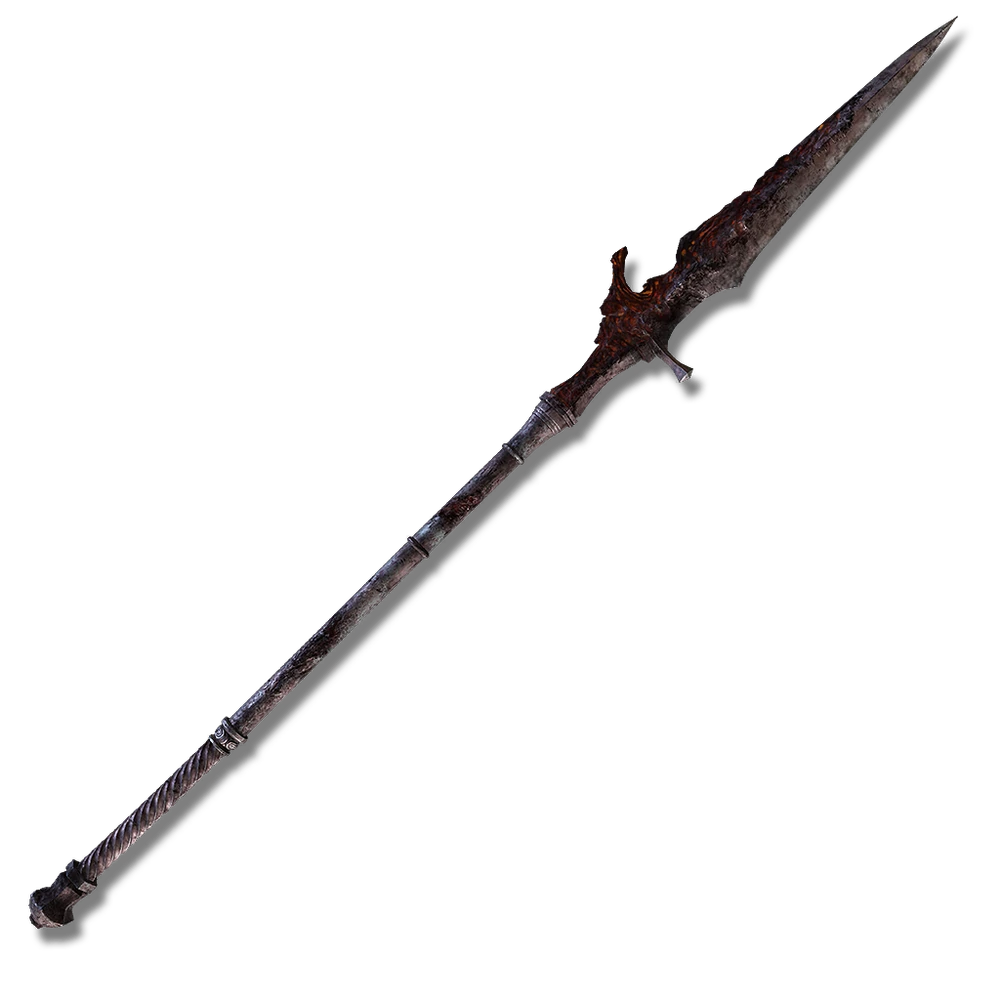
A powerful Great Spear once wielded by the Knight of the Roundtable Hold. Its unique skill Frenzyflame Burst allows Tarnished to imbue the weapon with flame and striking the ground, creating an explosion that afflicts enemies with Madness. Downside is that it can also affect Tarnished. Whoops.
Bloodfiend’s Sacred Spear
A spear used during the blood rituals of the bloodfiend hexers with good range and strength. Its unique skill, Bloodfiends’ Bloodboon, creates an explosion of bloodflame around the area.
Barbed Staff-Spear
The powerful greatspear used by the inquisitor, Jori, which deals holy damage with every strike. Its unique skill, Jori’s Inquisition, lets Tarnished fire a succession of golden rays toward the enemy.
Halberds

Halberds are weapons which utilize exceptional reach, stabbing attacks, and wide swinging attacks. Historically, they came into prominence between the 13th and 16th centuries. A full list of all the halberds available to the Tarnished is available here.
Unique Halberds
Spirit Glaive

Evidently a glaive is considered a halberd, it’s just a difference in construction. A halberd is more like an “axe on a stick,” and a glaive is more like a “sword on a stick.” The more you know! Anyway, this unique halberd was introduced in the Shadow of the Erdtree DLC. Its unique skill is the Rancor Slash, which would allow the Tarnished to augment this weapon’s vicious swings with a barrage of enemy-seeking vengeful spirits.
Gargoyle’s Black Halberd
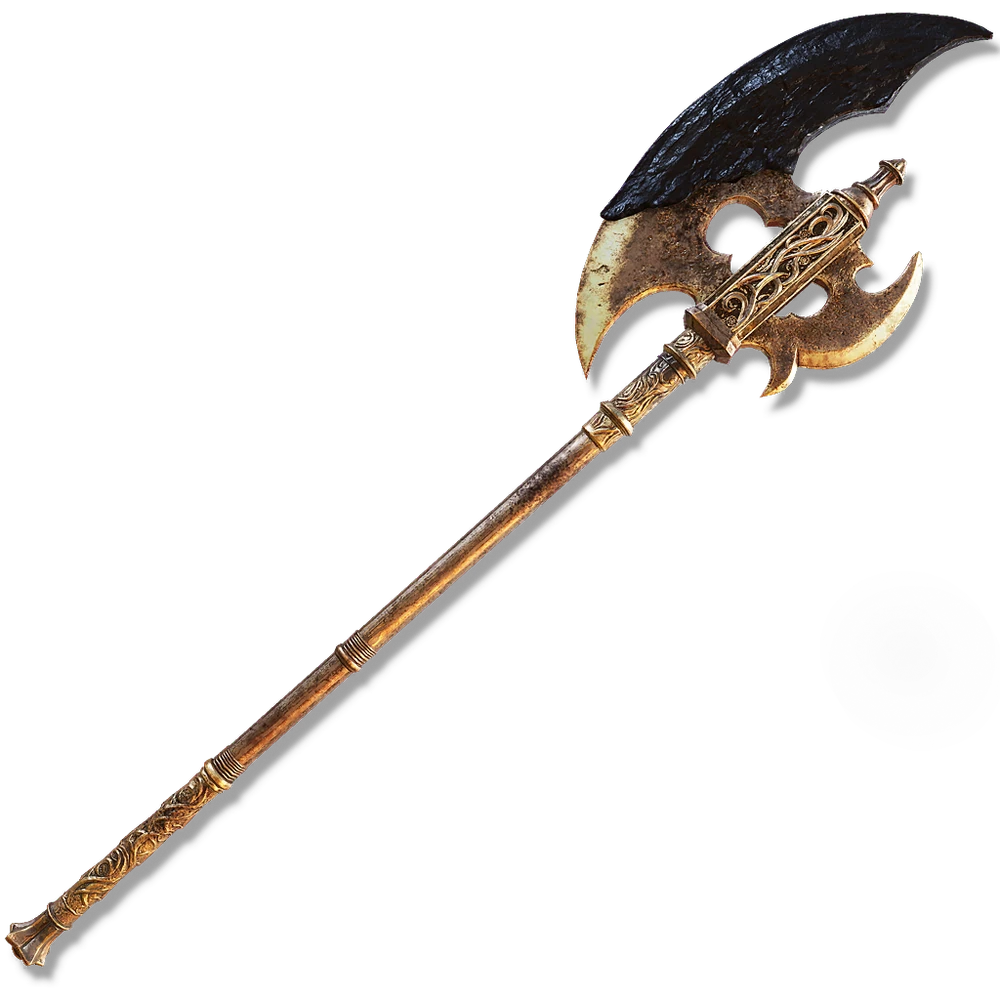
A unique halberd which is especially unique for being referred to as a halberd, this option can deal holy damage with each strike. This halberd’s unique skill is the Spinning Slash, which allows the Tarnished to spin to (try to) win.
Golden Halberd
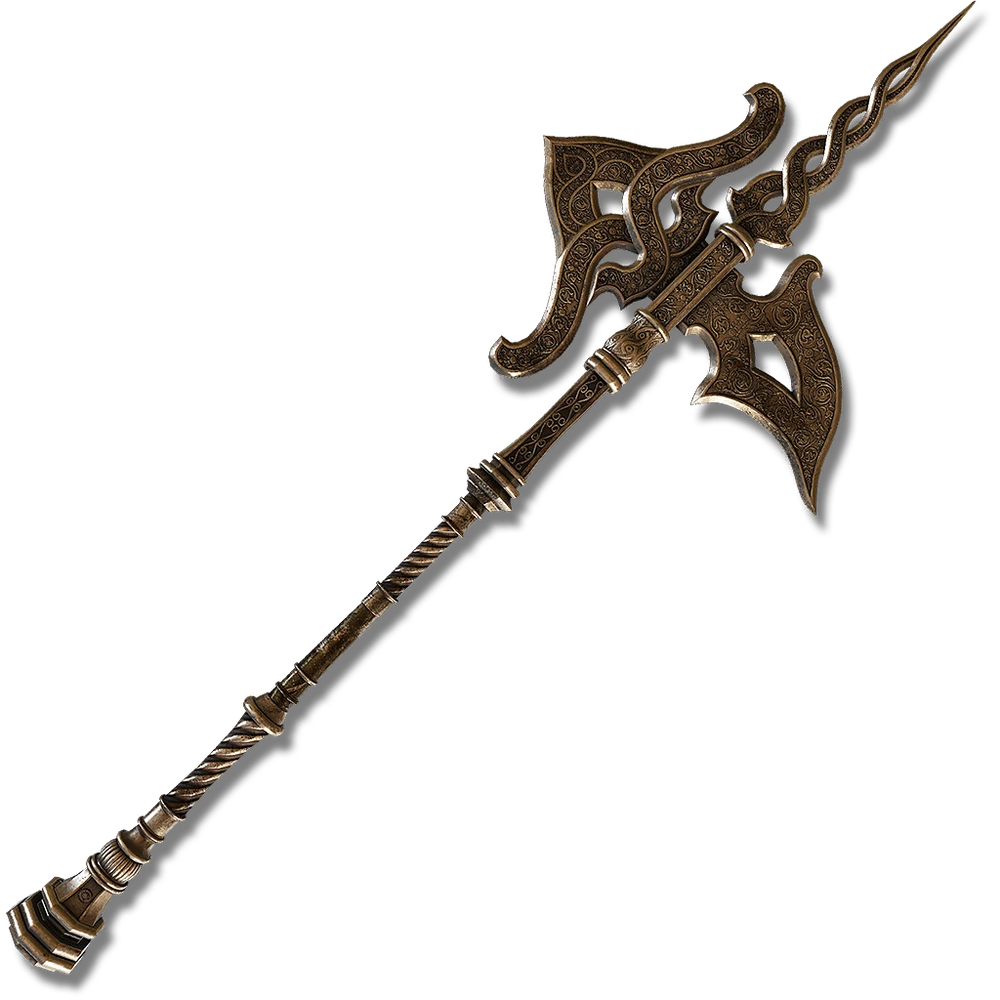
This is another unique halberd which deals holy damage with each strike. Am I noticing a pattern? Either way, this halberd’s unique skill is the Golden Vow, which the Tarnished could use to raise their attack and defense for a short period of time.
Dragon Halberd

This unique halberd might not deal holy damage on every slash, but its version of the unique skill Spinning Slash imbues it with additional lightning and frostbite damage for 45 seconds. Plus, it comes out a little faster!
Loretta's War Sickle

A War Sickle is evidently a type of polearm, which technically counts as a type of halberd. I suppose that, for Elden Ring’s purposes, all halberds are polearms, but not all polearms are halberds (spears). Got it! Anyway, this weapon’s Unique Skill is Loretta’s Slash, which enables the Tarnished to perform a lunging rising glintstone magic-infused slash, and then crash down with another one.
Commander’s Standard
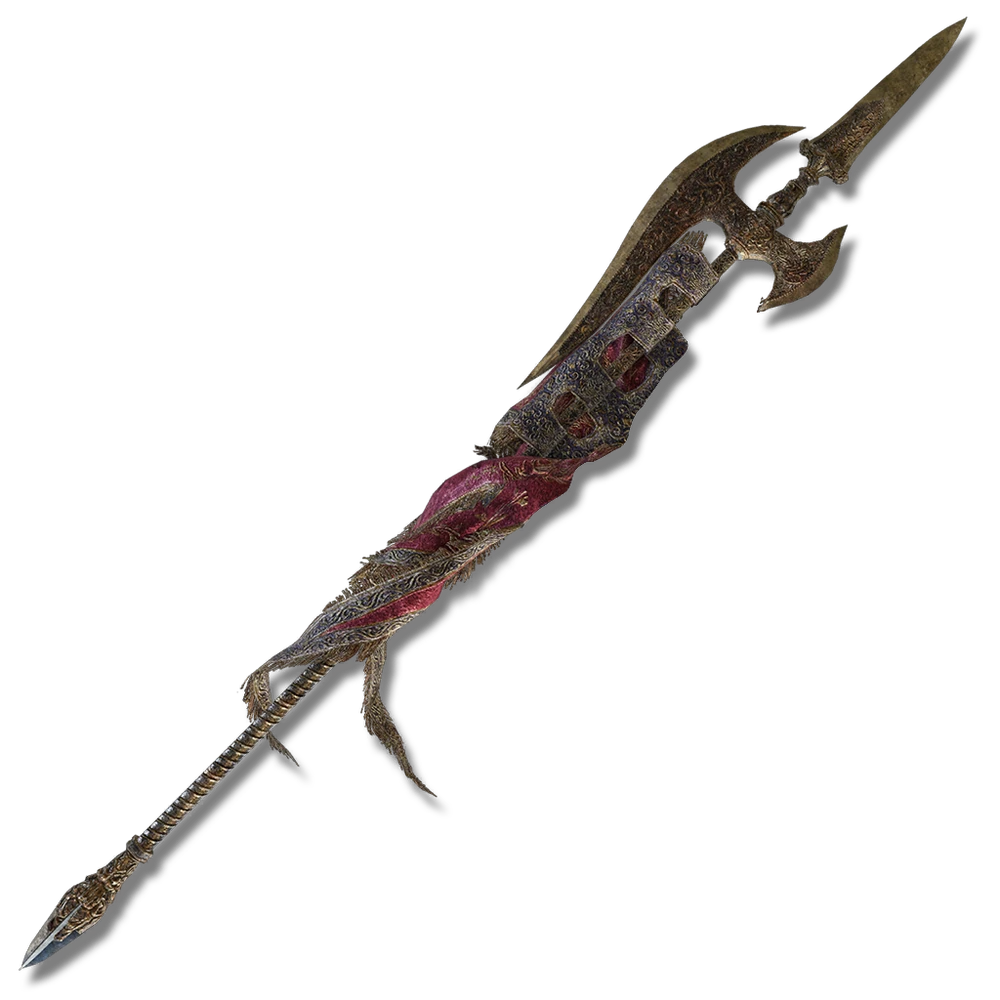
Glory, brave knights! This weapon is a flag wrapped around a halberd, which is good, because I thought Elden Ring considered flags halberds and was about to get fed up. The Tarnished can use this weapon’s Unique Skill, the Rallying Standard, to increase their damage (and the damage of their nearby allies, if they have any) by 20% for 30 seconds.
Reapers
The reapers or if you prefer calling it the scythes are long range weapons with a unique sweeping moveset. While not exactly an easy weapon to use, they can be good for sneaking around shields with proper spacing. List here.
Unique Reapers
Halo Scythe
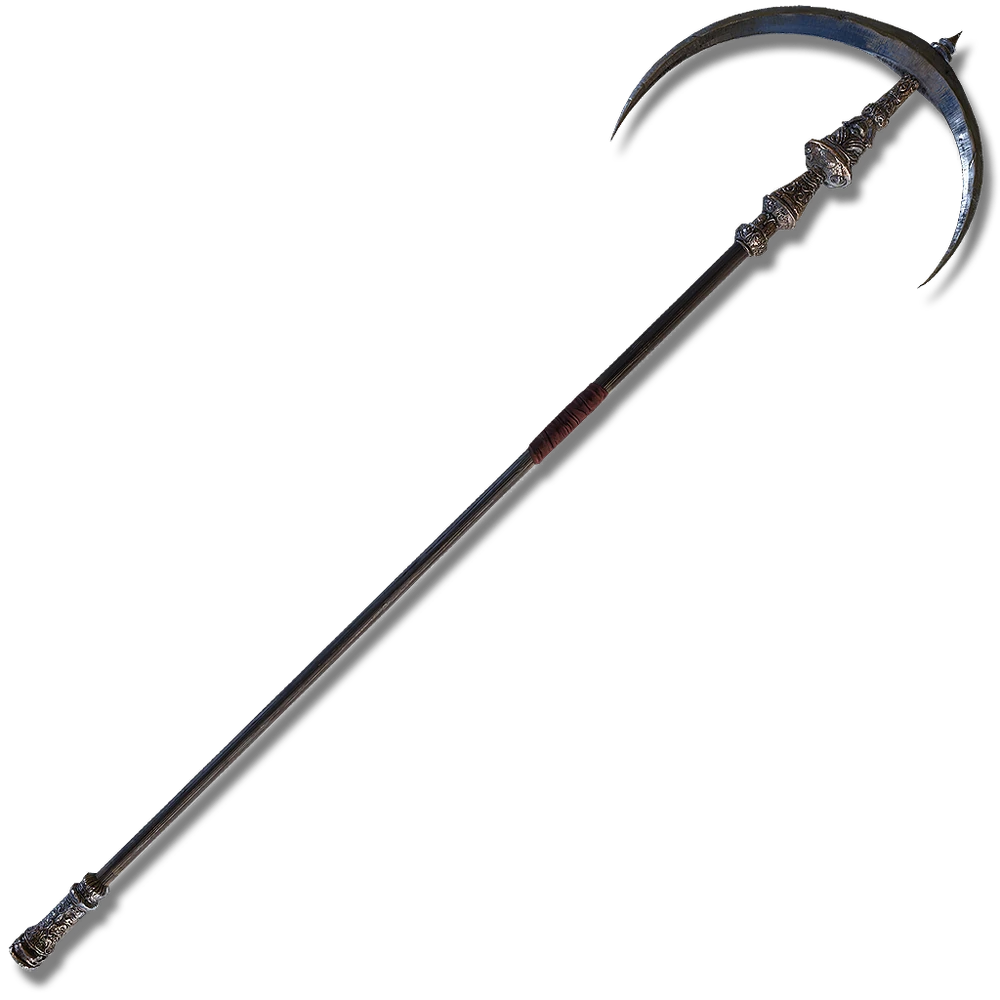
The war scythe used by the Cleanrot Knights who fought alongside Malenia herself. This scythe while able to trigger blood loss is also capable of dishing out holy damage. Miquella’s Ring of Light will have the Tarnished throw out shining halos from the scythe, dealing deadly holy damage.
Winged Scythe
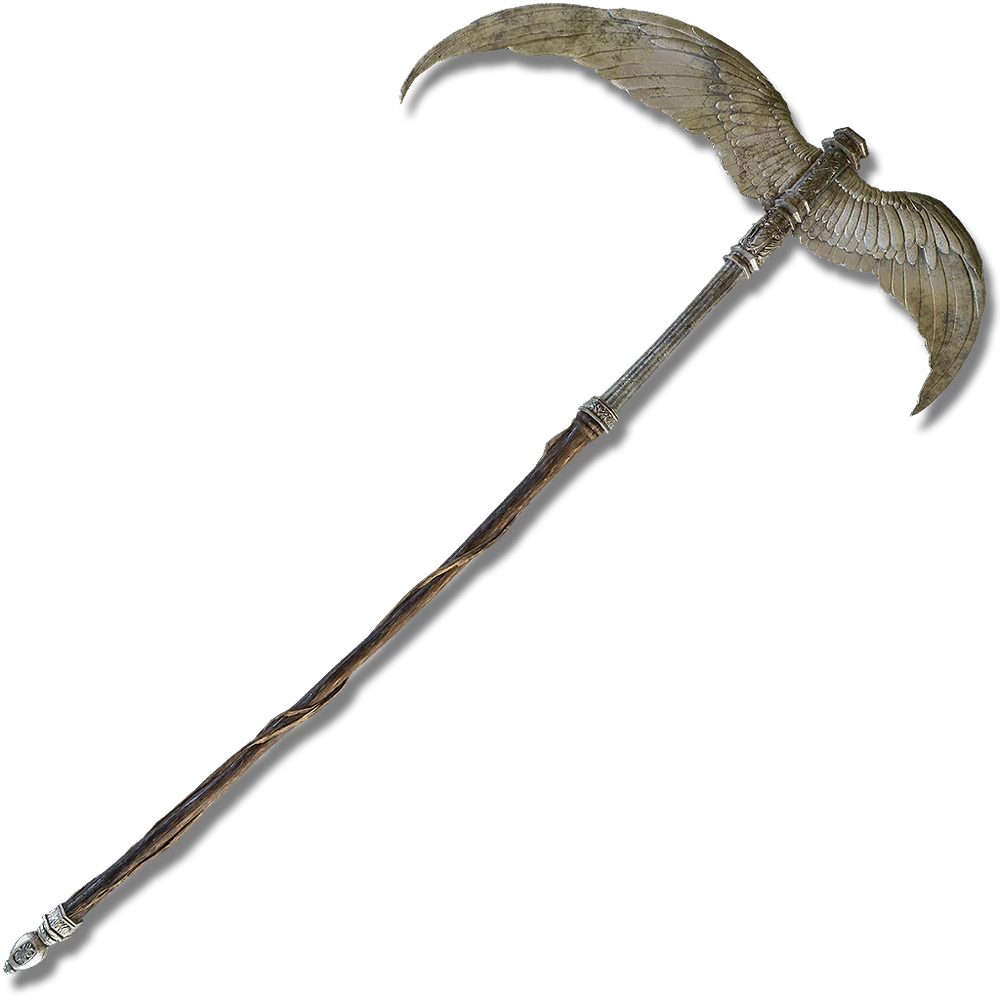
This scythe modeled off a…well, wing also deals strong holy damage while also being decent for blood loss buildup as well. The skill Angel’s Wing has the Tarnished jump, imbue the scythe with holy magic before striking down with a powerful slash.
Obsidian Lamina
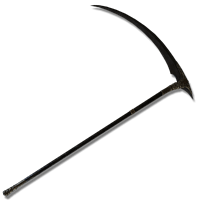
This unique scythe introduced in the DLC is the signature weapon of the Pureblood Knight Ansbach. The name is fitting as it’s a deadly swipe, sowing blossoms of red in the battlefield and able to cause blood loss easily. Its unique skill Dynastic Sickleplay is an evasive skill that does alot of swings but with smartplay able to stay out of danger’s reach.
Whips
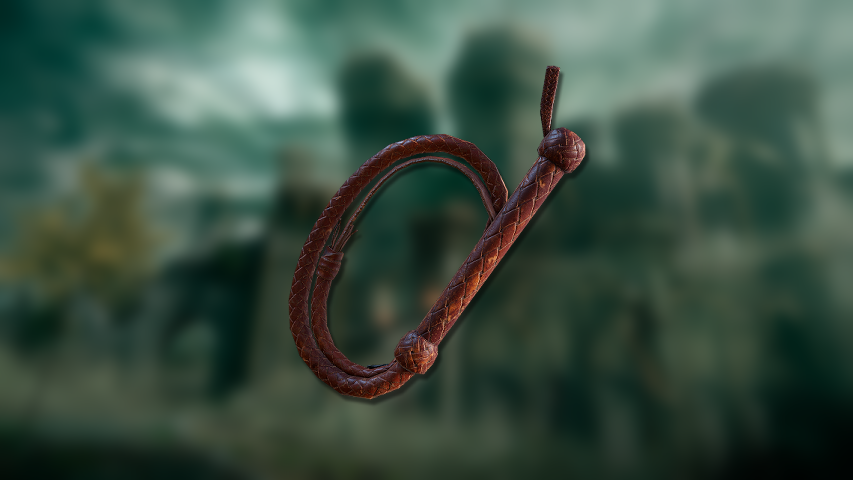
The whip as one would expect is a long ranged weapon that’s really hard to be parried normally. It usually only deals moderate damage compared to others and you may want to pick something else against heavily armored characters, but it’s still a good weapon class if you like striking from a far. Full list here.
Unique Whips
Magma Whip Candlestick

Formed in the magma of Mt. Gelmir, this candlestick may seem a little weird, but it actually uses flames of lava as its whip, which as you can imagine deals good fire damage. The unique skill Sea of Magma has the Tarnished swing the whip overhead like crazy, spreading forth a huge amount of magma around the area.
Tooth Whip
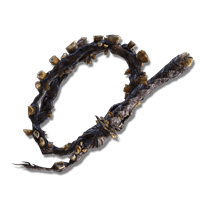
This whip is riddled with rotten teeth and seething with disease which is…quite frankly disgusting, but thankfully for the Tarnished, it won’t affect them and is useful for inflicting some poison damage. Painful Strike will have the Tarnished let loose a flurry of whip strikes, dealing poison damage while also actually debuffing their enemies stamina recovery speed for 30 seconds.
Fists
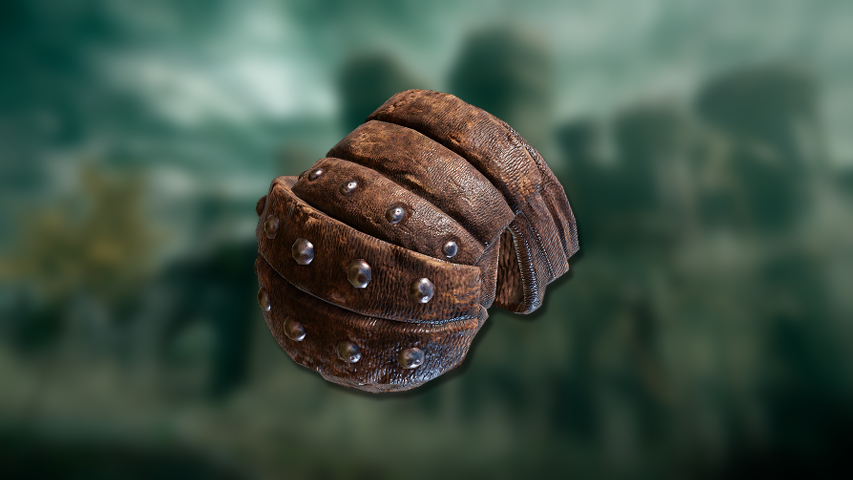
Sometimes you just want to punch someone and these Fists will usually always do the trick. While lacking in range of course, they make up for it in speed, letting you take care of hostile enemies quickly. Full list here.
Unique Fists
Cipher Pata
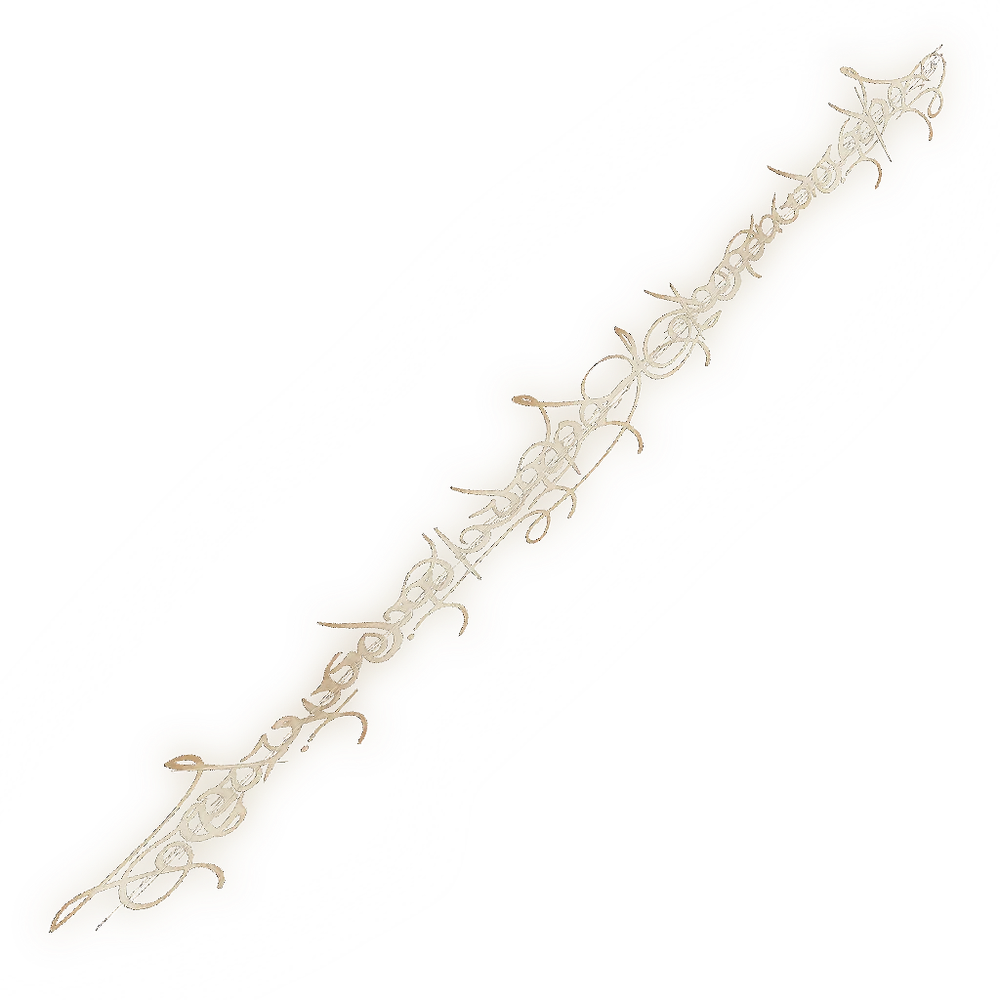
A weapon originating from the Two Fingers, this formless cipher literally sicks out from your fist to deal holy damage. Unblockable Blade fitting can’t be blocked normally as it lunges forward with the cipher blade of light with a piercing attack.
Thioller’s Hidden Needle

This concealed blade used by Thoiller himself, a rich poison is actually in the blade, letting you build up sleep as well as do damage. Sleep Evermore will have the Tarnished pierce the opponent with said coated blade, delivering eternal sleep buildup and if it hits someone already sleeping, it’ll deal even more damage than usual.
Poisoned Hand
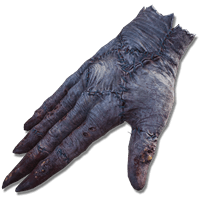
A glove that was stitched together from the skin of poor victims of a bloodbath (jesus christ). When worn and attacked, it’ll deal poison buildup, scaling well with arcane, and it’ll deal even more damage if poison is already inflicted. Its unique skill Poison Spear-Hand Strike will have the Tarnished lunge forward with a plunging strike that’ll deal a large dose of poison, almost guaranteeing they’ll be inflicted with the status effect.
Madding Hand

Another glove you can see is the more literally and figuratively mad brother of the above, this weapon will not only deal damage, but also inflict madness, potentially inflicting the status effect and if it does, it’ll deal even more damage. Madding Spear-Hand Strike unleashes a plunging strike of madness and a lot of it, potentially inflicting it one strike.
Claws

If you ever wanted to be like Wolverine, these weapons are for you. These are meant for quick close ranged combat that can inflict bleed really easily with how many rapid sharp attacks you’ll be landing. While there aren’t any uniques, these are still deadly weapons that shouldn’t be messed with. Full list here.
Backhand Blades
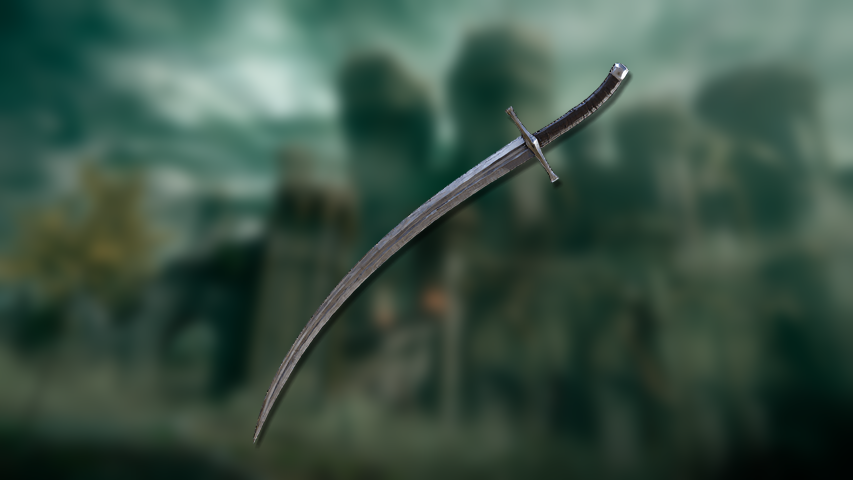
These blades are dual wielded with both arms with the blade of the sword opposite to the direction of the wielding hand thumb. While unorthodox, they are still effective (and cool looking!) weapons that the player can also block with too. List here.
Unique Backhand Blade
Curseblade’s Cirque
The only unique weapon of this class, these circular weapons are strong powerful weapons that can inflict bloodloss really easily especially with its rapid attacks. No easier way to do it than with its unique skill Deadly Dance where they’ll deal a spinning blade attack before ending with an axe kick.
Beast Claws
Let loose the power of the beast with these claws. While similar to previously mentioned claws, these offer a different moveset. It has a built-in feint, allowing for aggressive nimble attacks while being able to stay out of harm’s way. List here.
Unique Beast Claw
Red Bear’s Claw
Made from a red bear whose name is lost to madness, look no further than these if you want a weapon that delivers rapid attacks while inflicting bleed easily. The unique skill Red Bear Hunt will create a vacuum effect with a huge swipe of its hand that has two powerful followup attacks.
Great Katanas
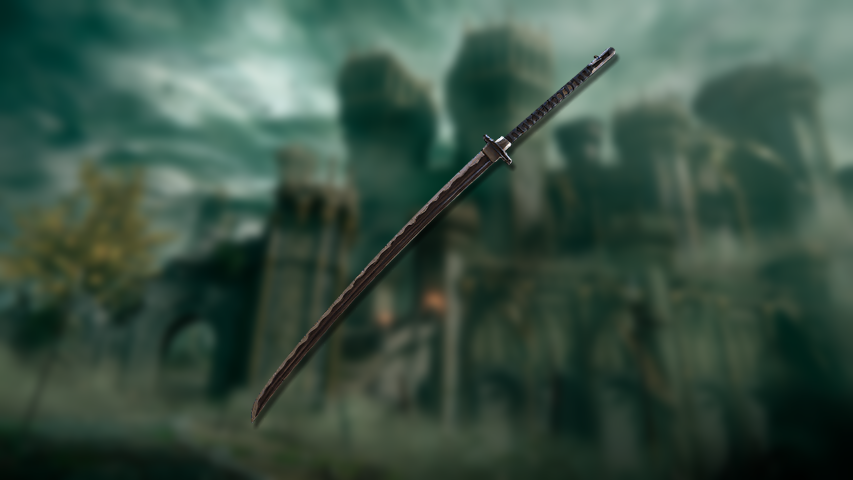
Sacrificing speed and precision, it does have its faults, but in exchange it has even more reach and power and considering these are still katanas, they’ll inflict great bleed damage, making them very handy weapons to have.
Unique Great Katanas
Dragon-Hunter’s Great Katana
As the name would suggest, it’s exceptional at hunting dragons…but you know, it’d still hurt people pretty well too, especially with its long reach, power and bleed build up. Its skill Dragonwound Slash will cloak the blade with an aura before dealing a high leaping slash and you can even charge it to fire the aura.
Rakshasa’s Great Katana
The main weapon of Rakshasa himself (duh), it has a lot of great range, damage and blood build up all while decreasing your chances of getting staggered while using it. While Weed Cutter is a strange name for its signature skill, it in fact covers a huge range with its two powerful horizontal strikes.
Hand-to-Hand Weapons
While the previously mentioned claw weapons offer a form of hand to hand combat already, these focus more on actual martial arts, allowing for quick moves and moves like palm blasts. There are no unique weapons. List here.
Light Greatswords
Sacrificing some power, but being lighter, faster and having the same length as a normal greatsword, these are effective weapons that shouldn’t be underestimated. Full list here.
Unique Light Greatsword
Leda’s Sword
Used by 3rd best girl (after Ranni and Malenia!) in the game, this special sword is a special weapon that deals holy damage as well, making it great for Faith builds. The unique skill Needle Pierce will generate 10 gold magical needles that pierce their target all at once, dealing some devastating damage.
Perfume Bottles
Not to be confused with the key item of the same name, while it may seem strange to use cologne spray in battle, in actuality these bottles contain very potent mixtures of different elements that the Tarnished can spray on their enemies, covering wide arcs with a powdery but deadly substance. Go here for the full (albeit small) list.
Unique Perfume Bottle
Deadly Poison Perfume Bottle
The only unique perfume bottle that’s customized by Thoiller, it’ll deliver some deadly poison should the Tarnished spray these out. It has its own unique skill aptly named Deadly Poison Spray which will spray the poison rapidly all around the player, but should be careful since they’re vulnerable to the poison too!
Throwing Blades
While lacking in physical range, it makes up for in speed and being able to be thrown repeatedly as a projectile that never seems to run out as it’ll spawn back to the Tarnished’s hand…somehow. These also have a built-in feint move, letting you be very versatile with this weapon class that otherwise only has one weapon in it’s class.
Thrusting Shields
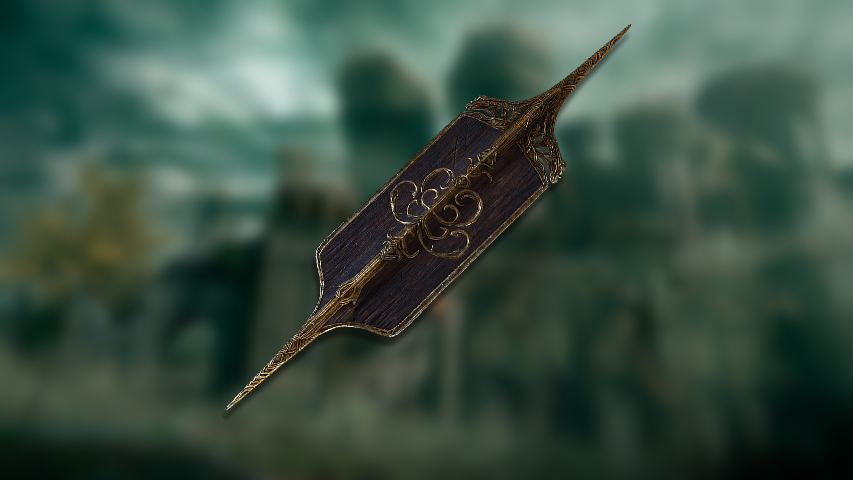
Have you ever heard of the phrase “the best defense is a good offense?” These weapons exemplify that to a T. Performing a light attack or guard counter will automatically have you ready to block and you’ll even begin a block at the beginning of a heavy attack. While it has no uniques, it’s still a nice weapon to have especially for those who like being a little careful. List here.
Light Bows
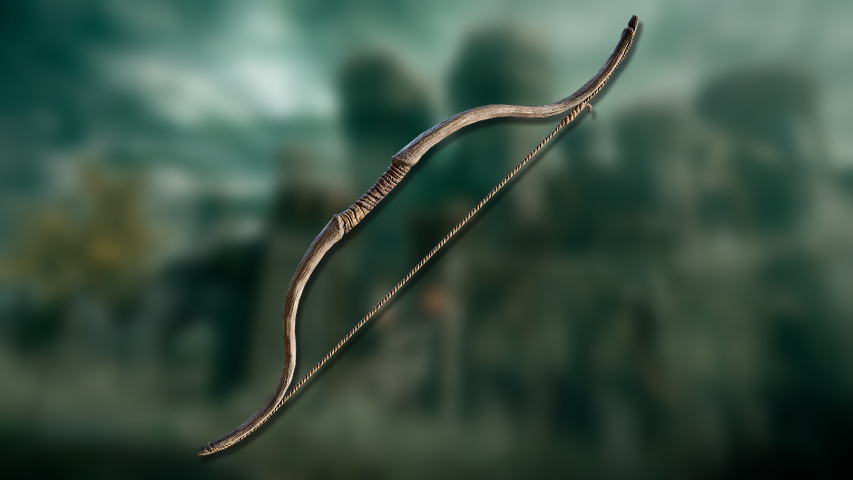
If the Tarnished needs to fight far from far distances, look no further than these next several options. The light bows in particular are definitely weaker and, well, lighter compared to their regular counterpart, but to make up for it, they can quickly fire an arrow after rolling, sprinting and landing from a jump, making this more useful for players that want a more mobile playstyle. Full list here.
Unique Light Bow
Bone Bow
The only really unique light bow, this bow is made up of sickly bone and a product of the hexing arts. It’s unique skill Rancor Shot imbues its arrows with vengeful spirits that’ll home into the nearest enemy, perfect if you have trouble aiming and just want to fire an arrow quickly.
Bows

Now the regular bow is the most well balanced of the arrow shooters of the game. While you generally don’t want to stay too close to an enemy, if you need to attack from afar, nothing is more reliable than these. Full list here.
Unique Bow
Ansbach’s Longbow
The only unique bow is at least a pretty cool looking one. Unusually, it has two bow bodies and two strings, making this more unorthodox compared to others, but it’s still an effective one. No better example of that than with its unique skill Fan Shot where the Tarnished will fire 8 arrows at once in a fan like pattern, so imagine the damage if all those hit somehow.
Greatbows

If you don’t mind sacrificing a bit of speed and mobility for more power and the great potential to break guard, look no further than the greatbow. These bows require great arrow ammunition compared to the others and you can’t jump while firing it, making it risky upclose. Still, getting hit by even one shot will hurt, so don’t underestimate it. Full list here. There are no uniques.
Crossbows
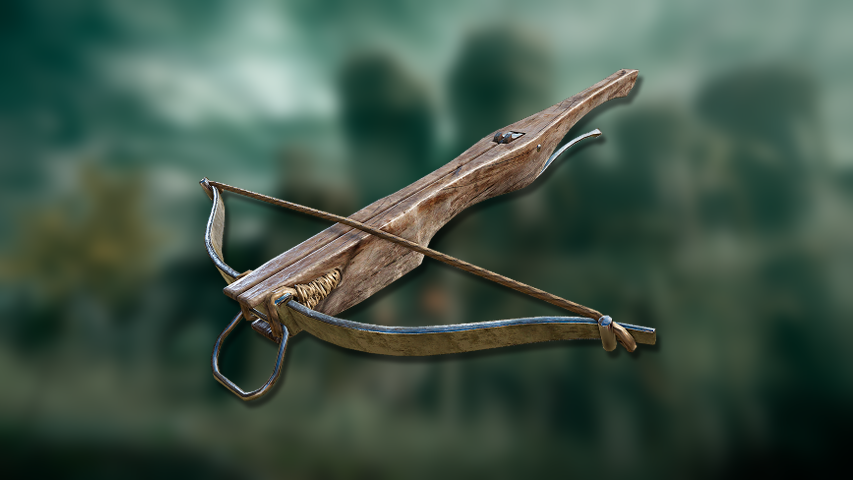
The crossbow fire bolts compared to arrows, but nonetheless still effective ranged weapons. Unlike bows, they must be loaded with ammo before firing, but the upside is that it can fire immediately without a draw animation, so preparation is key to using these. Full list here.
Unique Crossbow
Repeating Crossbow
The repeating crossbow excels in rapid fire compared to others, thanks to its fan-shaped contraption. Its unique skill called Repeating Fire has the Tarnished ready themselves before cranking the handle to fire bolts in rapid succession, shredding through enemy health to those foolish enough to get in the way of them.
Ballistas
These ranged weapons are basically the older heavier brother of the crossbow, offering more power and guardbreak in exchange for less mobility. This weapon category also includes cannons (without any special skills), which are of course very powerful weapons though aiming them may be difficult in the hands of a novice. Still, despite there being no uniques, don’t underestimate these. Full list here.
Glintstone Staffs

These magical staffs are the main way the Tarnished can use sorceries (full list later). Most of them don’t really come with any special skill, so you’re mainly going to use these to cast spells. However, some of them do boost certain types of sorceries, such as:
Maternal Staff: Boosts Finger Sorceries by 15% and boosts Hemorrhage buildup.
Digger’s Staff: Boosts Stonedigger Sorceries by 20%.
Azur’s Glintstone Staff: Reduces casting time by 8% but consumes 20% more FP.
Lusat’s Glintstone Staff: Has enhanced sorcery scaling compared to others, but uses 50% more FP.
Carian Glintstone Staff: Boosts Carian Sword Sorceries by 15%.
Carian Glintblade Staff: Boosts Glintblade Sorceries by 15%.
Albinauric Staff: Boosts blood loss buildup of Sorceries.
Gelmir Glintstone Staff: Boosts Lava sorceries by 15%.
Crystal Staff: Boosts Crystalian Sorceries by 10%.
Rotten Crystal Staff: Boosts Crystalian Sorceries by 10% and causes scarlet rot buildup with melee attacks.
Meteorite Staff: Boosts Gravity Sorceries by 30%.
Staff of the Guilty: Boosts Aberrant Sorceries by 20% and causes blood loss build with melee attacks.
Prince of Death’s Staff: Boosts Death Sorceries by 10%.
Sacred Seals

On the other side of the magic in Elden Ring, we have Incantations that we used Sacred Seals for. Again, these don’t have unique skills, so you’re exclusively using these for magic, but they do come with their special boosts, including:
Dryleaf Seal: Boosts golden rings of light incantations.
Fire Knight’s Seal: Boosts Messmer Fire Incantations by 15%.
Spiraltree Seal: Boosts Spiral Incantations by 20%.
Golden Order Seal: Boosts Golden Order Incantations by 10%.
Gravel Stone Seal: Boosts Dragon Cult Incantations by 15%.
Giant’s Seal: Boosts both Fire Giant and Fire Monk Incantations by 20%.
Godslayer’s Seal: Boosts Godskin Apostle Incantations by 10%.
Clawmark Seal: Boosts Bestial Incantations by 10%.
Frenzied Flame Seal: Boosts unsurprisingly Frenzied Flame Incantations by 20%.
Dragon Communion Seal: Boosts Dragon Communion Incantations by 15%.
Remembrance Weapons
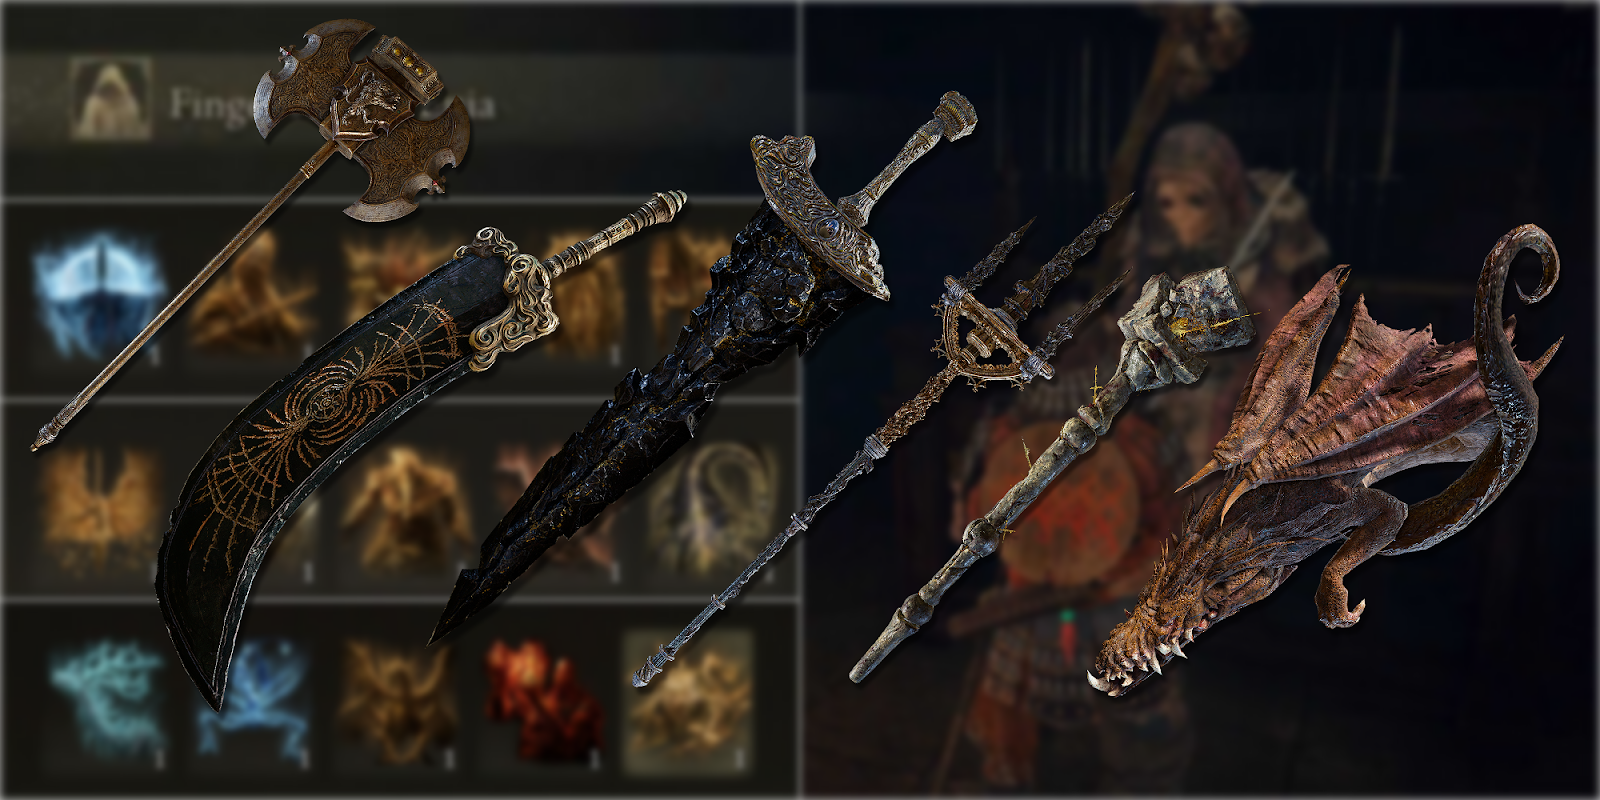
Remembrance weapons are the weapons the bosses used themselves. Once defeated The Tarnished gains their remembrance which they can use to either gain more Ruins and level up or use them to obtain their weapon of choice. These weapons include:
Axe of Godrick
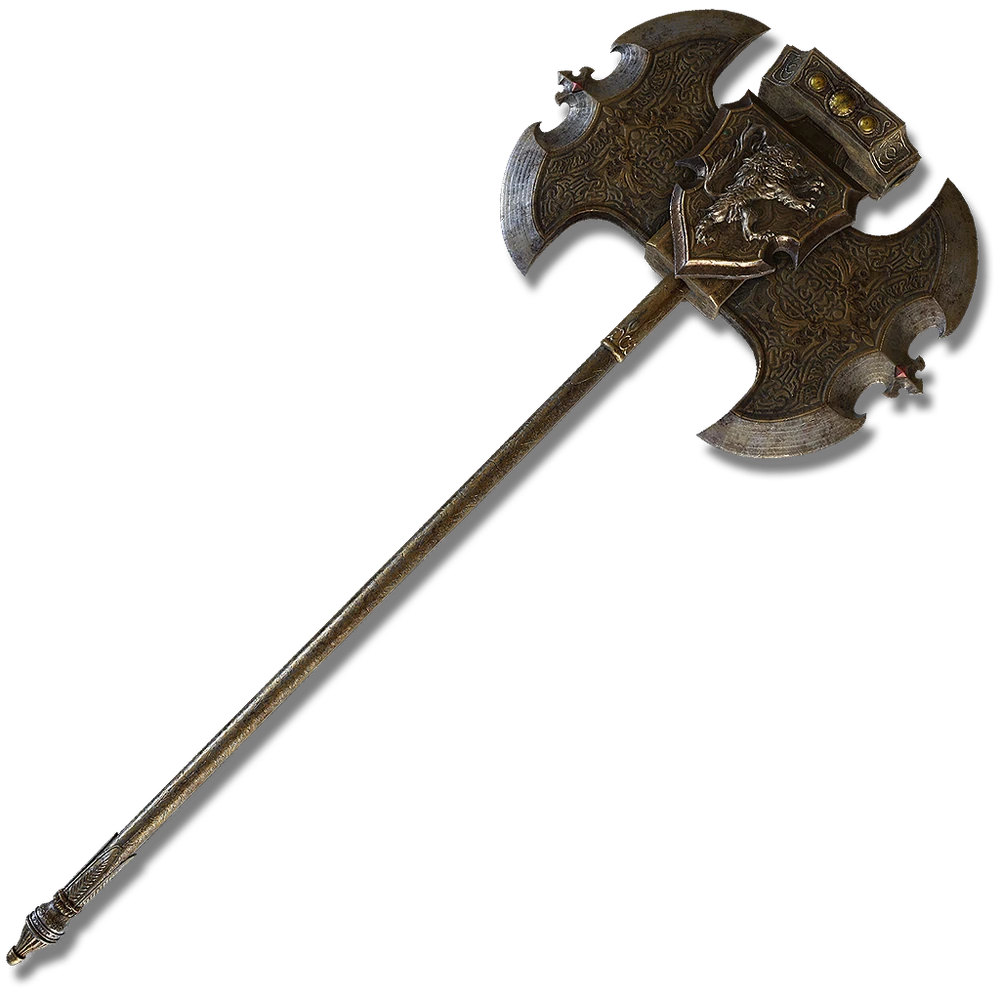
These weapons were used by the first Demigod The Tarnished will face, Godrick the Grafted. His first weapon is his axe. The axe is emblazoned with the figure of the beast, this is meant to represent the strength of Godfry the first Elden Lord. This weapon comes with a unique skill called I Command Thee, Kneel! where The Tarnished smashes the Axe in the ground to make three shockwaves for AoE attacks.
Grafted Dragon
The second weapon is the Grafted Dragon. This weapon acts as a gauntlet for The Tarnished for their right arm, similar to how Godrick used a dragon head in their boss fight. This weapon's unique skill, Bear Witness!, allows The Tarnished to bring a bit of life into the dragon head, making fire around the area.
Carian Regal Scepter
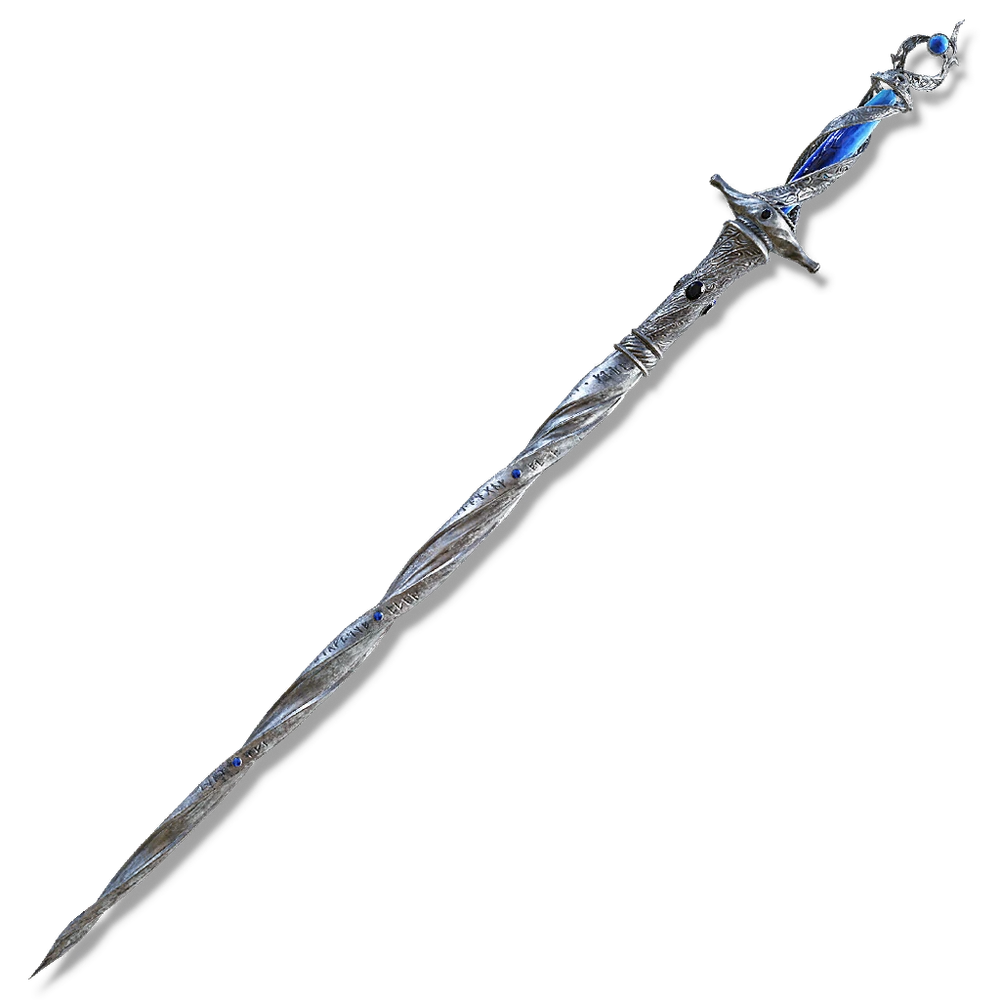
A staff which was used by The Magic Scepter of the Full Moon Rennala. This staff is used for The Tarnished when using magic attacks. Its unique skill Spinning Weapon allows The Tarnished to suspend the weapon the specter in midair and do massive magic damage to those who are hit with it.
Starscourge Greatsword

These two weapons were held by General Radahn. These two weapons with their unique skills show his mastery of Gravity Magic. With the curved Greatsword that is decorated with a Lion mane motif. The weapons skill Starcaller Cry allows The Tarnished to use gravity magic to pull the target near them and slam down the gravity infused swords dealing devastating damage.
Lion Greatbow

Radahn's second weapon of choice was the Lion Greatbow, made with Black Iron. The weapon while being big for The Tarnished can deal major damage from a range. And with its unique skill called Radahn’s Rain, The Tarnished can use gravity magic to rain arrows on the target.
Blasphemous Blade
This blade was used by Rykard, the lord of Blasphemy and is covered by the victors of the lord. This weapon can restore The Tarnished health when they kill an enemy. The unique skill Taker’s Flame allows The Tarnished to send flames at their target and with every enemy hit by the move it will recover The Tarnished HP.
Maliketh’s Black Blade
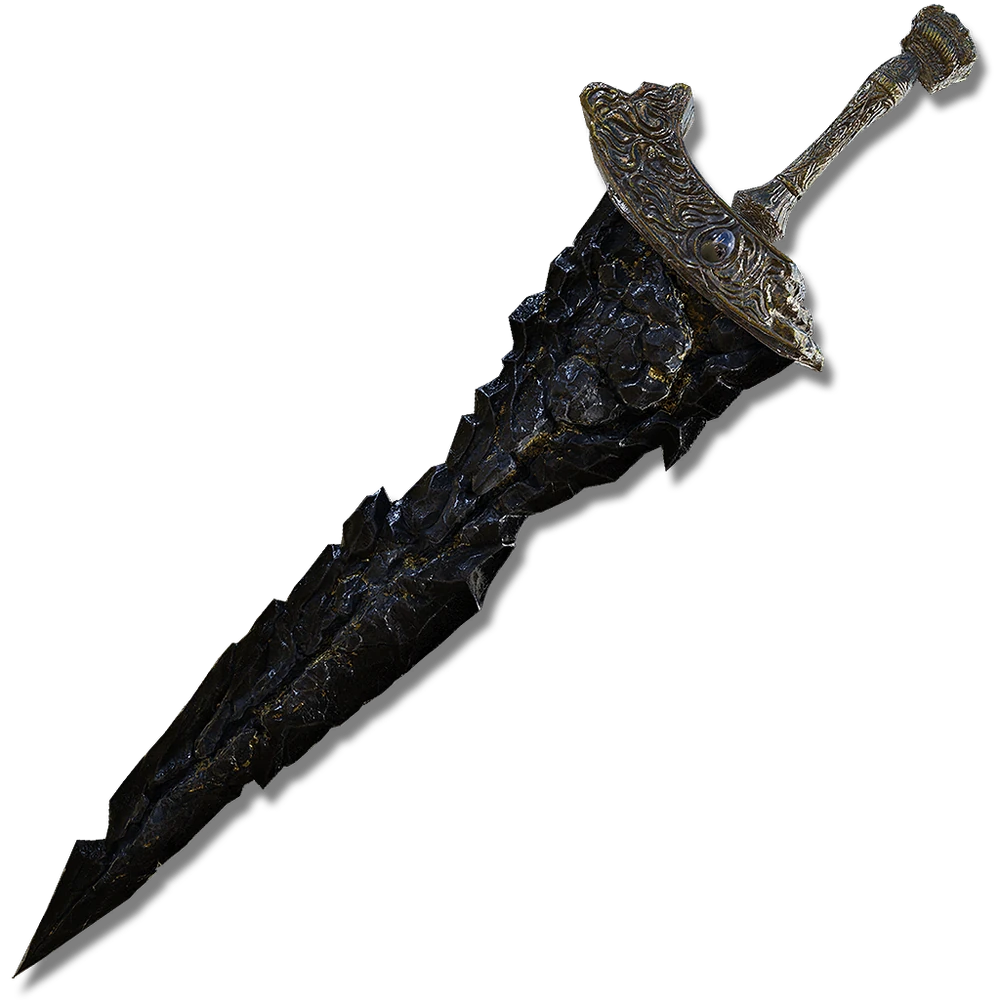
This weapon was used by Marika’s shadow, Malikath. The blade holds the Rune Of Death inside it which was hidden away from the world in Malikath hand so no one could steal the Rune Of Death again. The blade has a unique skill that it can spread Destined Death (which is just another name for the Rune Of Death) with its slashes, releasing black flames lower the opponent’s max HP by 10% (though this recovers over time).
This is noteworthy because the Rune Of Death was used to kill Godwyn and the way he died is important. Ranni sent assassins after Godwyn that had black knives with the Rune of Death forged into them. When Godwyn was killed, Ranni the Witch used the Rune Of Death at the same time as well on her own body. Because of this only Ranni's body was killed and her spirit lives on, while Godwyn’soul was killed while his body lived on. That means this weapon can use the rune to destroy someone’s soul to get rid of their immortality (though considering they had to be forged into weapons in the first place, it’s questionable if it’s a true dura neg, especially considering Ranni’s body had to be destroyed too for Godwyn’s soul to die).
Morgott’s Cursed Sword
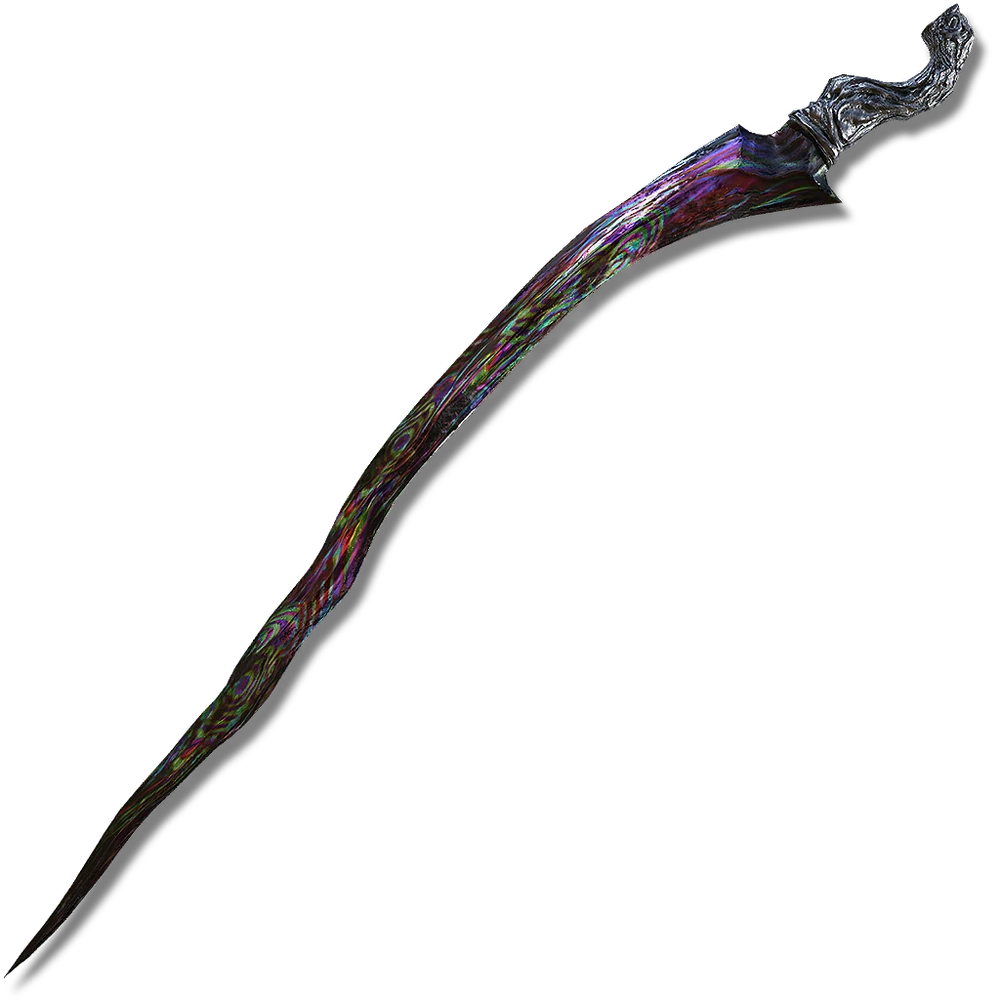
The sword that was originally like a cane was used by Morgott the Omen King. The blade is warped due to Morgott which gives its colorly look. The blade can cause Blood Loss through normal attacks or through its skill Cursed-Blood Slice. This skill allows The Tarnished to do a blood flame slice which causes massive Blood Loss build up.
Bastard’s Stars
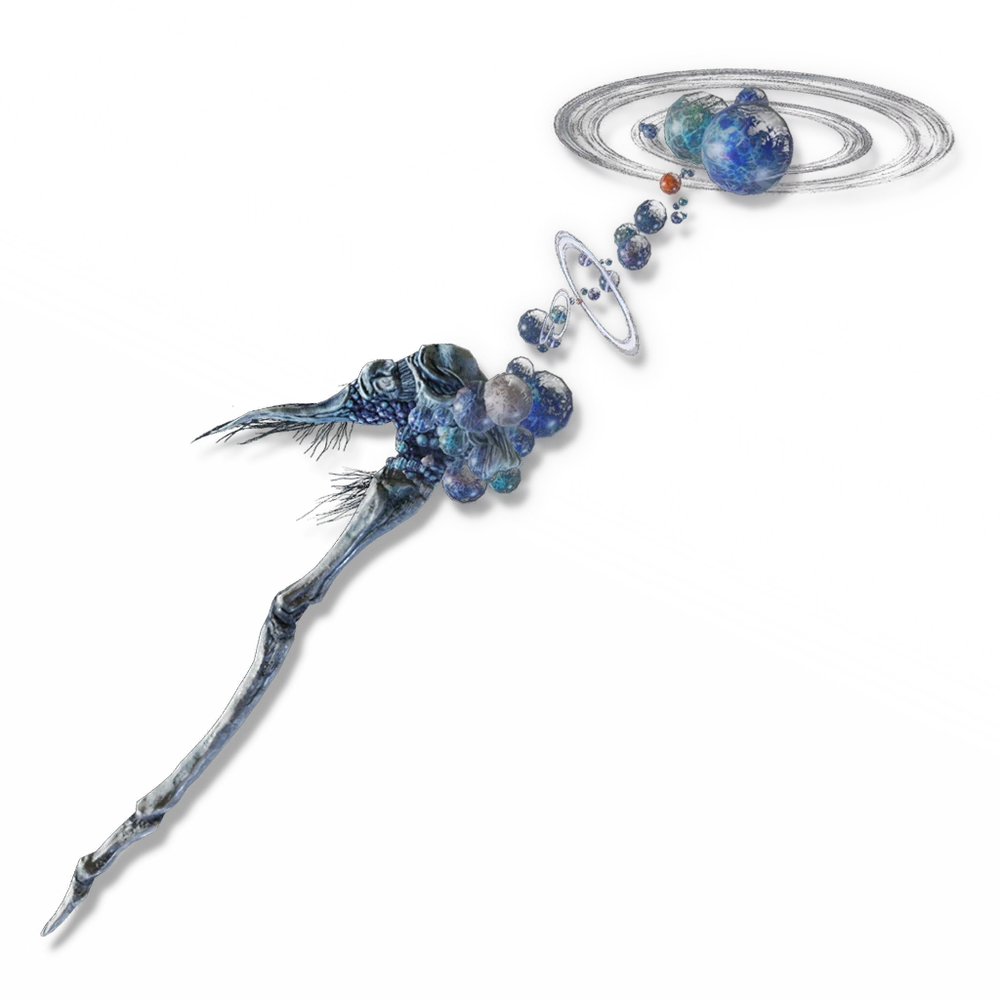
A weapon that can be granted to Tarnished through Astel of The Naturalborn remembrance. This weapon is formed by the body we see Astel when The Tarnished fights them. This flail does massive Magic Damage and with its skill called Nebula sends forth little stars that blow up after a short time.
Winged Greathorn

A axe that is the horns of the Ragel Ancestor spirits horns. The horns also act as envoy’s wings that were made to reap the lives of those who never experience no sprouting from the Erdtree. The axe does good damage and its skill Soul Stifler allows The Tarnished to make an area which lowers the enemy defease allowing The Tarnished to deal more damage.
Dragon King’s Cragblade
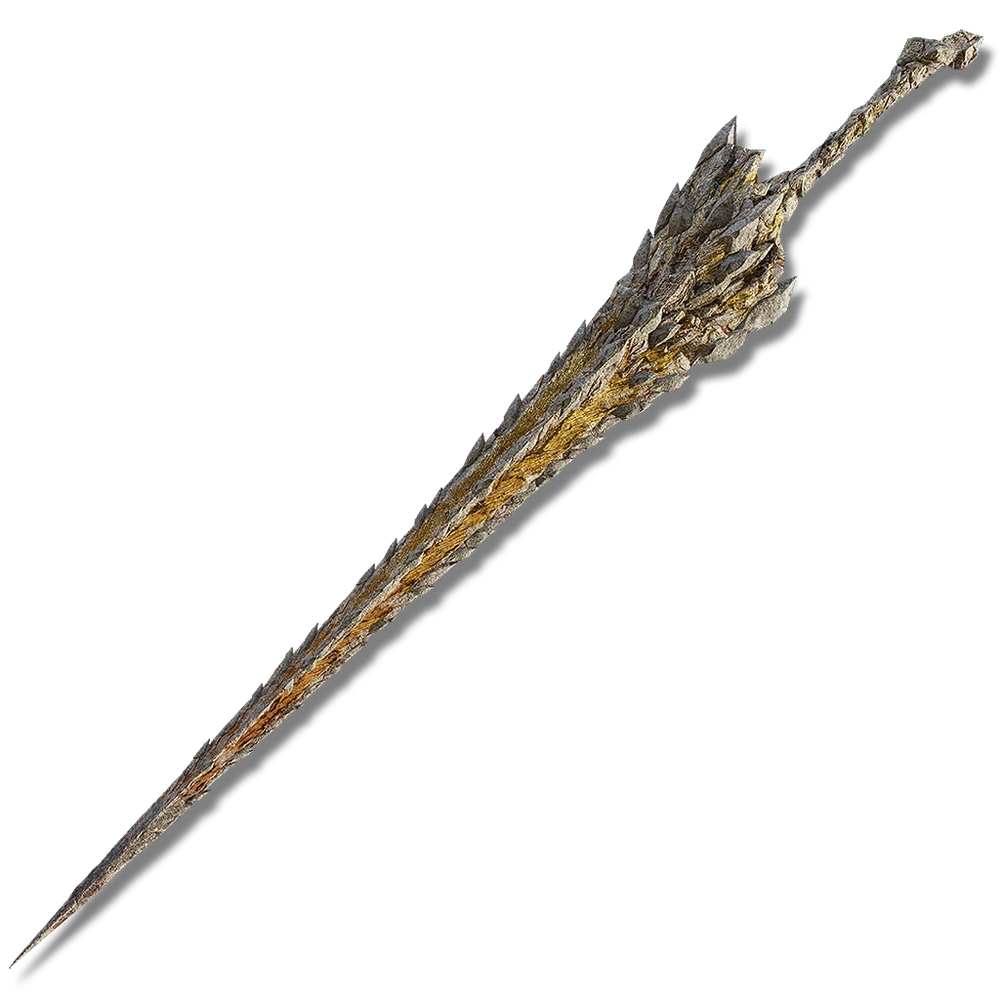
A thrusting sword which was gained after killing Dragonlord Placidusax. The sword holds a portion of the Dragonlord power allowing it to contain Primeval Lightning. The skill Thundercloud Form allows The Tarnished to turn into a cloud and fly straight into his opponent dealing a heavy attack.
Hand of Malenia
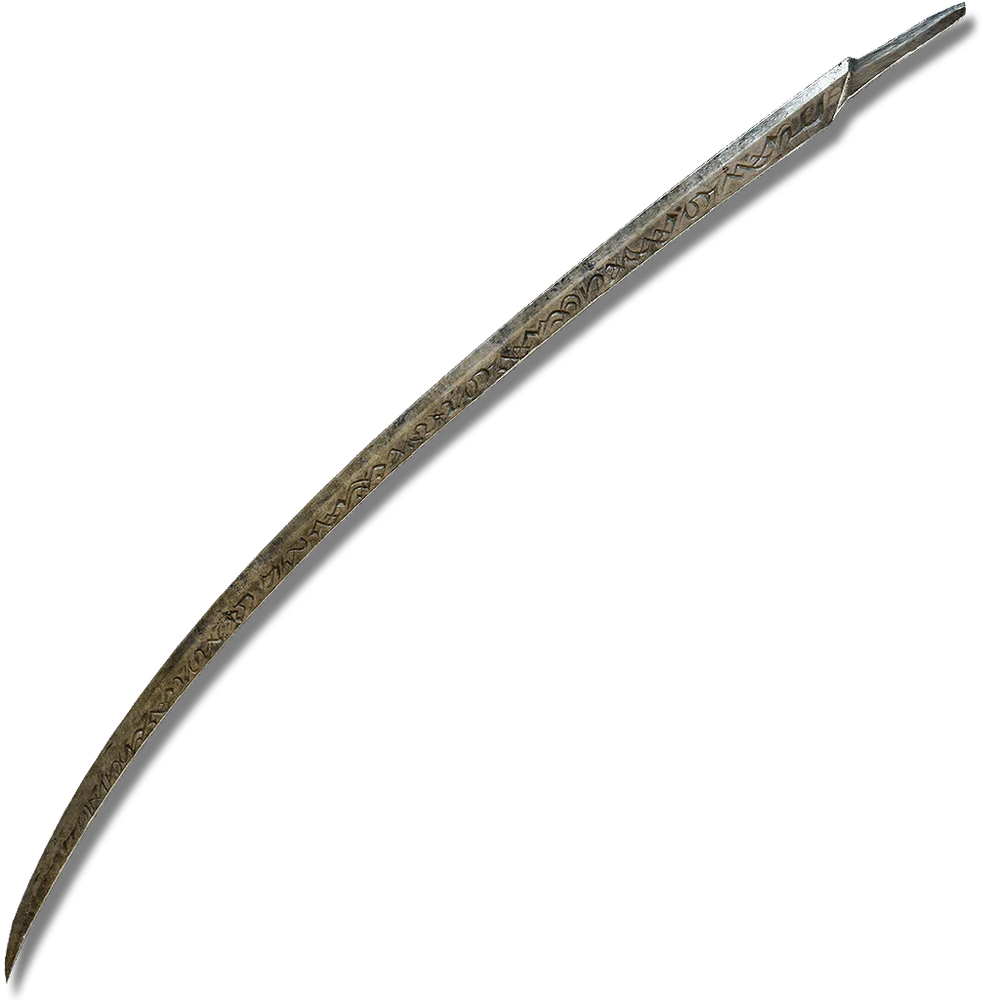
The blade that also acted as a prosthetic arm for Malenia Blade of Miqula. The blade does nice bleed damage given its a Katana and allows The Tarnished to do Malenia’s possibly most iconic move Waterfowl dance. This skill allows The Tarnished to swing at rapid speeds at which almost no one can react.
Giant’s Red Braid
Forged from the Remembrance of the Fire Giant, this whip made up of said giant’s hair (don’t think too hard about it) is a strong long reaching weapon imbued with the power of fire. Its unique skill Flame Dance will light the whip fully on fire as the Tarnished will lash out with heavy powerful long reaching swings.
Mohgwyn’s Sacred Spear
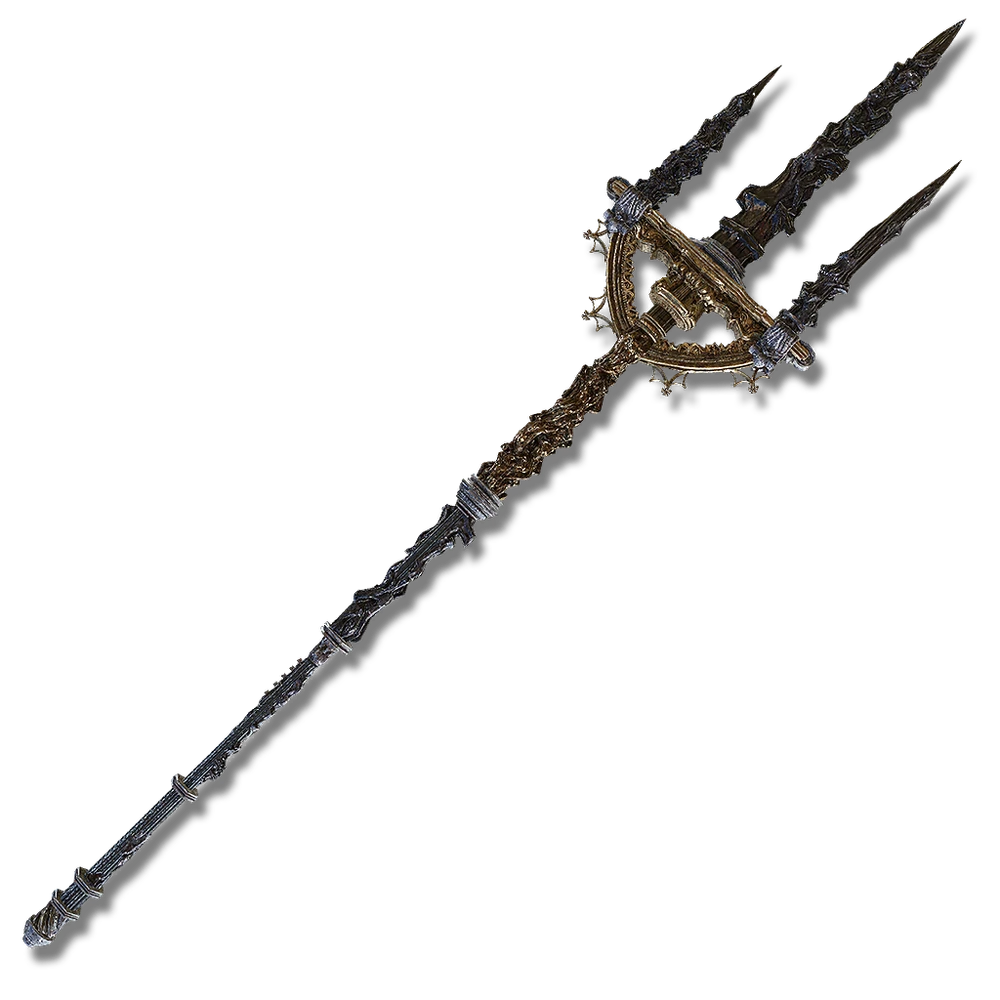
Made from the Blood Lord himself, this spear is considered one of the best in the game, being a powerful spear with not only fire damage but also rapid blood buildup. Look no further than its unique skill called Bloodboon Ritual where the Tarnished will stab up to three times in the air, creating fast and powerful flame blood build AOE that’ll surely severely damage a lot of enemies near it.
Axe of Godfrey

Wielded by the Elden Lord himself, this powerful weapon requires alot of strength to use, but if you do have it it’ll be a very powerful weapon to those who use it. Using its unique skill called Regal Roar will buff the user even more, increasing their physical damage and gaining a strong lunging strike for 40 seconds.
Marika’s Hammer
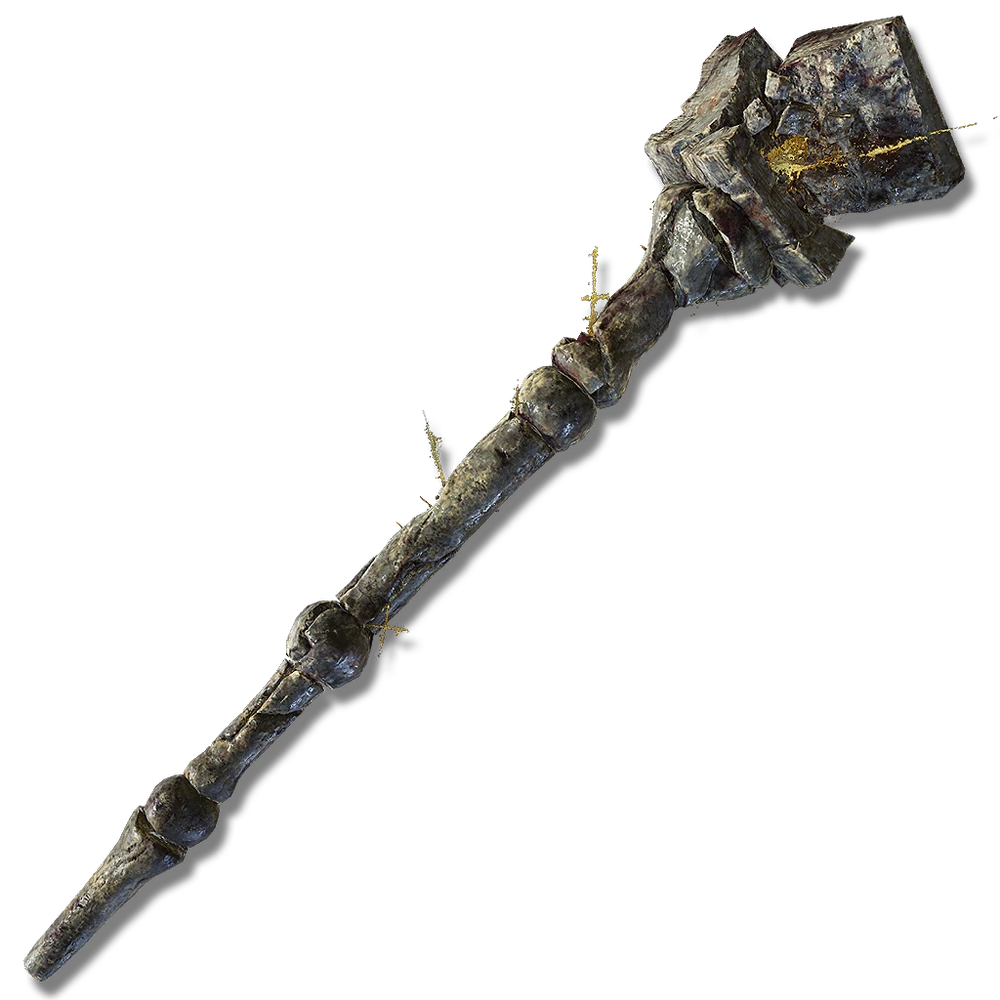
In lore, this hammer is significant: It was used by Marika to shatter the Elden Ring (and by Radagon to try to repair it, but that’s not as impressive). Would that make this the most powerful hammer by default? Or would that perhaps be a result of its Gold Breaker weapon art, which, while it cannot be changed, allows the Tarnished to leap into the air and smash the hammer into the ground hard enough to create a massive golden shockwave which deals holy and physical damage at the cost of 26 FP? Both are valid opinions.
Sacred Relic Sword
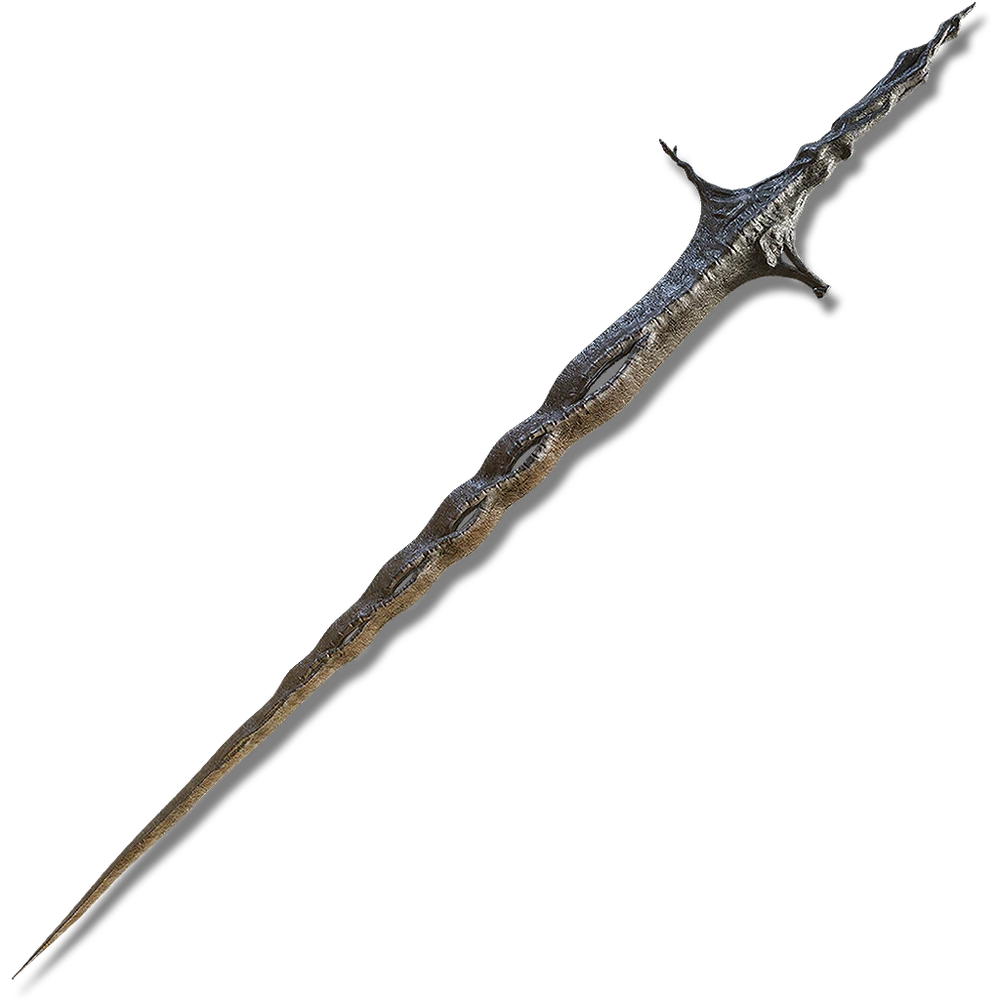
A weapon forged from the remains of the Elden Ring itself, this greatsword is a powerful weapon that requires both faith and dexterity to fully master. The Wave of Gold unique skill will let loose a decently strong wave of gold magic, perfect for hitting tons of enemies (and well if you know where to farm, get a lot of runes as well!)
Sword Lance
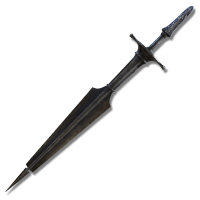
A weapon which combines both a greatsword and a thrusting sword. The weapon was once wielded by Commander Gaius and now wielded by The Tarnished. The weapon's unique skill is Spinning Gravity Thrust which uses Gravity Magic and spins The Tarnished and attacks his opponents like a drill.
Spear of the Impaler
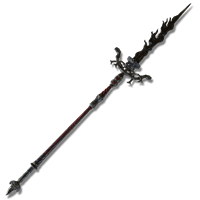
Used by the aptly named Messmer the Impaler himself, this powerful spear uses its long reach to not only do physical but powerful fire damage as well. Tarnished can even throw the weapon as a projectile. The cherry on top is its unique skill Messmer’s Assault where the player will launch a flurry of powerful fire swings with the spear before ending it with a thrust to the ground, causing numerous spears to form in the surrounding area.
Shadow Sunflower Blossom
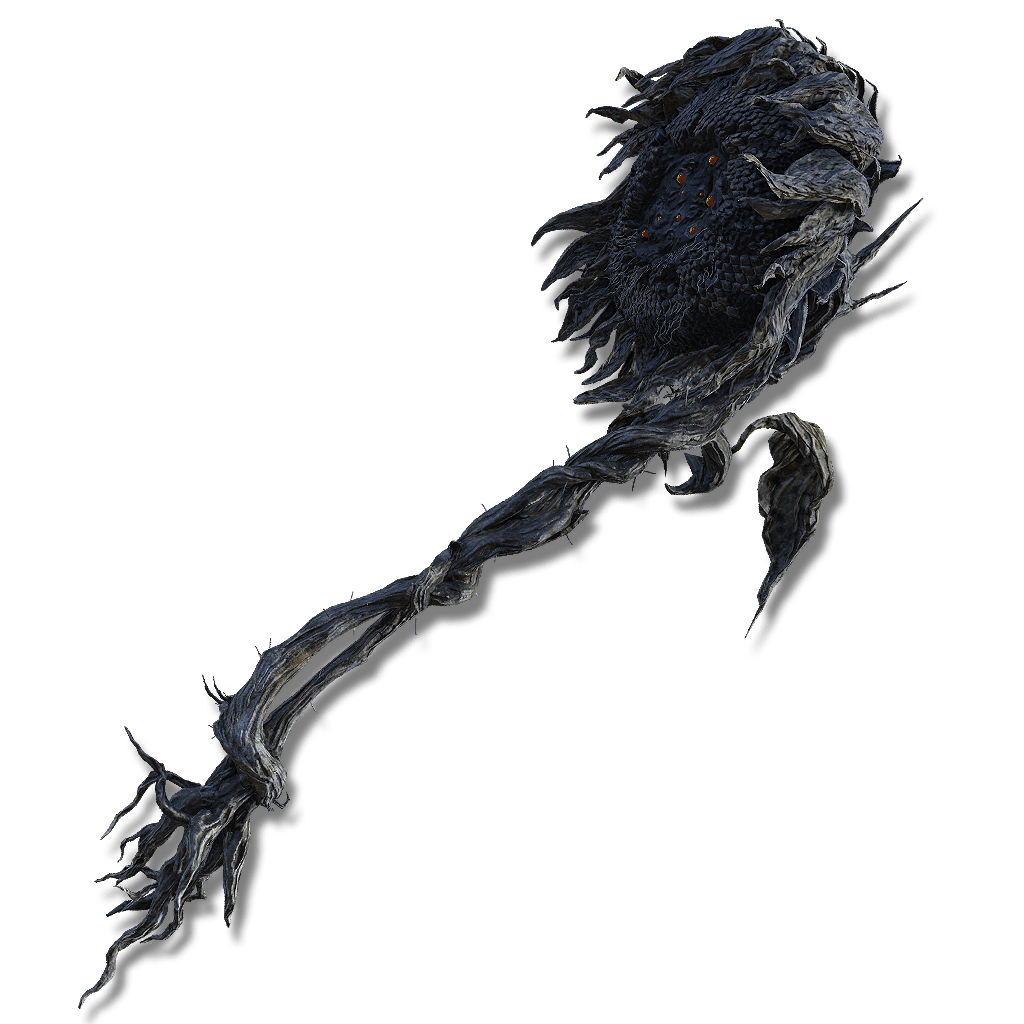
While it may seem strange to essentially use a flower as a blunt colossal weapon, it still does a good job at that, requiring strength and faith as it does holy damage as well. Shadow Sunflower Headbutt will slam the weapon into the ground, creating powerful shockwaves to deal with the enemy.
Rellana’s Twinblade
The sister of Rennala’s dual swords require an understanding of both sorceries and incantations to wield, but are powerful dual weapons who want to use the blade while using some magic. It’s unique skill Moon-And-Fire Stance has two options, the first being glintstone light waves that it’ll fire out and the second being a spinning attack that surrounds the Tarnished with flames.
Poleblade of the Bud
A polearm essentially is a blade mounted on the end of a stick, so a glaive, spear, and halberd could all be considered polearms. Despite the name, the Tarnished would be anything but the Hero of the Wild’s friend, as they would be capable of ascending into the air and descending upon him with two mighty swings. Making this worse, the swings of this weapon’s unique skill, Romina’s Purification, release scarlet rot butterflies. Coupled with the scarlet rot damage this weapon normally does, the rot could quickly bloom once more.
Greatsword of Radahn (Light/Lord)
This variant of the Lion demigod’s greatsword still requires great strength to wield, but now also does magic damage. There’s technically two different versions of its unique skill. The first is Promised Consort, a move that’ll do lots of light beams while the Tarnished slashes forward. The second is called Lightspeed Slash where the Tarnished will assume a luminous form to attack at the speed of light (more on this later) where they’ll dive down followed by additional light attacks.
Greatsword of Damnation
This greatsword once pierced the Lord of the Frenzied Flame himself, meant to execute those of damnation and it’ll do just that while doing holy damage as well. Its skill Golden Crux will have the Tarnished leap into the air before skewer opponents from above and barbs unfolding from within and around the area. Yikes.
Gazing Finger
As weird as it is to use a finger of Metyr as a weapon, it’s still an effective one surprisingly dealing both physical and magic damage. Kortower’s Resentment will have you strike the ground with great force before an explosion pops from the ground, damaging anyone near it.
Staff of the Great Beyond
This fancy staff with a microcosm on top of it is not only another strong way to use sorcery magic, but able to use powerful Incantations as well, this time requiring both faith and intelligence to truly master.
Putrescence Cleaver
Wielded by the Putrescent Knight, this cleaver is a powerful weapon that’s also a good way to inflict Frostbite. Its unique skill Spinning Guilotine has the Tarnished hold the weapon with both hands before slamming to the ground, able to do more attacks as they spin to win, dealing powerful damage.
Small Shields

Sometimes you want a good balance between offense and defense and a shield will usually do the trick. Small shields usually weigh very little and don’t offer that much protection compared to its bigger counterparts. However, they’re still nice to have for the more agile type of players. Full list here.
Unique Small Shields
Smithscript Shield
A roundshield engraved with a smithscript, it’s a throwable shield, letting you live out your Captain America dreams in Elden Ring. No better way to do it than with its unique skill Discus Hurl where the Tarnished will throw it like a discus and it’ll return to its hand thanks to the smithing arts.
Shield of Night
Used by the Swordhands of Night, the outer surface is only semi corporeal, making it a solid defense against attacks that are not physical in nature such as magic attacks. Revenge of the Night lets the Tarnished block a hit and immediately send it back with magic dark power.
Buckler
The Buckler is a pretty decent small shield that’s meant for players who like parrying since its unique Buckler Parry is faster than a normal parry. Yeah.
Coil Shield
The shield that is shaped like a snake is a decent small shield that offers extra protection against poison type moves. Its unique skill Viper Bite will have the snake come to life, making it lash out and bite foes, dealing poison buildup.
Medium Shields
These types of shield are well balanced in all areas, not too heavy, not too light, making them pretty common for builds. Full list here.
Unique Medium Shield
Golden Lion Shield
Surprisingly the only unique medium shield on the list, it’s, well, shaped like a lion that was awarded to Radahn’s personal guard. Its unique skill Roaring Bash will have the shield roar…like a lion and potentially knock back and stagger foes over a wide radius.
Greatshields

The heaviest and biggest of the shield brothers, it lacks the ability to parry and will potentially weigh the Tarnished down alot, but to make up for it, it offers some of the best defense and stronger attacks will bounce off it more compared to its lighter counterparts. Full list here.
Unique Greatshields
Erdtree Greatshield

Acquired by killing the annoying Tree Sentinel Duo, it’s a shield forged of gold and the living rampart of the Erdtree. It’s useful to block physical and holy damage. Its unique skill Golden Retaliation will absorb a magical projectile and send a holy damage magic right back at them.
Jellyfish Shield

While this shield may look strange (and it is since it uhh is the head of spirit jellyfish), despite the description saying it doesn’t block piercing attacks…it still does as it’s a 100% physical shield. You’re likely moreso going to use it for its unique skill Contagious Fury which buffs the Tarnished’s attack by 12.5% for about 30 seconds.
Visage Shield
Yes the shield actually looks like that. Yes we’re freaked out by it too. Despite its…unique appearance, it’s still a decent greatshield to offer a lot of physical defense. Its unique skill Tongues of Fire will spray violent jets of fire from its maw and for additional FP, can be sprayed constantly while walking.
One-Eyed Shield
Man what is with all the greatshields that look so weird? Anyway, this shield is modeled off a malformed one-eye god and gives good physical defense. Its unique skill Flame Spit is a bit costly with 28 FP but it’ll fire a fireball that’ll explode on impact, dealing decent damage.
Verdigris Greatshield
This shield is interesting as it’s made of an unusual medal known as Verdigris, it seems to boast better guard capacity than damage negation. Its unique skill Moore’s Charge will have the Tarnished grab it with both hands, charging forth which while it won’t do a ton of damage, it will still knock back nearby enemies should it hit.
Talismans
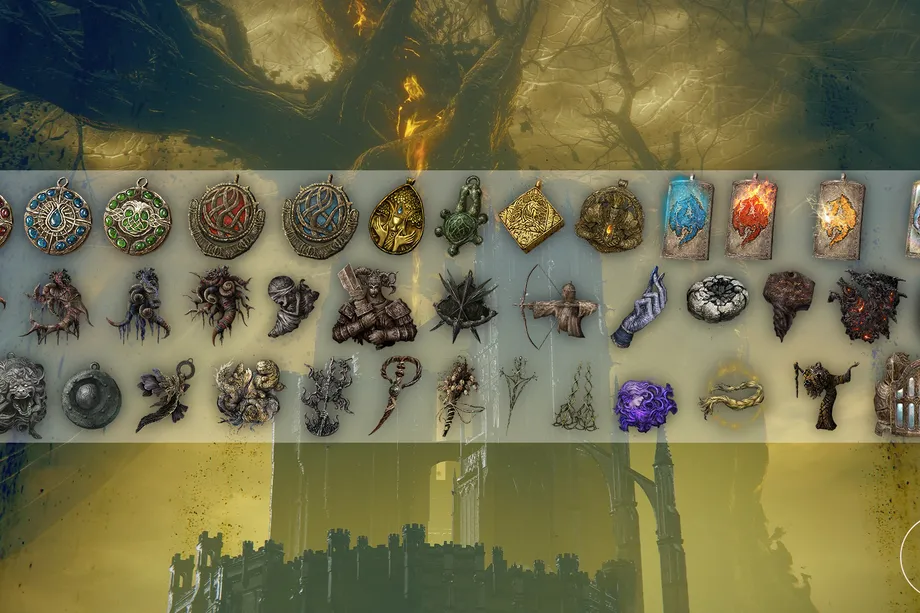
Talismans are smaller, but still effective equipment that the Tarnished can equip to gain all sorts of beneficial effects. Though they can only equip four max at a time, the right setup can bring out the right build’s fullest potential. There are legit over 100 of these, so we recommend going here for the full list, but we’ll list the relevant ones. These include:
Crimson Amber Medallion +3: Increases max HP by 10%
Cerulean Amber Medallion +3: Increases max FP by 12.5%
Viridian Amber Medallion +3: Increases max Stamina by 17%
Two-Head Turtle Talisman: Boosts stamina recovery speed by 22.2%
Stalwart Horn Charm +2: Increases Robustness by 180 (bleed/frost resistance)
Immunizing Horn Charm +2: Increases Immunity by 180 (poison/scarlet rot resistance)
Clarifying Horn Charm +2: Increases Focus by 180 (madness/sleep resistance)
Mottled Necklace +2: Increases Robustness/Immunity/Focus by 100
Spelldrake Talisman +3: Increases magic damage resistance
Flamedrake Talisman +3: Increases fire damage resistance
Boltdrake Talisman +3: Increases lightning damage resistance
Golden Braid: Increases holy damage resistance
Pearldrake Talisman +3: Increases non-physical damage resistance
Crimson/Cerulean Seed Talisman +1: Increases HP/FP restored from flasks respectively
Blessed Blue Dew Talisman: Slowly restores FP by 0.5 per second
Shattered Stone Talisman: Raises power of kicking and stomping skills
Two-Handed Sword Talisman: Enhances two-handed weapon attacks by 15%
Arrow’s Soaring String Talisman: Increases range of bows by 50% and power of arrows/bolts by 8%.
Dried Bouquet: Raises attack power by 15% for 20 seconds when their summon is slain
Smithing Talisman: Enhances weapon-throwing attacks by 10%.
Retaliatory Crossed-Tree: Increases attack power by 17% after dodging
Talisman of the Dread: Increases magma attack power by 14%
Enraged Divine Beast: Raises potency of storms by 10%
Dragoncrest Greatshield Talisman: Raises physical damage resistance by a huge amount
Dagger Talisman: Increases critical damage
Curved Sword Talisman: Enhances guard counters
Twinblade Talisman: Enhances final hit of chain attacks
Axe Talisman: Increases charged attack power
Hammer Talisman: Increases stamina done to blockers
Spear Talisman: Increases counters unique to thrusting weapons
Lance Talisman: Increases power done on horseback
Claw Talisman: Increases jump attack power
Greatshield Talisman: Increases guarding ability
Graven-Mass Talisman: Increases potency of sorceries greatly
Flock’s Canvas Talisman: Increases potency of incantations greatly
Primal Glintstone Blade: Spells consume less FP but max HP is lowered
Old Lord’s Talisman: Extends spell effect duration
Radagon Icon: Shorten spell cast time
Roar Medallion: Increases roar/breath attack power
Companion Jar: Increases throwing pot attack power
Carian Filigreed Crest: Lowers FP used by skills
Shard of Alexander: Increases the power of skills greatly (though shame on you for killing best boy for this)
Godfrey icon: Enhances charged spells and skills
Assassin’s Crimson/Cerulean Dagger: Criticals restore HP/FP respectively
Rotten Winged Sword Insignia: Greatly increases power of successive attacks
Godskin Swaddling Cloth: Successive attacks restore HP
Kindred of Rot’s Exultation: Poison/Rot in vicinity increases attack
Lord of Blood’s Exultation: Blood loss in vicinity increases attack
Crepus’s Vial: Eliminates all sound made made by the wearer
Concealing Veil: Hides wearer while crouching away
Longtail Cat Talisman: Makes the Tarnished immune to fall damage (you can still die if you fall TOO high though smh false advertisement)
Flasks of Crimson Tears/Cerulean Tears
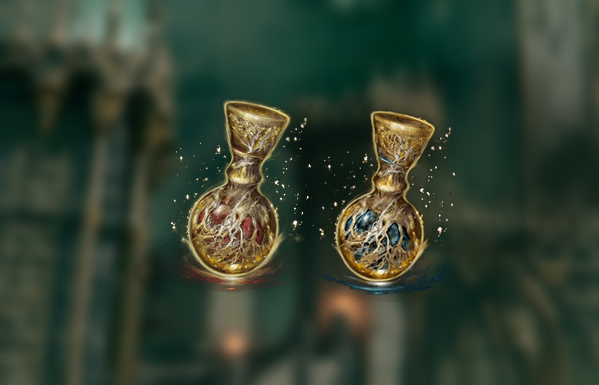
What’s a Fromsoft game without a quick and easy way to heal and replenish your magic? Whenever the Tarnished takes a drink from one of these (which…one would assume they taste like orange juice maybe?), they’ll heal their health, drinking a cerulean one though restores their FP/magic bar so they can keep using their spells. The Tarnished can only have a total of 14 charges per life (though it is possible to gain more should they kill enough enemies) and they have to split that number between Crimson and Cerulean. Still, it’ll fully recharge upon death or going to a Site of Grace, so if planned well, the Tarnished can always stay healthy before a big encounter.
Flask of Wondrous Physick
This is the third flask The Tarnished has. However unlike the last two, this flask is meant to buff The Tarnished stats for a certain period of time. This is done by putting Crystal Tears The Tarnished can find all around The Lands Between. They can switch and swap what Tears go in the flasks. The Tears that can be put in included…
Crimson Crystal Tear: Tear that restores 50% of Tarnished health
Crimsonspill Crystal Tear: Tear that boosts Tarnished Max HP
Crimsonburst Crystal Tear: Tear that heals Tarnished HP overtime
Cerulean Crystal Tear: Tear that restores 50% of Tarnished FP
Greenspill Crystal Tear: Tear that boosts Tarnished max stamina
Greenburst Crystal Tear: Tear that boosts the recovery of Tarnished stamina
Strength-knot Crystal Tear: Tear that boosts Tarnished strength stat
Dexterity-knot Crystal Tear: Tear that boosts Tarnished Dexterity stat
Intelligence-knot Crystal Tear: Tear that boosts Tarnished intelligence stat
Faith-knot Crystal Tear: Tear that boosts Tarnished Faith stat
Opaline Hardtear: Tear that lowers the damage Tarnished takes from attacks
Speckled Hardtear: Tear that boosts Tarnished status effects and buffs their resistance to other status effects
Leaden Hardtear: Tear that boosts Tarnished poise stat
Magic-Shrouding Cracked Tear: Tear that buffs all of Tarnished magic attacks
Flame-Shrouding Cracked Tear: Tear that buffs all of Tarnished fire attacks
Lighting-Shrouding Cracked Tear: Tear that buffs all of Tarnished lightning attacks
Holy-Shrouding Cracked Tear: Tear that buffs all of Tarnished holy attacks
Stonebarb Cracked Tear: Tear that makes Tarnished breaking the stances of enemies more often
Spiked Cracked Tear: Tear that buffs Tarnished charged attacks
Thorny Cracked Tear: Tear that buffs the damage of Tarnished consecutive attacks
Twiggy Cracked Tear: Tear that prevents Tarnished losing his runes when dying
Winged Crystal Tear: Tear that reduces the Tarnished equipment load
Windy Crystal Tear: Tear that enhances Tarnished dodge rolls
Crimsonwhorl Bubbletear: Tear that converts damage revived from the Tarnished into HP
Opaline Bubbletear: Tear that significantly lowers the damage taken on Tarnished from the next attack
Cerulean Hidden Tear: Tear that allows Tarnished to eliminate all FP consumption
Purifying Crystal Tear: A very situational Tear that allowed The Tarnished to resist the Lord Of Bloods curse attack from Mogwyn.
Ruptured Crystal Tear: Tear that will make The Tarnished explode doing massive damage to those it hit.
Deflecting Hardtear: Tear that will enhance spontaneous guard.
Gloveworth Crystal Tear: Tear that will enhance the attacks of spirits.
Bloodsucking Cracked Tear: Tear that will enhance attacks at the cost of HP.
Oil-Soaked Tear: Tear that will coat nearby enemies with oil.
Cerulean-Sapping Cracked Tear: Tear that will grant attacks a FP-restoring effect.
Crimson-Sapping Cracked Tear: Tear that will grant attacks a HP-restoring effect.
Crimsonburst Dried Tear: Tear that will steadily restore HP of nearby allies at a time.
Viridian Hidden Tear: Tear that will eliminate stamina consumption for a short while.
Arrows/Bolts
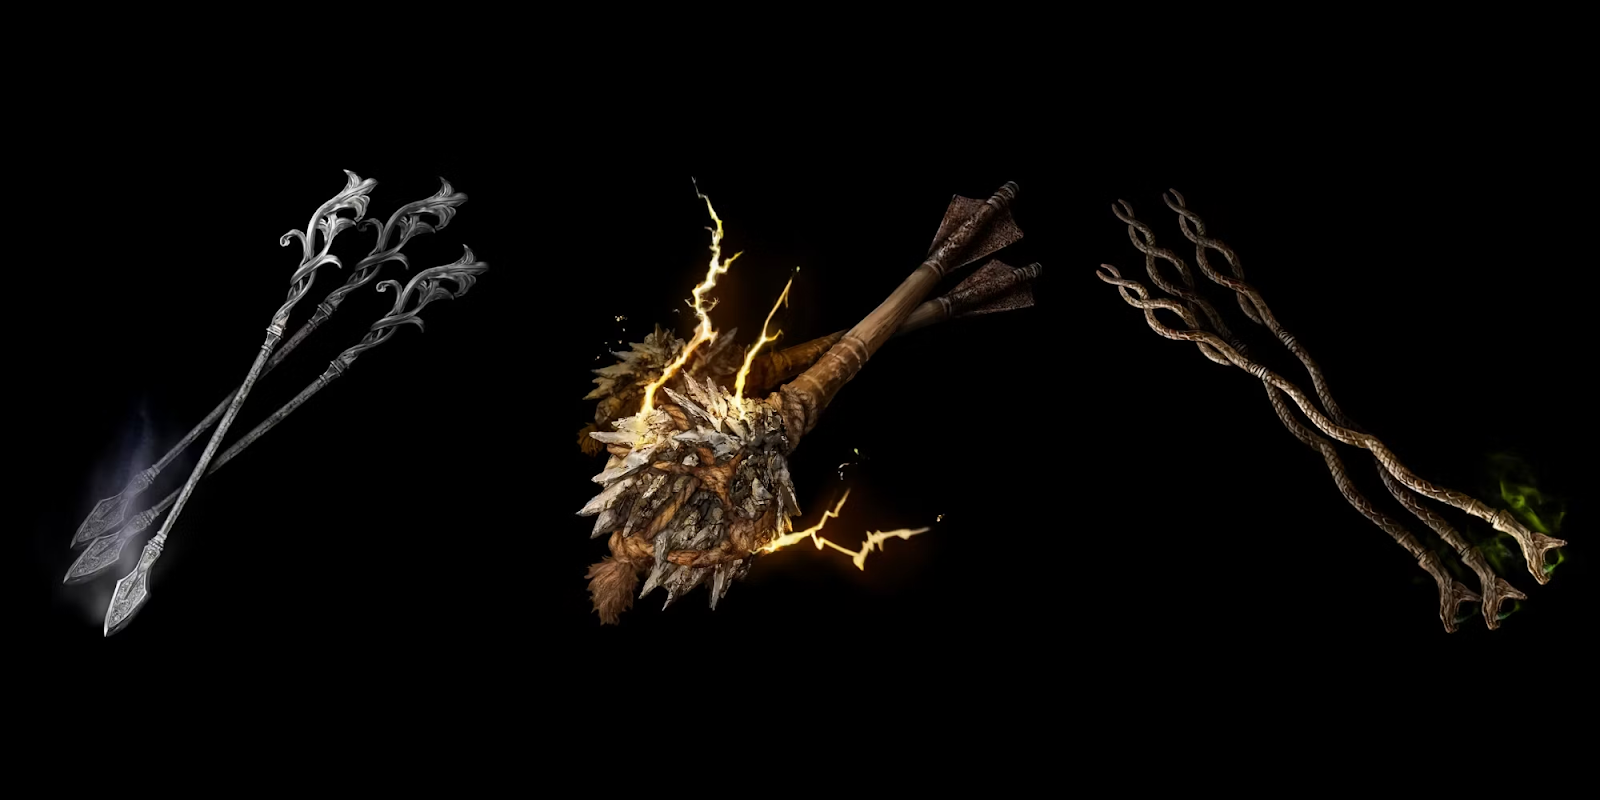
The bow would of course be useless without some arrows to fire and the Tarnished has a huge variety of them that they can craft. They can usually carry 99 of regular arrows/bolts though only 30 great arrows and 20 greatbolts. Arrows are for regular and light bows, great arrows are the heavy bows, bolts are for the crossbows and great bolts are for the ballistas.
Arrow
Bone Arrow: Standard arrow type that can pierce with how sharp it is.
Magicbone/Dwelling Arrow: Arrow types that deal magic damage.
Fire/Firebone Arrow: Arrow types that deal fire damage.
Lightningbone Arrow: Arrow type that deals lightning damage.
Haligbone/Golden Arrow: Arrow types that deal holy damage.
Poisonbone/Serpent Arrow: Arrow types that can cause poison buildup.
Rotbone Arrow: Arrow type that can cause scarlet rot buildup.
Bloodbone Arrow: Arrow type that can cause blood loss buildup.
Coldbone/Spiritflame Arrow: Arrow type that can cause frost buildup.
Sleepbone/St. Trina Arrow: Arrow types that can cause sleep buildup.
Shattershard Arrow: Arrow type that’ll cause a large sound on impact, attracting enemies to it.
Rainbow Stone Arrow: Arrow type that’ll shine bright with color on impact for fabulous damage.
Stormwing Bone Arrow: Arrow type enshrouded with stormy winds that’ll deal more poise damage than others, making it easier to break guard/stances.
Piquebone Arrow: Arrow type that’ll release smoke on impact, that can lure in foes/draw aggression.
Great Arrow
Bone Great Arrow: Standard arrow type that can pierce but this type meant for greatbows.
Golem’s Great Arrow: Powerful arrow type that can break guard more easily with how much poise damage they do.
Golem’s Magic Arrow: Powerful arrow type that’ll deal magic damage.
Golden Great Arrow: Powerful arrow type that’ll deal holy damage.
Radahn Arrow: Powerful arrow type that’s imbued by Radahn’s gravity magic itself. Can carry up to 30 at a time.
Igon’s Harpoon: Powerful arrow type (that’s…more of a harpoon really) that deals more damage to dragons specifically.
Bolt
Bone/Lordsworn’s Bolt: Standard bolt types that can pierce for how sharp it is.
Magicbone/Meteor Bolt: Bolt types that can deal magic damage. Meteor deals a bit more damage and leaves a beautiful trail like a shooting star.
Firebone/Flaming Bolt: Bolt type that can deal fire damage.
Lightningbone/Lightning Bolt: Bolt types that can deal lightning damage.
Haligbone/Golden Bolt: Bolt types that can deal holy damage.
Poisonbone Bolt: Bolt type that can deal poison buildup.
Rotbone/Black-Key Bolt: Bolt types that can deal Scarlet Rot buildup.
Bloodbone/Burred Bolt: Bolt type that can deal blood loss buildup.
Coldbone Bolt: Bolt type that can deal frost buildup.
Sleepbone Bolt: Bolt type that can deal sleep buildup.
Perfumer’s Bolt: Bolt type that explodes on impact with sparks, dealing fire damage.
Explosive Bolt: Bolt type that explodes on impact, dealing fire damage.
Piquebone Bolt: Bolt type that’ll release smoke on impact, being able to draw in foes.
Greatbolt
Bone Ballista Bolt: Powerful standard greatbolt type that’ll deal a good amount of damage.
Explosive Greatbolt: Powerful greatbolt type that’ll explode on impact, dealing fire damage.
Lightning Greatbolt: Powerful greatbolt type that’ll deal lightning damage.
Rabbath’s Greatbolt: Powerful greatbolt type that’ll deal magic damage.
Boluses

Boluses are medicine that The Tarnished can use to stop buildup or outright cures any status effect. These medicines include…
Neutralizing Boluses: Medicine that will stop buildup and curses poison
Preserving Boluses: Medicine that will stop buildup and curses Scarlet Rot
Stranching Boluses: Medicine stops buildup of Blood Loss
Thawfrost Boluses: Medicine that stops buildup of Frost
Stimulating Boluses: Medicine that stops buildup of sleep. Should be obvious, but they can’t used it while they’re actually asleep lol
Clarifying Boluses: Medicine that stops buildup of Madness
Rejuvenating Boluses: Medicine that stops buildup of Death Blight
Dried Liver
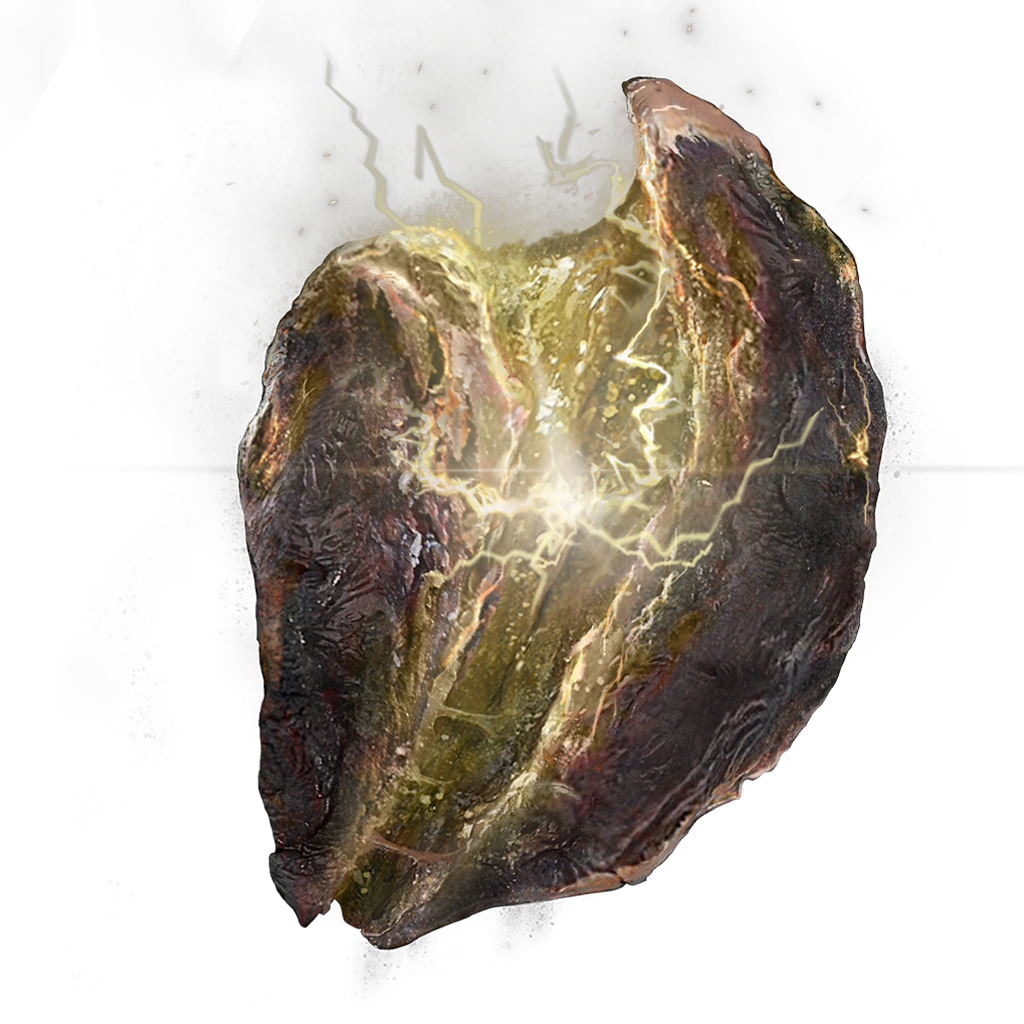
The Tarnished can cook too and eat these weird looking, but still tasty (...probably?) looking foods. While these effects are temporary (usually lasting only 120 seconds), they’re nice to have to boost negation to certain damage types.
Spellproof Pickled Liver: Gives the Tarnished 25% damage negation to magic.
Fireproof Pickled Liver: Gives the Tarnished 25% damage negation to fire.
Lightningproof Pickled Liver: Gives the Tarnished 25% damage negation to lightning.
Holyproof Pickled Liver: Gives the Tarnished 25% damage negation to holy.
Opaline Pickled Liver: Gives the Tarnished 25% damage negation to non-physical damage.
Well-Pickled Turtle Neck: Gives the Tarnished large temporary boost to stamina recovery.
Cured Meats
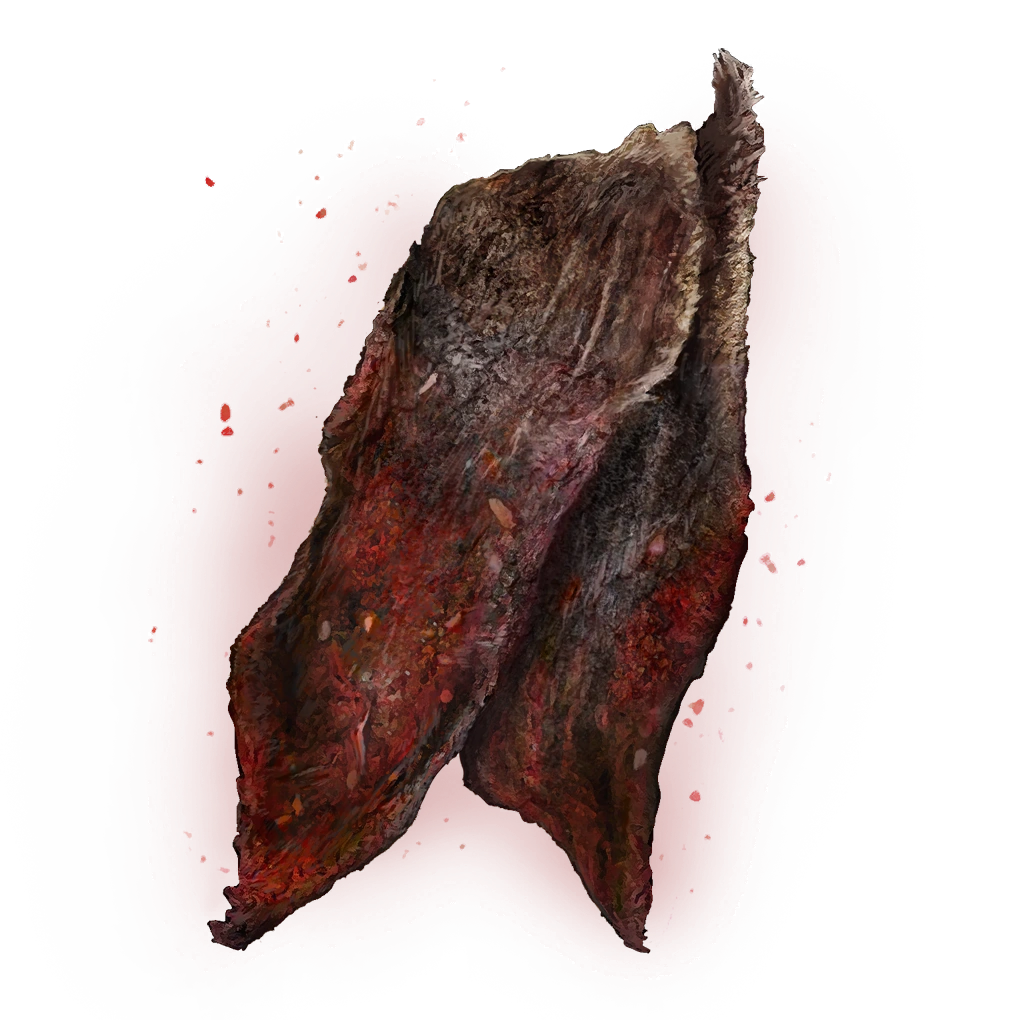
The Tarnished is able to cook these cured strips of meat too, dried up with usually some sort of medicine. It probably tastes good too. Probably.
Immunizing Cured Meat: Temporarily boosts immunity, helping resist poison and scarlet rot.
Invigorating Cured Meat: Temporarily boosts robustness, helping resist bleed build up and frostbite.
Clarifying Cured Meat: Temporarily boosts focus, helping resist madness and sleep.
Dappled Cured Meat: Temporarily boosts immunity, robustness and focus all in one.
Immunizing White Cured Meat: Temporarily boosts immunity. Lasts longer but reduced effectiveness.
Invigorating White Cured Meat: Temporarily boosts robustness. Lasts longer but reduced effectiveness.
Clarifying White Cured Meat: Temporarily boosts focus. Lasts longer but reduced effectiveness.
Dappled White Cured Meat: Temporarily boosts immunity, robustness and focus all in one. Lasts longer, but with reduced effectiveness.
Throwable Pots
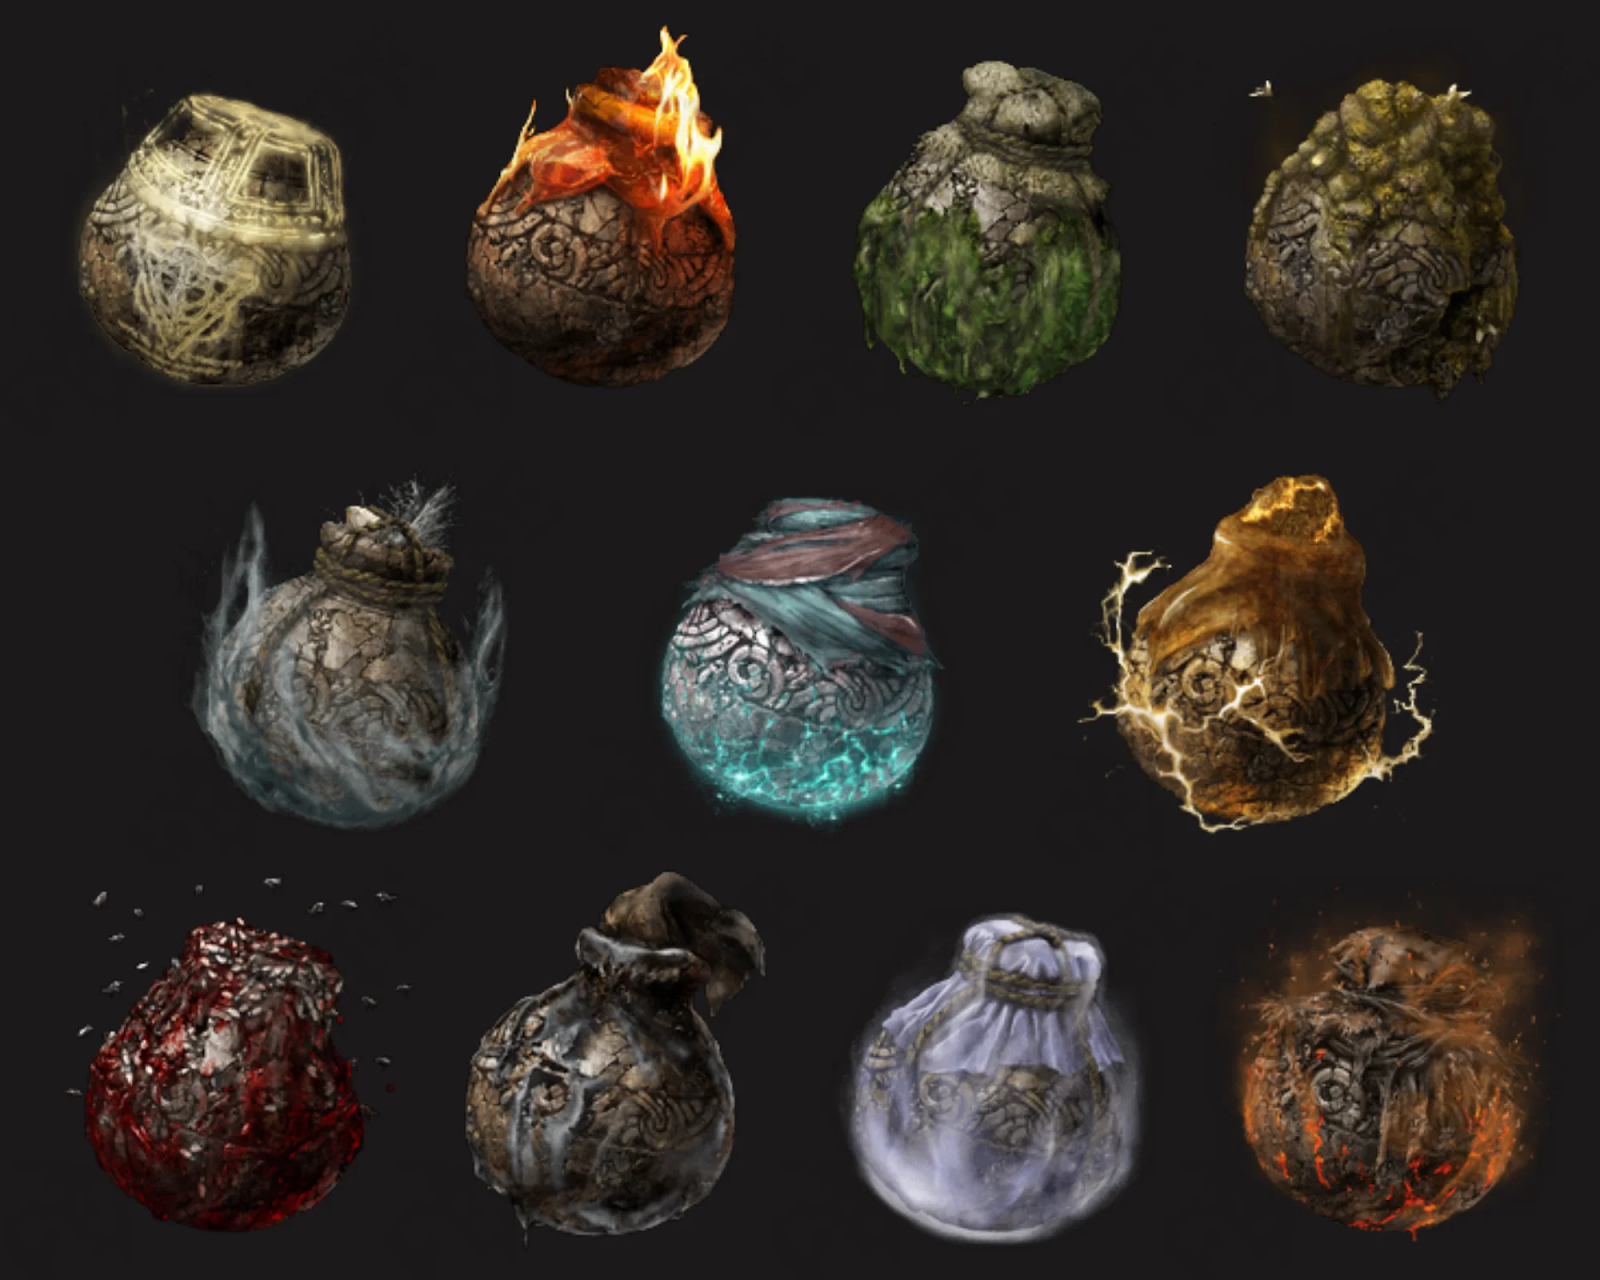
The Tarnished can find cracked pots around The Lands Between. He can add ingredients and make the pots throwable items which can inflict certain effects on their target. There are also versions called ‘roped’ that the Tarnished can throw behind them. The different pots they can use include…
Oil Pot: A pot that soaks the target in oil
Fire/Giantflame Fire/Redmane Fire Pot: A pot that will inflict heavy fire damage to the target
Academy Magic Pot: A pot that will inflict heavy magic damage to the target
Ancient Dragonbolt Pot: A pot that will inflict heavy lightning damage to the target
Sacred Order Pot: A pot that will inflict heavy Holy damage on the target
Fetid Pot: A pot that will cause buildup of poison and deadly poison. It has a heavy version as well.
Rot Pot: A pot that will cause buildup of Scarlet Rot on the target. It has a heavy version as well.
Swarm Pot: A pot that will cause buildup of Blood Loss to the target
Freezing Pot: A Pot that will cause buildup of Frost on the target
Sleep Pot: A Pot that will cause buildup of Sleep on the target
Volcano Pot: A pot that will create a heat cloud which will inflict Fire Damage to those in it
Rancor Pot: A pot that will send vengeful spirits on the target
Cursed-Blood Pot: A pot that will cover the target with accursed blood which will send Spirit Ashes to attack then with Rabid behavior
Albinauric Pot: A pot that will delay recovery actions to those hit
Eternal Sleep Pot: A pot that will cause buildup of Eternal Sleep.
Frenzied Flame Pot: A pot that will cause buildup of Madness. It has a heavier version as well.
Red Lightning Pot: A pot that will inflict lightning damage to nearby enemies. The hefty version will do the same thing, but well, it’s heavier.
Perfume Bottles
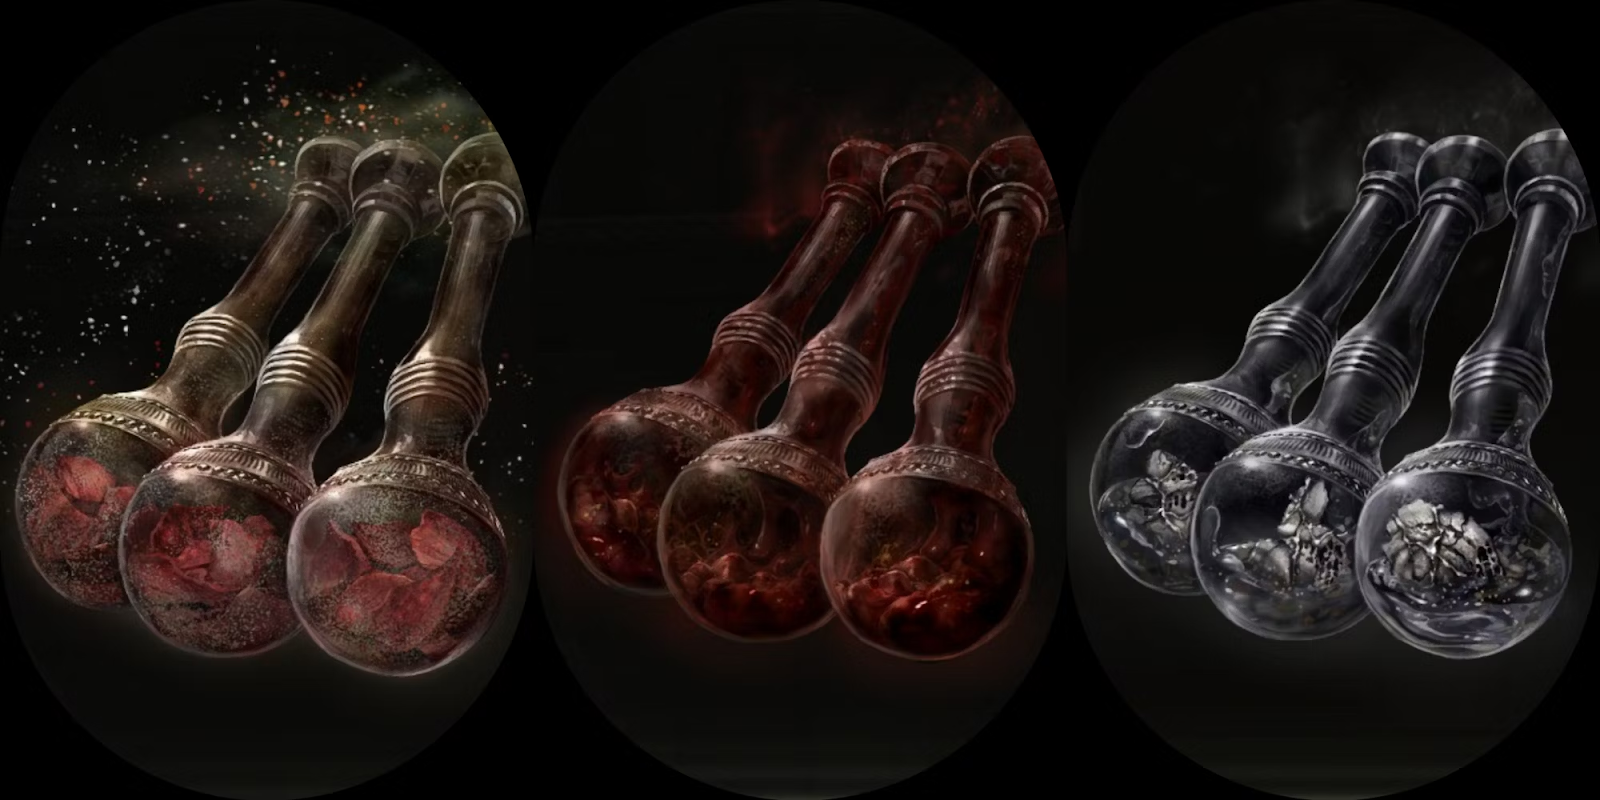
Not to be confused with the weapon class, these are bottles in which The Tarnished can mix different ingredients and make different Perfume Arts. The Tarnished can use these to throw at enemies which can inflict different effects. These arts include…
Spark Aromatic: An art that scatters sparks around that makes small explosions
Uplifting Aromatic: An art that buffs an ally attack power and reduces the damage that is taken one time
Poison Spraymist: An art that allows The Tarnished to send a poison mist which can build up poison
Acid Spraymist: An art that allows The Tarnished to throw an acid mist
Bloodboil Aromatic: An art that boosts The Tarnished attack power and stamina but also increases the damage taken
Ironjar Aromatic: An art that turns The Tarnished body into steel for a period of time
Darts/Throwing Knives
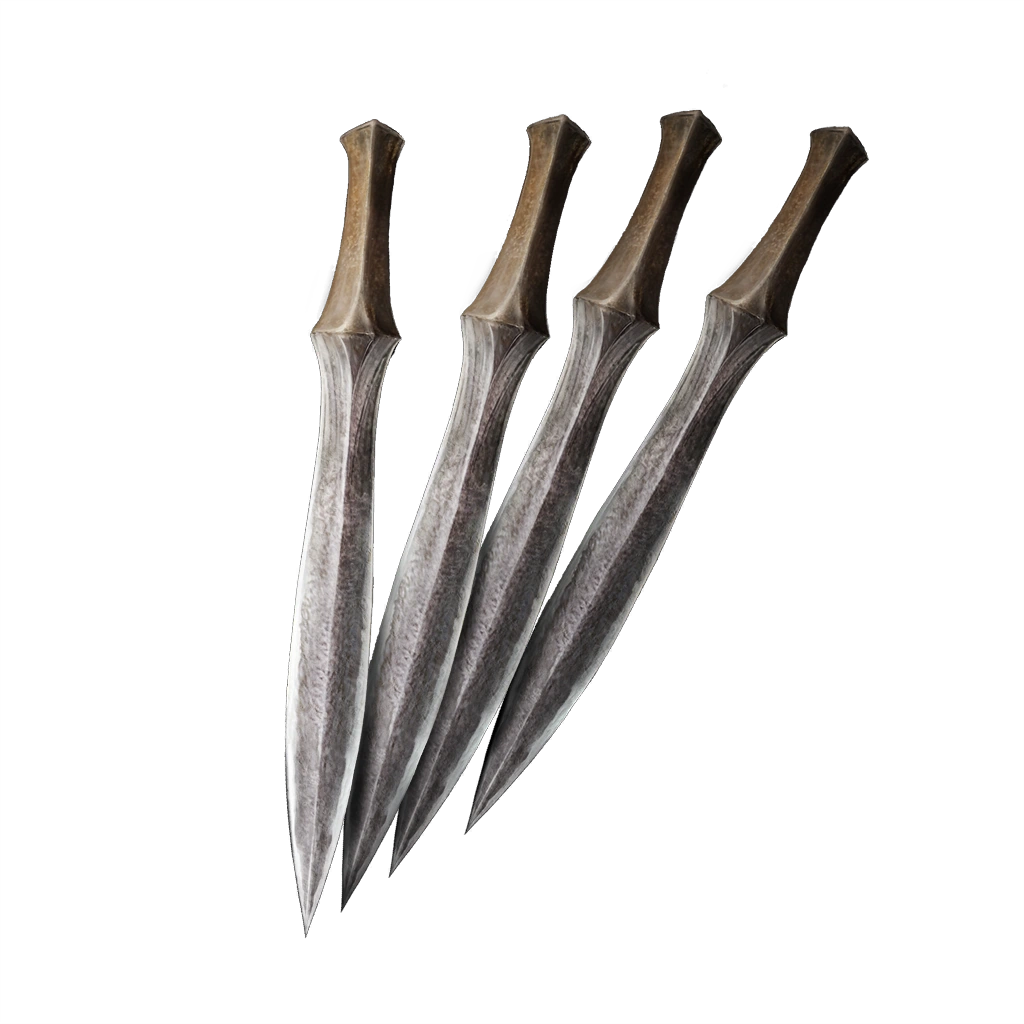
These knives and daggers are throwable weapons the Tarnished can throw at the enemy. Though the Tarnished can only carry so many at a time, it makes for a nice quick projectile weapon. These include:
Throwing Dagger: Basic throwing dagger that can inflict damage.
Bone Dart: Made of bones, they can be thrown to inflict damage.
Fan Dagger: The Tarnished can throw these like a fan to inflict damage.
Kukri: The Tarnished can throw these to inflict damage and build up bleed.
Crystal Dart: A dart that uses FP to inflict magic damage when thrown.
Poisonbone Dart: Darts that can be thrown to inflict damage and build poison.
Dragon Communion Harpoon: Though not technically part of this category, these can be thrown like harpoon to inflict damage, especially effective against dragons.
Throwing Stones
The Tarnished can throw various stones at their opponent to inflict damage. Not exactly the most graceful way to fight, but don’t underestimate these, especially if you’re running out of options.
Ruin Fragment: Basic throwing stones that can inflict damage and can be used for crafting too.
Poisoned Stone: Stones that can be thrown to inflict poison buildup. Can be thrown as a clump for an even bigger effect.
Explosive Stone: Stones that explode upon impact, inflicting fire damage. Can be thrown as a clump for an even bigger effect.
Glintstone Scrap: Instead of throwing, the Tarnished will break these to fire a magic bolt (though it uses FP). Can be used as a large scrap for an even bigger effect.
Cuckoo Glintstone: A glintstone that uses FP when thrown to inflict magic damage with a magic bolt on impact.
Gravity Stone Chunk: A stone that uses FP to cause a gravity explosion upon impact.
Gravity Stone Fan: A stone that uses FP to emit a fan-shaped gravity shockwave to inflict damage.
Greases
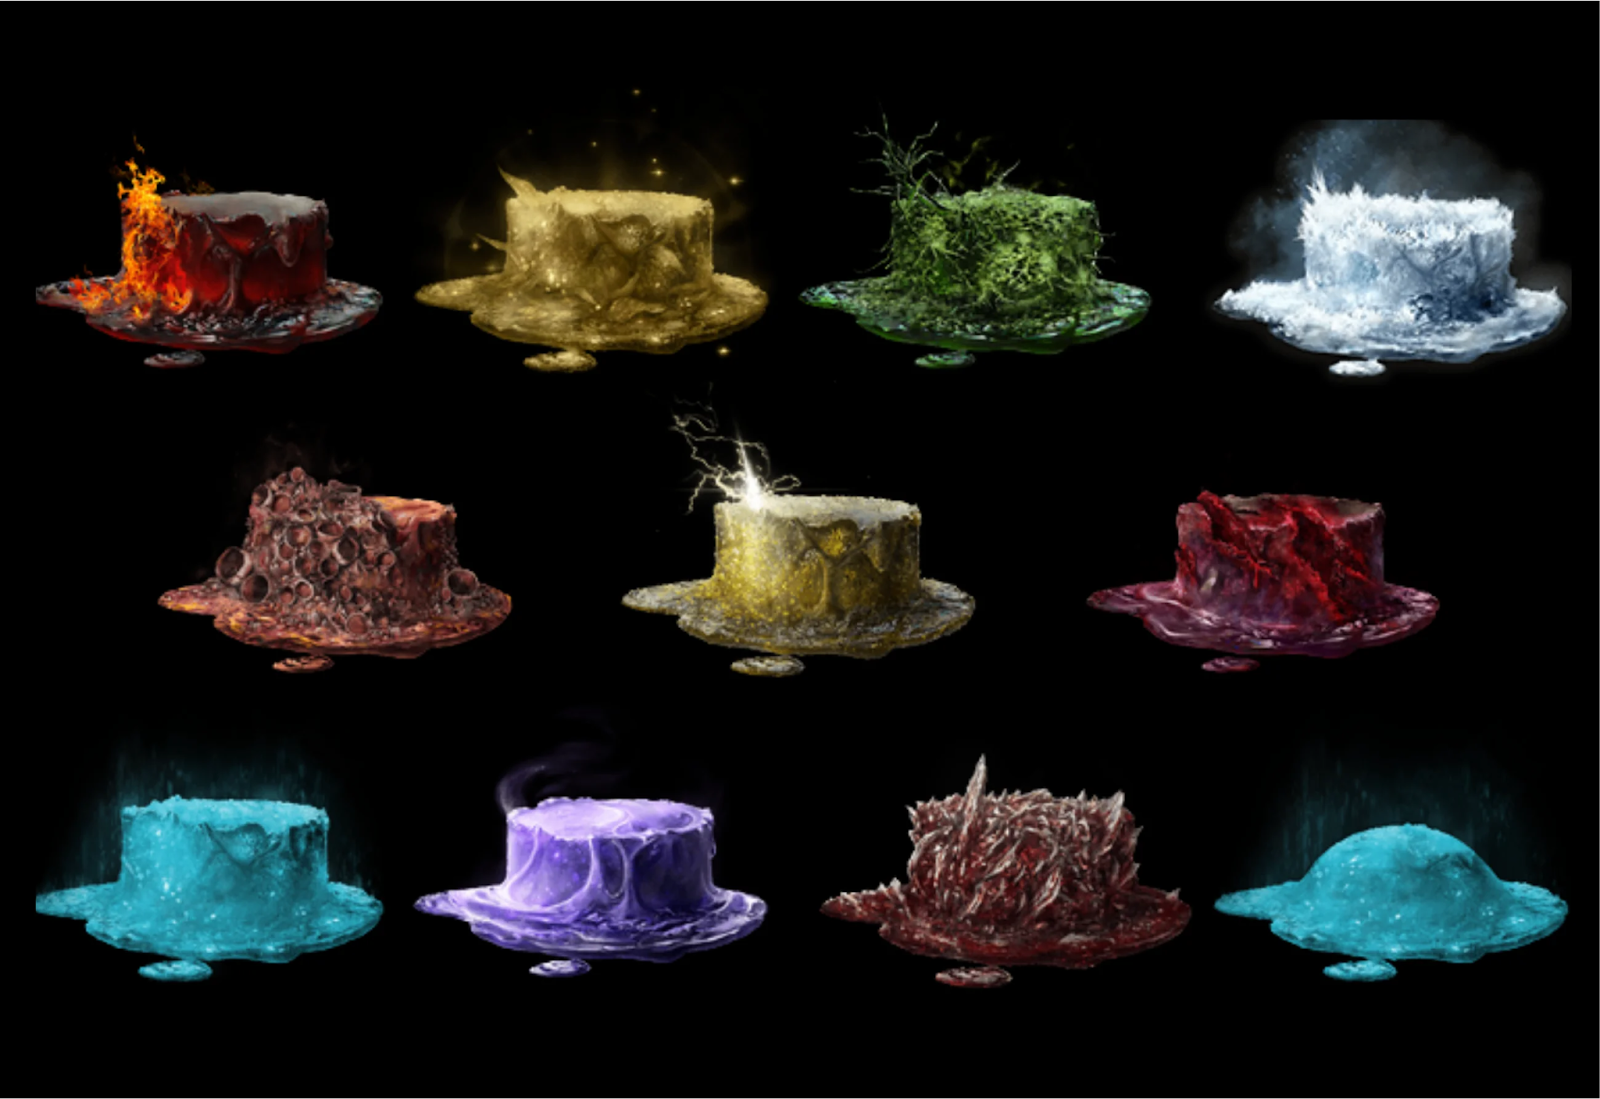
The Tarnished can apply these greases to their weapons to coat the armaments with all sorts of strong effects. While they only last for about 60 seconds, the powerful effects are usually worth it. Can only apply one at a time. Some variants have a “Drawstring” version where they’ll apply the effect alot quicker but with a far shorter time to use it (25 seconds).
Messmerfire Grease: Coats weapons to inflict heavy fire damage.
Dragonbolt Grease: Coats weapons to inflict heavy lightning damage.
Royal Magic Grease: Coats weapons to inflict heavy magic damage.
Golden Greases: Coats weapons to inflict heavy holy damage.
Eternal Sleep Grease: Coats weapons to inflict eternal sleep buildup.
Dragon Communion Grease: Coats weapons for a strong anti-dragon effect.
Festive Grease: Coats weapons to give more runes on hit (so kinda useless in this fight, but hey).
Poison Grease: Coats weapons to inflict poison buildup.
Rot Grease: Coats weapons to inflict scarlet rot buildup.
Freezing Grease: Coats weapons to inflict frost buildup.
Soporific Grease: Coats weapons to inflict sleep buildup.
Shield Grease: Coats shield for better guarding ability and damage negation.
Great Runes

Great Runes are actually pieces of The Elden Ring which The Tarnished can acquire after defeating a boss. Each rune holds a special ability The Tarnished can access once they use a Rune Arc. The runes and their abilities include.
Godrick’s Great Rune: The Great Rune from Godrick allows The Tarnished to buff all their stats by 5+
Rykard’s Great Rune: The Rune from the lord of blasphemy allows The Tarnished to heal 80% of their health once they defeat an enemy.
Radahn’s Great Rune: The rune used by the gravity master himself boosts The Tarnished health, stamina, and FP.
Morgott’s Great Rune: Gained after killing the Omen King, this Great Rune buffs The Tarnished HP greatly compared to the other great runes.
Mohg’s Great Rune: From the lord of blood himself, every time The Tarnished uses spirit summons they are granted a blessing where after the summons kill a foe The Tarnished will gain a bit of HP back.
Malenia’s Great Rune: The Rune from the blade of Miqulla which after taking damage every time The Tarnished hits a foe they will regain HP back.
Other Consumables
Blessing of Marika: This physick blessed by Marika herself will completely heal the Tarnished and all ailments. Before you get too starry eyed, the Tarnished can only carry one on them per fight. Still a nice emergency healing option to have.
Spirit Raisin: You can feed this to Torrent (your horse) so that she can push back enemies when breaking into a gallop. Doesn’t do a lot of damage, but nice to have if you need Torrent to rush through enemies.
Lulling Branch: A consumable that the Tarnished can use to inflict sleep on themselves for FP gradually regaining. Probably not the smartest idea to do in a 1v1 deathmatch, but if you REALLY need FP…
Dragon Communion/Dragonscale Flesh: Boosts the Tarnished’s vigor, stamina, strength and dexterity at the exchange of gradual health loss.
Gourmet Scorpion Stew: Eating this stew (hope it tastes good…) nets a physical damage negation boost and gradually restoring health.
Polter Stone: Will make noise imitative of human presence when thrown.
Bewitching Branch: Uses FP to pierce a foe and charm to the Tarnished’s side as an ally temporarily.
Starlight Shards: Shards that can be used to gradually restore FP.
Raw Meat Dumpling: A really raw meat dumpling that’ll heal the Tarnished…but poisons them in exchange. Nice to have I guess…?
Tools
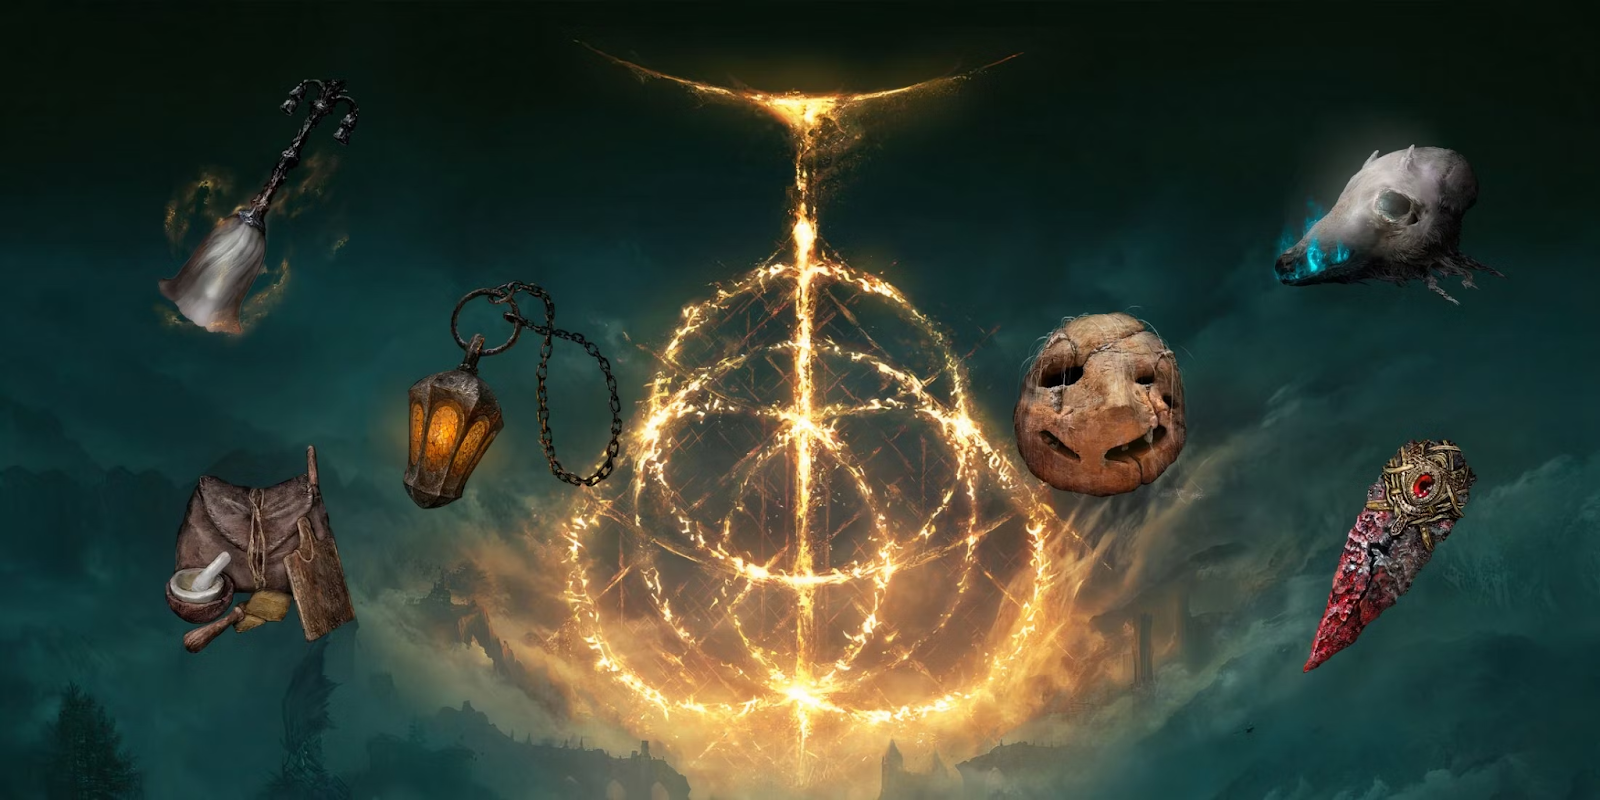
Memory of Grace: In exchange for all runes they have on them, the Tarnished will return the last Site of Grace used, letting them escape a tough encounter.
Telescope: Lets the Tarnished see things better from faraway.
Spectral Steed Whistle: Lets the Tarnished summon their horse Torrent to their side.
Spirit Calling Bell: Lets the Tarnished summon a Spirit Ash to their side for help.
Torch: Used to illuminate dark places and can even be used as a weapon (albeit a weak one).
Crafting Kit: Can be used to, well, craft various things for the Tarnished.
Mimic’s Veil: In exchange for 6FP, can be used to mimic nearby objects.
Lantern: Can be used to illuminate surroundings while freeing up the Tarnished’s hands.
Wraith Calling Bell: In exchange for FP to summon prowling wraiths. It’s kind of a weak projectile though.
Various Whetblades: Can give an affinity upgrade to a common weapon such as Quality, Keen, Heavy, Fire, Poison, Blood and Occult.
Golden Vow (Tool): Can be used to increase attack and defense for 45 seconds in exchange for FP.
Surging Frenzied Flame: Can be used to spew Frenzied Flames in exchange for FP.
Call of Tibia: Can be used to summon a single skeleton to attack for FP.
Perfumed Oil of Ranah: Can be used to spout flames forward for FP.
Horn Bairn: Can be used to summon vengeful spirits around the caster for FP.
Spritestone: Can be used to summon a sprite that slowly homes in for FP.
Bonestone: Can be used to cause a spiritual explosion, consuming sprite dwelling within spritestone.
Armor Sets
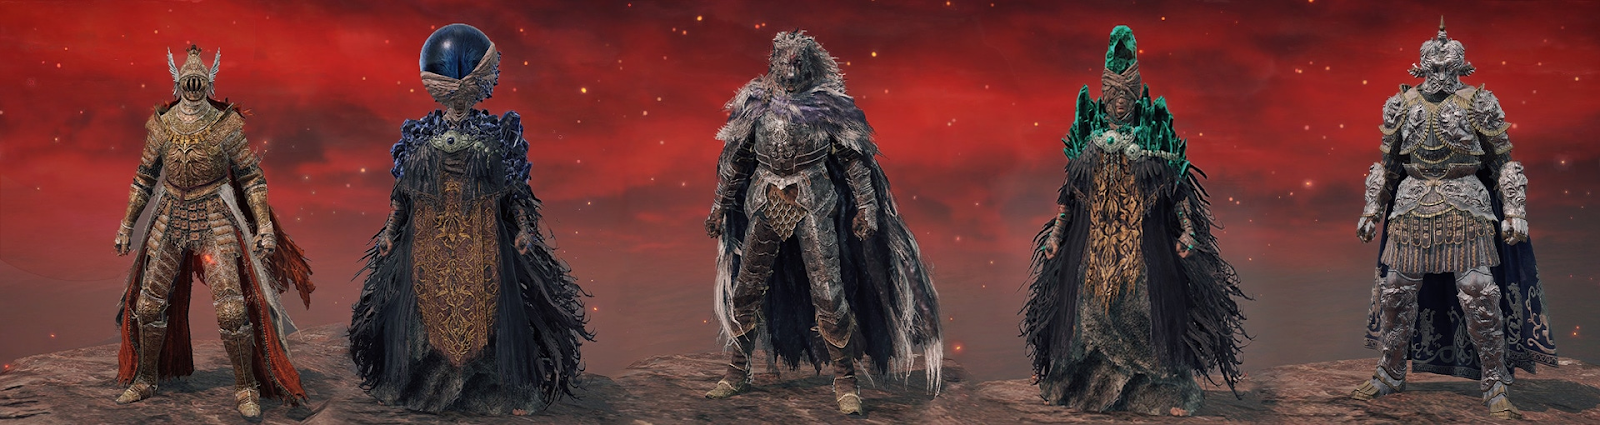
The Tarnished along with a library of weapons has a giant list of armors that they can wear in which he can interchange them however they want, so there’s no real “best” armor in the game (though looking cool never hurt anyone!) We recommend going here for the full list. A lot of the armors really don’t grant them anything other than allowing them to take less damage, however The Tarnished still has a fair few armors that grant them Special Effects. These armors include…
Royal Remains Set: Armor set that when low on health, will heal 8 points of HP per second.
Crucible Axe Set: Armor set that will increase the damage on any Crucible Incantations by 16 percent.
Alberich Set: Armor set that will increase the damage on Thorn Sorceries by 15 percent.
Spellblade Set: Armor set that will increase the damage of skills that deal Magic Damage by 8 percent.
Briar Set: Armor set that will deal damage to the target just by rolling into them.
Omen Set: Armor set that will increase the damage of the Omen Bairn and Regal Omen Bairn by 20 percent.
Dancer’s Set: Armor set where each piece will increase dancing attack power by 2.5%
Rakshasa Set: This armor set will increase your power by 2% for each piece at the expense of taking more damage.
Death Knight Set: This armor set increases damage by 2% for each piece by skills/incantations used by the capital’s ancient dragon cult.
Heirodas Glinstone Crown: A head piece that will increase Tarnished Intelligence and Endurance stat by 2 while decreasing Tarnished FP by 10 percent.
Lazuli Glinstone Crown: A head piece that will increase Tarnished Intelligence and Dexterity stat by 3 while decreasing Tarnished HP by 18 percent.
Karolos Glinstone Crown: A head piece that will increase Tarnished Intelligence stat by 3 while decreasing Tarnished Stamina by 10 percent.
Olivinus Glinstone Crown: A head piece that will increase Tarnished Intelligence stat by 3 while decreasing Tarnished HP by 10 percent.
Twinsage Glintstone Crown: A head piece that will increase Tarnished Intelligence stat by 6 while decreasing Tarnished HP and Stamina by 9 percent.
Haima Glintstone Crown: A head piece that will increase Tarnished Intelligence and Strength stat by 2 while decreasing Tarnished FP by 10 percent.
Witches Glintstone Crown: A head piece that will increase Tarnished Intelligence and Arcane stat by 3 while decreasing Tarnished stamina by 18 percent.
Crimson Hood: A head piece that will increase Tarnished Health stat by 1.
Navy Hood: A head piece that will increase Tarnished mind stat by 1.
IMP Wolf Head: A head piece that will increase Tarnished Endurance stat by 2.
IMP Fanged Head: A head piece that will increase Tarnished Strength stat by 2.
IMP Long-Tounged Head: A head piece that will increase Tarnished Dexterity stat by 2.
IMP Cat Head: A head piece that will increase Tarnished Intelligence stat by 2.
IMP Corpse Head: A head piece that will increase Tarnished Faith stat by 2.
IMP Elder Head: A head piece that will increase Tarnished Arcane stat by 2.
Queen Crescent Head: A head piece that will increase Tarnished Intelligence stat by 3.
Rulers Mask: A head piece that will increase Tarnished Faith stat by 1.
Consort’s Mask: A head piece that will increase Tarnished Dexterity stat by 1.
Pumpkin Helm: A head piece that will reduce the damage done to the head.
Omensmirk Mask: A head piece that will increase Tarnished Strength stat by 2.
Marais Mask: A head piece that will increase Tarnished Arcane stat by 1.
Mask of Confidence: A head piece that will increase Tarnished Arcane stat by 3.
Albinauric Mask: A head piece that will increase Tarnished Arcane stat by 4, but will reduce the health recovered from the Flask of Crimson Tears.
Silver Tear Mask: A head piece that will increase Tarnished Arcane stat by 8, but will reduce the damage of Tarnished physical attacks by 5 percent.
Mushroom Crown: A head piece that will increase the damage to a target if they suffer from the Poison or Scarlet Rot status effect by 10 percent.
White Mask: A head piece that will increase the damage done to a target if they suffer from the Blood Loss status effect by 10 percent.
Black Dumpling: A head piece that will increase the damage done to a target if they suffer from the Madness status effect by 10 percent.
Preceptors Big Hat: A head piece that will increase Tarnished mind stat by 3 but will decrease Tarnished Stamina by 9 percent.
Crimson Tear Scarab: A head piece that will increase the HP recovered from the Flask Of Crimson Tears by 10 percent though will increase the damage of enemy attacks by 5 percent.
Cerulean Tear Scarab: A head piece that will increase the FP recovered from the Flask of Cerulean Tears by 10 percent but will increase the damage of enemy attacks by 5 percent.
Ash-Of-War Scarab: A head piece that will decrease the FP used when using an Ash Of War by 15 percent but will increase the damage of enemy attacks by 5 percent.
Glintstone Scarab: A head piece that will reduce the FP used when using Sorceries by 15 percent but will increase the damage of enemy attacks by 5 percent.
Okina Mask: A head piece that will increase Tarnished Dexterity stat by 3 but lowers Tarnished resistance to Sleep and Madness status effects by 44.
Snow Witch Hat: A head piece that will increase the damage of Cold Sorceries by 10 percent.
Radiant Gold Mask: A head piece that will increase the damage of Golden Order Incantations by 10 percent.
Azur’s Glintstone Mask: A head piece that will increase the damage of Azur’s Primeval Sorceries by 15 percent while increasing the FP used when doing any other spells.
Lusat’s Glintstone Mask: A head piece that will increase the damage of Lusat’s Primeval Sorceries by 15 percent while increasing the FP needs when using any other spells.
Jar: A head piece that will increase the damage of Throwing Pot throwables by 15 percent.
Envoy Crown: A head piece that will increase the damage of bubble-based Ask of Wars by 15 percent.
Shining Horned Headband: A head piece that will increase the damage of Ancestral Infant’s Head by 20 percent.
Haligate Knight Helm: A head piece that will increase Tarnished Faith stat by 2.
Great Hood: A head piece that will increase Tarnished Faith and Intelligence stat by 2 while decreasing Tarnished HP by 10 percent.
Raptor’s Black Feathers: A chest piece that will increase Tarnished jump attacks by 10 percent.
Godskin Noble Robe: A chest piece that will increase the damage of Noble Presence Incantations.
Blacknife Armor: A chest piece that will make Tarnished footsteps muffled making it harder to hear them.
Commoner’s Garb: A Chest piece that will increase Tarnished Faith stat by 1.
Guardian Garb (Full Moon): A chest piece that will increase the health regained when using the Flask Of Crimson Tears by 10 percent but will decrease Tarnished resistance to Fire Attacks.
Horned Warrior Helm: A head piece that will increase Tarnished Strength by 5 in exchange for decreased healing from Flasks and reduced Focus by 30.
Circlet of Light: A head piece that will increase Tarnished Intelligence, Faith and Arcane by 1 and boost Miquella’s Incantations.
Divine Beast Head: A head piece that will boost Strength and Dexterity by 4 and enhances the power of Storms, but decreases healing from Flasks by 11% and reduces focus by 60.
Divine Beast Helm: A head piece that will boost Strength and Dexterity by 3 and enhances the power of Storms, but decreases healing from Flasks by 9% and reduces focus by 45. Yes it’s essentially a less extreme version of the above.
Divine Bird Helm: A head piece that will increase Strength by 3 and Dexterity by 4 and enhances the power of divine bird feathers by 10%, but decreases healing from Flasks by 9% and reduces Focus by 45.
Gravebird Helm: A head piece that enhances spells that summon Rings of Spectral Light.
Gravebird’s Blackquill Armor: A chest piece that will increase jump attack damage by 10%.
Finger Robe: A chest piece that will boost finger sorceries by 8%.
Crucible Hammer-Helm: A head piece that will enhance Aspects of the Crucible Incantations by 4%.
Greatjar: A head piece that will increase the power of all thrown pots by 17%.
St. Trina’s Blossom: A head piece that will increase Max FP by 6%.
Messmer’s Helm: A head piece that will increase Messmer Fire Incantations by 3% and Fire Knight skills by 8%.
Death Mask Helm: A head piece that will reduce the FP cost to summon Spirits.
Salza’s Hood: A head piece that will increase Intelligence by 2.
Fire Knight Armor: A chest piece that will enhance incantations of Messmer’s Flame by 5%.
Winged Serpent Helm: A head piece that will enhance Fire Knight Skills by 10%.
Fire Knight Helm: A head piece that will increase HP by 2%, Stamina by 5% and Equip Load by 4%.
High Priest Hat: A head piece that will increase Arcane and Intelligence by 1.
Thiollier’s Mask: A head piece that will increase Arcane by 3.
Pelt of Ralva: A head piece that will increase Bear communion spells by 15% damage.
Curseblade Mask: A head piece that will increase Dexterity by 5 but reduces Flasks power by 7% and reduces Focus by 30.
Abilities
Link
Flurry Rush

Also sometimes referred to as Perfect Dodge, this version of Link’s most renowned ability is his Flurry Rush, where he dodges an attack at the last second. This puts him into a sort of bullet time, where everything seems to slow down but himself, allowing him to blitz his opponent. While Age of Calamity shows that all Link’s fighter friends can perform it, Link is the best at it, to where he and Ganondorf were able to Flurry Rush each other during Flurry Rushes. This ability also activates when he aims a bow while in midair.
Interestingly enough, Daruk directly references Link being able to do this in his diary, making it seem like time slows down when he focuses, more or less making this gameplay mechanic canon and Link should be able to do this without having to specifically dodge. While technically never stated in-game, it seems to slow time around Link when he focuses by around 19x, making it really tricky to even hit Link while letting the Hylian land all of his. Sometimes this bullet-time requires Link to hyper focus, meaning a progressive loss in stamina (mainly for when he shoots arrows mid-air). While he can regenerate this stamina quickly, the fact he needs to use it up at times does mean he cannot just blitz someone forever.
Shield Bash
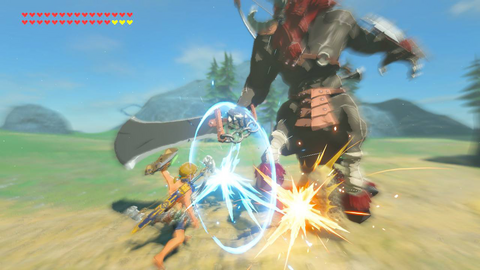
Link takes his shield and quickly slams it forward. If Link does it in tandem with being attacked, he’ll perform a Perfect Guard, which parries the hit without diminishing his shield and putting the opponent in stun. A Perfect Guard is even capable of reflecting lasers like the Guardian Beams, and the Hero of Twilight has shown that the technique works with all sorts of energy projectiles.
Revali’s Gale

The ability previously used by the Rito Champion Revali, it was gifted to Link by Revali’s spirit. With the power, Link is able to create massive updrafts to propel himself or others into the air. The ability can be used three times before having to undergo a two minute cooldown.
Daruk’s Protection

An ability passed down through the bloodline of the Goron Champion Daruk, Daruk’s spirit gave it to Link so he could use its omnidirectional shielding capabilities for a flawless defense. Capable of staggering back anyone who dared attack it, as well as being able to deflect all projectiles. Link can block three attacks with it before having to go through a six minute cooldown.
Mipha’s Grace
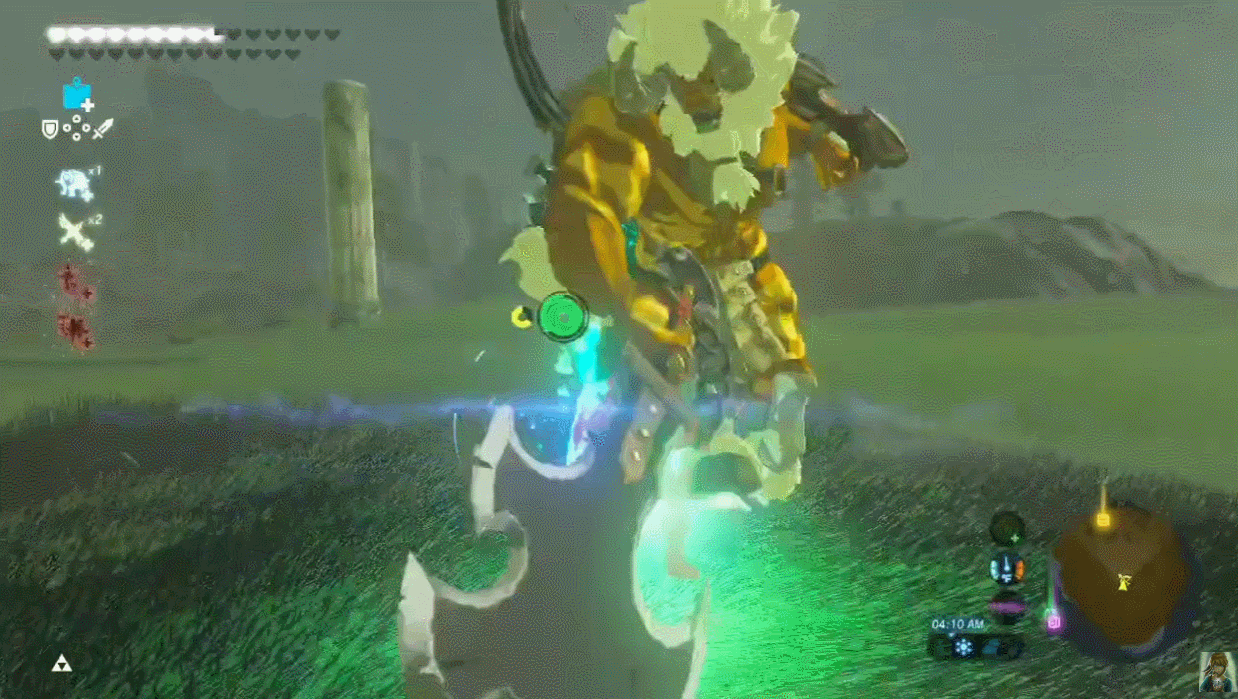
Zora Champion Mipha’s healing abilities are incredibly useful, hence why she gave them to Link after her spirit could no longer use them. Link specifically uses these powers as a revive method, healing him to full health with the bonus of some temporary bonus health if he is ever killed. Once utilized, Link will have to wait 8 minutes to revive again.
Urbosa’s Fury
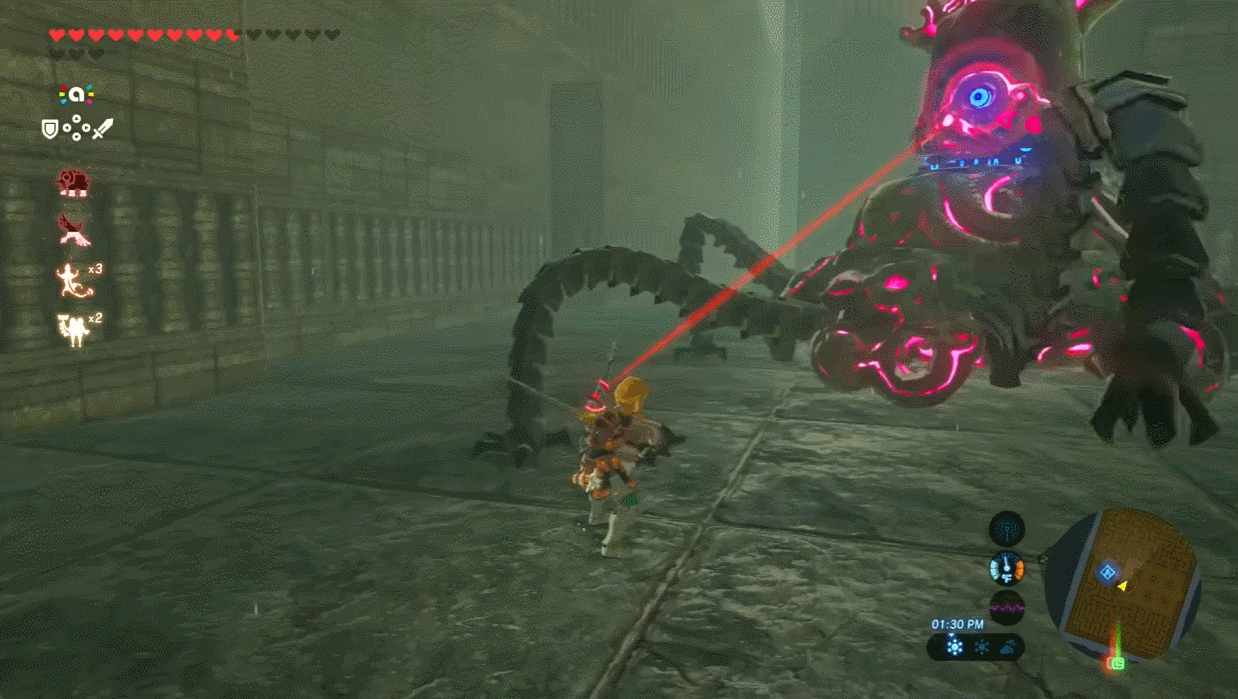
The shocking powers of the Gerudo Champion Urbosa were passed down to Link from her spirit, letting Link expand an electric aura during charge attacks. Said aura will auto-lock on any enemies within it and strike them with lightning when Link utilizes his charge attack (would it be a spin attack, flurry of spear strikes, or a spinning slam with a heavy weapon). After three uses, Link has to wait four minutes to be able to shock enemies again.
Ultrahand
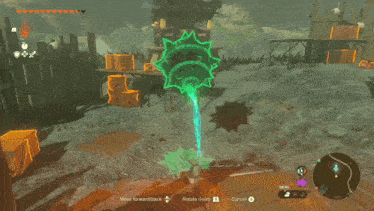
After Ganondorf left Link disarmed due to Gloom exposure, Link was on death’s door until his life was saved by Rauru. To replace his ruined hand however, Rauru gave Link his own that had been sealing Ganondorf for tens of thousands of years. The new arm had plenty of unique powers, the first of which being Ultrahand.
This power gives Link’s new arm telekinesis, letting him lift objects off the ground. The notable aspect of the ability however is what it can do with these objects: combine them. Link can attach a boulder to a log or an explosive to a cannonball, the possibilities are endless. Things get especially hectic when he throws Zonai devices into the mix. Want to attach a flamethrower to a boat? How about a shockwave bomb to a cart to mail someone an explosion?
Link can set up automatic tracking turrets, rocket boosted cars, a box to trap you in until he drops 100 copy pasted explosive barrels on you. More on copy pasting later. Ultrahand opens up several combat and general use options for him.
Fuse

Link’s second arm ability is a parallel of Ultrahand: Fuse. With it Link can attach anything to his weapons, shields, and arrows. To emphasize, anything. He can enhance a Broadswords damage by putting a Bokoblin horn on it, make a shield provide offense by having a reactive flaming ruby attached to the front, make arrows freeze enemies solid by putting a chilly fruit on the tip, or hell, double a Royal Spear’s range and power by putting a second Royal Spear on it. Possibilities for enhancements here are just as endless as possibilities are for Ultrahand.
Ascend

The hand’s third ability is distinct from the other two, as Ascend has no correlation to creation. Instead, it allows Link to jump up to and completely phase through any sort of roof that isn’t too far above him. Caves, second floors, the roof of the Depths, the Undertale Underground, you name it, he can ascend through it. He cannot Ascend through anything organic though.
Recall
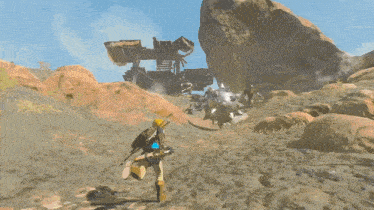
Recall is unique compared to Link’s other Rauru arm related abilities in that it never actually belonged to Rauru at all. It actually belonged to Zelda (who gifted it to Link’s arm through some unexplained method) and Rauru’s wife, Sonia. Sonia describes Recall as drawing out an object’s memory, asking it where it is now and where it was before rewinding it specifically through time to where it was previously. Link can specifically only affect objects, not living things, but that doesn’t mean Recall is not useful. He can send projectiles back at enemies or impact debris to make it go back upwards if it had fallen. Recall will send an object towards its previous trajectory, even if the object traveled that path days ago and has stayed motionless since. Additionally, when activating Recall, time seems to freeze around Link until he begins rewinding an object’s memory. Letting him get an opportunity to scan the battlefield. He cannot move during this instance though.
In regards to Recall only affecting objects, this is only partially true… sort of. In the ending of Tears of the Kingdom, Link’s Recall is automatically activated and used on Zelda, who had been stuck as the Light Dragon for thousands of years. Link can’t seem to rewind a living person more than once though, as the process also rewinded his arm back into existence after it had been destroyed by Ganondorf at the beginning of the story. This cutscene raises more questions though. Does Link know how to do this himself? Was this something done by Rauru and Sonia and not him? Were they even doing anything considering they were spirits? Were they specifically guiding Link’s power? More discussion when we get to the Q&A.
Autobuild

Autobuild enhances the efficiency of using Ultrahand by allowing for automatic assembly of frequently used constructs. This function can save up to 30 different Ultrahand assemblies, deleting the oldest once the limit is reached. Players can mark up to eight of these assemblies as favorites, protecting them from automatic deletion. When activated, Autobuild shows a transparent preview of an Ultrahand project within a movable circle close to the player. Objects previously used in the project will automatically align in their correct positions if they are nearby. If an essential item is missing, players can use Zonaite to create a temporary replica, although these replicas cannot be adjusted once placed without breaking, thus using up the Zonaite. To add to their repertoire, players can collect Schema Stones and Yiga Schematics. These items provide blueprints for various vehicles and devices that players can either use directly or modify.
- Shema Stones: can be obtained from Steward Constructs situated in the Abandoned Mines of The Depths:
Fanplane: A Zonai wing with three fans attached, allowing Link to fly with a plane.
Hot-Air Balloon: A balloon fueled by fire that lets Link reach greater heights.
Dirigible: A stone platform with two balloons attached that can let Link fly higher with Flame Emitters.
Hovercraft: A cart with a flashlight and fan attached that can let Link traverse even the darkest areas.
Bolt Boat: A makeshift boat with a shocking twist, doing electric damage to anyone near Link in the water.
Beam Cycle: A makeshift mini bike that has a laser attached to fire at enemies while Link rides it.
Bridge: It’s…well a bridge that is useful for crossing large gaps.
Instant Scaffold (Tower): A tower that Link can use with Ascend to reach higher places.
Instant Scaffold (Stairs): A bunch of stable stairs that Link can climb to reach higher places.
Rocket Platform: A platform that’ll lift up fast with a rocket and Link can Ascend to it to reach higher places.
Automated Ally: A device with a flamethrower attached acting as Link’s ally, locking into any enemies to burn them.
Launch Pad: A spring attached that will send Link flying to reach high places or even set Link up for a good bow shot.
Yiga Schematics: are typically located in treasure chests, secured with a seal guarded by a single Yiga Footsoldier in their subterranean strongholds:
Liftoff Glider: A wing with rockets that’ll let Link fly high and fast that Link can control with the steering wheel.
Raiding Plane: A mini-plane that Link can fly while attacking from above with a flame emitter.
Fanboat: A boat with two fans attached for traversing the waters.
Fishing Trawler: A fan boat equipped with a shock emitter meant to catch fish…but it’s also pretty good for attacking enemies in the water.
Headlight Raft: A boat made of lags with headlights attached meant to traverse the depths.
All-Purpose Raft: A raft with a portable pot should Link want to cook something.
Monocycle: A single wheel cycle equipped with headlights. Perfect for traversing the depths.
Three Wheeler: A bigger vehicle with three wheels that Link can ride.
Big Rig: A big vehicle with spikes attached in front of it allowing Link to plow through rubble and enemies foolish enough to stay in front of it.
Wagon: A basic wagon Link can use to attach to a horse to carry other stuff.
Excavator: A vehicle with spikes attached that’s meant to destroy rocks and mine ore.
Assault Cart: A cart with rockets attached and spikes in front that’ll launch forward aggressively.
Tank: A big vehicle with a cannon attached that’ll blast any enemies it finds while Link’s chilling while steering it.
Instant Kitchen: Lets Link build…a kitchen that has a portable pot, good for making food when he needs it.
Charged Charger: A homing device that sprays enemies with water with its hydrant before shocking them for some electric damage.
Beam Turret: A standing turret that’ll lock into enemies with a powerful laser.
Beam Spinner: A deadly spinning beam that can be placed anywhere.
Whirling Basher: A wheel with boulders attached to it, spinning at great speeds to deal good damage, perfect for mob control.
Flamethrower Balloon: A balloon with flame throwers attached, spinning and burning anyone that’s within reach as it flies.
Shock Trap: A trap with large slabs, damaging enemies that pass underneath it and the shock emitter.
Bomb Bouquet: Four bomb flowers that’ll explode that Link can just make…just because.
Triple Cannon: Cannons attached to a slab that’ll automatically fire when activated.
Aerial Cannon: A cannon that’ll fire while attached to a hover stone and move forward with a rocket for higher ground.
Scatter Trap: A trap made up of both Muddle Buds and Dazzlefruits confusing/turning enemies against each other and even blind them temporarily.
Smoke Rocket: A contraption that Link can launch an enemies, exploding with the bomb attached and releasing smoke after that Link can use as cover.
Super Spring: With three springs attached to it, it’ll send Link REALLY high into the air, useful for navigating the sky.
Vertical Escape: A spring attached that Link can use to escape into the air, but leaves behind three bombs that’ll damage anyone trying to give chase.
Sprinkler System: A contraption Link can use to make a mini sprinkler system with the hydrants attached.
Rainmaker: A contraption Link can launch into the air to literally make it rain with water.
Water Freezer: A spinning beam of Frost Emitters that’ll freeze anyone within range to help them chill.
Floodlights: A device Link can plant on the ground to light the path forward, useful for exploring dark areas like the depths.
Gloomdredger: For the low price of 999 rupees, it’s a big vehicle Link can ride and steer with big spikes attached, letting Link run over anyone silly enough to get in his way.
HOVERDOOM MK.3: For the low price of 99 rupees, it’s a hovercraft with fans attached Link can ride and the giant spikes to the side prevents anyone foolish enough to get close.
This is not the limit of Link’s Autobuild options, far from it and Link can customize any of the above even further with Zonai devices and the help of Ultrahand. The possibilities are endless. Link can make stuff like this giant aircraft that’ll rain down lasers, giant mechs, 21 bomb barrels just because, his own mini-Star Wars vehicles, musical devices, Jeremy, Korok torture devices and so much more.
Earthwake
The Earthwake Manual
A technique Link learned while posing as a Yiga soldier, learned from Yiga Blademasters, taught to him to teach the “new recruit” a technique to kill Link in a sense of irony. The technique involves punching the ground, which creates an underground shockwave that homes onto the target, causing the ground to erupt beneath them, knocking them off their feet.
Resistances
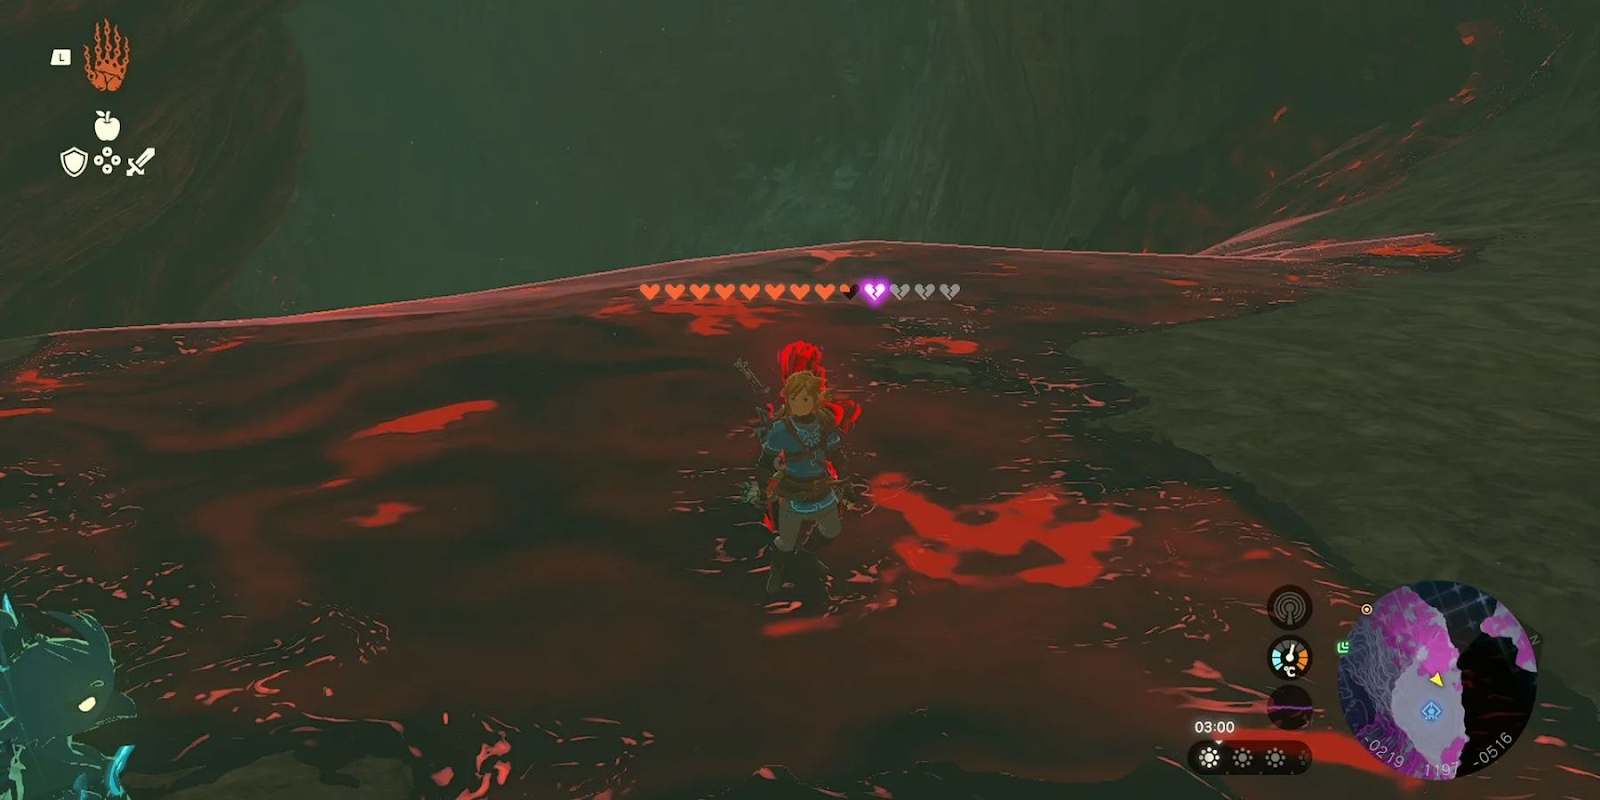
Electricity: The Thunder Helm will automatically deflect all electrical attacks.
Extreme Temperatures: Whether it be food, armor, or elixirs, Link has plenty of options to help resist extreme weather conditions
Fire: Potions and armors like the Flamebreaker Armor will let Link endure really hot fire conditions including when the air is so hot in the Eldin region, people and wood based equipment will automatically catch on fire. The set bonus of the armor also protects Link completely from Fire based attacks.
Freezing: Link is immune to being frozen thanks the power of Zant’s helmet he can equip
Gloom: Link is able to stay in contact with Gloom for long periods of time, with even more added protection from it with the Depth’s Armor set and various food. One touch of this substance will invade your body in the blink of an eye, so Link resisting it this well isn’t normal. Gloom has many abilities and effects, though it is debatable if Link can resist specific ones. All of them will be posted regardless though, such as:
Corrosion: Gloom is stated to be a corrosive substance that withers away anyone who touches it. It also decayed all of Hyrule’s weapons and even the Master Sword
Disease Inducement: Even touching a speck of Gloom can make people sick
Life Force/Power Drain: Gloom will drain your very life force to the point it prevents you from healing unless you have very special treatment. Link previously lost all his health before but has since learned to passively resist it thanks to the light of blessing purging evil/giving him strength
Soul Manipulation: Gloom Spears are stated to be capable of reaping the souls of its victims and Link can survive hits from them. Soul shenanigans are nothing new to the Wild era as Astor using Malice (which is a weaker version of Gloom; they both have very similar effects and come from the same source) was able to rip souls out of people and Malice in general was able to keep souls of the Champions trapped in the divine beasts. Considering Link has dealt with Malice all the time in both BOTW and AOC, it’s likely the Gloom Spears mean it.
Possibly Sleep Manipulation: It was only until Link got rid of the Gloom infecting Korok Forest that all its residents awoke from a deep slumber, indicating that Gloom was the reason they fell asleep in the first place. However, it is possible everyone just felt sick/tired from their life draining, so they’d feel sleepy from that.
Mind Manipulation: Is unaffected by Muddle Bud’s status effects, which disorients people and leaves them confused, attacking anything they see
Corruption: Thanks to the power of the Master Sword, it’ll repel any evil inflictions on Link, like when it does a Twilight magic shard that forced the Hero of Twilight into a Wolf before.
Possibly Death Manipulation: Link can withstand Malice which can cause instant death to people they enter. However, this could just be soul absorption to power up the orb in the scene.
Tarnished
Grace

Thanks to the Erdtree and the Elden Ring, the land is blessed with a light which is called a grace. This grace was given to every person who has lived in the lands and acts as a blessing. However for our Tarnished it was stripped away from them and now given back in order for their quest to become Elden Lord to come true. Put simply, grace is what gives The Tarnished life. Grace also gives The Tarnished several other benefits as well.
With the grace The Tarnished can light Sights Of grace which acts as a resting place for The Tarnished. They can use these spots to heal back up to full HP, use runes they find along the way to level up becoming more powerful, switch out spells they want to use, increase their flasks both in how much they heal and the amount of sips they can have and to travel to other sights of grace. However it’s more prominent ability that it grants The Tarnished is to bring them back to life.
See when it said grace gives The Tarnished life, they meant it fully. The Tarnished are granted a form of immortality by grace which means that The Tarnished can’t fully die. This is mainly so the grace can be sure that The Tarnished will grow in power and become the next Elden Lord without the worry of The Tarnished dying fully. So when The Tarnished falls in battle they will simply come back to life near a sight of grace and be good as new.
However it’s important to note that grace can be taken away from The Tarnished. This is mainly shown with Godfrey the first Elden Lord. When Marika saw little to no use for him anymore she took away his grace and banished him. It's not just Godfrey though, there are a number of other Tarnished we meet that also lost their grace like Big Boggart and Sorcerer Rogier (who can’t fight anymore, which could indicate why he lost his grace). So if it starts to see little to no use of Tarnished or if you give up on your goal like Sir Gideon did, the grace can very well leave them again making Tarnished powerless.
It’s also unclear how long the resurrection takes in canon. Testing it at night and dying, the Tarnished will resurrect in the morning, implying it’ll at least take a few hours.
Status Effects

In Elden Ring, a lot of weapons and spells have the ability to inflict some very powerful effects on their enemies should they land enough hits to build up. While some weapons naturally come with their built in effects (in particular the unique weapons), it’s possible to also imbue these powerful effects in more common weapons.
Poison: Poison is a status effect that once inflicted will do damage slowly overtime to the opponent.
Hemorrhage: Also known as Bleed, it’s an effect where if you deal enough build up of this effect, it’ll immediately do a huge amount of damage based on the enemy’s max HP. It’s a very powerful ability (and very common amongst Elden Ring player builds!)
Frostbite: Frostbite is a status effect that once inflicted will increase the damage taken to the opponent. However it can be easily removed via fire spells or armor.
Scarlet Rot: Similar to poison, once inflicted Scarlet Rot will damage the person hit overtime. However unlike poison the damage is way more and people infected with Scarlet Rot can lose body parts, have their life drained away from the inside and most notably lose their minds and become wild animals.
Sleep: Sleep is a status effect that will put the opponent to sleep once inflicted with it…who would’ve guessed. Shadow of the Erdtree introduces a new version called Eternal Sleep which is sleep, but well…eternal. Basically you don’t wake up unless you die or the Tarnished crits them.
Death Blight: Death Blight is a status that builds up slowly but when it is filled the opponent will be killed instantly. Should be noted this ONLY seems to work on Tarnished only, so it might not be relevant for every single matchup (or well, even this one in particular).
Madness: Once inflicted with madness the opponent loses FP or magic points and sufferers from health loss.
Ashes of War
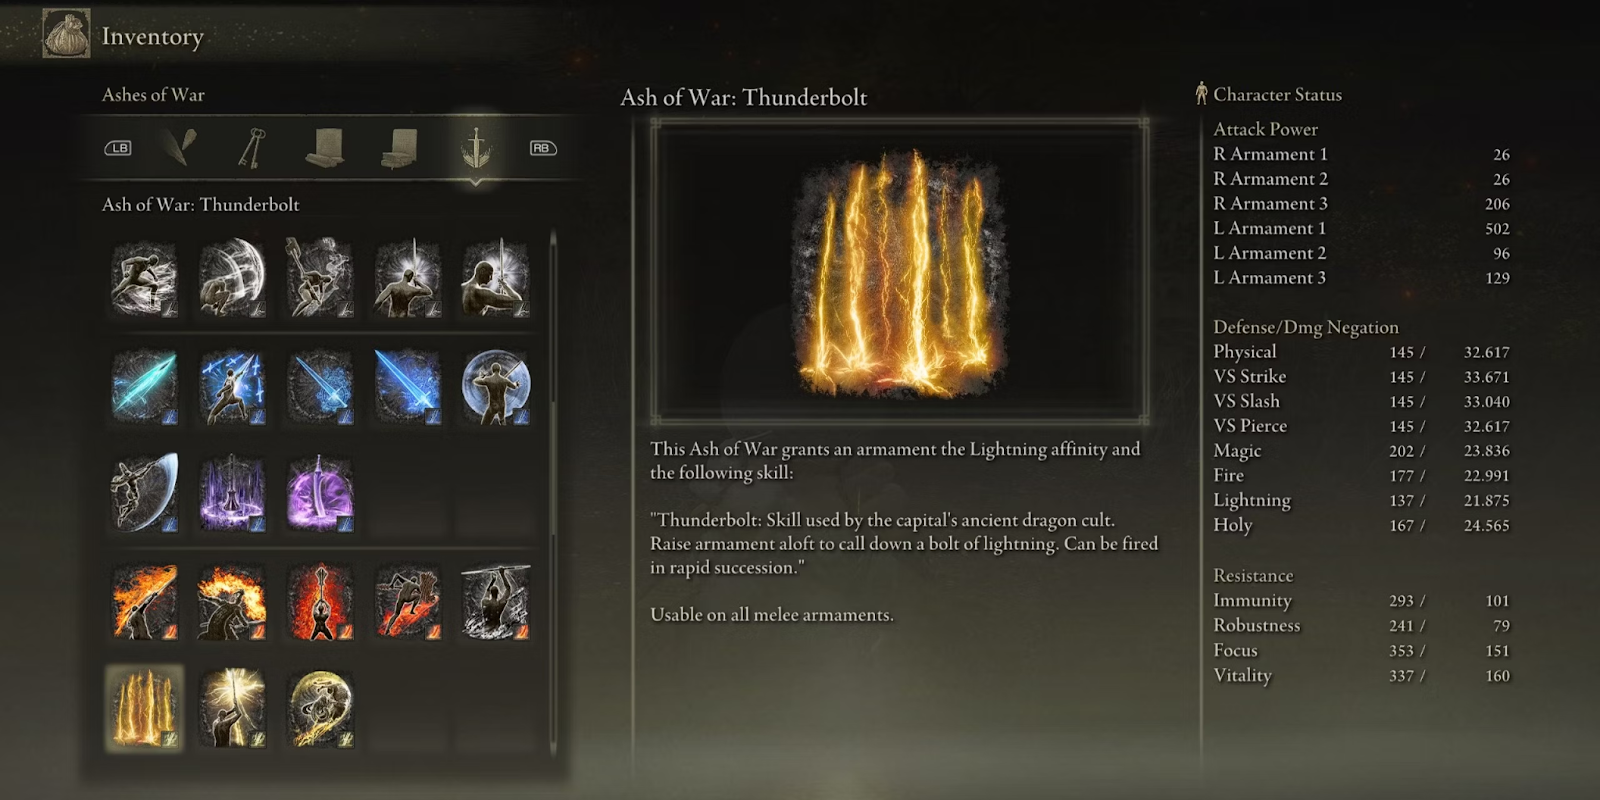
Ashes of War are skills you can attach to more common weapons. While some you can attach to any of them, others are more geared towards specific weapons (example Rolling Sparks is meant for Perfume Bottles only). There’s over 100 of these and some are definitely better than others, so listing all of them one by one would be a little ridiculous. They do however come in different categories, which makes understanding them easier. We recommend going here if you’re curious about the full list.
Standard: The most normal, but still effective ashes of war here. There’s a good amount of them, but the easiest to understand would be the Parry one can use with a shield, able to make it rain with arrows with the…. Rain of Arrows, Rolling Sparks will trigger deadly explosions from Perfume Bottles with the properties depending on which one’s used and the Palm Blast can let loose an explosive blast of energy from the palm.
Heavy: One of the more physical categories with Ashes of War. These skills allow The Tarnished to cause powerful attacks with their strength be it the skill itself or a buff it grants them. Skills in this category include Barbaric Roar which increases The Tarnished attack power and Stamp Upward Cut which allows The Tarnished to send enemies flying in one hit.
Keen: Keen is the more nimble category. These Ashes of War give The Tarnished skills that make them do quick and deadly strikes. This category includes skills like piercing fang which has The Tarnished do a quick yet target strike and Blind Spot which allows The Tarnished to slide in an enemies blind spot for a quick attack.
Quality: This is when the Ashes of War start getting more unique. Quality Ashes of War mainly uses spin and wind attacks with its skills. Some notable ones include Strom Blade which sends out a wind projectile and Phantom Slash which allows The Tarnished to summon a spirit of a teacher which does a slash attack.
Magic: The magic category uses spells from both Gravity and Glintstone magic which is put on weapons for a short time. This category has spells such as Gravitas which will drag enemies closer to The Tarnished and Glintblade Phalanx which will summon three glintstone blades which will automatically attack the enemy.
Fire: Fire Ashes of War use Fire (duh) to enhance The Tarnished weapons attacks. Skills in this section include Flaming Strike which covers The Tarnished weapon in fire and sends out flames that cover the area and Eruption which has The Tarnished slam their weapon to the ground and sends lava up from the ground.
Flame: While similar in name Flame Ashes of War are different in effect by not covering the area in flames. This category has skills such as Black Flame Tornado which has The Tarnished summon a gust of black flames and Flame Skewer which has The Tarnished weapon covered in flames and stab the enemy.
Lightning: This Ashe of War allows The Tarnished to call down lighting for various attacks. This is shown in skills such as Thunderbolt which allows The Tarnished to call down lightning to attack foes and Blinkbolt which allows The Tarnished to move as fast as lightning from one place to another.
Sacred: Sacred Ashes of War is in other words The Holy version of them. This is shown via using holy magic for attacks like with Ring of Light which sends out Holy light rings which damages any who walks in them and Aspects of the Crucible which gives The Tarnished wings for a quick charging attack.
Poison: Poison Ashes of war has The Tarnished use skills which will lead into the enemy slowly losing health. This is shown in skills such as Poisonous Mist which does a slash which leads into poison mist being spread around the area and Poison Moth Flight which infuses the weapon with Poison and automatically causes the Poison effect on the second hit.
Blood: This Ashe of War bases itself based around the Bleed status effect which will cause massive damage once built up. This category has skills such as Seppuku which will have The Tarnished stab themselves with a blade which then causes The Blade to increase the Bleed status effect with every attack and Blood Blade which sends out a blood projectile.
Cold: Cold Ashe of Wars has the skills based itself around the Frostbite status effect. The Cold Ashe Of Wars has skills such as Ghostflame Call which sends ghostflames on the ground and damages enemies and Chilling Mist which sends out a mist that will build up the Frostbite status effects.
Occult: The last Ashe of War is based around the Arcane stat around its skills. This is shown in Ashes of War like Assassin’s Gambit which allows The Tarnished to turn semi invisible and Shriek of Sorrow which has The Tarnished scream and depending on how low their health is will allow them more damage.
Sorceries
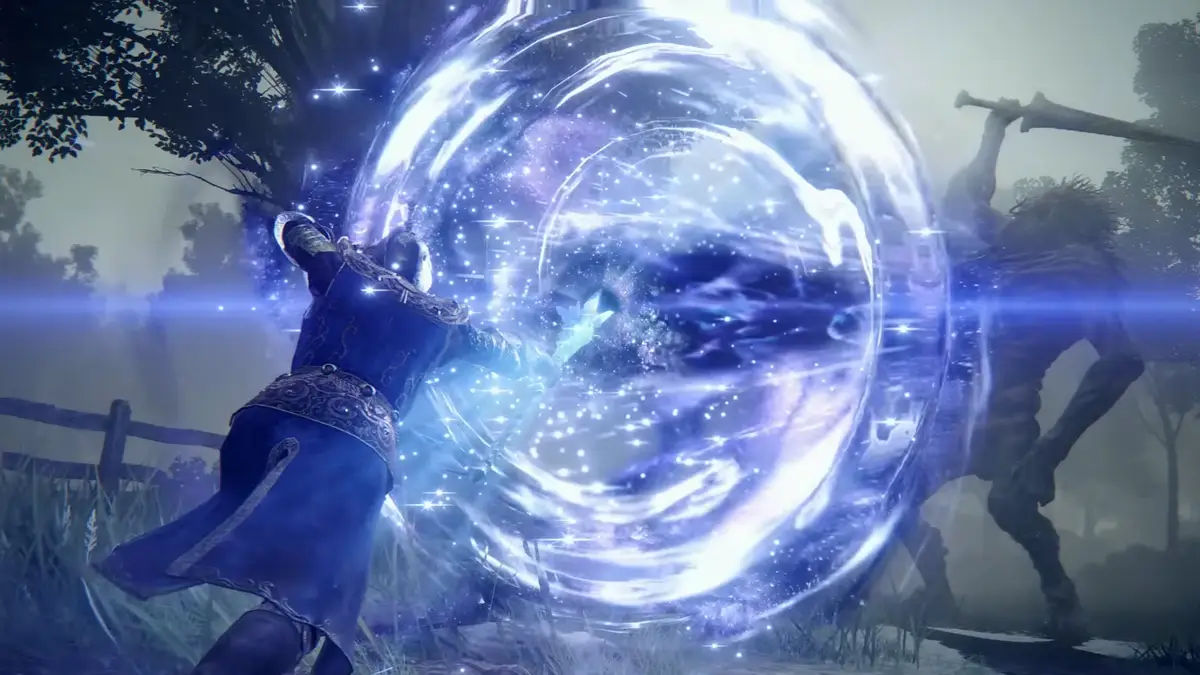
In the lands between The Tarnished can find a number of different Sorceries which acts as Magical attacks which can be boosted in damage with The Tarnished intelligence stat and magical staffs The Tarnished can use. There are a number of different Sorceries types which include…
Glintstone Sorceries
Glintstones are stones which were found by mages that were used to make a number of offensive spells and are used as the basic magic type The Tarnished can use in battle. These sorceries include
Cannon of Haima: A spell which sends an explosive magic spell massive damage.
Crystal Barrage: Another projectile spell which shoots a volley of shards at targets.
Crystal Burst: A spell similar to Barrage but this time shoots the shards almost like a shotgun.
Gavel of Haima: A spell which allows The Tarnished to summon a magic hammer to slam down and deal damage.
Glintstone Arc: A projectile spell that sends a wave of magic dealing damage to those hit
Glintstone Comentshard: A spell that sends out a glintstone comet with a trail that does damage.
Star Shower: A spell that sends out 6 Glintstone stars which goes after the opponent.
Scholar’s Armament: A enchantment spell which grants The Tarnished blade in their right hand boosted magic damage.
Scholar’s Shield: Another enchantment spell but this time boosts The Tarnished shield in their left hand via lowering damage taken when blocking with it.
Shard Spiral: A projectile spell which sends out two glintstone projectiles that spin around making it harder to dodge.
Terra Magica: A spell that summons a magical area. Whoever is in the area will be granted boosted magical damage until it runs out.
Thops’s Barrier: A spell that summons a forcefield in front of The Tarnished which deflects any incoming magical attacks.
Gravity Sorceries
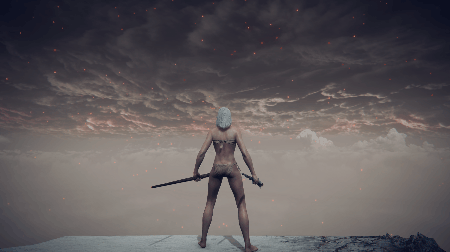
Gravity Sorceries involve The Tarnished using…well Gravity. This can be used in ways like throwing giant rocks at opponents and summoning merotiers in the battlefield. The Gravity spells include…
Collapsing Stars: A spell that uses Gravity Magic that pulls the opponent closer to The Tarnished with a projectile while also damaging them with gravity projectiles shot at them.
Gravitational Missile: Similar to Collapsing Star, however once the projectile drags the target the spell explodes causing massive damage.
Meteorite of Astel: A spell that allows The Tarnished to call down a small batch of meteorites which damages any targets nearby.
Rock Sling: A simple Gravity spell that makes little rocks that are sent as projectiles that damage enemies.
Blades Of Stone: A gravity spell that allows The Tarnished to summon blade-like stones from the ground dealing damage to those hit and those who walk on it.
Magma Sorceries
Magma sorceries are spells that use the magma from Mt. Gelmir. This allows The Tarnished to set battles ablaze with these spells. The spells include.
Gelmir’s Fury: A spell that allows The Tarnished to summon magma that comes from the earth itself which covers the area which deals damage to those who walk on it.
Magma Shot: A simple magma spell that allows The Tarnished to throw a magma projectile that explodes once it hits the ground.
Roiling Magma: A magma spell that once The Tarnished throws it and after a short delay will cause a massive explosion and deal massive damage.
Rykard’s Rancor: A spell that was used by Rykard himself which sends out a skull projectile and after a short time will explode along with the trail it left.
Night Sorceries
Night sorceries call upon the power of the night. It also grants a little buff to The Tarnished allowing them to be undetectable for a bit. The night sorceries include…
Ambush Shard: A spell that summons a projectile behind the target allowing for a sneak attack.
Eternal Darkness: A spell that makes a dark sphere that will draw spells and incantations towards it.
Night Maiden’s Mist: A spell that allows The Tarnished to summon a silver mist that deals damage to enemies who walk into it.
Night Comet: A projectile spell that is semi invisible which makes it hard to see and dodge.
Night Shard: A faster but weaker version of the above projectile spell that is semi invisible which makes it hard to see and dodge.
Unseen Blade: A spell that allows The Tarnished to make their right handed weapon completely invisible.
Unseen Form: A spell that allows The Tarnished to become invisible which can allow them to do sneak attacks.
Death Sorceries
Dead Sorciers are powerful sorceries that revolve around the concept of Death itself mainly via using sprites in forms of attacks. The Death Sorciers include…
Ancient Death Rancor: A spell that summons several vengeful spirits that will chase down the target and deal massive damage.
Explosive Ghostflame: A spell that allows The Tarnished to use ghost flames in an explosive attack that while dealing damage to foes also burns those nearby.
Fia’s Mist: A spell that allows The Tarnished to create a mist of death that will damage those who walk into it.
Rancorcall: A spell that will summon vengeful spirits to chase down foes.
Tibia’s Summons: A spell that allows The Tarnished to summon skeletons which will do battle for them for a limited time before disappearing.
Rings of Spectral Light: A spell that creates spectral light rings which will be fired at the opponent while also causing Frostbite buildup.
Mass of Putrescence: A spell that flings off a mass of Putrescent that explodes on impact releasing ghost flames on the area.
Vortex Of Putrescence: A spell that launches a whirlwind of Putrescent jets that will explode in a short time while also covering the area with Ghost Flames which would burn those hit with it.
Cold Sorceries
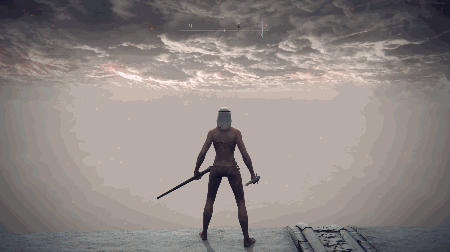
Cold Sorceries that revolve around using ice like magic in the form of attacks. The sorceries also allow The Tarnished to cause Frostbite buildup to the opponents. The Cold Sorceries include…
Frozen Armament: A spell that allows The Tarnished to cover their right handed blade in frost.
Adula’s Moonblade: A spell that allows The Tarnished to summon a cold blade and after a quick slash sends out a blade like projectile.
Freezing Mist: A spell that summons a cold mist that damages those who walk into it.
Glintstone Icecrag: A spell that uses a glintstone as a projectile but this time adds a frost buff to it.
Zamor Ice Storm: A spell that allows The Tarnished to create a frozen tornado that damages those hit.
Carian Sorceries
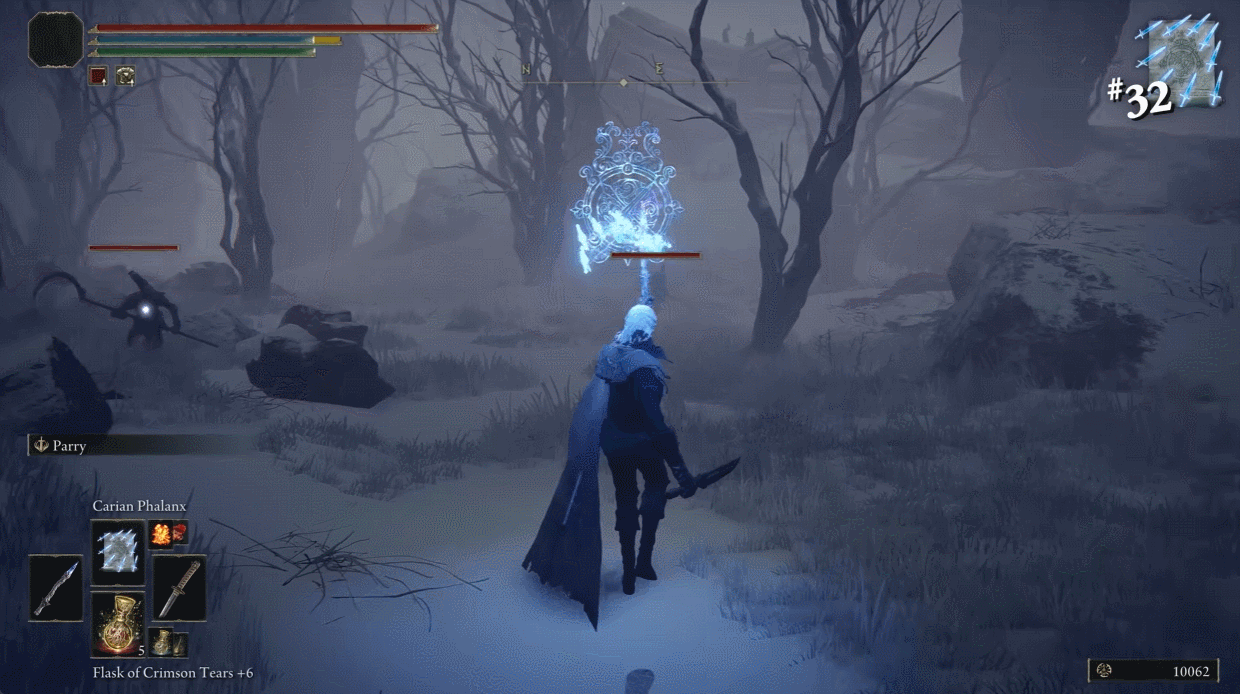
Carian spells revolve around the Tarnished summoning swords, swords, more swords, and you guessed it, more swords. They can be used like projectiles or as a melee weapon depending on the spell. The Carioan spells include…
Carian Greatsword: A spell that allows The Tarnished to summon a giant blade for a quick magical slash.
Carian Piercer: Similar to the last spell but this time The Tarnished summons a smaller, lighter blade to give out a thrusting attack.
Carian Phalanx: A spell that summons 8 magic blades which will target any nearby foe and deals damage.
Magic Downpour: One of three spells in this section that doesn’t revolve around swords has The Tarnished, a magical mass which sprays down projectiles and damages foes.
Carian Retaliation: A reflecting spell that blocks incoming spells and sends out magical blades to the attacker.
Lucidity: A spell that lowers the buildup of both sleep and madness on The Tarnished
Miriam’s Vanishing: A quick spell that allows The Tarnished to vanish in a glintstone haze.
Glintblade Trio: A spell that allows The Tarnished to make sigils which then makes three glintblades which shoots out at targets.
Full Moon Sorceries
A simple bit of sorceries which revolves around The Tarnished creating magical small moons which they use to throw at foes. There are only three notable spells in this class which include…
Rennala’s Full Moon: A spell which makes a full moon which is then launched at the enemy.
Ranni’s Dark Moon: A spell that launches a moon as well, but this time deals Frostbite damage as well.
Rennala’s Twin Moons: A spell which is similar to the last spell but this time summons two spells which slam the ground to damage foes.
Finger Sorceries

A group of spells that uses the power of the Fingers which act as vassals and such for The Greater Will. There are only three main spells in this class which include…
Glintstone Nail(s): A quick spell which summons several glintstone nails which damage any nearby foes. There’s a variant that only fires one.
Cherishing Fingers: A defensive spell which summons fingers around The Tarnished which dispels any and all incoming spells from foes.
Fleeting Microcosm: A spell which summons an image of a microcosm under an enemy's feet which causes a shockwave attack before disappearing.
Crystalian Sorceries
Spells which use the power of crystals as an offensive magical spell (Look all these sorceries revolve around using the power of something we’re trying to make them sound interesting ok). These spells include…
Crystal Release: The Tarnished creates a rain of Crystal coming down which damages any nearby enemies.
Crystal Torrent: A spell which makes The Tarnished send out a stream of crystals at the enemy.
Shattering Crystal: A spell that sends out a quick burst of crystals which shatter and deals massive damage.
Claymen Sorceries
Claymen sorceries revolve around using bubbles as projectiles…no we are not kidding. There are only two spells in this class which include…
Great Oracular Bubble: A spell which sends out a giant magical bubble which deals a bit of damage to those hit.
Oracle Bubbles: Similar to the last spell but this time The Tarnished summons out smaller bubbles which targets enemies.
Aberrant Sorceries
Aberrant sorceries allow The Tarnished to summon magical thorns which can be turned into spell attacks they can use and also causes the Bleed Buildup. These spells include…
Briars of Punishment: A spell that wounds The Tarnished but then throws a trail of blood thorns which causes the Bleed buildup to hit.
Impenetrable Thorns: A spell that allows The Tarnished to summon thorns from the ground and hits the target.
Mantle of Thorns: A unique spell that covers The Tarnished with thorns which means that anyone who touches The Tarnished has damage done to them.
Loretta’s Sorceries
A sorcery which uses the abilities with a bow and arrow from The Royal Knight Loretta. There is only one notable spell in this class which is Loretta’s Mastery which allows The Tarnished to summon a magical bow which shoots out 4 great arrows at once.
Primeval Sorceries

Primeval sorceries are spells that make the best spells they can in the vast world of magic which The Tarnished can use. The two notable spells in this class include…
Comet Azur: A spell which allows The Tarnished to fire a comet which hits nearby enemies.
Founding Rain of Stars: A spell that allows The Tarnished to set down a rain of Stars which attacks foes nearby.
Incantations
Incantations are typically Faith based magic that primarily take from the Golden Order of the Erdtree, though other important figures have also contributed spells to this field the Tarnished can weaponize. There’s legit over a hundred of these, so we recommend going here for the full list, but there are some notable ones we’ll list. Such spells include:
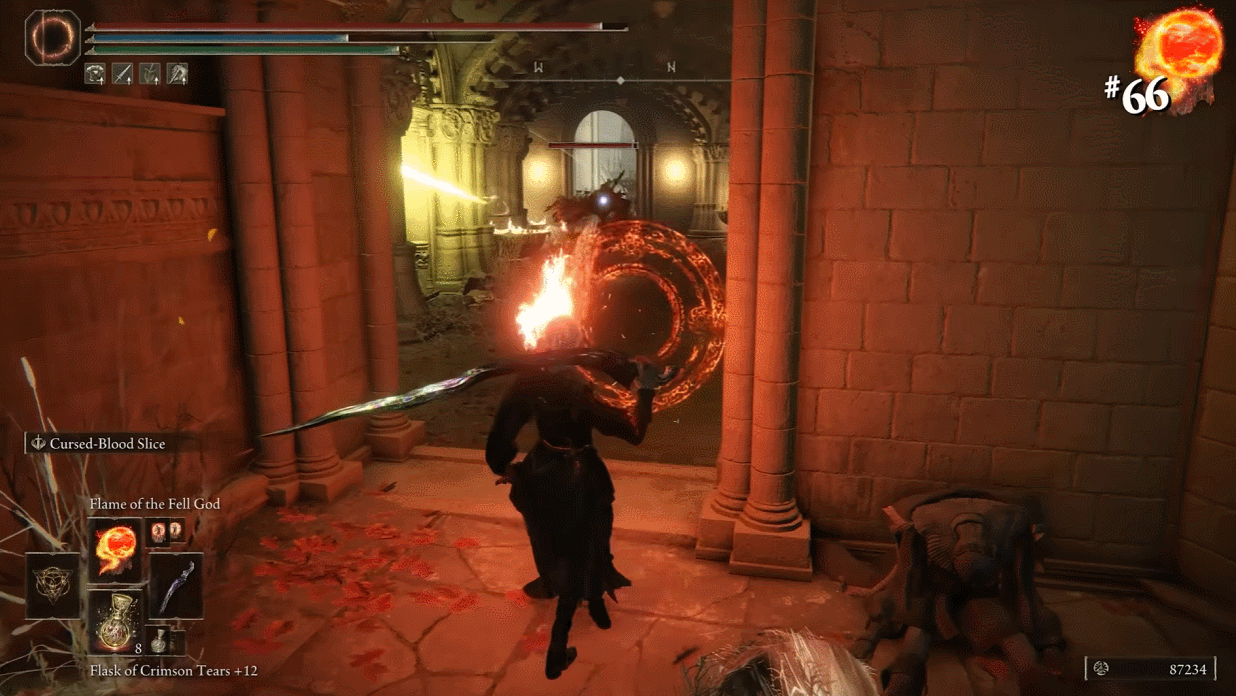
Flame of the Fell God: An incantation developed from the power of the Fire Giants, this spell launches a massive fireball that tracks down toward the caster’s target and explodes, setting the area ablaze in its aftermath.
Greyoll’s Roar: Channeling power of Greyoll, the Elder Dragon, the spell transforms the caster into a dragon to emit a terrible roar, lowering the attack power and defense of all enemies that hear it.
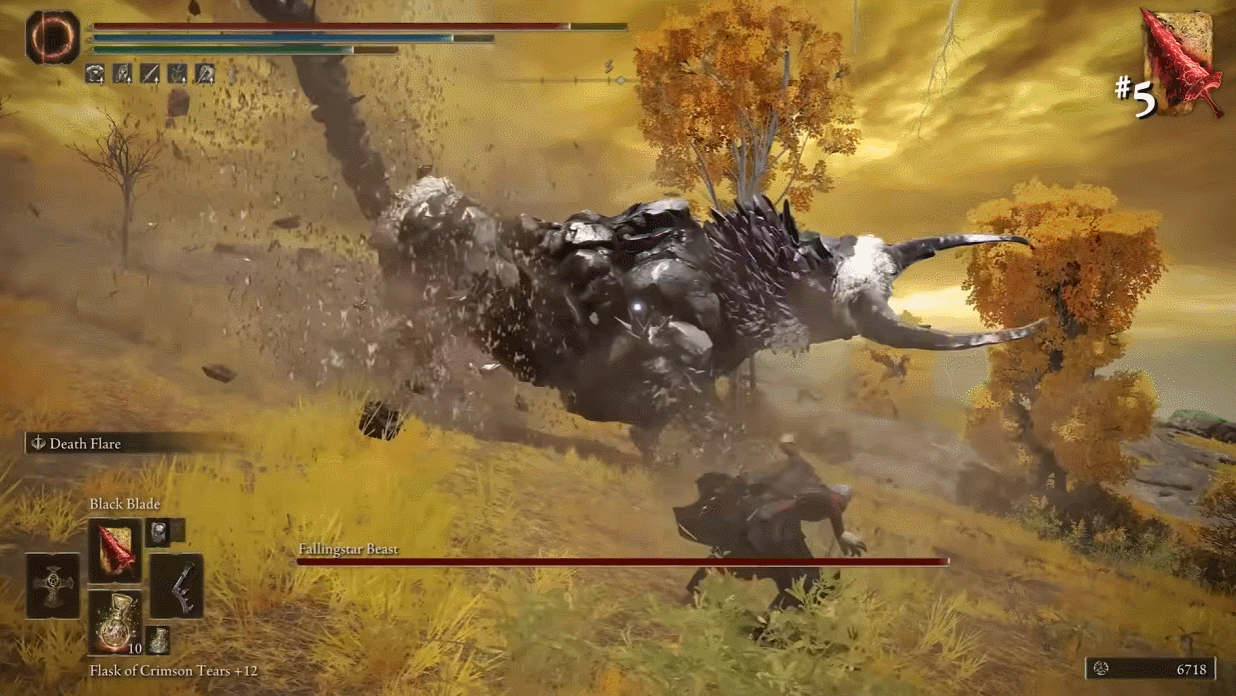
Black Blade: Creating an illusory Black Blade from the remembrance of Maliketh, the caster leaps forward and delivers a spinning slash that emits a wave of light, which stacks with either Destined Death or Blade of Death effects for even more potency.
Blessing of the Erdtree: Using the ancient power of the Erdtree, the caster confers a great blessing upon themself and their allies, regenerating a large amount of health over time.
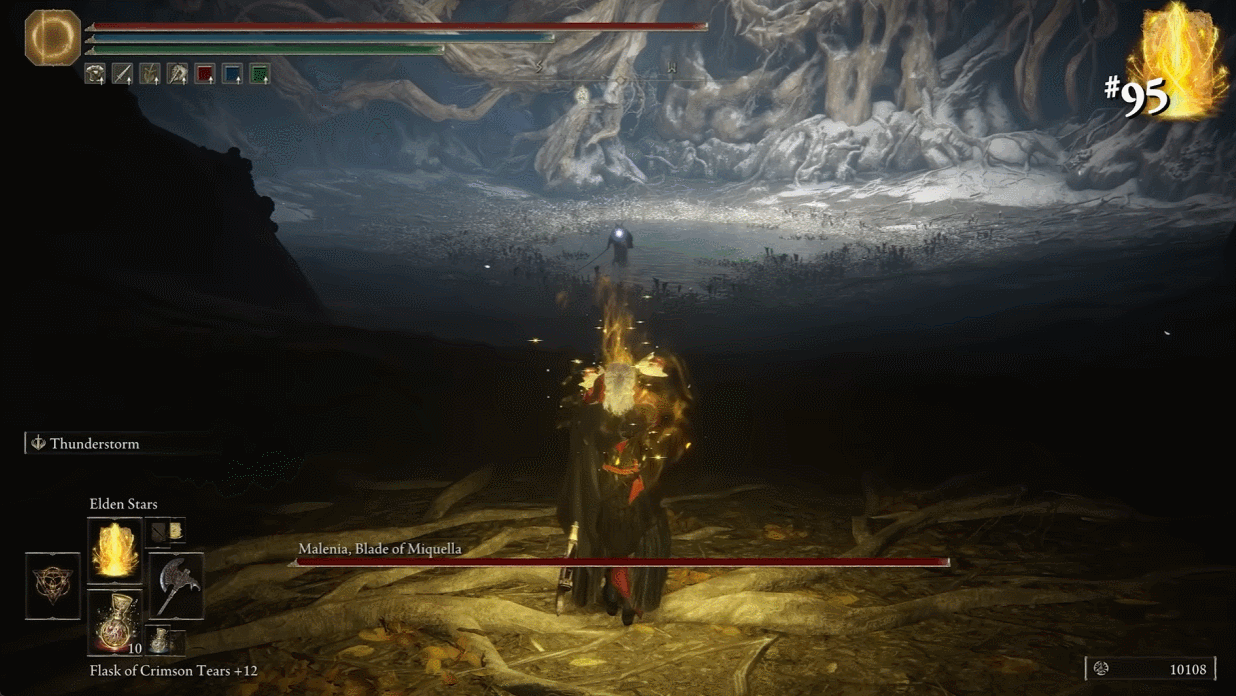
Elden Stars: The most ancient of incantations derived from the Erdtree, this spell creates a stream of golden shooting stars that assail the area.
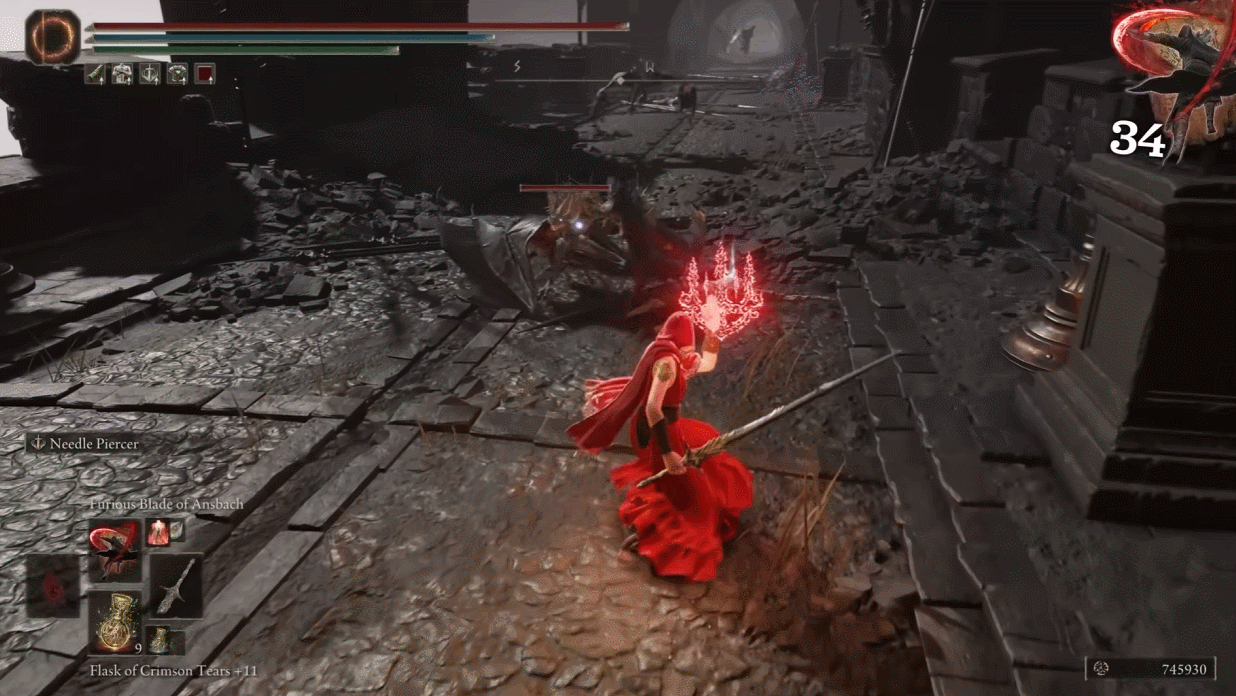
Furious Blade of Ansbach: Producing a bloodflame blade from the side of the hand, the caster lunges at enemies to cleave through them. Can be charged to amplify the number of slashes.
Dragonbolt of Florrisax: Channeling the power of the ancient dragon Florrisax, the caster enshrouds themself and allies in the red lightning of the dragons, increasing all damage negation by a small amount.
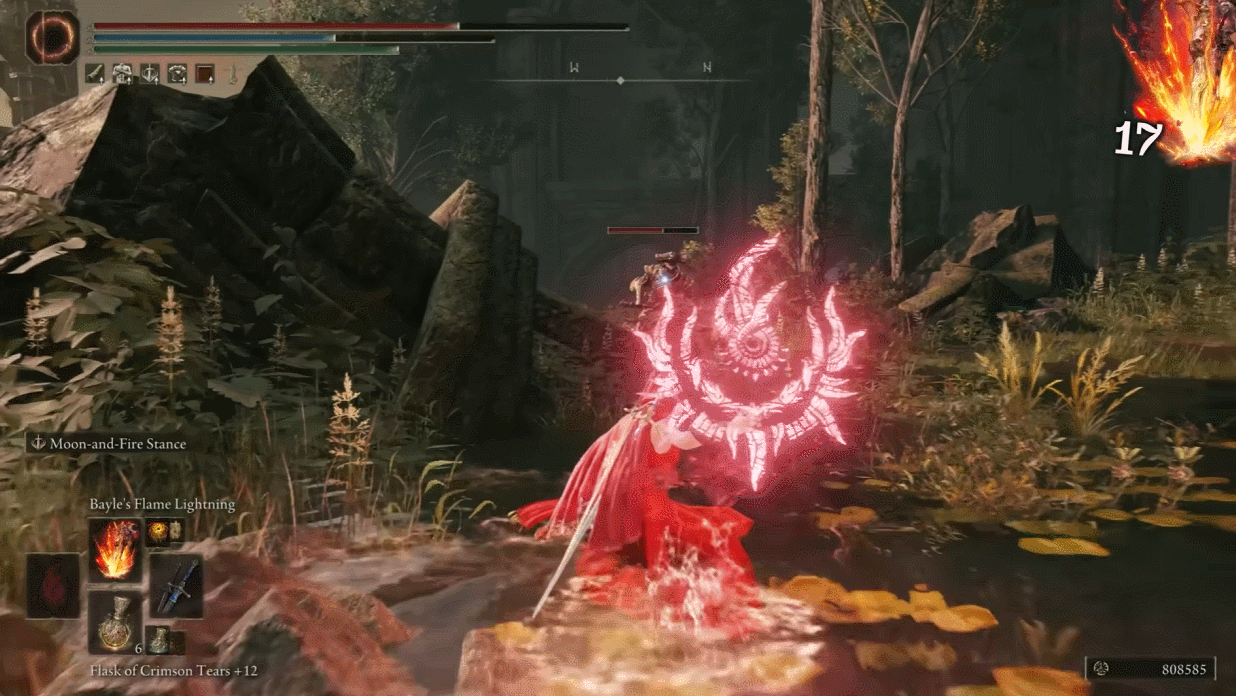
Bayle’s Flame Lightning: Channeling the power of the dread dragon Bayle, the caster strikes with flame AND lightning infused talon bone for powerful damage.

Bayle’s Tyranny: Channeling the power of the dread dragon Bayle, the caster emits a mighty roar that accompanies a heatwave burst, causing violent eruptions of fire in the area.
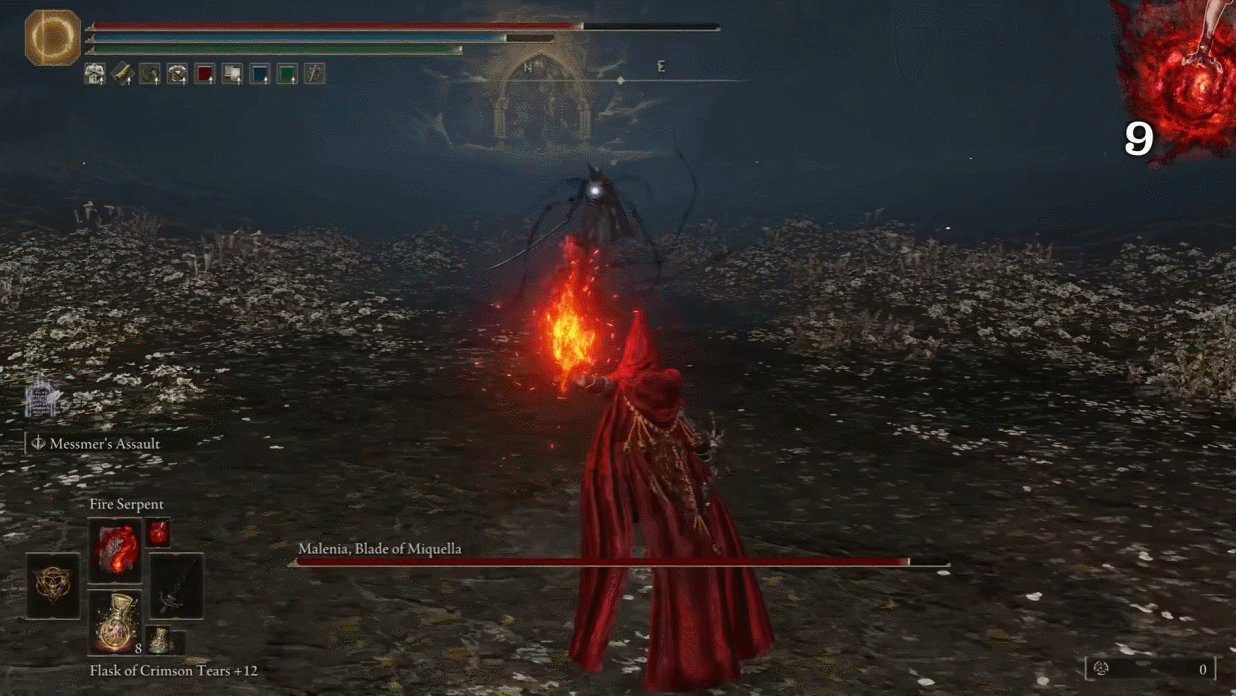
Messmer’s Orb: An incantation of Messmer the Impaler’s make, the caster uses his flame to conjure an orb that soars towards a foe, crashes into the earth, and then explodes.
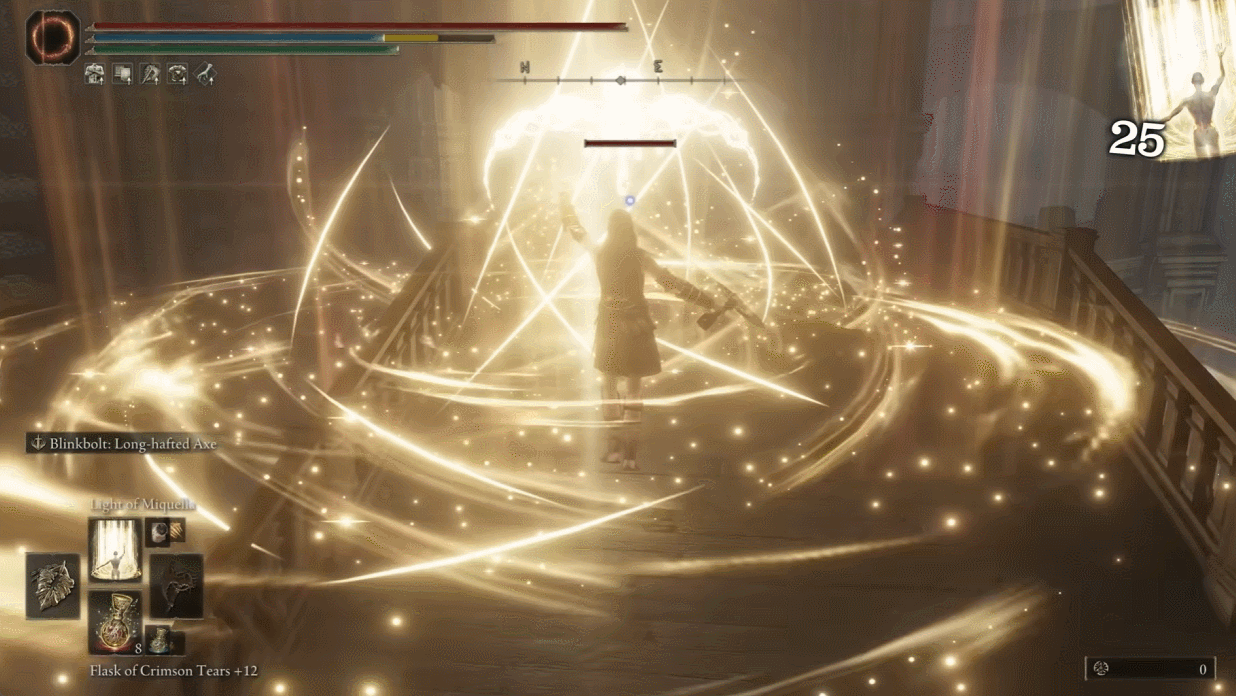
Light of Miquella: Wielding the strength of Miquella upon his deific return, this incantation annihilates foes with a pillar of light.
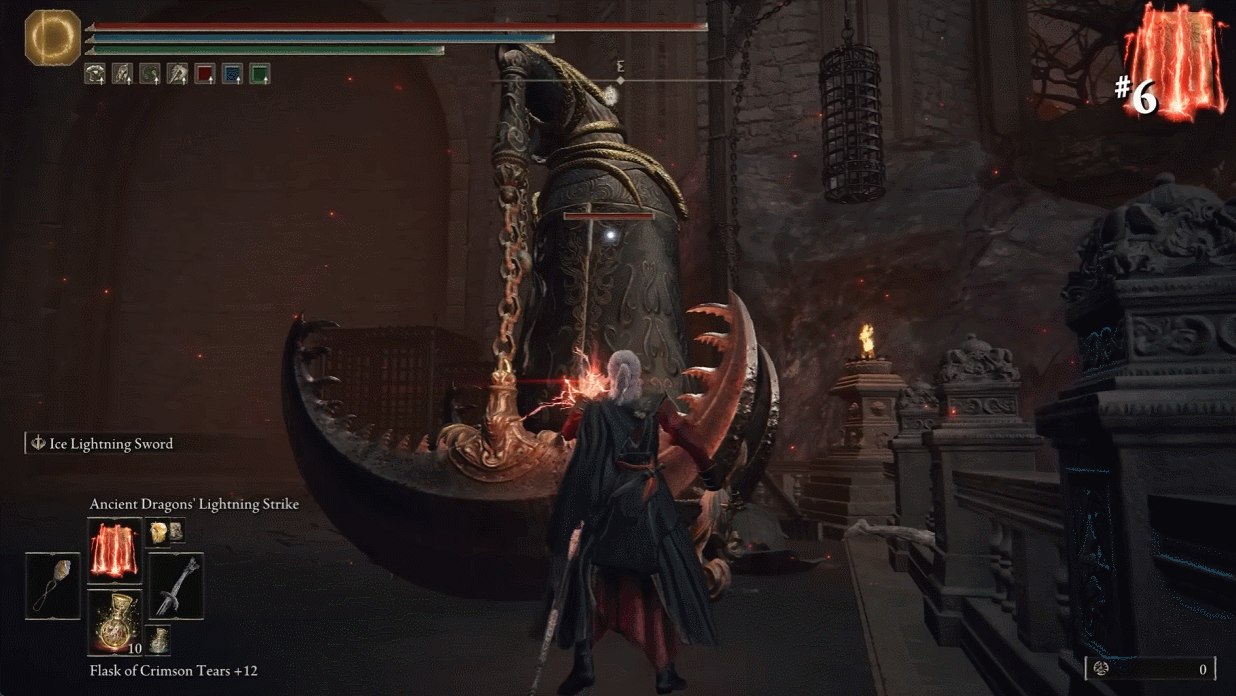
Ancient Dragons’ Lightning Strike: With the power of the ancient dragon cult, summon numerous lightning bolts to rain and scatter around the area. Very effective against large sized enemies.

Scarlet Aeonia: Gained from Malenia’s Remembrance, the caster will float and create a gigantic flower that blooms into an explosion of scarlet rot, making it very effective at building that up.
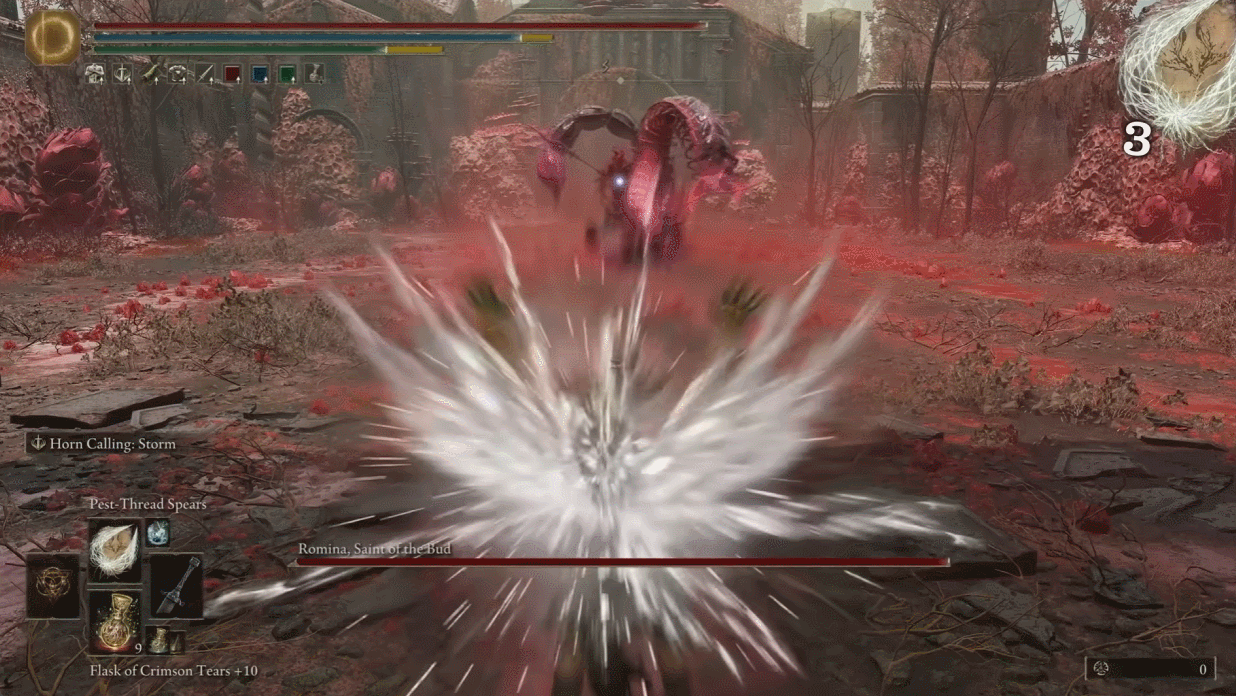
Pest Threads Spears: Using the power of pests known as the Kindred of Rot, the caster will fire two large spears made of numerous sticky threads, which while a little disgusting is a very effective spell that’ll shred through larger enemies.
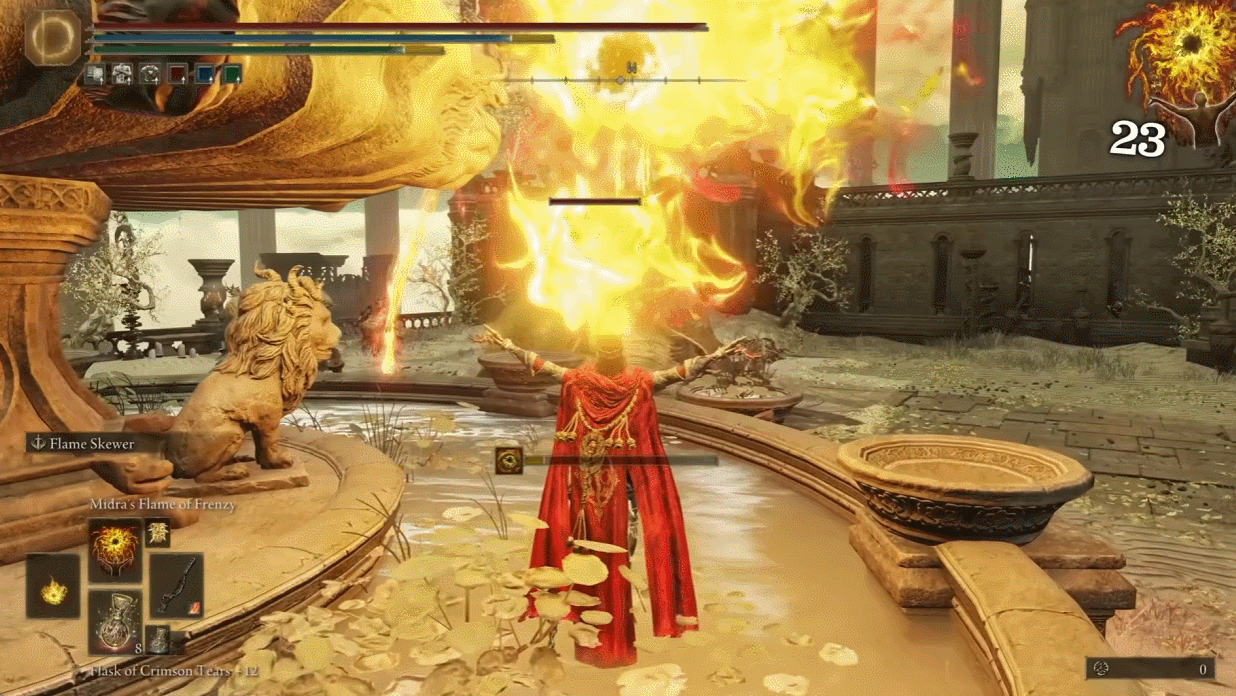
Midra’s Flame of Frenzy: The caster will summon an apparition of the Lord’s head to spew Frenzied Flame, raining down and dealing massive madness damage (though prolonged usage will affect the user as well).
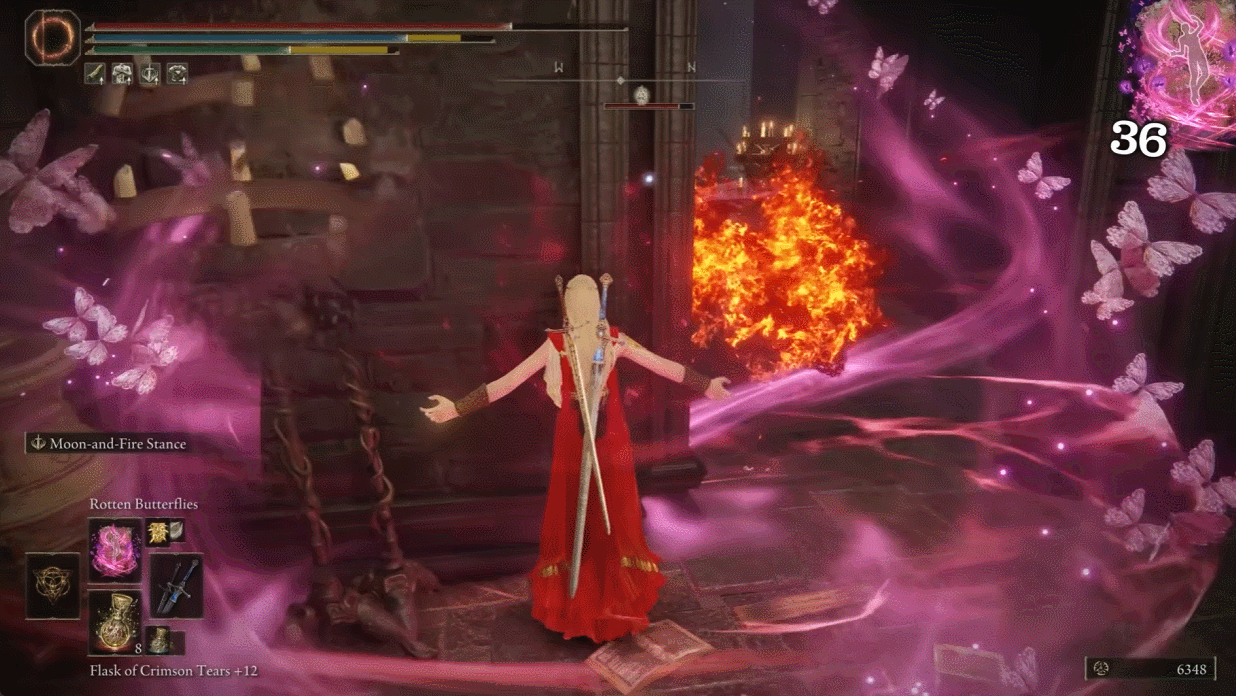
Rotten Butterflies: The caster will summon numerous butterflies, which while looking pretty actually contain scarlet rot that will inflict enemies with a small explosion after a short while.
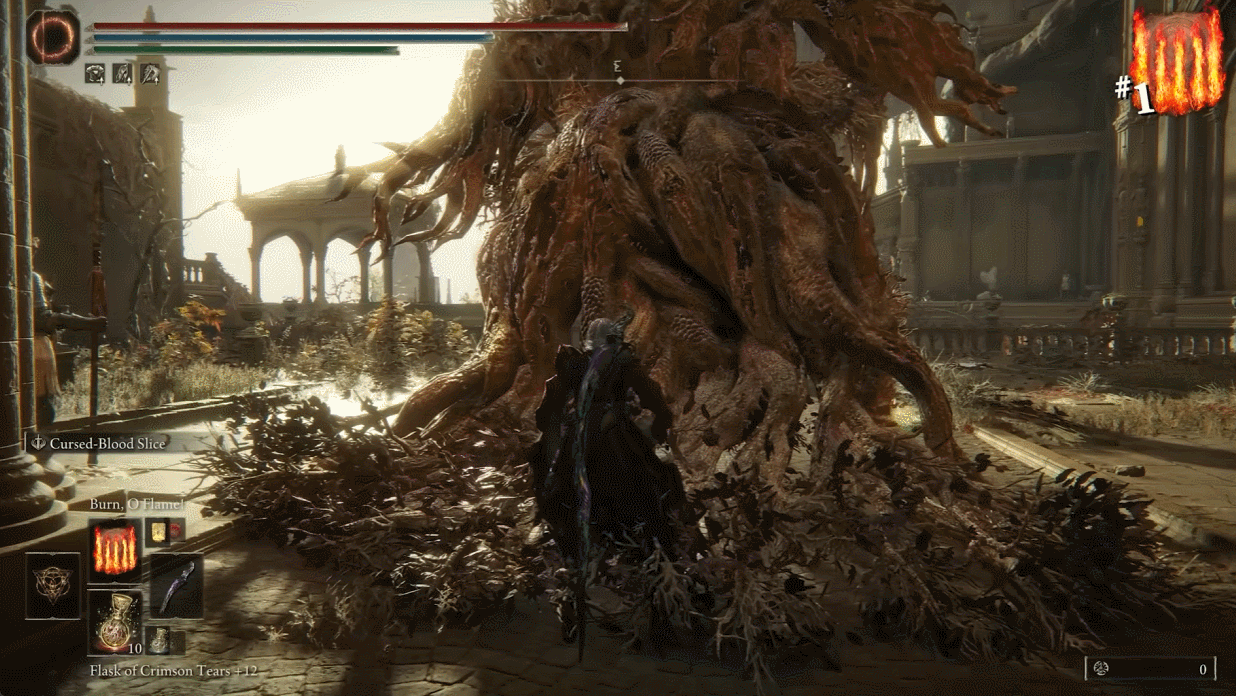
Burn O Flame!: The caster using the power of the Fire Giants will raise numerous flame pillars around them, dealing some devastating damage.
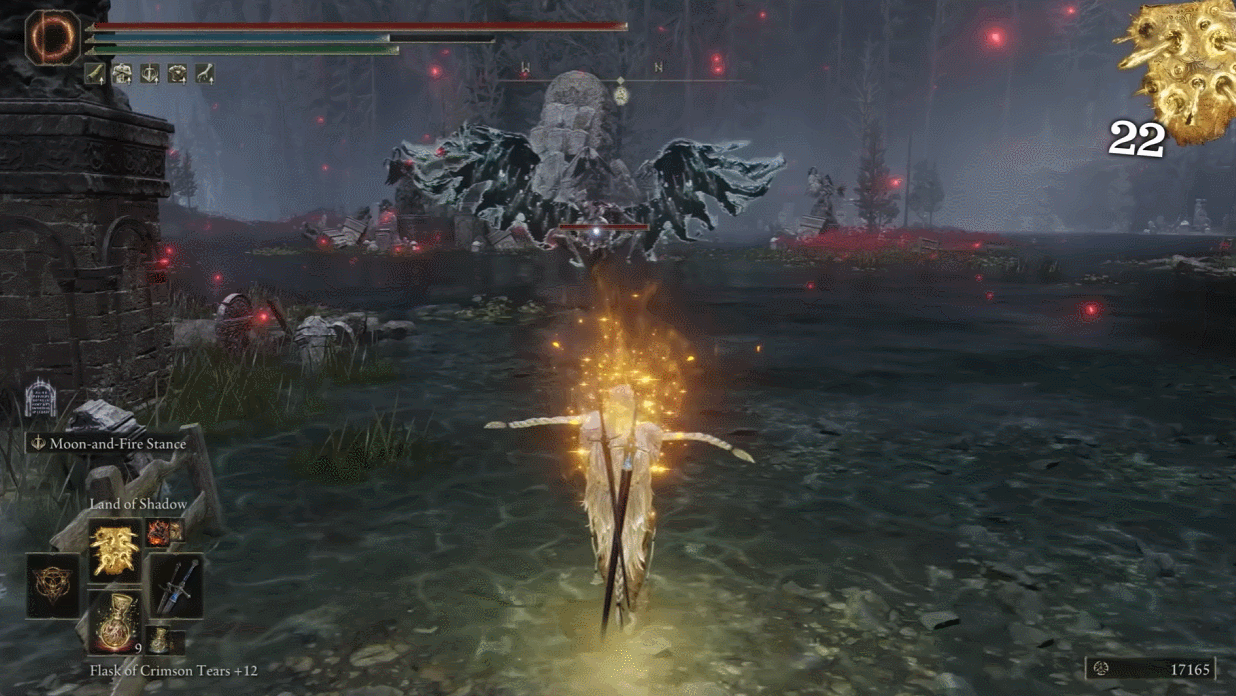
Land of Shadow: The caster will create a hail of golden projectiles that will fire towards their foes with homing properties. This spell actually uses the power of the Scadutree itself.
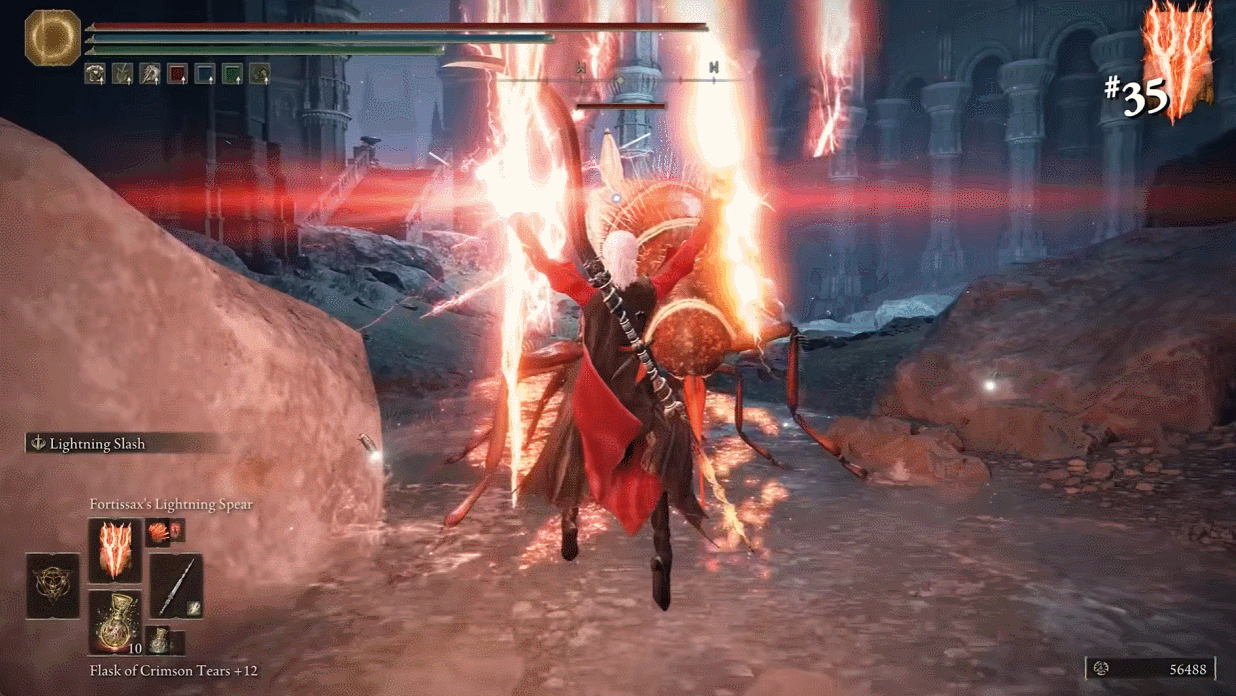
Fortissax’s Lightning Spear: Summoning two giant lightning spears, the caster will then slam them to the ground as the lightning spreads from each of them to deal devastating damage (also it just looks cool damn).
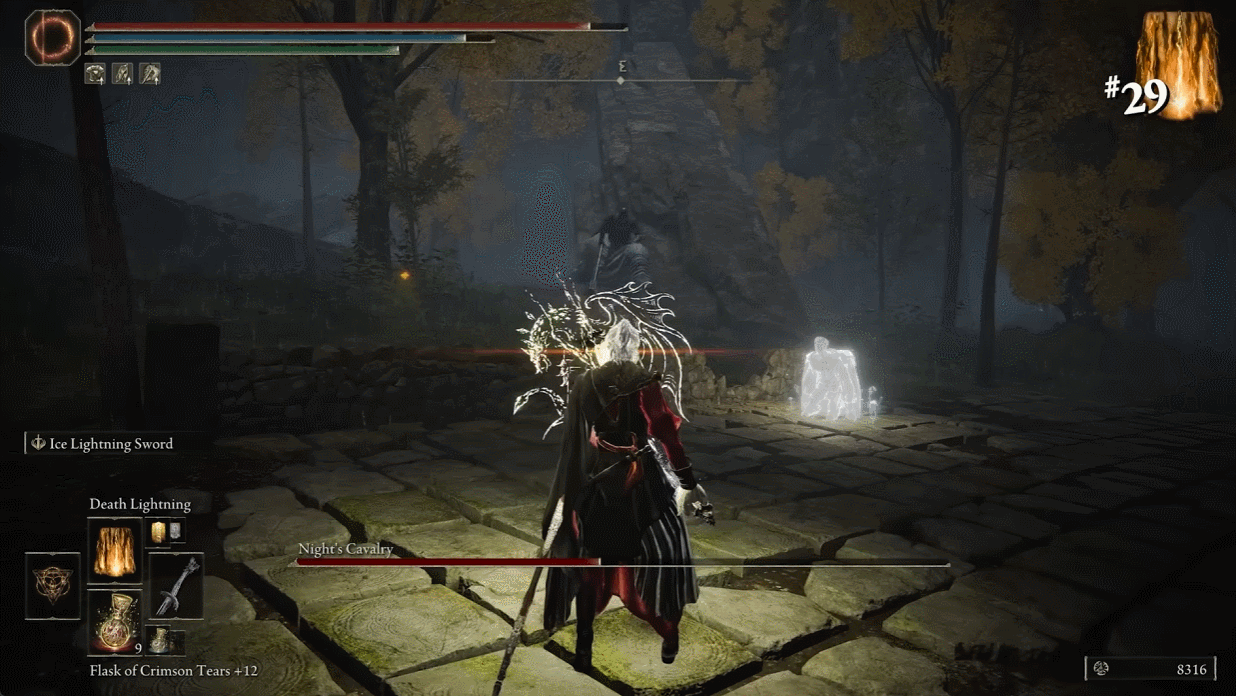
Death Lightning: The caster will strike their surroundings with a storm of lightning that deals of course lightning damage, but also can inflict death blight buildup.
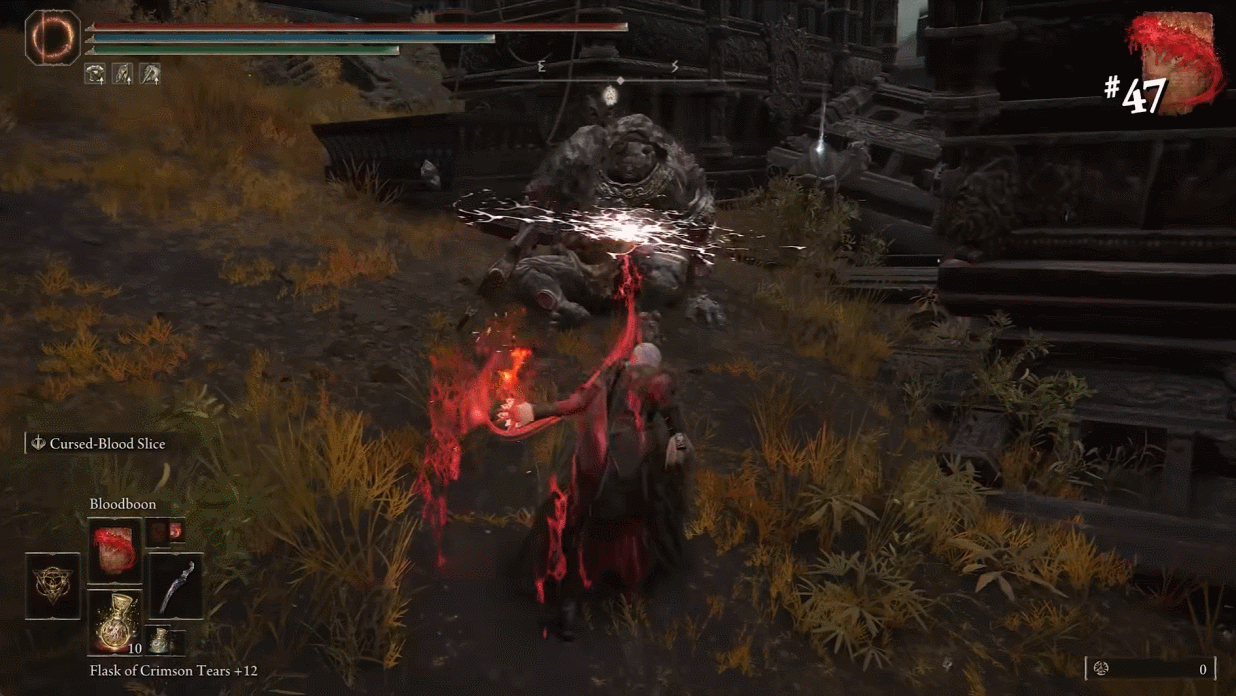
Bloodboon: Using the power of Mohg himself, the caster will spread bloodflame from their arms and the area will be set on fire, dealing both fire and blood loss buildup.
Frenzied Flame
Should the Tarnished choose to become Lord of Frenzied Flame, they can use this power to burn “everything”/the world with a giant heatwave as seen above, including destroying the giant Erdtree. It’s a devastating attack that seems to burn at least the Lands Between (though considering Godfrey and the rest of the Tarnished were banished from the Lands Between to a place called the Badlands, it’s unlikely it’s supposed to be the whole planet). The Frenzied Flame can also affect and melt spirits too.
Hyetta’s dialogue implies it will melt it “all” away, including sin, curse, fractures and birth until “all is one again.” She later says there are people who wished they were never born and “take their torment, despair, affliction, sin and curse and burn it all away” and there to be no more fractures and birth. Shabriri’s dialogue says it’ll burn the Erdtree and incinerate all that divides and distinguishes and may chaos take the world.
The exact scope is a bit unclear, but considering all the other endings specify the Lands Between (‘world’ can also just mean that or at best the planet), “all” is vague and Hyetta’s dialogue (who has reason to exaggerate) would be correct if she just meant (all of) the Lands Between and the best visual evidence being just the Lands Between and nothing else beyond that, it's safest and best to assume it just means that and no real evidence beyond that. Melina can also survive after the Tarnished scorches the land (with the fire seemingly going down a bit) and can walk on it, making it clear it’s not a total incineration. This is backed up even further with Melina’s dialogue beforehand about how if the Tarnished keeps pursuing this path, the land they preside over will be lifeless.
Resistances
Fire, Poison, Cold, and Madness: The Tarnished holds a number of armors and items which grants The Tarnished a resistance to the effects build up and or outright negates it.
Sleep: The Tarnished can raise their Mind, therefore Focus to resist falling asleep.
Blood loss/Hemorrhage: The Tarnished can raise their Robustness and wear armor to help resist blood loss buildup.
BFR: While the Tarnished is indeed susceptible to being teleported away itself, they can counter it by fast traveling to a Site of Grace, killing themselves to respawn there or using an item like the Memory of Grace to travel back. The Tarnished can travel between the Lands Between and the Shadow Realm, so they likely could travel from different realms.
Scarlet Rot: Thanks to armors and other items The Tarnished can use they can be given a form of resistance to Scarlet Rot which holds some dangerous properties like
Mind Manipulation: Malenia with her Scarlet Rot was capable of making Radahn lose his mind and become a mindless husk of his former self.
Life-Force Drain: Scarlet Rot was eating Radahn away from the inside and eats away at life like a plague
Corrosion: Malenia and Millicent lost their limbs because of the rot and the latter has to wear a special needle to suppress it.
Charm: The Tarnished can use Miquella’s great rune to resist being “charmed”.
Soul Manipulation (Debatable): While they’re technically still vulnerable to it, The Tarnished fought Maliketh the Black Blade and if The Tarnished dies, they will respawn. This is important to note because Maliketh holds the death rune which is stated to destroy souls.
It should be noted the debate comes from whether or not the Tarnished dying/reviving to Maliketh is “canon”. Melina’s dialogue also implies Destined Death would work on them.
Support
Link
Horses
Link has a number of horses he can call on, one of which he can teleport in via whistling with the Ancient Saddle. Of note, he has Epona, the legendary horse of the Links, Zelda’s golden horse, as well as a white stallion descended from one she owned during the Calamity, a spotted horse named Spot, a giant white stallion, and a giant black horse rumored to be descended from Ganondorf’s OoT steed. Link usually isn’t too picky on what horse he uses especially since he can power any of them up to peak potential with the help of the horse god (yes really), Malanya.
Wolf Link

Thanks to the power of the Wolf Link amiibo now available separately for only $15.99, Link can call upon the help of the canine form of the Hero of Twilight. He will follow wherever Link goes and attack enemies and animals on sight. He’s not especially powerful attacking with only scratches and bites, but a peak version has 20 hearts worth of health and he’ll even do more damage if fed a high tier meat item like a Raw Gourmet Meat or Raw Whole bird. Should Wolf Link be slain though, he cannot be called upon for help via amiibo again until a full day has passed. Normal people actually can’t see Wolf Link because he’s a visitor from a separate plane of existence (before you freak out, this means nothing in terms of stats). He’s also a good boy.
The Sages
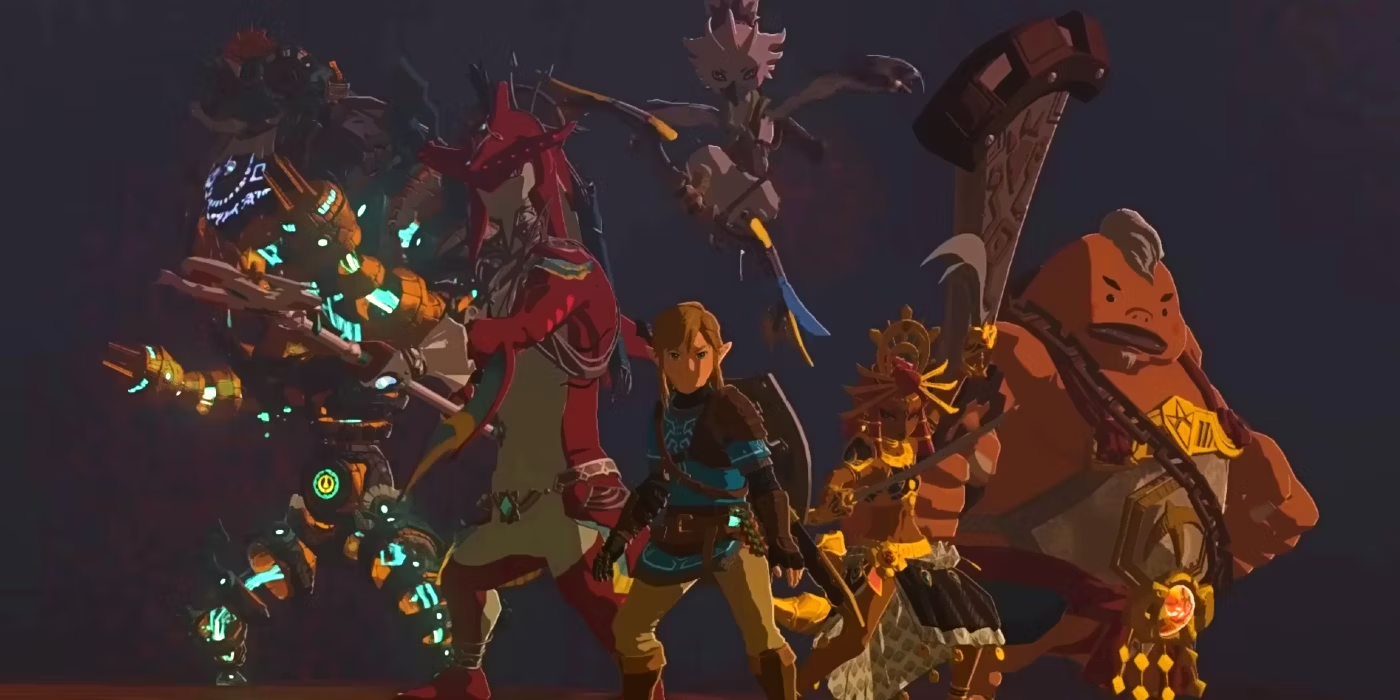
In order to defeat the Demon King, Link needed more than just his own power to win (until he won with just his own power). The Sages of all aspects besides Time sought to continue their fight for good, and thus sealed away their powers so they could be wielded by their successors many ages later. Now obviously, Link getting help from the characters themselves would be outside help. Fortunately for Link, the Sages were able to use their newly equipped powers to create rings that could be used to manifest spiritual copies of themselves. This lets Link call upon their skill and powers at any time, as the copies are equal in potency to the Sages themselves. All but one that is, but we’ll get to that exception later.
Tulin
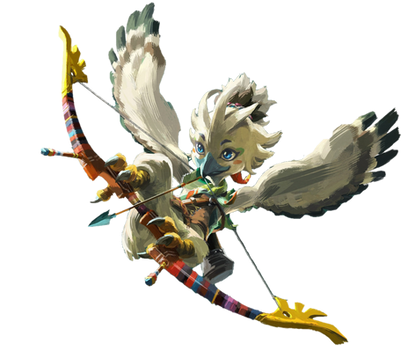
The youngest yet most capable of the Rito Warriors, Tulin is the Sage of Wind and son of the Rito Village Elder Teba, and takes after his father’s skill. This is notable considering how Teba is skilled enough to match Link’s own archery which can shoot down over a dozen targets in a second or two mid-fall. Tulin doesn’t have to worry about falling though thanks to his natural flight, and his wings are so strong that he can even unleash a gust of wind forward to blow back enemies or propel Link through the air. For fighting himself, as mentioned, his skill with a bow is remarkable. Allowing him to hit incredible shots from far distances and making fast-paced moving targets seem like they’re in slow motion.
Yunobo

Despite his initial cowardice, Yunobo has risen to be worthy of his lineage and the title as Sage of Fire. Wielding a giant Boulder Breaker, Yunobo stands out among the already strong Gorons in terms of his own strength, being able to break apart boulders like twigs. Yunobo’s defense additionally stands out though, as while he has the naturally high durability of a Goron, he additionally also has Daruk’s Protection. Letting him form a defensive omnidirectional counter attack barrier to repel attacks and survive being shot out of cannons. He can extend this to offense however, using fire power (literally) to propel himself like a fiery explosive cannonball of death at Link’s command.
Sidon
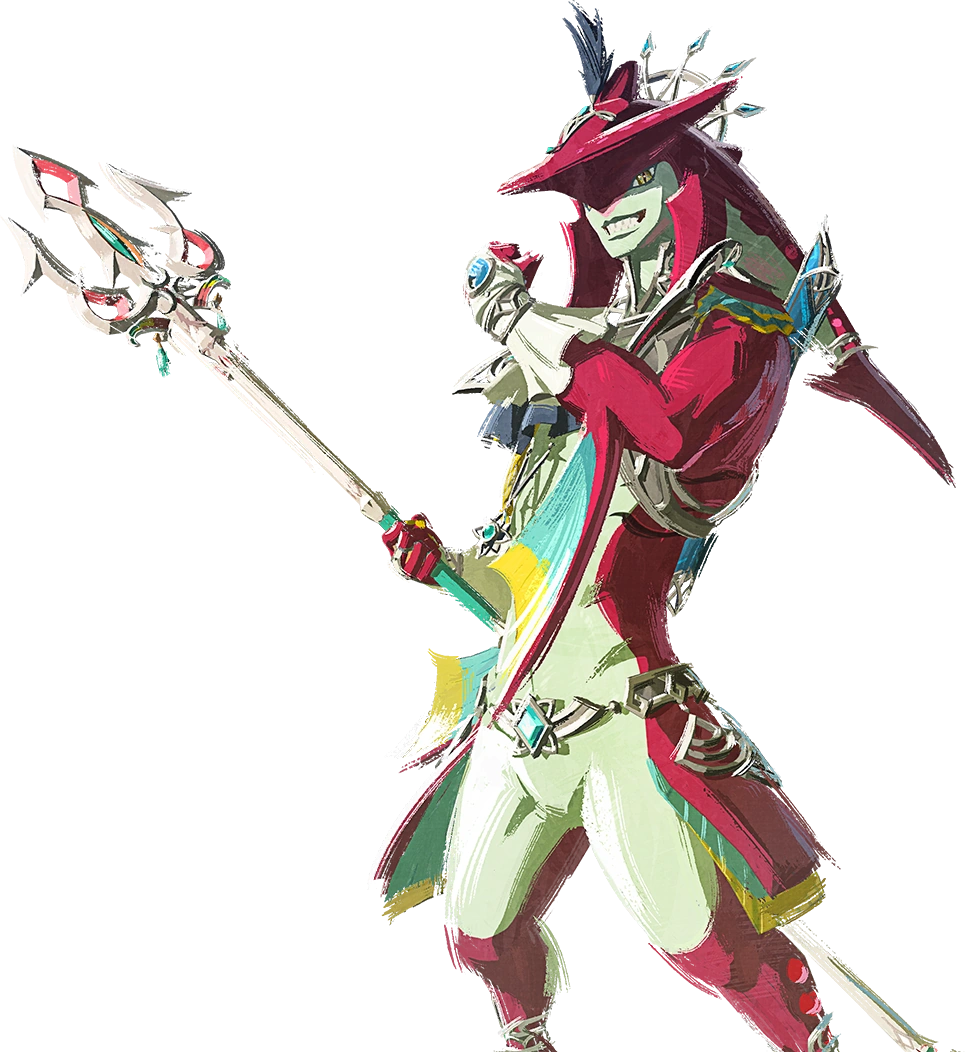
Link’s best friend and King of the Zoras, the Sage of Water Sidon wields many things when going into battle (including a wedding ring, stop shipping him with Link). His Lightscale Trident is one of the sharpest spears in Hyrule, but what is more useful is his Zora physiology and manipulation of water. Sidon can swim through war as cleanly as a knife through air, as water is the Zora’s second habitat next to land. Water is more than just open space for him though, as it is also both a weapon and an armor. Being able to be shot out at enemies, or used to create a protective barrier for himself or allies. Dealing with high temperatures and flames, while also serving as a one time shield against all attacks.
Riju
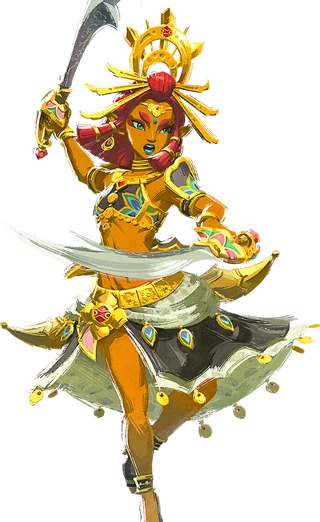
Leader of the Gerudo and Sage of Lightning, the young Riju is a remarkable fighter. Duel wielding two Scimitars of the Seven, she is a threat up close with her quick slices. What stands out more than her close range skills however is her long range talents. Like the Champion Urbosa, Riju can manipulate lightning to smite foes. However, she’s not as efficient at aiming as Urbosa was, which is why she typically has Link shoot an arrow to direct her strike.
Mineru
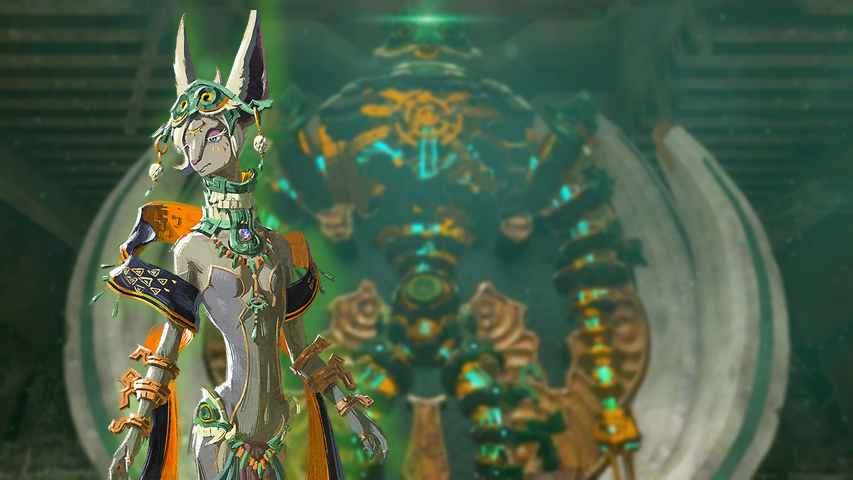
Remember that exception mentioned earlier? Here it is. Unlike her fellow Sages, Mineru did not have any ancestors to pass her powers to due to her being the last remaining Zonai. However, as the Sage of Spirit, Mineru was able to stay in the mortal plane for ages, contained inside Zelda’s time warped Purah Pad. Eventually appearing in the modern day to help Link in his struggles. Given she lacked a physical body however, Mineru reached the only logical conclusion: using her powers as the Sage of Spirit to possess a giant mech suit. Because what else was she going to do?
This mech is notably strong, being able to brawl with the toughest of enemies. It can walk through lava, and its mechanical nature makes it immune to standard biological problems, even letting it walk through Gloom. For defense, it can also create an energetic barrier to block incoming attacks. Mineru can pilot it independently, or have Link ride on top of it and have him instruct her instead. It brings more than just raw power to combat though. With help from Link, Mineru’s mech can have materials attached to one of its two arms or its back. Link can give her arms swords for slicing strikes, elemental gems to freeze, shock, or burn enemies, or an explosive barrel for the most explosive jab you’ve ever seen.
Zonai devices can also be added for an extra twenty layers of potential though. A fan can be attached to the mech’s back to blow away sneak attacks, or maybe have a rocket there for a super extra large vertical jump. Attach a flamethrower to one arm for ranged flames, or maybe a cannonball launcher for ranged explosive damage. The possibilities really are endless. It is also worth noting that despite Link receiving a ring from Mineru like he did the other sages, Mineru and her mech are directly summoned by the ring to aid Link rather than a spectral copy. Allowing for Mineru to be an extra source of communication, rather than just a silent tool.
Tarnished
Torrent
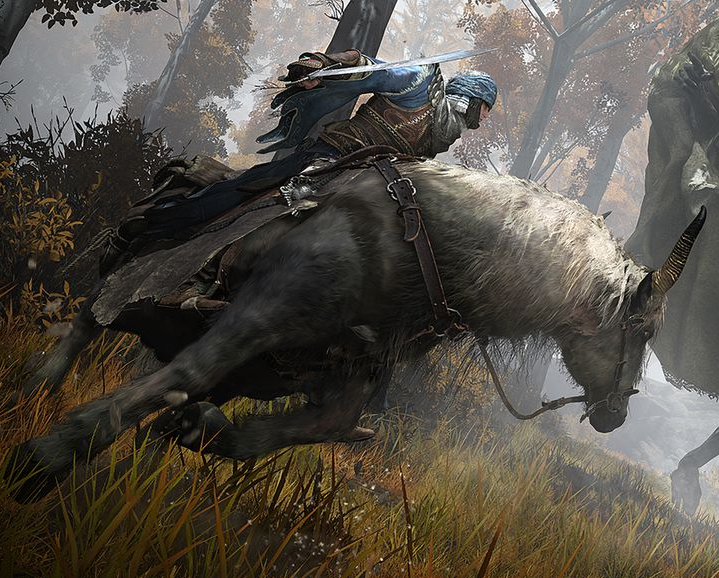
After meeting with Melina and becoming your Maiden, she gives you a ring which summons Torrent. Torrent is The Tarnished main way of transportation and allows The Tarnished to fight on horseback. Torrent on his own doesn’t offer much other than helping Tarnished get to high places thanks to their double jump. Torrent can technically be slain should they sustain enough damage, but the Tarnished can revive them by spending a Crimson Flask usage.
Spirit Ashes
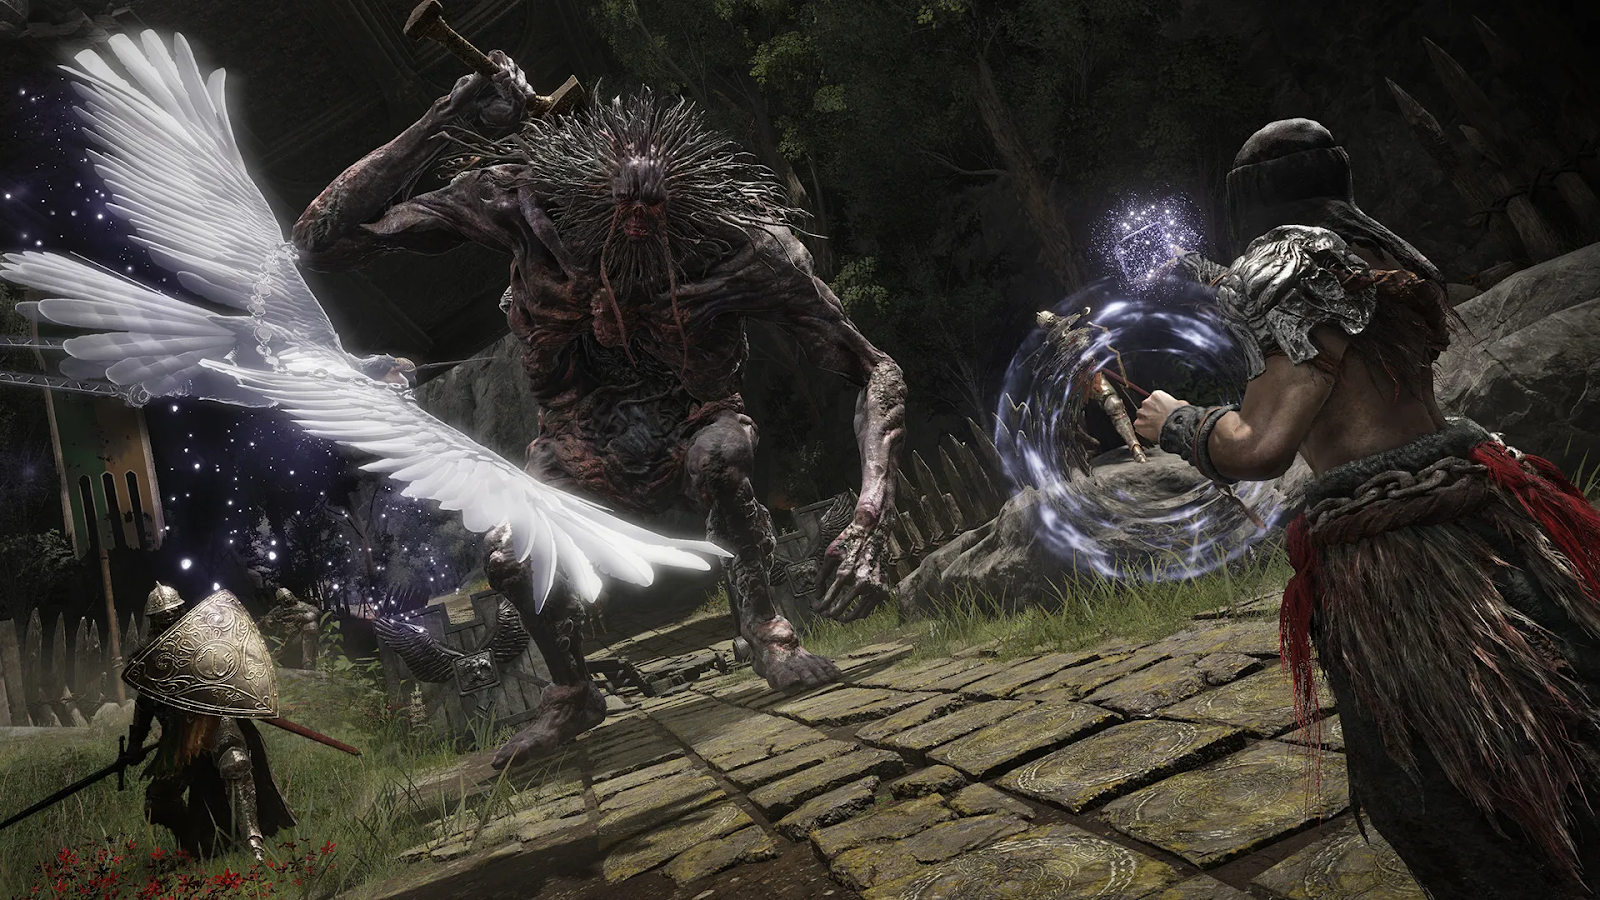
In Elden Ring, you are given the item, Spirit Calling Bell. Given to you by Ranni the Witch disguised as Renna at the start of her quest line, this seemingly innocuous bell has the ability to call forth Spirit Ashes in the vicinity of Rebirth Monument. Its Ashes can be upgraded using the Ghost and Grave GloveWarts across the Tarnished journey. Usually to summon a Spirit, it requires a FP cost or in some cases a Health cost. We will be listing out some of the Ashes you can summon, but only going into full detail on Legendary and elite Ashes and a select few others. If you are interested in more in depth writings for those, I suggest Here.
Should be noted the Tarnished can only summon one Spirit Ash at a time. However, the Tarnished can dismiss their current one and summon another if need be.
For some general spirits:
Lone Wolf Ashes: “Spirits of wolves chased from their pack. They later encountered a nameless Tarnished, who welcomed them as hunting companions”. The first Ashes you get with the Bell are three wolves joining the Tarnished as hunting companions; they are agile and deal decent damage but are not very defensive costing 55 FP.
Wandering Noble Ashes: “The spirits of nobles who, after death, now wander the Lands Between”.Summoning 5 Nobles wielding swords and torches, they move unbearably slow; they are not very good at anything costing 28 FP.
Noble Sorcerer Ashes: “His talents were insufficient to be worthy of donning the stone crown, however, and he is only capable of using the most rudimentary sorcery”. As you can see in the quote he sucks slow and only knows glintstone shard costs 11 FP.
Nomad Ashes: “A member of a tribe that was entombed in the earth so as to bury the maddening disease that followed them. Able to emit the terrible flame of frenzy from his eyes” One of the few Ashes who used frenzied flame they’re frail and don't exactly have good attacks costing 61 FP.
Putrid Corpses Ashes: “True death does not come easily for them”. As said in their name they’re putrid; they are capable of poisoning the foe and drawing attention away from the Tarnished. There are 4 costing 40 FP.
Skeletal Militiaman Ashes: “This is the grotesque fate of those who come into contact with Deathroot”. Summoned by Tibia Mariners they are like skeletons as in they need another hit after they’re shattered needing a hit to their chest to break very weak to holy damage costing 44 FP.
Skeletal Bandit Ashes: “Deathroot appeared in the Lands Between, and Those Who Live in Death soon followed”. Like the militiamen, a solo bandit can resurrect from a fatal attack as long as their chest isn’t hit again and costs 22 FP.
Mimic Tear

“This spirit takes the form of the summoner to fight alongside them, but its mimicry does not extend to imitating the summoner's will”. A blob of silver mass, the Mimic Tear’s were an attempt from the Eternal City to make a lord. The Mimic Tear has the unique ability to copy the user or whatever it sees fit as a summon. It takes 660 HP to summon them but its weapons, armors and skills match the Tarnished exactly, leading to a mirror fighting alongside you with the exact same abilities as you. For those who stand before you are met with a twin set of warriors for that is thine fate death at a duo.
By far the most popular one and has carried players through the game. Hey, don't be ashamed of using it. Even Miyazaki himself uses Mimic Tear!
Black Knife Tiche
“She was the daughter of the Black Knife Ringleader, Alecto, and was killed protecting her mother during their flight from the royal capital”. A part of the mysterious Black Knives, Tiche is the daughter of the leader of the group Alecto. On the Night of the Black Knives, Alecto and the Black Knife Assassins assassinated Godwyn the Golden using daggers imbued with a fragment of Destined Death stolen from its caretaker, Maliketh. During their escape from Leyndell, Alecto's daughter and one of the Black Knife Assassins, Tiche, perished protecting her. The Black Knife Tiche wields can fire out destined death cutting the overall healing of a boss down drastically she can tank a lot of damage and can dodge a suppressing amount of attacks she costs 132 FP to summon. She flows like water strikes like thunder and her blade will be all you see.
Dung Eater Puppet
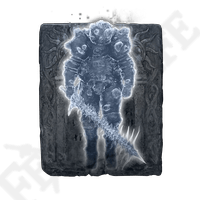
“The Dung Eater despaired at how he met his end. How hideous and sinister this puppet is, and yet, its utter despair invites one to care for it”. That of sheer loathing and filth Dung Eater is a wretched man wielding a spine of a giant as his blade. After he was killed by the tarnished he can be given a potion from Selevus he is turned into a mockery of life a puppet to your will. He will inflict bleed damage that costs 118 FP. For it is that of existence which is so precious yet this fiend sought to destroy it and he died as a shadow of a man fetid rotten and smelling of dung.
Jolán and Anna
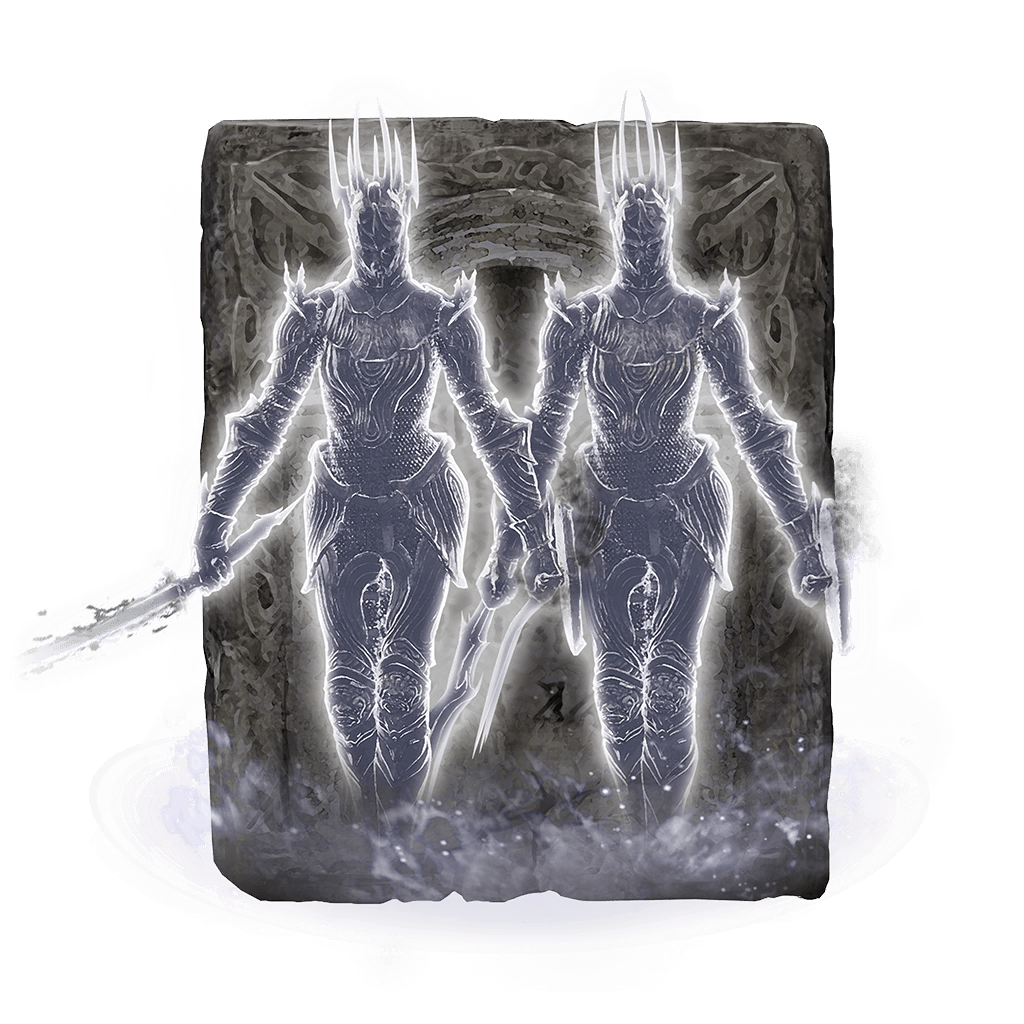
“Jolán and Anna were born in a cold, dark gaol, where they were raised, deprived of light, to be Swordhands of Night”. Introduced in the Shadow Of the Erdtree dlc these two warriors are siblings and Anna was turned into a puppet so they never could be apart after she was lost some years ago. These two were separate ashes combined into one making them more deadly and their familial bond will cost the Tarnished 144 FP. for their blades and claws are sharp for flesh and bone cleaving into thou who opposes the sisters.
Lhutel the Headless
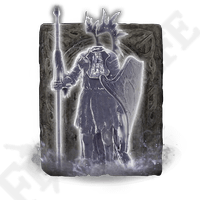
“Lhutel sacrificed her life so that in Death she could continue to protect a soulless demigod until their revival, earning her the hero's honor of Erdtree Burial ''. A knight of the Erdtree Lhutel will serve in death as an undying companion; she costs 104 FP. she smashes foes with shields and spear her arrows strike true for she will serve only you.
Taylew the Golem Smith
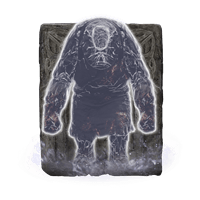
“Taylew was said to be the runt of the litter and the first to stop moving, but it was he who became the guardian deity of smithery”. Using his fists as projectiles he is a lumbering tower of muscle Taylew costs 138 FP. Taylew was a smith used to create in your service that once lumbering creator now destroys all in your path.
Latenna the Albinauric
“Latenna was renowned as a deft magic archer. But having lost her beloved wolf companion, Lobo, she cannot move from the place where she was summoned”. Deft of bow and arrow she is a master of her craft firing arrows of magic. Being an Albinuric she cannot move but she makes up for it from a massive range advantage costing 74 FP. Of snow and flame of light and dark for all know her sting of Latenna.
Omenkiller Rollo

“Known as the first Omenkiller. Once a famous perfumer, Rollo imbibed a physick to rid himself of emotion, thus enabling him to enact his nightmarish labor, hunting the Omen”. Fire AoE, Bleed Melee, High damage and pressure, Tanky he uses all his skills to murder foes with no regard. Bashing foes with massive clubs he caves crushes and shattered foes before him with a cost of 113 FP. Wearing an apron he butchers all who come before him with a grin breaking his lips.
Stormhawk Deenh
“When the true storm raged. Its cries embolden its fellows in battle, and the tempestuous winds that encircle it shred through foes”. A war hawk the spirit of Stormhawk Deenh, a fierce hawk that once rendered lifelong service to the old king of Stormveil he buffs in an AoE immediately upon summoning as well as periodically after, Flying, Highly mobile and great distraction costing 47 FP. For with wings death flies and shreds those who challenge their master.
Ancient Dragon Florissax
“Long ago, Florissax assumed human form to share Dragon Communion with the world. Now, she has acquired a human heart”. The human form of a dragon that spreads the vows of the dragons through the land of lightning and fire will cost 85 FP. for her race is that of power she will show you the old gods of the lands in human form.
Perfumer Tricia
“Tricia was once known as a healer who dedicated her efforts to treating Misbegotten, Omen, and all those seen as impure. When her efforts failed, she was their companion as they died, watching over them to ensure that they could pass peacefully, free of pain”. After defeating her boss she will join your forces to boost your defenses and such costing 78 FP. for she is that of cures unfortunately for thou thine only cure is the cold shallow grave.
Finger Maiden Therolina Puppet
“A Maiden without a Tarnished. A Tarnished without a Maiden. And yet no guide to bring them together”. Support for the tarnished, originally a maiden to a tarnished her’s was lost for she had no purpose she was turned into a puppet; this support comes at the cost of 82 FP. For that of service even in death will support her lord.
Ancient Dragon Knight Kristoff
“His skills strike down foes with thunderbolts, the dragons' weapon of choice. After the First Defense of Leyndell, Kristoff earned the hero's honor of Erdtree Burial for the feat of capturing Godefroy the Grafted``. A knight of Leyndell, he was a worshiper of the ancient dragons using their lighting to strike foe’s down and when faced with combat Godefroy the grafted would be sealed by the loyal knight in the process dying to the mockery of flesh he costs 108 FP. For he is that of servitude and his gods shall aid him and whatever duty he sees as fit.
Blackflame Monk Amon

“Amon swore fealty to the god-slaying black flame, and so became the first fire monk to turn traitor.
Or perhaps it is better said that he fled from the Giants' Flame—out of cowardice”. A worshiper from the mountain top of the giants Amon swore his sword to the black flame the strongest form of fire capable of killing gods but when sought with opposition he was a coward but he still costs about 115 FP. For the gods feared the flame but even with that it was quenched by a Craven monk.
Demi-Human Swordsman Yosh
“Yosh, an apprentice who absorbed his technique, stubbornly refused to heed his master's words, and spent his entire life at his side, in defiance of his self-imposed seclusion”. Apprentice to the swordsmen Onze, he spent his life training in sword dueling and fighting for with his mobility and pressure he costs 95 FP. for with his skill and sword you will know what it means to master a blade.
Divine Bird Warrior Ornis
“Clad in golden armor, and granted wings and feathers by divine invocation. Ornis succeeded in taming the divine bird and made its wings his own as he soared through the sky. When he finally fell to earth, he lived on as the guardian deity of the temple quarter”. Soaring through the sky clad in gold he is excellent at moving and keeping pressure he costs 131 FP. For that of wings and gold the sun shall fall on those below from the sky he strikes and thou’s sun shall cease entering into eternal night.
Banished Knight Oleg
“One of the two knights known as the Wings of the Storm. After his banishment, he attracted the notice of the Grace-Given Lord and later, having slain a hundred traitors as the Lord's hand, Oleg earned the hero's honor of Erdtree Burial”. Wielding two blades he flies in the air using wind magic he slashes and stabs all who oppose him and his lord costing 100 FP. For with steel and iron blood and bone he’ll carve through those who flee, fight or beg for all are his foe.
Dolores the Sleeping Arrow Puppet
“Dolores once belonged to the Roundtable Hold, where she was both a critic and a friend of Gideon the All-Knowing. It was because of her that he and Seluvis went their separate ways”. Firing arrows she puts enemies to sleep quickly leaving them exposed. She was dressed in male clothing poisoning foes with sleep costing 87 FP. for her arrows let your eyes grow weary your movements heavy for soon you will by the huntresses quarry.
Nightmaiden & Swordstress Puppets
“Members of a cold-blooded race who wield flowing weapons, became puppets of their own volition”. A group of warriors found in the city of Nox in flowing silks they slash costing 97 FP. For their silks flow like water their attacks will crash like waves.
Redmane Knight Ogha
“The longest-serving member of the Redmane Knights, Ogha studied techniques to manipulate gravity alongside Radahn”. The oldest servant of the Redmane knights, she used her prowess to assist her lord Radhan. She uses some gravity magic like her lord to a far less extent costing 106 FP. For her fury knows no bounds her blade will strike true all in service of you.
Nepheli Loux Puppet
“A diamond in the rough, deserving of special care lest its potential be squandered. Nepheli Loux truly was a warrior”. Daughter of Horah Loux she is a warrior of brutal strength and in another life would be the ruler of Stormveil castle. In this life she died and was reborn a puppet for your control, a husk of the women we once knew she would cost you 90 FP. for once a warrior of renown nothing more than a shell of a human all to bash your enemies with.
Bloodhound Knight Floh
“Floh vowed that there was only one lord he would ever serve: a true king. And so, the Rabid Stray never found a master”. A dog of a man hating all except his master the hound part of his name is true, biting the hand of all who aren't his master bleeding them with quick attacks costing 95 FP. For his lord is all he respects, all are his prey for the hound of blood and steel.
Black Knight Commander Andreas
“A devout follower of Messmer after his flight from the Erdtree, he would rebel after learning of his liege's serpentine nature. His righteous stand was rewarded with imprisonment in an underground tomb”. A knight of hammer and shield using the lord to kill his foes and smashing their skulls with no regard costing 108 FP. For his lord hid his true nature he follows a new fighting together destroying all in his way.
Swordhand of Night Jolán
“Though it was not by the shining star that she had longed for, thus was her Night illuminated. But this was at times blinding light, and threatened to expunge the Night entirely”. A knight of movement and loyalty she can be reunited with her sister as stated before costing 86 FP. She can use her sword to bleed whoever dry and whatever her lord seeks.
Curseblade Meera
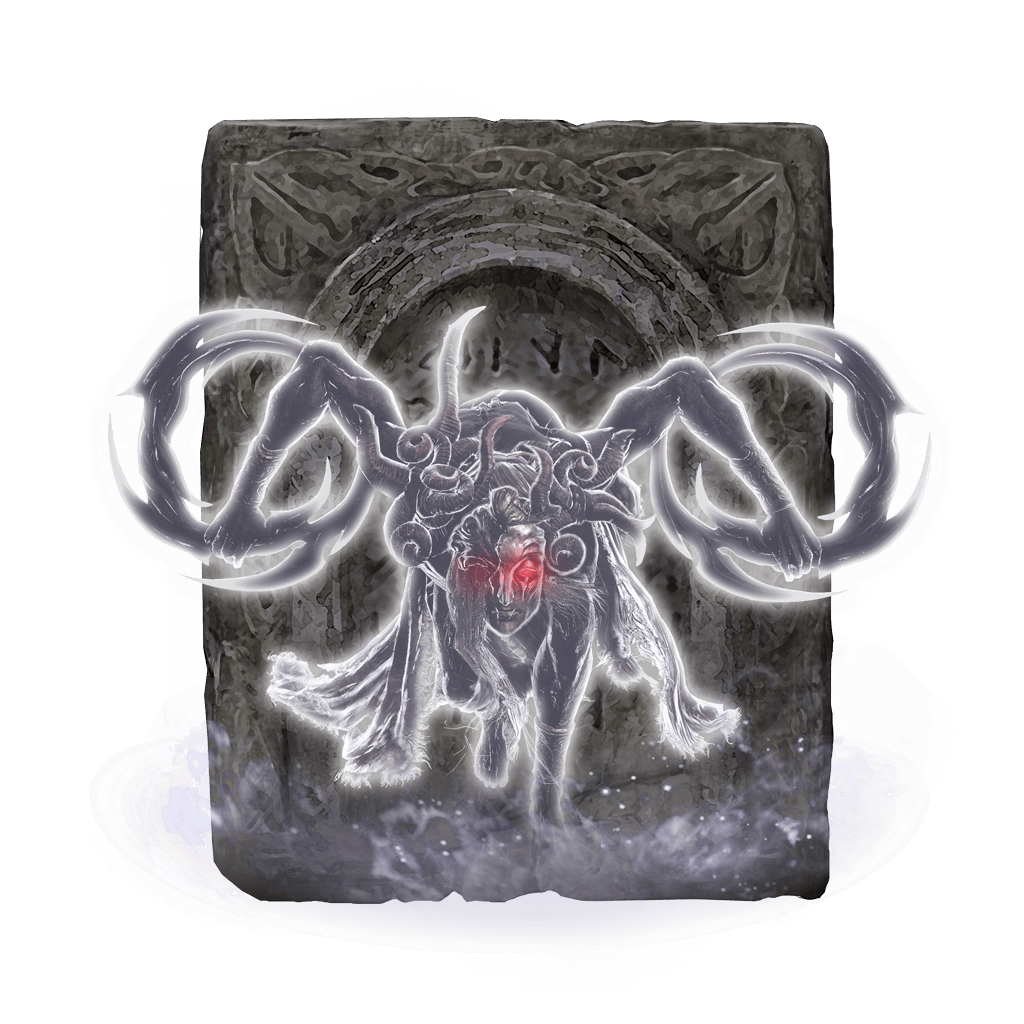
“Long ago, before the land was overshadowed by invasion, this scourge was shunned, and the curseblades were imprisoned. It was during this confinement that Meera met Labirith, and upon her death, Labirith was plunged into a devastating darkness”. Of blades of whirling steel like boomerangs they throw them and cleave through foes costing 91 FP. For a twitch of an enemy sets them off throwing blades like disks you’ll never see them coming.
Fire Knight Queelign
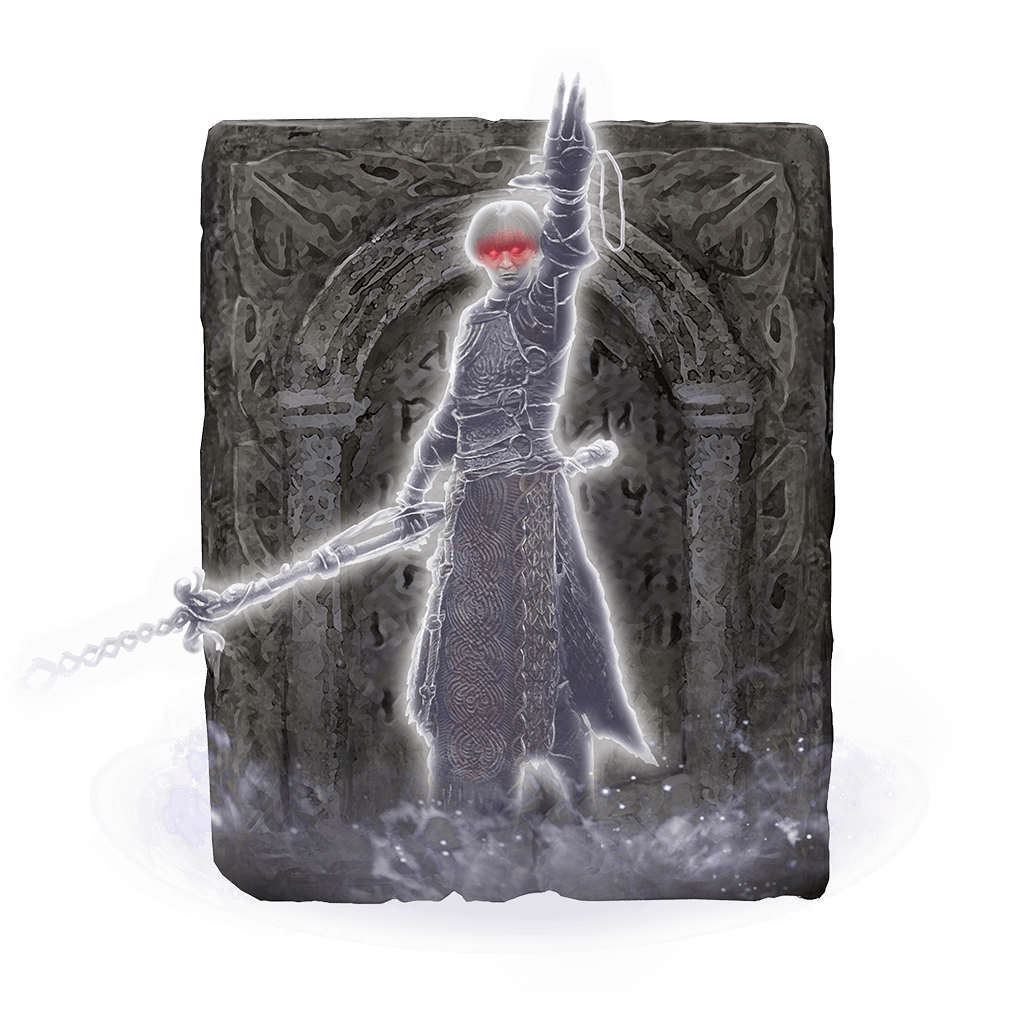
“That grace was his salvation, though it was but a fleeting blessing. And having been saved, all that was left to him was to wage war”. A former guidance of grace visionary, it left his eyes and all that was left for his purpose was that of war and rage costing 123 FP. A man lost in his way will strike thou down for that is his only true purpose.
Banished Knight Engvall
“One of the two knights dubbed the Wings of the Storm. Despite his banishment, he rejected the invitation of the Grace-Given Lord, instead keeping watch over a masterless castle for many years, gaining renown as a hero of the fringes”. Like Oleg using wind for combat they are the storm swords wielding a halberd they slash through foes flying through the air to shatter the guards of foes costing 100 FP. With blades of calling winds they will bite through enemies like a cold wind howling all the while.
Cleanrot Knight Finlay
“Finlay was one of the few survivors of the Battle of Aeonia, who in an unimaginable act of heroism carried the slumbering demigod Malenia all the way back to the Haligtree. She managed the feat alone, fending off all manner of foes along the way”. A knight of undying loyalty, she carried a wounded Malenia back to the Haligtree. They lived a battle and used holy, bleed and some rot to attack foes all for the cost of 127 FP. For their loyalty knows no bounds until death do thee part she will support thee.
Black Knight Captain Huw
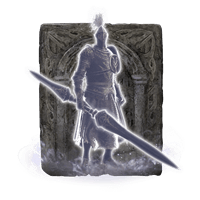
“Though a champion of the divine beast hunt, he followed his father, Andreas, into rebellion against Messmer, and like his father, he too was imprisoned in an underground tomb. Messmer mourned the loss of a brother-in-arms”. Like his father he is heavily armored but trading a strength build to a dex build a twin blade guides him costing 106 FP. For his father he will fight till his last for honor, glory and revenge of what befell his father.
Depraved Perfumer Carmaan
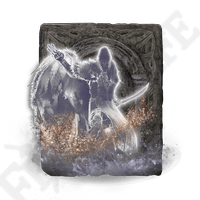
“Carmaan was a notably formidable perfumer whose strength rivaled that of heroes, and it is said that he was in search of a secret physick of revivification”. A warrior of knowledge and poison he was a cunning warrior for that want of knowing costing 124 FP. For he never got to see his goal finished he will join you in pursuit of that of Revivification.
Jarwight Puppet
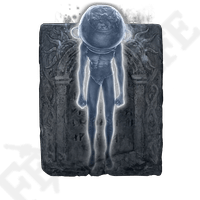
"You are not yet ready to join the warriors inside. No, you must apply yourself! Better yourself, and one day I will return for you." A weird man who wished to become a pots innards he hurls pots of all sorts for attacks naked only clothed in a pot he costs 60 FP. For he will hurl pots of all kinds to see he dies nobly to be reborn as that of a pot.
Fire Knight Hilde
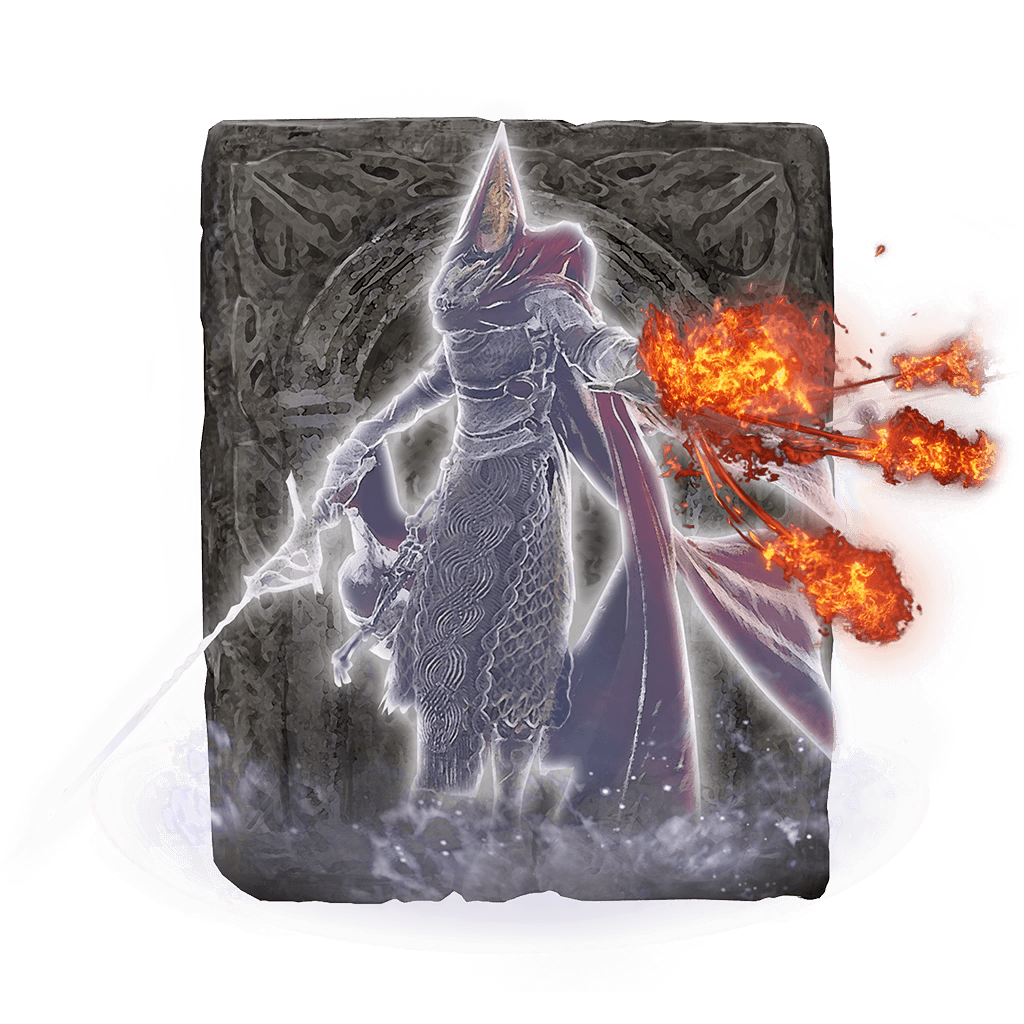
“Those who urged that the specimens be preserved. Hilde's ashes were enshrined as a charm to protect the storehouse”. A mage of fire and steel he wields a slender blade that pokes and prods setting those alight for that us what he worships costing 116 FP. For fire is the cure to all the great mother of the earth for it can bring craft but burn those down into nothing.
Battlemage Hugues
“Haima scholars seek to quell conflict with cannon fire and the gavel, but Hugues developed a longing for it”. A former student, he seeks to be a peacekeeper using his gavel to judge and using a cannon of magic to inflict righteous justice costing 122 FP. For he judges with his gavel and if you are found guilty he becomes thy executioner.
Forms
Link

None notable (but damn he looks good in a dress though, huh?)
Tarnished
Lamenter
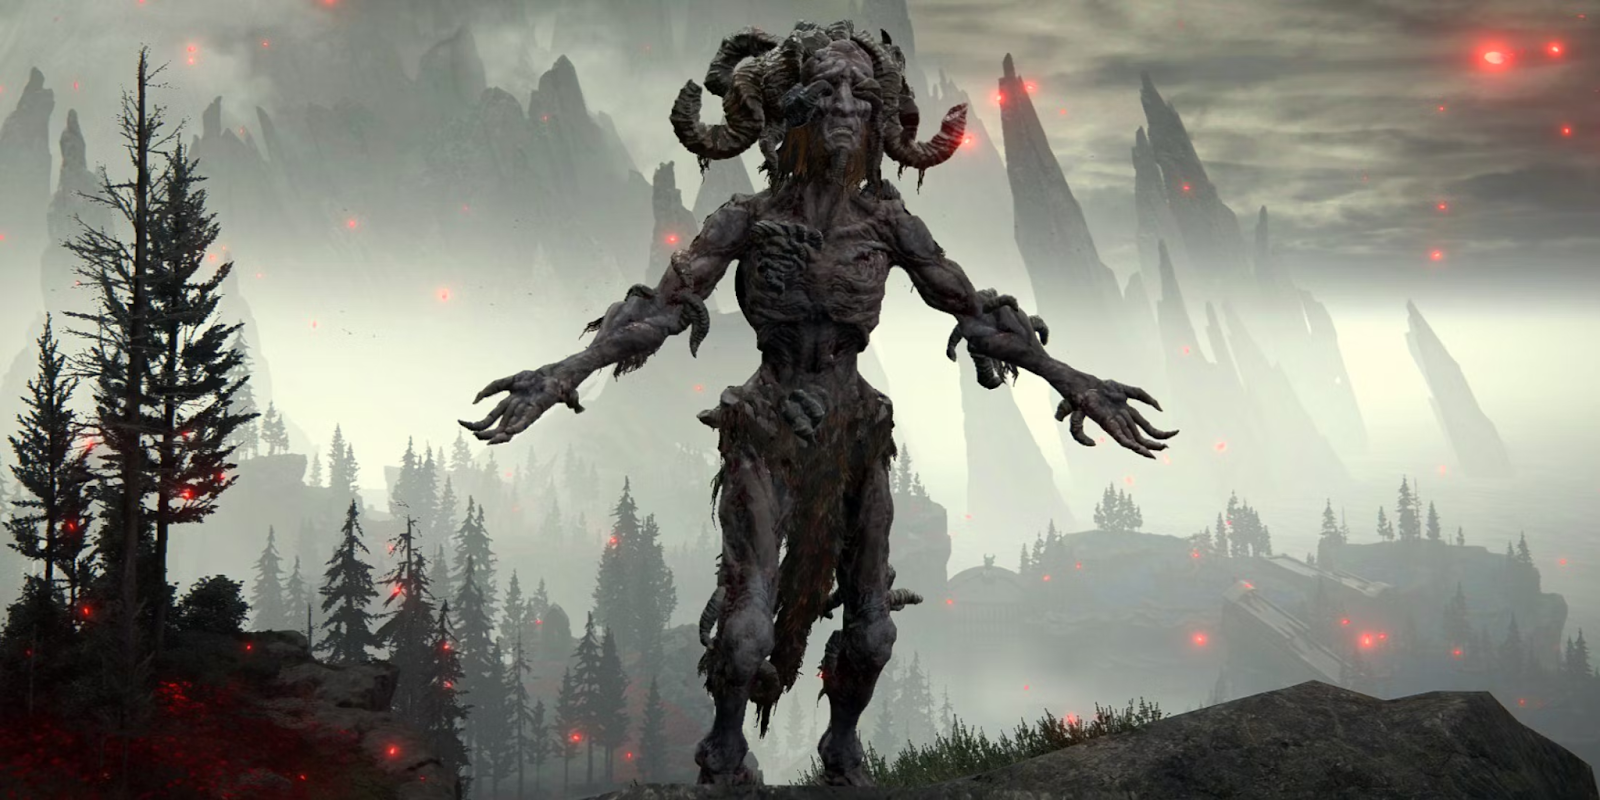
Upon using the Lamenter’s Mask, the Tarnished can transform into this…really weird gruesome looking thing. It’s actually an expression of grief. Tarnished actually can’t use any armor before they can transform but in exchange, they get 5% damage negation to all types (20% for Holy damage in particular), increase their Arcane by 8, and they gain a new attack where their head grows large for a moment before turning back. The Tarnished cannot turn back until death.
Ancient Dragon
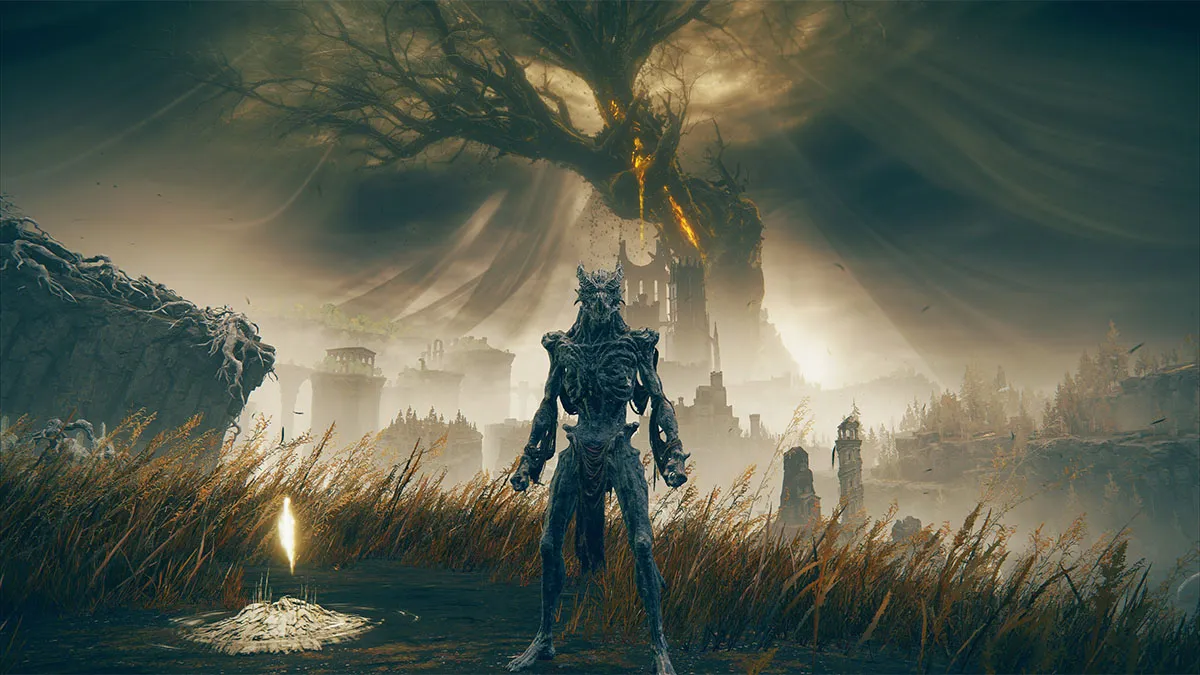
Using the power of the Rock Heart, the Tarnished can transform into an ancient dragon. Giving a flat 10% damage negation boost to all types and status resistances by 50, this also gives you a really nice 20% damage increase to Dragon Communion Incantations for 60 seconds, letting you wreck havoc with all your crazy dragon attacks. This form also can only be undone by death, but hey at least you look like a cool dragon while in this.
Dragon Communion Priestess
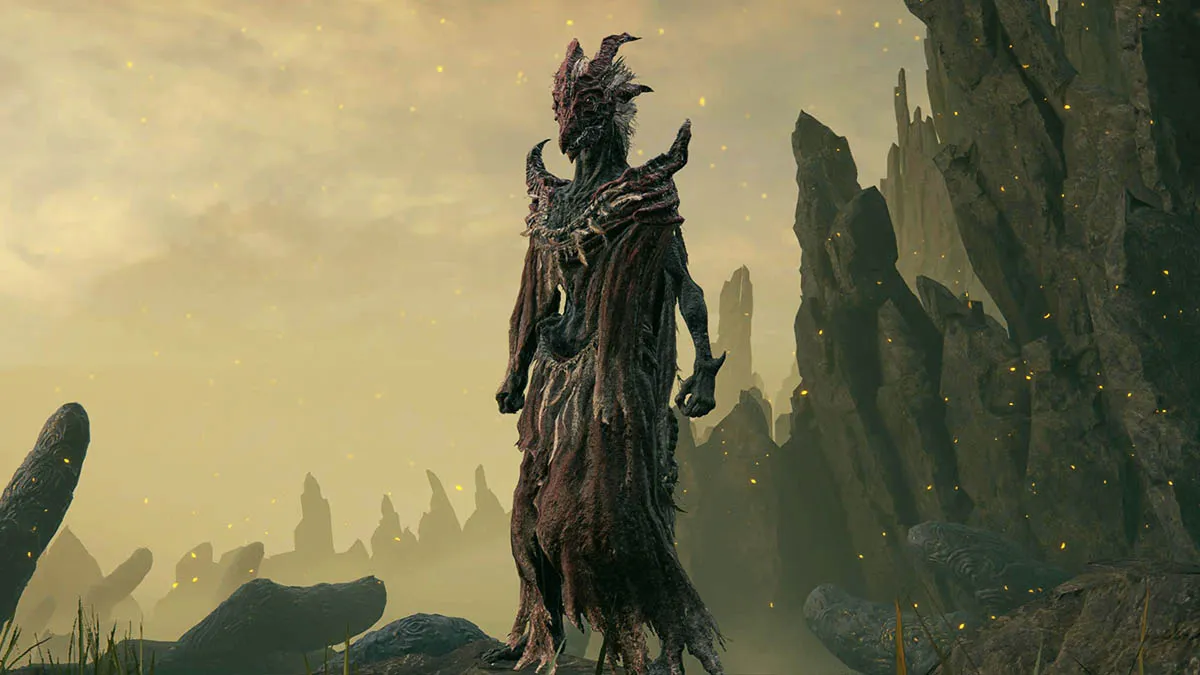
After defeating Bayle (CURSE YOU, YOU WILL RUE THE DAY), the Tarnished can gain access to the Priestess Heart and transform into the Dragon Communion Priestess herself. This boosts damage negation by 7% across the board and gives 70 Resistances to all the Elden Ring stats. Better yet, it boosts Dragon Cult Incantations damage by 20%, letting you throw and rain Ancient Dragon Lightning with incredible damage. Once again, you can only exit this form via death, but at least you cool with doing it.
Feats
Link
Overall
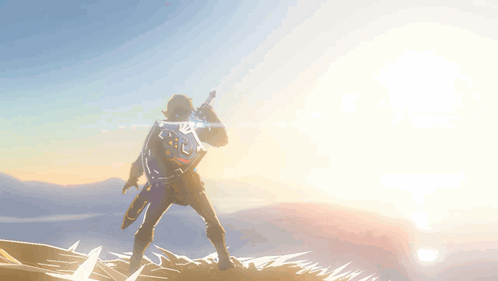
Explored all of Hyrule, discovering all of it’s secrets…twice
Also explored the entirety of the Depths and Sky
Saved the 4 Divine Beasts, freeing them from Calamity Ganon’s corruption
Worthy of the Master Sword even when he was only 12 and unlocked it’s full potential with the Trails of the Sword
Defeated all sorts of terrifying monsters from Lynels, Hinoxes, Moldugas, Gleeoks and bosses like Colgera and Gibdo Queen
Defeated Ganondorf even after his power surged with the secret stone
Prior to the final phase of their fight, Ganondorf one shot the five sages with a single attack
While he needed help from Zelda in her light dragon form, defeated Demon Dragon Ganondorf too, finishing him off once and for all
Freed Zelda from her Draconic form, reuniting with her at last
Helped many Koroks reach their friends! (after torturing them alot, but shh we don’t talk about that)
Cleared all 120 Sheikah Shrines, earning him the Tunic of the Wild
Cleared all 152 Zonai Shrines, earning him the Ancient Hero’s Aspect
A surprisingly good cook; CEO of Pizza
Got Game of the year in 2017
Couldn’t quite get the repeat in 2023, but hey no shame against losing to Baldur’s Gate 3
Power
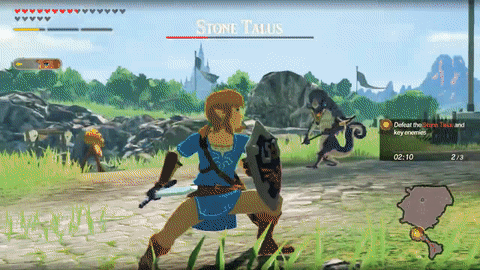
Can heavily injure the Stone Talus which are giant rock monsters essentially
Can parry and shatter Stone Talus throwing a giant boulder at him (85322.05 metric tons for lifting strength)
Grabbed a giant metal ball from the ground to slam at his opponents
Speed

“AND THIS FAIRY BOY CAN DODGE BEAMOS LASE-”
With the Zora armor, can swim upwards towards waterfalls with ease
Reacted to attacks from Thunderblight Ganon which moves faster than the eye can track
Can move in tandem with a beam of light (frame by frame shots)
Can flurry rush in the duration of a lightning strike (Mach 1408.8)
Quickly dashed over to Zelda after she was targeted by a Guardian laser to deflect it (43% SoL) (Debatable)
In bullet time while focused, shot an arrow that moved faster than a beam of light. Link would have to properly aim and notice the beam of light moving at that speed to properly react and shoot an arrow faster than it, so it should apply to his reactions. (2.142 times SoL for Flurry Rush, 11.3% SoL for base Link)
The light comes from a Zonaite device which specifically fires a beam of light like a flashlight to shine dark places and reflects off mirrors. Zonaite devices are essentially modern technically based and require batteries or Link’s energy cell. It should meet the qualifications for light speed.
Durability

Able to survive ragdolling all the way down off a huge mountaintop…somehow
Takes a hit from Colgera’s tornados and Marbled Gohma’s explosive boulders
Survived taking hits from Ganondorf’s Gloom and well Ganondorf in general really
Tarnished
Overall
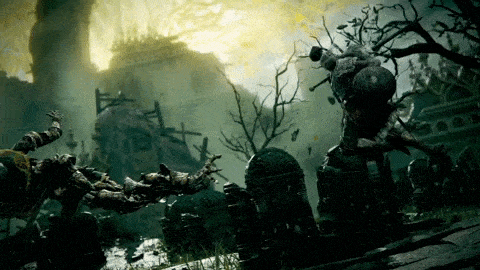
Traveled and explored all of The Lands Between
Also did the same to the Realm of Shadows in the DLC
Defeated all the Demigods and collected their great ruins
Prevented the Age of Compassion from happening by defeating Promised Consort Radahn who was powered by Miquella
Collected hundreds of different weapons and spells and mastered them all
Defeated all sorts of monsters and creatures from giant dragons to fallingstar beasts
Defeated the First Elden Lord and the Elden Beast itself
Became the next Elden Lord…
…or gave the throne to Ranni and became her spouse…
…or became the Lord Of Chaos and burnt down all of The Lands Between
Is in fact NOT maidenless
Is also a surprising good cook
Got Game of the year for 2022
Totally carried other players by soloing Malenia by themselves
Power
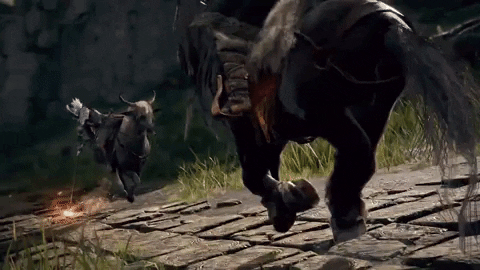
Is capable of wielding giant weapons
Can smack Alexander out of a hole with one attack (3 metric tons for lifting strength)
Strong enough to knock an armored man off his horse with a parry
With Melina’s help, commits a “Cardinal Sin” and lights the Erdtree on fire (169.7 - 405.3 megatons of TNT)
In the Age of the Duskborn ending, seems to have covered the Lands Between, possibly the planet with fog (66.9 gigatons of TNT)
In the Frenzied Flame ending, burned all of the Erdtree, the Lands Between and possibly the planet (2.9 exatons of TNT). Please refer to the Tarnished’s Frenzied Flame section above in Abilities for further information.
Due to defeating Midra, Lord of the Frenzied Flame, they get this scaling without having to go for this specific ending
Speed
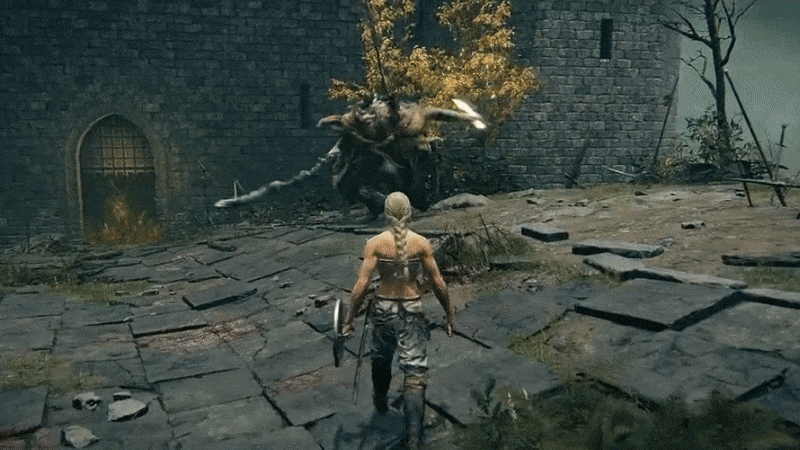
Is able to dodge arrows shot at them
Can move as literal lightning bolt with the Blinkbolt: Long-Hafted Axe skill
Dodges light spells
Should be noted not a lot of these qualify for actual light speed (More in Before the Verdict)
Can react to and block Consort Radahn that has an attack that’s literally called lightspeed slash (5.8% SoL)
Can use the skill literally called Lightspeed Slash to move at the speed of light
Because the Tarnished has to assume a luminous form to access this, they specify it’s a downwards slash with very limited control with how it’s aimed as they dive in a straight line and no other moves specify this speed, this is likely attack speed only for this move only
Durability
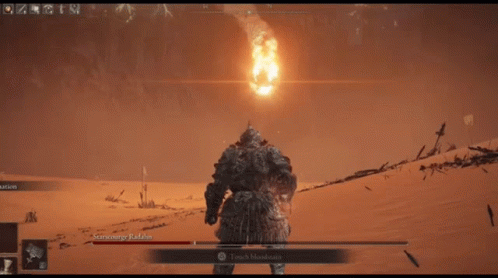
They tanked it, trust us
Can survive/block Radahn’s crashing into them like a meteor…usually
Survived Rykard’s giant snake biting them, slamming them and spitting them out
Can survive decently big falls
Survived Godfrey tossing them like a wrestling move like nothing jfc
Survive mostly every attack in the game at least once before dying
Is REALLY fucking stubborn and keeps coming back
Scaling
Link
The Champions and their Divine Beasts
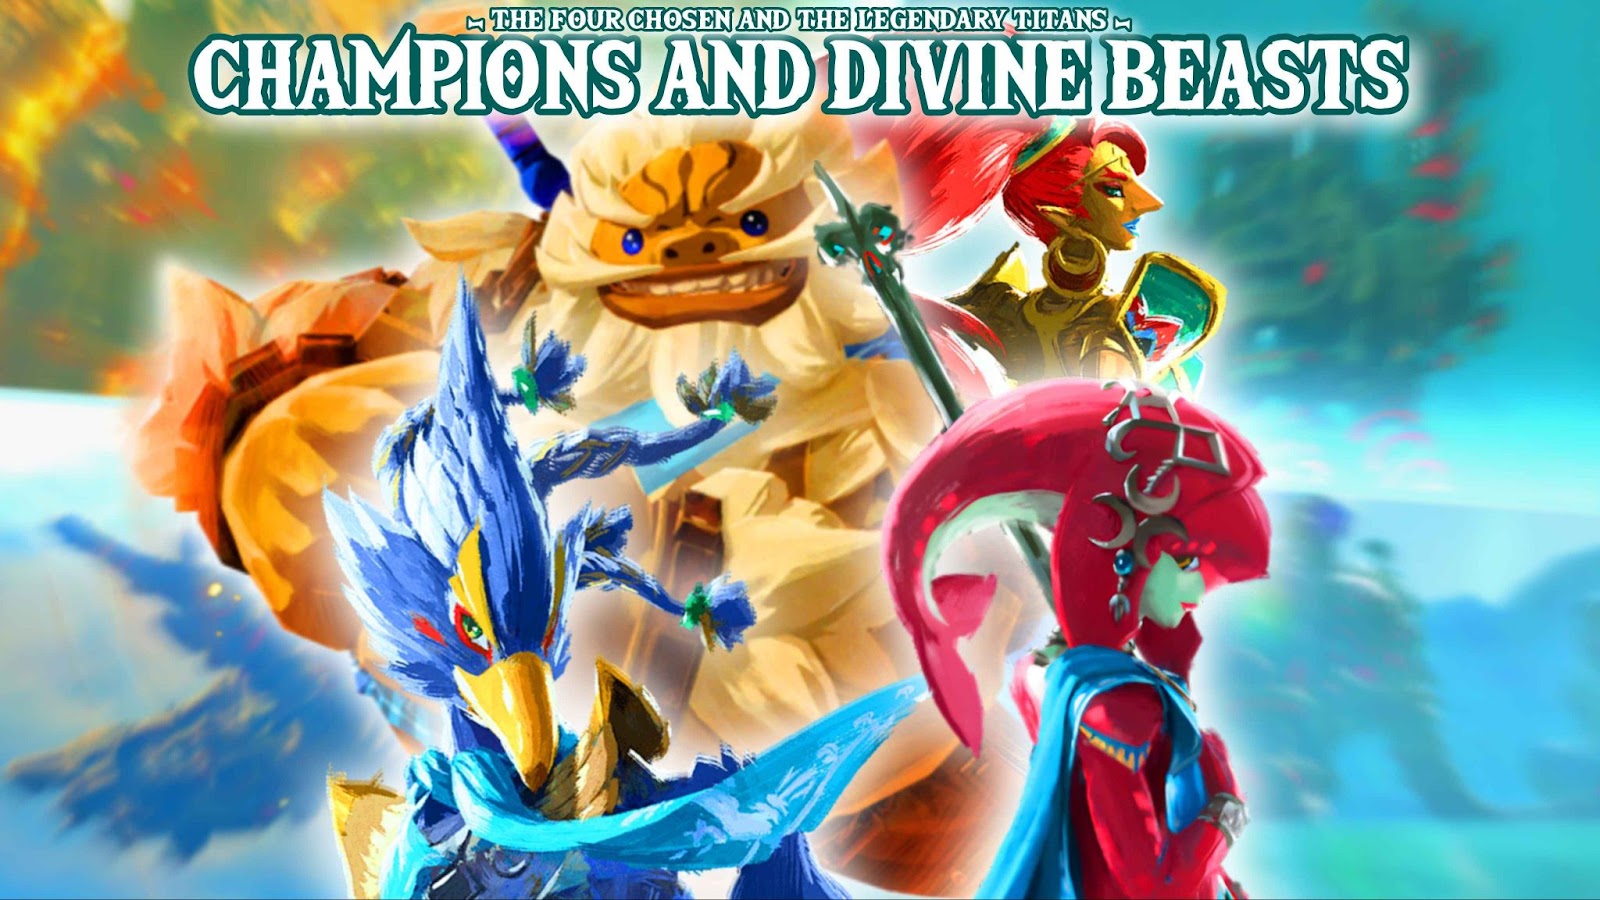
The Champions of Hyrule are certainly impressive, but it is undeniable that Link is significantly superior to them. He could fight off and defeat four malice clones of them at the same time, defeated all of the Blights that had previously killed the Champions, and was considered the critical fighter that would battle Calamity Ganon directly rather than anybody else. As for scaling to the Divine Beasts, it is important to recall how the four Divine Beasts together were able to notably damage Calamity Ganon with heavily charged, pre-targeted energy beams. In contrast, Link’s normal attacks could damage Calamity Ganon, even if by not as significant of a degree.
Other characters like Thunderblight Ganon can react to her lightning attacks.
Revali survived being grazed by a Blight’s energy blast
Revali can create large updrafts by simply swinging his wings really hard
One of the Divine Beasts made a hole in Hebra Mountain with it’s lasers (2.26 megatons of TNT)
Divine Beast Rudania can trigger a volcanic eruption by simply hitting Death Mountain with its tail
Divine Beast Vah Rata can destroy a large chunk of rock with its trunk and even a stone bridge
The Sages
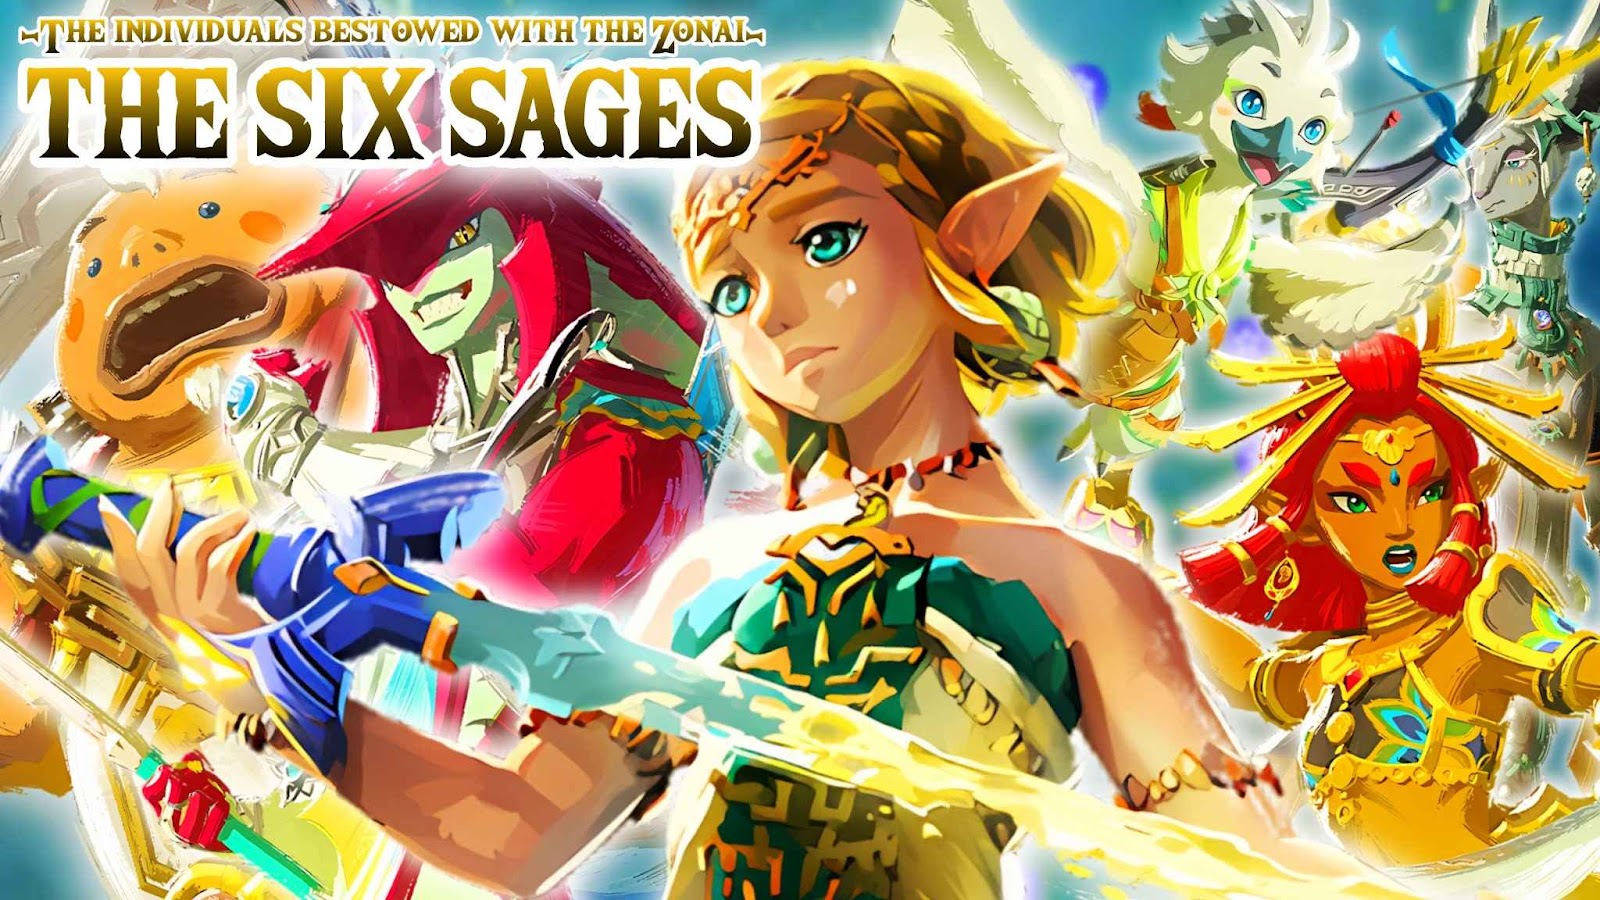
"ZO! ZO! RA RA RA! With all my heart... Thank you!"
Link directly summons avatar-like copies of the Sages to aid him in combat, meaning their power is just naturally on the field at all times. But he also scales far above what each sage is capable of, considering he defeated Ganondorf. A being who with a single blast, put all five sages out of commission at the same time. Considering Link would go on to defeat someone capable of this, it is more than safe to say Link is significantly superior to the sages.
Sidon makes a whirlpool (20.2 tons of TNT)
Yunobo can come out of being shot out of an explosive cannon unscathed
Riju can precisely aim cloud to ground lightning with Link’s assistance
Zelda herself can move faster than a guardian scout laser while focused (1.6 times SoL)
This also meets the qualifications of lightspeed as it’s a continuous straight laser that burns instead of exploding and similar lasers are present in the shrine literally called Speed of Light: Sheh Rata shrine. It has a realistic point of origin (the drone) and Guardians lasers have even shown to reflect off mirrors.
Ganondorf And His Army
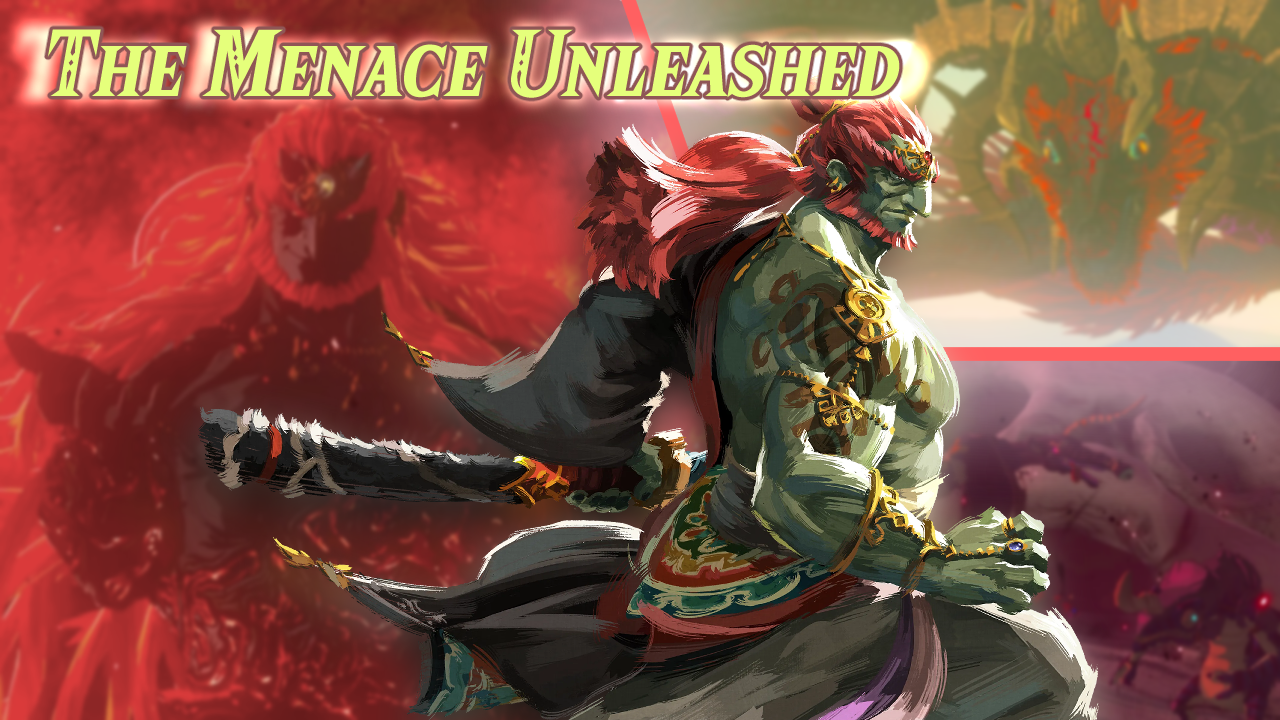
“Do not look away. You witness a king's revival. And the birth of his new world!”
Link and Ganondorf have clashed against one another many times, always matching one another, and the interaction between the Hero of the Wild and the Demon King is no different. Throughout the Wild era of games, Link defeated both Calamity Ganon as well as Ganondorf himself. He slaughtered his various monsters, and, at the end of the day, was the only one capable of even fighting Ganondorf at the end of the story. Link defeats him in the end, and thus solidly scales to feats done by both the Demon King as well as his significantly weaker army.
Colgera can create a hyper-dense blizzard around the Stormwind Ark, as well as an eternal devastating winter across the entire Hebra region. This was all done by just the winds Colgera released when it was sealed within the Stormwind Ark. (157.9 megatons of TNT)
Queen Gibdo was the one responsible for covering the Gerudo Desert in a sand shroud
Wizzrobe, a common enemy, can cause a thunderstorm to the surrounding area with their magic. (4.4 megatons of TNT)
Ganondorf lifts Hyrule Castle with his Gloom in the beginning of the game
Tears of the Kingdom confirms that whenever a Blood Moon occurs, Calamity Ganon / Ganondorf is physically moving it in the direction they desire. We know this based on how a Phantom Ganon caused the moon to move when Ganondorf was trying to bait Link to go to Hyrule Castle via causing a Blood Moon. Thus, that leaves us with a lot of moon moving feats to calculate:
Calamity Ganon will cause a Blood Moon every once in a while to resurrect his servants that Link has slain, bringing it closer to the planet (3.3 yottatons of TNT)
After his power surges with the Zonai secret stone, he immediately causes a Blood Moon to appear and rise from the sky, bringing it closer to the planet. There were no signs of it occurring beforehand, so this is clearly his doing. (804.4 yottatons - 7.3 ronnatons of TNT)
When he becomes Demon Dragon Ganondorf, he moves the blood moon even closer to the planet, traveling a greater distance than his other blood moon related feats (13 to 69.4 ronnatons of TNT)
Ganondorf can Flurry Rush Link even while Link’s doing his own Flurry Rush (wtf???)
And Link can Flurry Rush Ganondorf’s Flurry Rush that Flurry Rushed Link’s Flurry Rush and ok what the actual fuck was that boss fight
Tarnished
Demigods
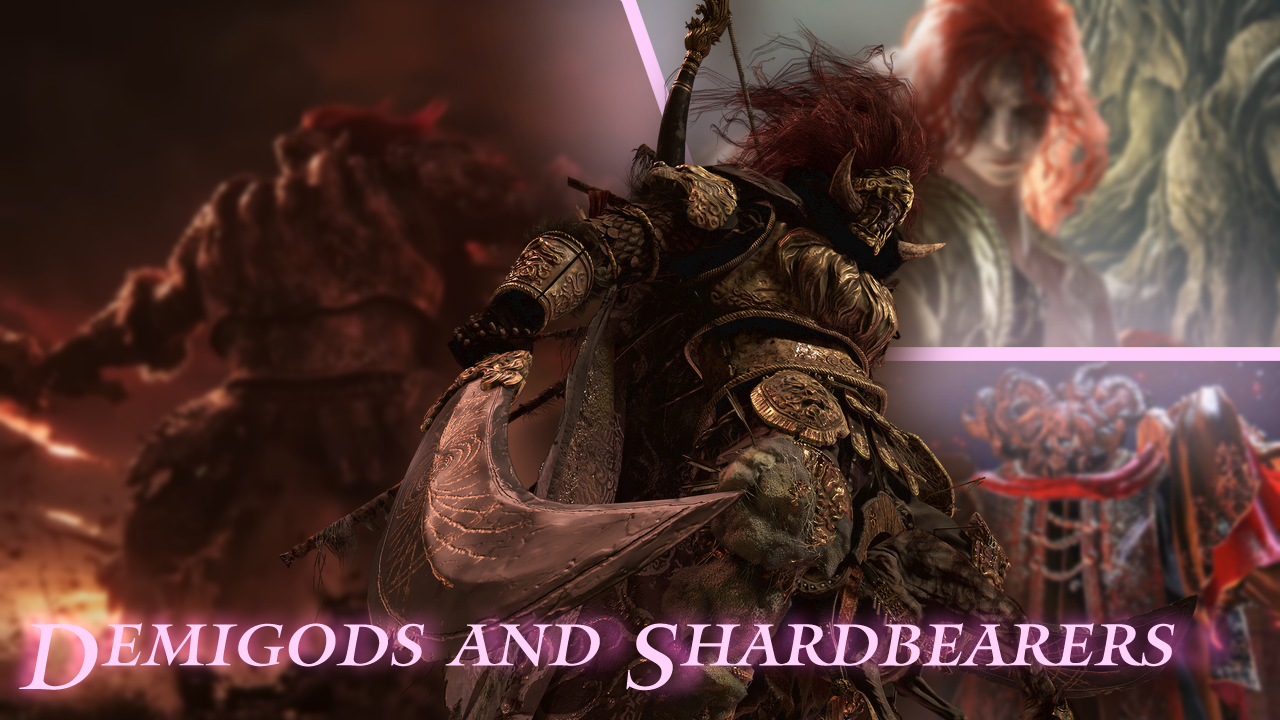
The rulers and most powerful being in the Lands Between would be the Demigods or better known as Rune Holders. The Tarnished have encountered all of them and have won in battle each and every time. So really scaling should be pretty straight forward here.
Godrick with a slam of his axe can destroy piece of the ground
Malenia defeated/stalemated Radahn by spreading her Scarlet Bloom across Caelid
Due to the nature of this feat (spreading disease and no force/mass), it’s not really calculable
Ranni seemed to have put her great rune on the moon (Debatable/theory)
Also seemed to have made/summoned(?) a moon and create a warpgate in her ending (Debatable/unclear if illusion or not)
Morgott The Omen King in his second face can make a storm that covers the whole boss arena
Radahn crashes down like a meteor, dealing serious damage if not outright killing the Tarnished
Radahn rather infamously used some sort of gravity magic to halt “stars” (See Before The Verdict)
By measuring the direct size of the crater the meteors left behind, Radahn’s total power output to halt their momentum would be 543.8 megatons - 5.5 gigatons of TNT
If one were to reverse angular size the diameter of the meteors and measure their movement, the maximum highball for Radahn’s power output to halt their momentum would be 9.5 zettatons of TNT. The KE of this version is very inconsistent with the crater it actually makes. Take this calc with a grain of salt.
The meteors/comets/Astels Radahn stopped would have to be pretty fast (Mach 32.07 - Mach 204.08)
If one were to similarly reverse angular size the distance the meteors moved on screen, the maximum highball for their speed would be 1.9% SoL
Legends & Other Bosses
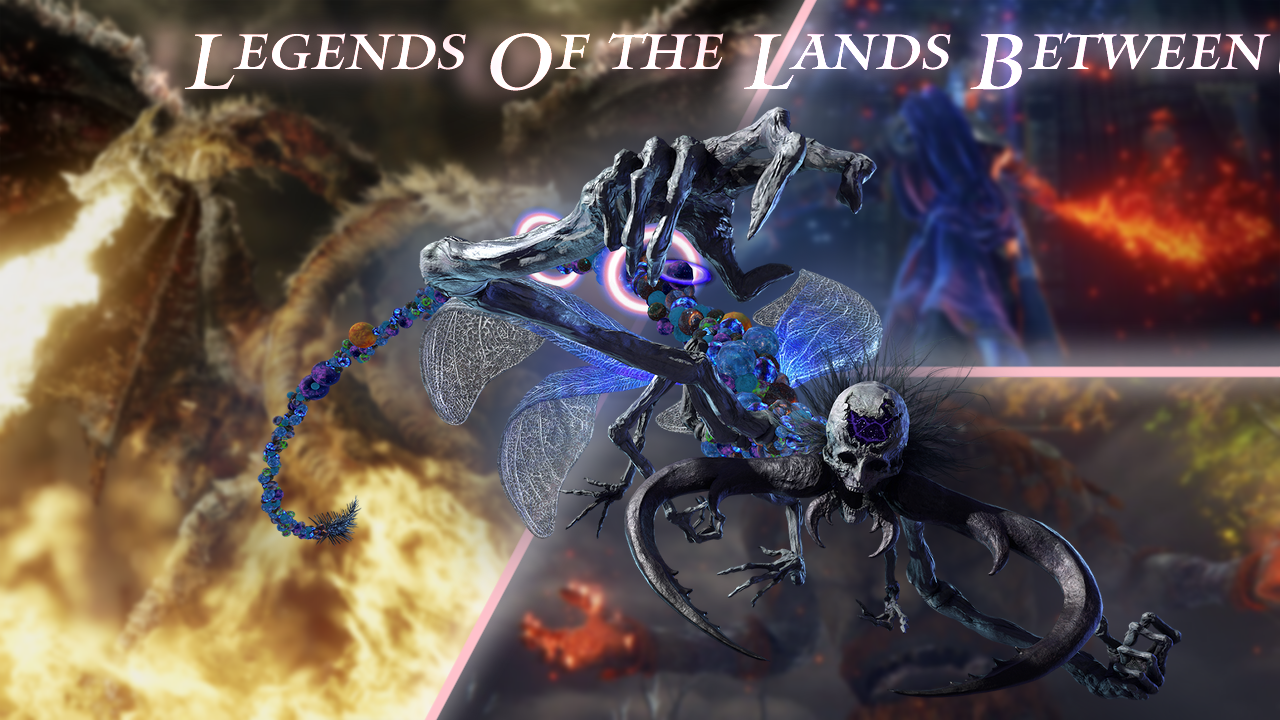
Aside from Demigods and Lords, the Tarnished have faced all sorts of bosses and enemies and always came out on top (well, always as in probably after a bunch of repeated deaths, but you get the idea). From dangerous dragons to aliens to the really annoying Godskin Duo, Tarnished scales to them all.
The Fallingstar Beast crashed and caused a big crater (4.93 - 113.9 kilotons of TNT)
The Last Fire Giant can send giant snow attacks with a single swipe
The Fire Giant can swing down with it’s shield with A LOT of force (1.38 tons of TNT and 8569 metric tons for lifting strength)
Astel a star of ill omen destroyed an eternal city and took away their sky (the city is underground now incase you were confused and the sky they live under now is fake)
Lichdragon Fortissax caught a bolt of lightning from the sky with their hands (Mach 30)
Elden Lords
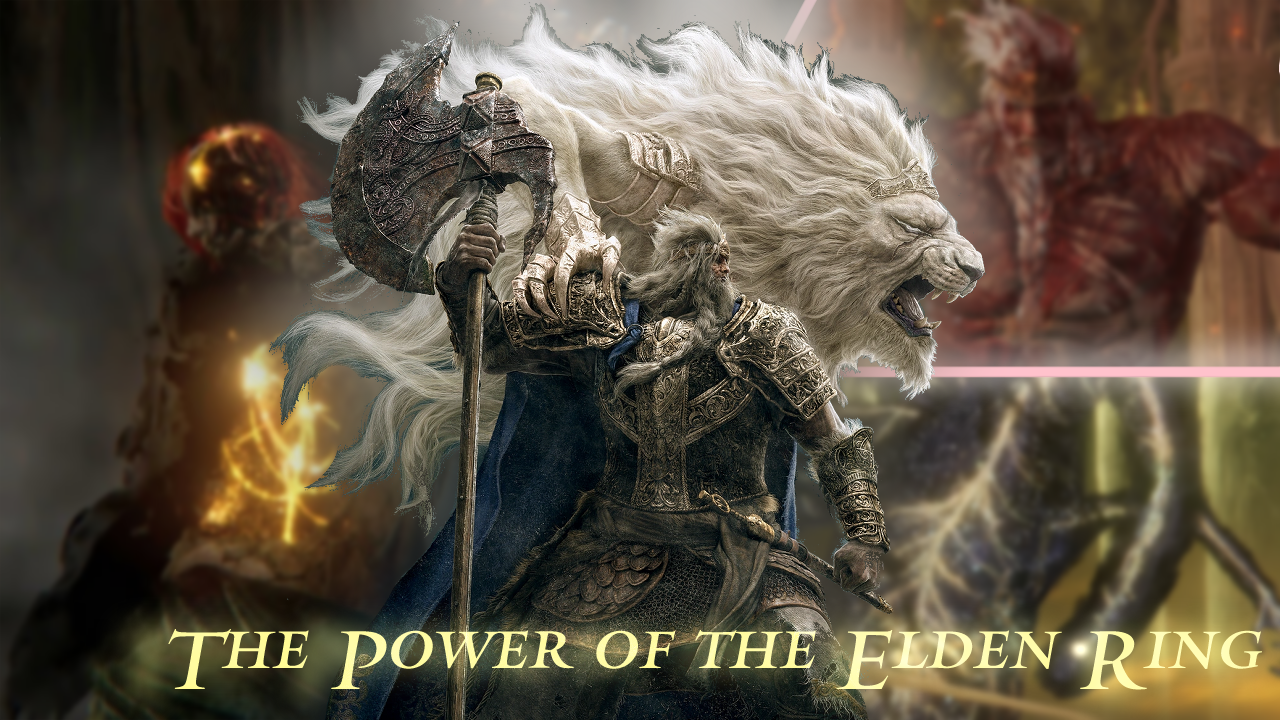
When it comes to scaling Tarnished to the Elden lords it’s basically the same reasons for the previous people we scaled him to. This being that the tarnished has fought all of them and came out on top in the end. He even becomes Elden Lord in most of the endings. So again the scaling here is very very simple.
Godfrey can lift a huge chunk of the battlefield and cause an explosion/release lava
Radagon can leave explosive cracks on the battlefield with his hammer
The Elden Beast warped/created/teleported/did something to the area to make a starry sky (See Before The Verdict)
Weaknesses
Link

Despite all of their strength, Link is not invincible, and that is something they don’t seem to know. Link’s courage will often lead him to fight against unwinnable odds regardless of how unwinnable a situation seems, all for the sake of saving the day. This is what led to his kind of death prior to the events of Breath of the Wild as he refused to stop fighting until Zelda was safe. As great of a showing of his tenacity as this is, it is a showing of his stubbornness at the same time. Additionally, none of his gear has infinite durability, his pockets do not contain infinite healing items, and he is not immune to every status effect in the book. If he was, he wouldn’t spend the entirety of Tears of the Kingdom with a weird sky people goat arm.
Tarnished
omfg this boss is bullshit
Even with the giant list of weapons and spells The Tarnished has, they still have a fair amount of shortcomings. The main thing that can harm The Tarnished is that his items, spells, and healing methods have a limited number of uses before The Tarnished needs to regain them at the sight of grace again. Another thing that harms The Tarnished is the fact that his grace can be taken from him at any time. If the battle goes on for long enough and Marika deems it pointless to her goal of wanting The Tarnished to become the next Elden Lord she can easily take away The Tarnished grace leaving him without his respawns.
Before The Verdict
Why Does Link’s Master Sword Have Abilities Not Shown in BOTW/TOTK?
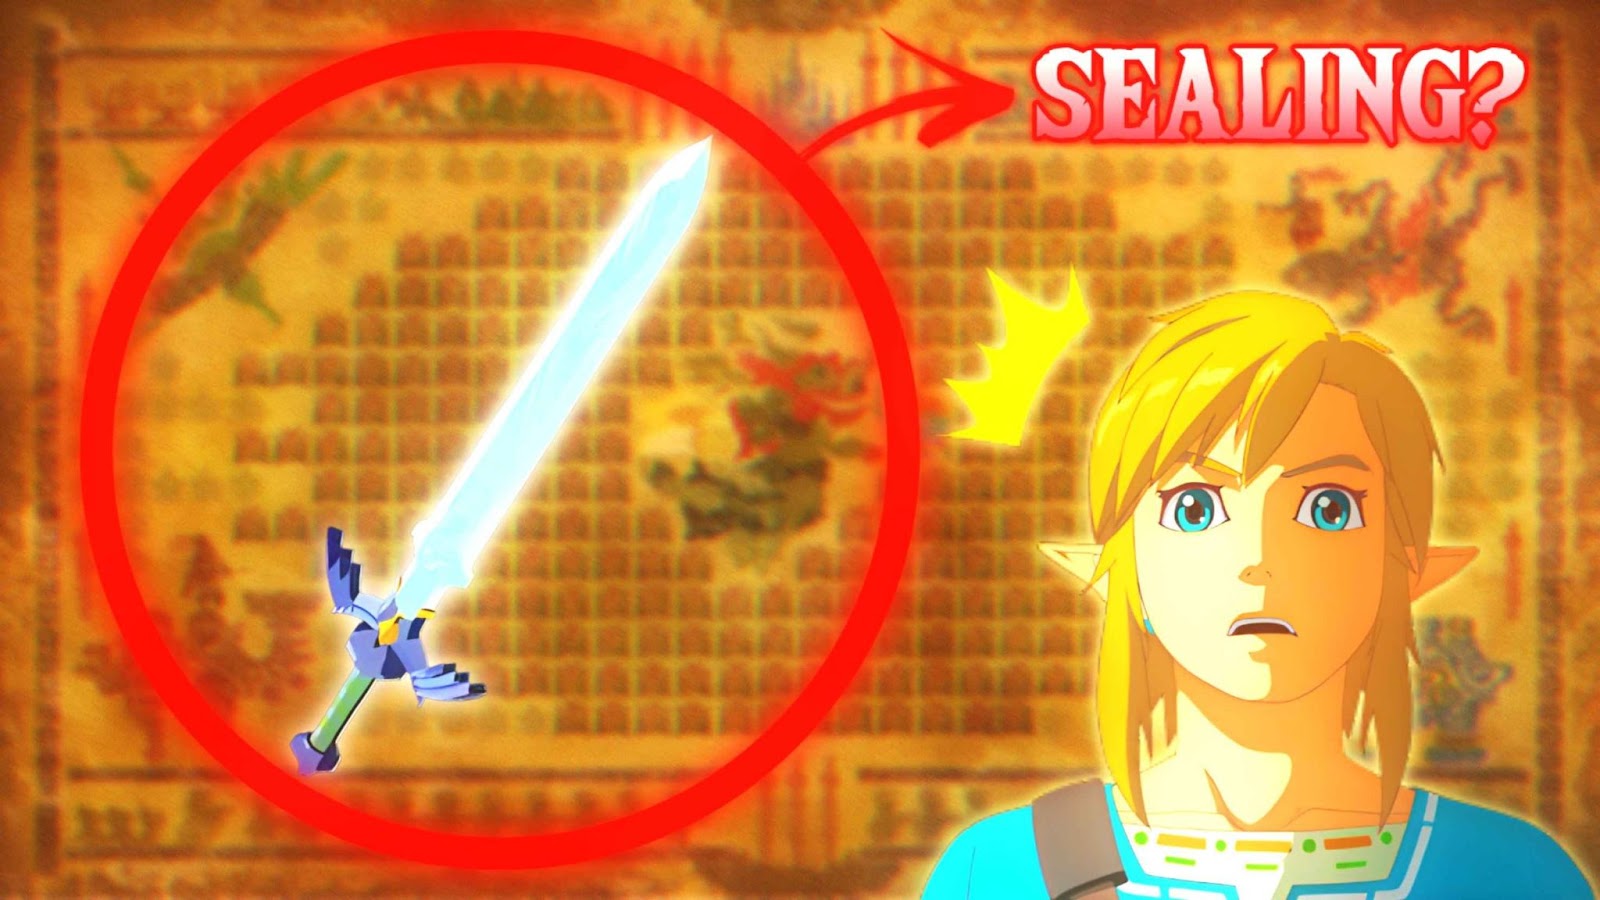
We want to clarify that once again that this version of Link is NOT going to get any cross scaling for the purposes of this matchup. That being said, you may be curious as to why this Link’s Master Sword is still being given abilities he himself has not shown, the main ones being sealing, which is an ability the Hero of the Sky used, and the resistance to Corruption, shown by the Hero of Twilight. That’s because it’s due to the context of how the others use the move.
The two abilities mentioned were not something those specific heroes had to learn, rather it’s something the Master Sword was already able to do through its own power. It’s something the blade of evil’s bane naturally has. It’s even literally called the sword that seals the darkness several times. A possible counterpoint is that Fi was responsible for the sealing, but there’s no evidence to suggest she was the direct cause. Even if she was, her spirit still resides in the Master Sword during the Wild era. It interacts with Link after the Trails of the Sword and again with Zelda herself when it gets sent back to the past 10,000 years ago. Plus, sealing isn’t anything new to the Master Sword as in Ocarina of Time, Link himself was sealed in the Sacred Realm for 7 years (this also debunks the potential counterargument that the individual must be “evil” to be sealed as Link himself obviously is not).
Lastly, the Wild era’s Master Sword is by no means any weaker than previous eras, in fact quite the opposite. After completing the Trial of the Sword, Link’s able to unlock the sword’s true splendor. In TOTK, it was healed by Zelda in her dragon form constantly giving it sacred power for over 10,000 years and it’s confirmed that the more it’s bathed in sacred power, the more powerful it becomes. It was able to heal and grow even stronger to the point it was able to defeat Ganondorf after it was so easily destroyed during the beginning of the game.
Overall, there’s plenty of reason to give the Hero of the Wild’s Master Sword these abilities even though he himself hasn’t shown it considering the context and power of the blade.
WTF Do The Ancient Arrows Do?
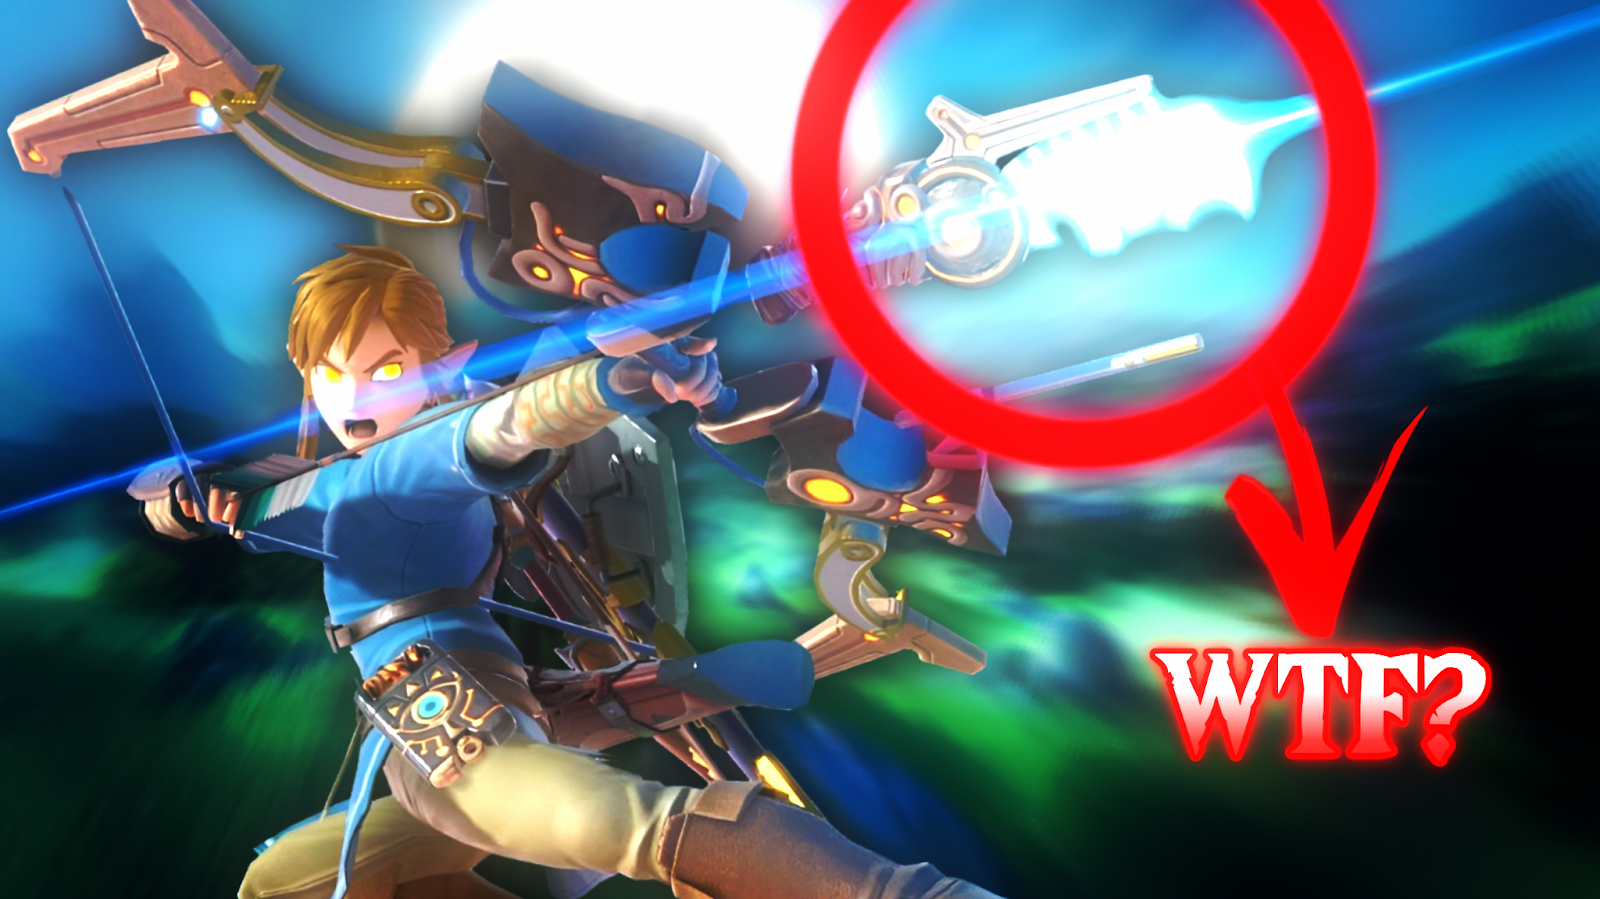
By far one of Link’s most complicated weapons because it’s not very clear on what it does. It is unknown if it is BFR (Battlefield Removal) or straight up deletion/existence erasure. Provided the enemy doesn’t resist its properties like a guardian, it’ll usually one shot them, even a powerful enemy like a Lynel and leave no materials behind. The text says it uses ancient technology, and that to be struck by one is to be consigned to oblivion in an instant, dealing devastating damage even against guardians. Based on this, the typical arguments were as followed:
BFR: Consigned means to deliver/send, so the ancient arrow could be sending someone to a place, which would be oblivion in this case. Furthermore, the animation for when the Ancient Arrow ‘kills’ someone is somewhat similar to the animation for when Link fast travels with the Sheikah slate.
Existence Erasure: The animation is not definitive as the giant blue explosion is unique to the arrow and still shows even against enemies that resist their properties, and the blue swirly lines appear regardless if the one shot happens, so it’s unlikely to represent the teleportation. Consigned is flowery wording no matter how you look at it, so it doesn’t have to mean it literally teleports enemies away. It’s also noted to deal “devastating damage” to an enemy, which would be a bit odd if it was BFR, and “oblivion” is not a location in BOTW. Using ancient technology isn’t the most reliable argument either considering enemies like the Guardians are also ancient tech, but still use their lasers to well...kill you instead of any teleportation. Oblivion means to be in a state of being completely forgotten or nothingness, so it’s arguably less of a reach to be existence erased than BFR.
So, where do we blog members land? Well, for that, let’s take a look at the original Japanese text.
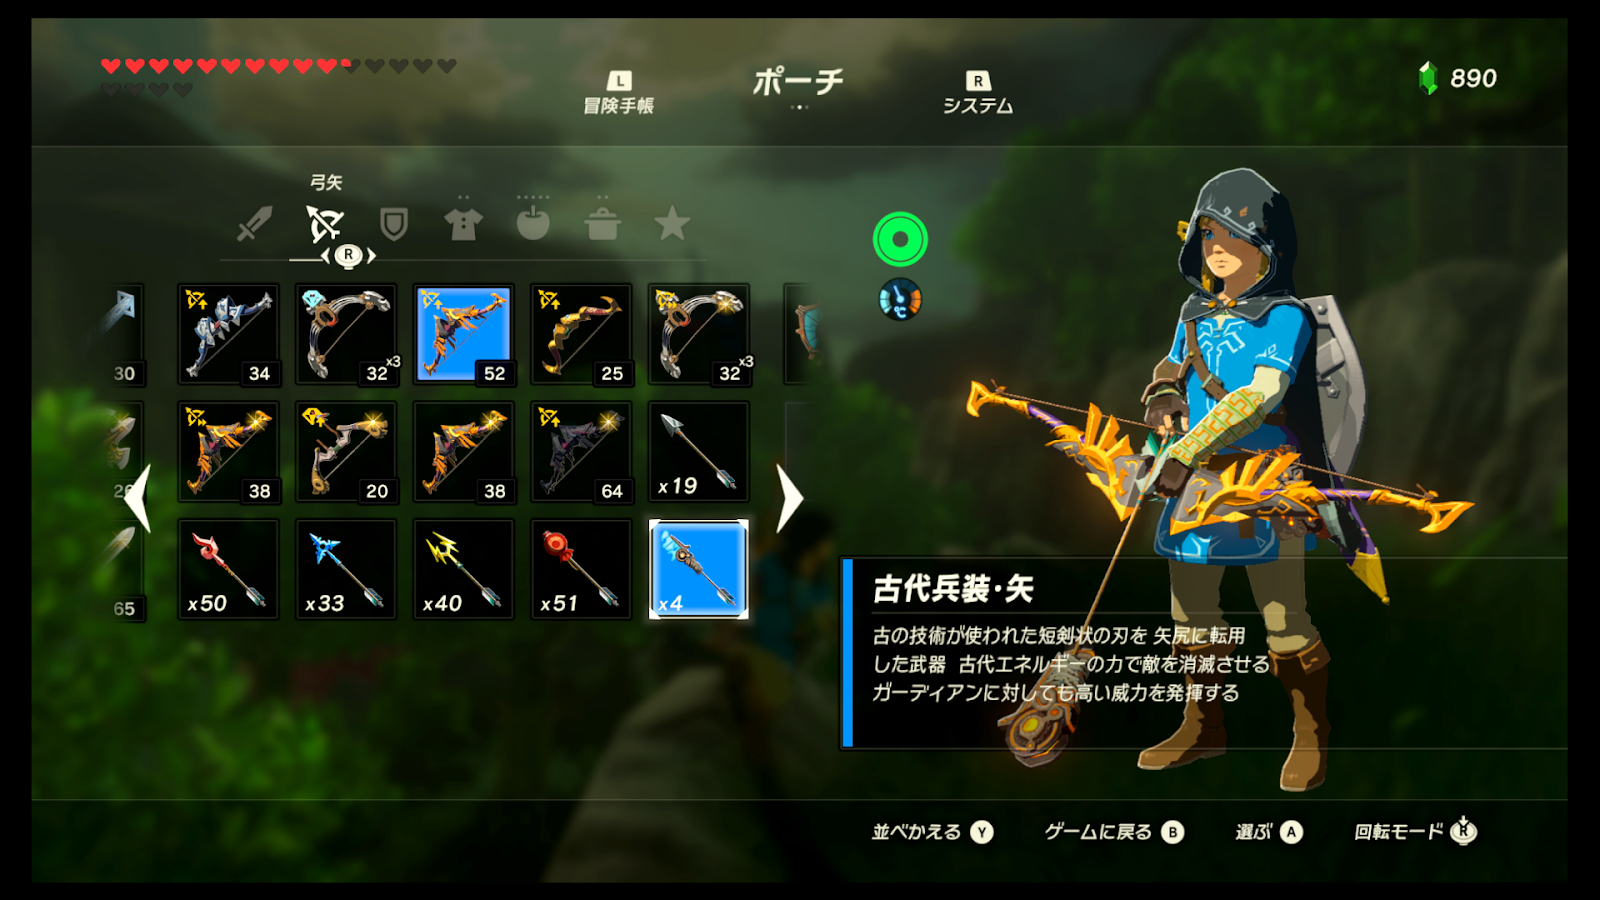
古の技術が使われた短剣状の刃を 矢尻に転用した武器 古代エネルギーの力で敵を消滅させるガーディアンに対しても高い威力を発揮する
Putting it through Romajidesu gives us the following translation:
A weapon that uses ancient technology to transform a dagger-like blade into an arrowhead. It is highly effective against Guardians, who use the power of ancient energy to obliterate their enemies.
(as a note, the specific kanji used for obliterate, 消滅, is in the text, and is often referred to that and backed up by several Japanese dictionaries online)
So, this reads both similarly to the original text, and yet fairly differently. To be more specific, it should be clear based on this that the Ancient Arrows aren’t a form of BFR. The text says plainly that tech and weaponry like the Ancient Arrow just obliterate any enemy in their path, with no mention of being “consigned” to any place. It would be really strange for it to be a method of teleporting the enemy someplace afar when it's stated pretty clearly and bluntly to be just destroying the targets, and the animation for enemies being destroyed by it being similar to the teleporting animation could be just that: an animation.
So obviously, this would mean existence erasure is the only option left, right? Well let’s not get out of hand. While BFR as an option may no longer be viable, that’s not to say existence erasure would be correct either. For this, let’s take a look at the original Japanese text of an important cutscene in the Wild era games: The first Blood Moon.
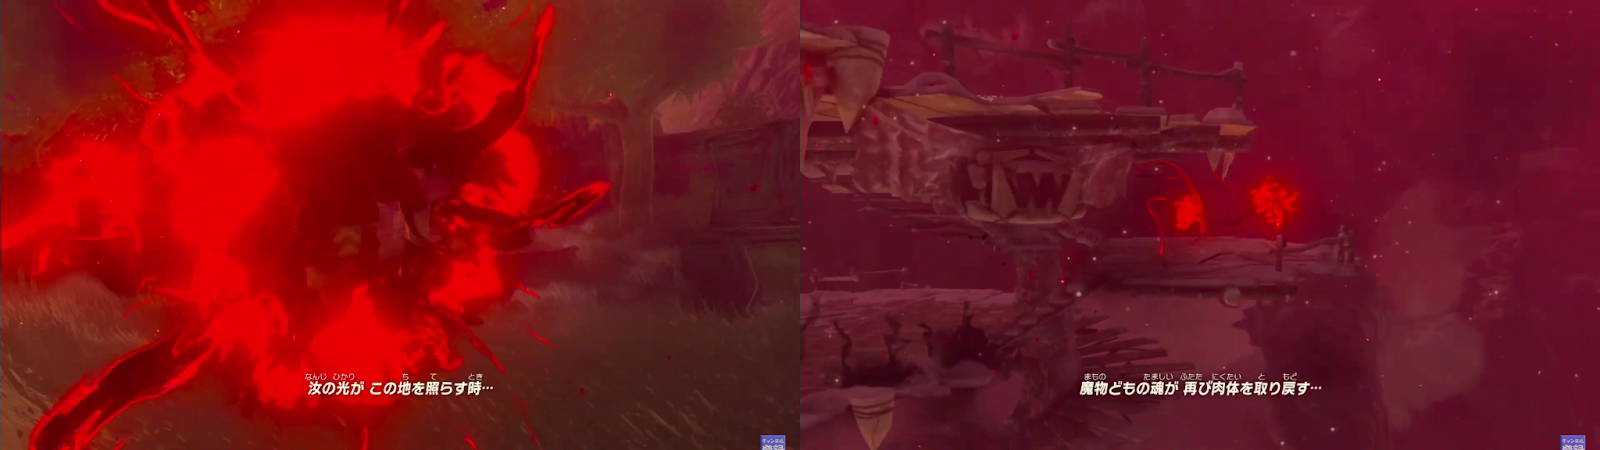
汝の光がこの地を照らす時・・・ 魔物どもの魂が再び肉体を取り戻す・・・
Once again, putting the text through Romajidesu gives us the following translation:
When thy light shines on this land…The souls of the monsters will regain their bodies…
(as a note, the specific kanji used for soul, 魂, is in the text, and is often referred to that in several Japanese dictionaries online)
So, we know for a fact the spirits of those defeated by Link leave their spirits behind, and when Ganondorf summons the Blood Moon, he gives the wandering spirits of the fallen monsters their flesh and blood again. Which would be impossible if they were truly erased from existence, as EE involves not only eradication of one's body, but their soul as well. Additionally, “obliterating” an enemy could just refer to the destruction of their body and not necessarily their soul, at least without any sufficient proof to back up the latter. Therefore, it’s highly unlikely the Ancient Arrows meet the qualifications to be considered existence erasure.
Now, with that being said, it’s difficult to ignore that these arrows one shot most enemies no matter what, and leave behind nothing left of them. It even works the same regardless of what bow Link is using, as a weak Traveler’s Bow using an Ancient Arrow has the same effect as when a powerful Royalguard’s Bow uses an Ancient Arrow. It is likely that these arrows are still some form of durability negation that destroys the target's physical body, like a form of matter disintegration or deconstruction, which is still an incredibly useful tool to have; just not as potent as some others hype it up to be.
Demon Dragon Ganondorf Shaking “the Heavens”
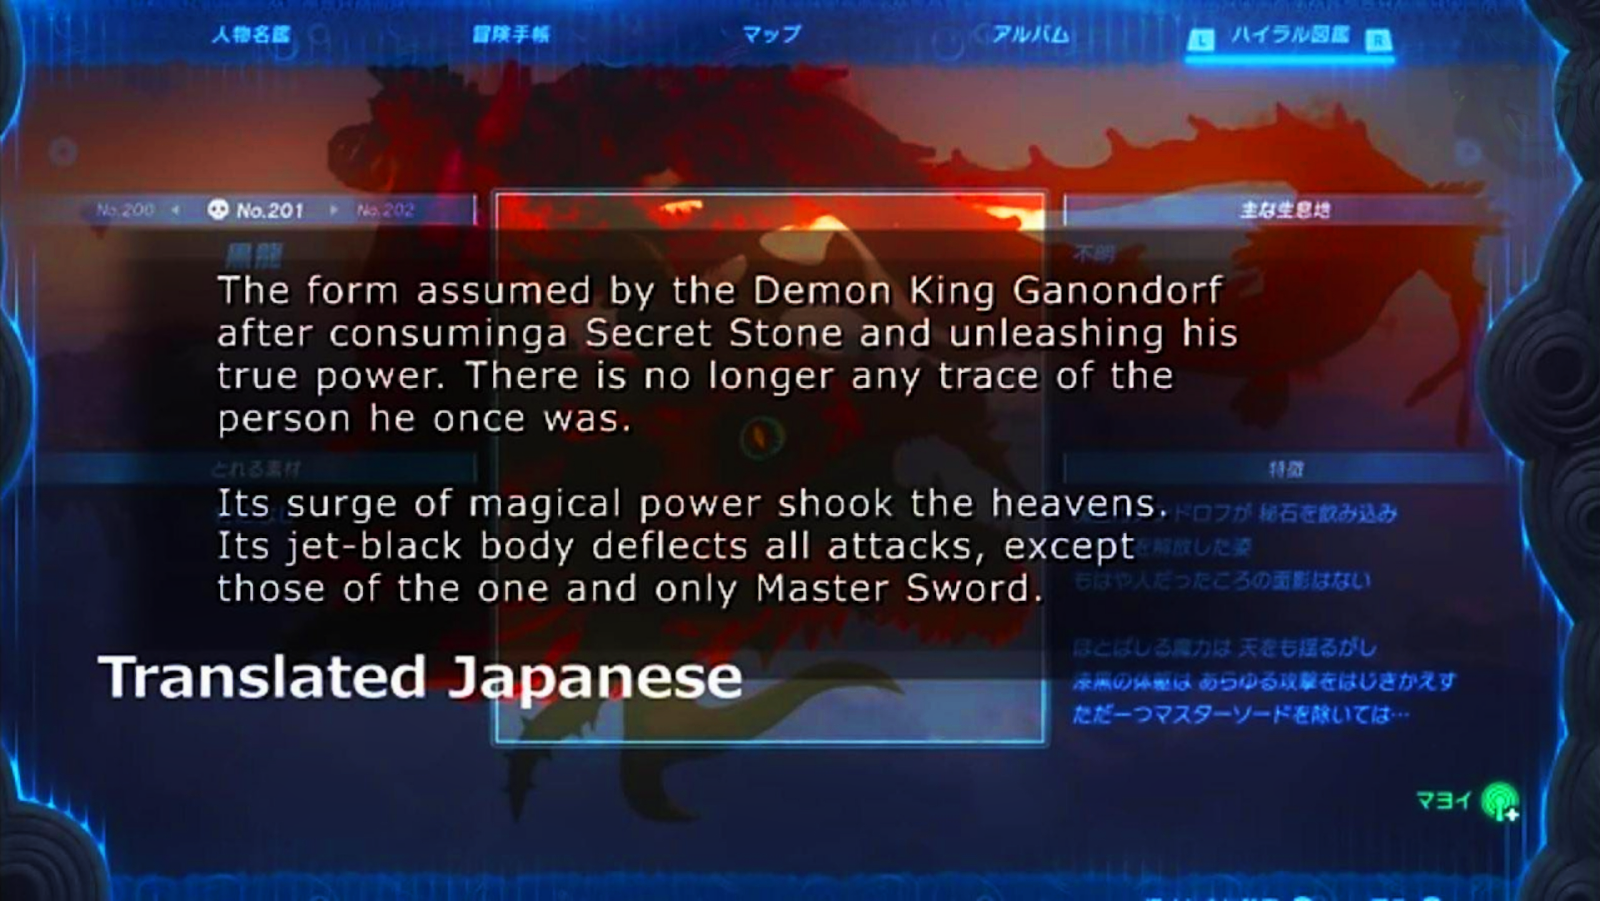
During the final boss battle on Tears of the Kingdom, Ganondorf decides to risk it all and lose his mind just to attempt to kill Link, swallowing his Secret Stone and becoming Demon Dragon Ganondorf. If you take a photo of him and read the Hyrule Compendium, according to the Japanese text, he has the power to “shake the heavens” (though it should be noted in the English version, it only says shake the skies.) Could this imply, potentially, universal levels of power? Well…not really.
First of all, shaking the heavens is pretty vague wording. Heavens does not necessarily have to mean the universe. It could just mean he shook the atmosphere or the earth (both of which would be way lower than what calcs Ganondorf has already been given). In fact, if you were to imagine yourself and the earth started shaking violently, it would feel like the “heavens are shaking” too, which should tell you how unreliable this wording is. It could also simply refer to the sky islands Link can travel to in the game, which are above Hyrule, obviously making this feat way less impressive than it sounds (sky islands would also support the English translation as well).
It’s also simply not supported in the game to possibly mean a universal level shake. There are no other possible descriptions that could describe Ganondorf having the power to shake the universal, making this text simply an over exaggeration of his power. Don’t get us wrong, Ganondorf is absolutely a very powerful foe clearly capable of planet levels of power, potentially even higher, but shaking the heavens simply has no basis, not supported by anything in the game and far too vague to really mean anything. It is likely meant to hype up the final boss and nothing more.
Link’s Recall Power

After the defeat of the Demon Dragon, Link uses the Recall ability to rewind the Light Dragon back into Zelda, thus completing the final quest of Tears of the Kingdom and saving the day. This situation does not have much explanation though, which leaves a lot of things up to interpretation. With that in mind, we have two things to discuss: what exactly this power implies, and how usable it is in combat. The former is more objective, so we can start there.
As we know, Recall is an ability that rewinds something from where it is now to where it once was. In this scene however, the Light Dragon’s position is not rewinded, but rather its being. As it is rewinded to a state it was represented ages ago. This specific rewind applying to something’s being rather than its position is consistent with Link’s arm being altered, going from his current Rauru arm to his old arm he lost to Ganondorf. So if Link is capable of rewinding someone’s being, then what is the limit exactly? How many years back did he rewind Zelda? Answering this does require some estimations.
We know Ganondorf was a threat to Hyrule before Calamity Ganon, considering he was lower in the castle than Calamity was in Breath of the Wild, alongside the fact Urbosa states Calamity Ganon took the form of a Gerudo before becoming the Calamity. The first big battle with Calamity Ganon took place ten thousand years prior to the preparations made to fight him one hundred years prior to the events of Breath of the Wild. We do not know the exact time gap between Breath of the Wild and Tears of the Kingdom, but with those two time gaps in mind (considering how Zelda fought Ganondorf before Calamity Ganon became a thing), this all means Link rewinded Zelda’s being at least 10,100 years back into the past. This is the only solid number we can get, but do keep in mind the total time rewind should be significantly larger considering Ganondorf is far older than the Calamity, and Zelda became the Light Dragon shortly after aiding in Ganondorf’s defeat.
So with our first topic addressed, time for our second one: can Link even use this power in a fight? Maybe. In the scene where he does this rewind, his arm initially starts doing the rewind by itself. Rauru and Sonia’s spirits show up to help guide Link (they can only guide, not contribute, due to their lack of physical forms), before Link concentrates himself and thus provides the biggest increase in the flow of energy that proceeds to de-age Zelda. With this info in mind, we can debunk the idea that Link needs Rauru or Sonia to help him to use this ability (though it’s also possible Rauru’s spirit is in the arm regardless considering…it’s his). They only showed up to help guide him so that he could use the ability by himself more efficiently.
Here is where we get into two specific questions though.
Link didn’t know about this ability before his arm started doing it by itself. Would he know how to activate it?
Would Link ever think to use this ability in a fight in the first place?
Starting with the first question: that depends. If this is a theoretical Link from before he lost his arm due to the usage of the Recall ability on Zelda, then no, he would not know how to use this ability himself. As his arm needed to start independently first before it could be utilized. If this is a sort of theoretical Link from after the events of Tears of the Kingdom who has gotten Rauru’s arm back alongside all of its gimmicks, then he should be able to use this aspect of Recall. He has done it before, and has shown the capability to contribute himself to the ability’s usage.
But the bigger hurdle is whenever or not he would even use this super Recall in a fight. When he did use it, it was to rewind the Light Dragon so that it could become Zelda again. The situation was not combat related whatsoever, and Link’s willingness to use the move is even more of a problem when you consider that using this ability makes him lose Rauru’s arm for good. All this being said, Link using this ability is not a total impossibility. He is a smart thinker, and if he saw no other way to win whatsoever, he would probably resort to this move.
So looking back at everything discussed, is offensive rewinding Recall a possible move for Link? The answer is that while it could potentially come out, and can be argued, it shouldn’t be argued. The chance of it coming into play is extremely low and risky, considering the downsides of the move and the fact it has never been used in combat. So to conclude, it is an ability Link could use but most likely wouldn’t and an argument for him winning should not rely on this power.
Radahn’s Infamous “Star” Feat
By far the most controversial feat in Elden Ring (and likely this whole blog). Let’s break it down, shall we? We humbly ask you to at least try and understand why we came to our conclusions if you want to (constructively) criticize.
For context: Here’s the lore information that describes Radahn stopping “stars” (including the fact he used gravity magic of some sort to do so) and here’s cutscene of the stars falling that happens with Radahn’s death (Sellen confirms if Radahn dies, the “stars” would resume their movement.)
At first glance, it does seem like Radahn stopped “stars”, right? However, it’s not quite that simple once you look into it even just a little bit further.
First of all, once Radahn dies, one of the “stars” falls and creates the Starfall Crater, letting the player access Nokron, the Eternal City. While still an impressive feat on its own, it obviously is not a huge star and the impact size is far more similar to that of a comet/meteor. If a star had indeed crashed down, it would have likely messed up if not straight up destroyed the planet entirely. It would be more weird in context considering the idea of Radahn’s festival was to kill him in the first place and him stopping stars wasn’t exactly a secret, so why would everyone risk their lives just to kill one guy?
However, that’s not enough for some people, so let’s continue. Elden Ring interchanges the terms “Falling Stars” and “Stars” a lot, implying they’re supposed to be the same thing in this context. The boss known as Astel is called a falling star of ill omen or a malformed star and you fight another version of Astel literally called Stars of Darkness. Astel, while big, obviously is not the size of a sun and more like a giant alien monster. It’s very likely Radahn just stopped these weird alien creatures and not actual giant sun sized gas balls. Makes sense considering Iji directly points out killing Radahn would unlock the path to the Nokron, Eternal City and Astel was directly responsible for the destruction of the other Eternal City, Nokstella. Astel being a star of “ill omen” would also explain what they mean by stars altering “fate” (Astel being a major boss in Ranni’s questline where you must kill Radahn is also a subtle hint towards this). Astel is referred to as a star again via the Wing of Astel (which says it was suffused with the power of stars, again referring to the creature it’s named after) and Bastard Stars (which is unlocked with Astel’s Remembrance and powered by it). The point is, stars in Elden Ring (at least for Radahn’s feat) aren’t really the same in real life especially when there are other star monsters like the Fallingstar Beast (the name should be apparent).
Now, let’s take a look at the feat itself when Radahn dies. There’s already some strikes against it, so going through it first one being there’s stars in the skybox that clearly are not falling and much further away from the ones that are. Also the stars actually falling are on a layer closer to the planet and are all very similar sized to one another, moving at similar speeds, so it’s more or less impossible for real stars to somehow be mixed in with the Astels/comets. And probably the most damning is that a bunch of them go under the Erdtree and they are FAR smaller than actual stars. This cutscene would simply not make much sense if the stars falling were, well, actual stars.
“But Sellen/Iji uses the word constellations to describe them!” It should be noted the kanji for constellation (星座) does NOT appear in the original Japanese text for either Sellen (JP wiki here if you want to check) or Iji’s (JP wiki version here) dialogue (actual translation of the Japanese lines for both lines; we do not apologize for the VTuber footage). They just meant falling star which again doesn’t refer to an actual star in this context. They were using the term as a synonym or another name for the stars that Radahn stops, which is just Astel’s kind. A “constellation” would also just refer to a group of Astel’s kind which refers to itself as a star in Elden Ring’s world and it’d still be correct. There’s even a spell called Meteorite of Astel, that makes a clear distinction that Astel is not considered a meteorite, but a star in Elden Ring’s world.
“Aren’t there astrologists in Elden Ring? Wouldn’t they know their stuff?” While this is true, we have to remember Elden Ring is a low tech medieval setting. Stars back then could easily just refer to meteors/comets and it’d still be correct (even nowadays, we still do that). Sellen refers to Glintstone magic as the study of the stars themselves. This is important because several spell descriptions refer to themselves as comets, and even spell names that have stars in them refer to themselves as shooting stars which is obviously referring to comets and not actual giant gas balls. They’re actually more similar to astronomers, who may study stars, but also comets and meteors, planets, all sorts of things. It’s just not a reliable way to gauge whether the “stars” in Radahn’s feat have actual stars (especially considering the stars in the world are just different from ours. Astel is even made of star debris).
Lastly, even before you kill Radahn, the sun (which is also a star) is not affected by Radahn’s gravitational pull, so he did not actually stop the planet's gravity or put the whole star system in stasis. The sun still acts normal before and after Radahn’s death. He also did not change the time from day to night in his second phase of his boss fight. It was already night time when the Radahn festival began. Radahn just dissipated the red mist (which is likely just Scarlet Rot) from the battlefield, backed up when the Wailing Dunes already looked like this at night and the battle arena being much more clear in the second phase. There are also shots where stars start appearing, not because Radahn moved them or changed the time of day (no real evidence of this), but because red mist starts disappearing and they become more visible. It’s also clearly stated the “stars” would move only AFTER Radahn’s death, so the idea of him changing the time of day mid-fight just doesn’t make sense.
In conclusion, Radahn didn’t stop actual sun sized stars, but just Astels which is what the star is referred to and/or comets/meteors if anything was mixed in
Lightspeed Elden Ring?

While Elden Ring does indeed have a lot of light based spells, unfortunately 99% of them lack properties or statements that they move at lightspeed. Something like Discus of Light for example is well, just a disc of light that can’t really be proven to move at lightspeed at all. Elden Stars are also just homing particles that may emit light, but again lack anything to prove it’s lightspeed. We’d be here all day if we went through each individual spell that has light, but the point is, there’s not alot of reason to assume they’re lightspeed.
This beam of light from an enemy may seem promising at first, but unfortunately it comes down in 1 frame, so there’s no in-tandem movement, making it impossible to calc a feat for since 1 frame means you’re supposed to not be in that location in the first place. It also has some impact at the end, which would likely disqualify it anyway and this is the same way for a bunch of similar beams of light in the game. Overall, there’s just simply no basis to argue the majority of these as lightspeed or to potentially argue for relativistic speed, so unfortunately, pre-DLC, they’re simply not going to be that fast.
That being said, the 1% we didn’t mention in the DLC lets the Tarnished get an attack that is quite literally called “Lightspeed slash”. They can barely react to the move when used by Consort Radahn meaning they have relativistic reactions themselves, and of course are able to use the move themselves. While they wouldn’t scale to the move outright due to a couple previously mentioned factors (they have to enter a luminous form for one move for one second, so they aren’t always normally this fast), that doesn’t mean they don’t have the move. So despite base game issues, Tarnished is still a bit relativistic thanks to the DLC.
Also, it should be obvious, but no, just because the Tarnished can move in Placidusax’s arena that’s “in the heart of the storm beyond time” does not make them immeasurable at all. Nothing is indicating anything is stopping/hindering them from moving in that arena and lightning and clouds are still moving in the background normally, so it’d be a huge jump in logic to assume this applied to their speed somehow. The cutscene before had time stopped/slowed down and the Tarnished clearly couldn’t move, before they were teleported to the arena.
Rennala and Her Moon “Dimension”
When we fight Rennala as a boss, she actually doesn’t do much if any fighting herself. She’s floating in the air, protected by a yellow barrier of sorts. It’s her students on the ground sending magical attacks at you. In order to bring her down, the player must attack the correct student that’s glowing yellow that’s chanting. She’ll then come crashing down, that being the player’s cue to actually deal damage to her and she’ll never defend herself the whole time aside from resurrecting her barrier again if the player doesn’t finish her off. Rennala herself is no demigod despite being a Shardbearer and her heart (figuratively) left her when Radagon did to be with Queen Marika (yikes). So with this, it makes sense why she doesn’t try to fight you in the first phase.
This is important as during the second phase of the boss you fight a more battle ready version of Rennala that seems to bring you in some sort of space with a moon in the background as inky smoke bubbles up from the Rune of Rebirth. However, we know this isn’t the same Rennala as she previously was unable to fight you. We see her crawling on the ground different from the position of the second Rennala that gets summoned. Ranni starts talking around here about how her mother’s (Rennala) slumber will not be disturbed by thee. This makes it obvious that this is Ranni’s power, not Rennala herself, that occurs here and the majesty of the night she conjureth. Made even more so upon defeat of the second phase, Rennala herself is still alive and this is how you respec in the game. The player also just exits the space with the moon without any explanation on what happened. With the Rennala that Ranni herself summoned not being the real one, it makes it easy to draw to the conclusion that what we see is not real either and likely just an illusion, making it hard to argue for this to be any level of power.
Further information is given thanks to ELDEN RING – BOOKS OF KNOWLEDGE, VOLUME II
Shards of the Shattering (before you ask, yes this is usable. Fromsoftware Inc (Miyazaki and the Elden Ring team in particular) are credited in giving feedback/support throughout the project (and the book would not exist without them) and there’s even an interview with Miyazaki himself that gives additional lore). Rennala’s description in particular describes the second phase as an illusionary battlefield which supports and confirms the above explanation. Furthermore, the second page describes that the player is teleported into that space. There’s just simply no way to argue this reliably as a form of power.
“Microcosms”/Metyr
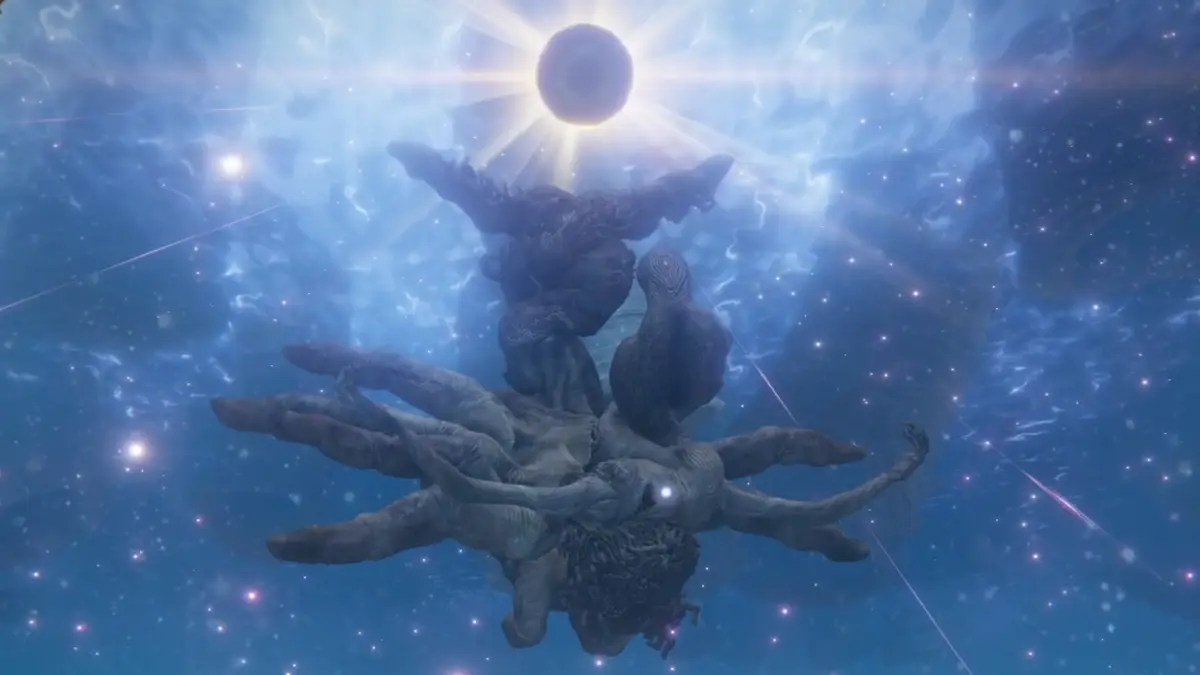
So this is a weird argument introduced by the DLC, so bear with us. Let’s look at the new spell, Fleeting Microcosm. So right off the bat, we’re off to a pretty shaky start. The text says it’s an IMAGE of a microcosm that the spells conjures, not an actual microcosm, making it pretty shaky to argue for any potential universal power, even if just a miniature one. The spell itself looks like this. It's, well, pretty small all things considered as it conjures some sort of ball that expands VERY VERY small “stars” (which are likely just particle effects) before exploding and dissipating. Also noticed how it doesn’t completely eclipse the giant enemy it attacks and is semi transparent. If the spell actually summoned a whole miniature universe, wouldn’t it completely cover the enemy and not just be particle effects around it?
Here’s how it looks when the boss does it. While she can summon a lot more compared to the Tarnished, again it has the same issues as above. They are likely just magical attacks that just happen to have the visual flair of a ball exploding with very mini star effects (which would make sense considering the spell describes it as an IMAGE of a microcosm).
Microcosm can also mean a lot of things, not just a small world inside it. It could simply just be a small representation of something much larger. Something even like a small snow globe that contained a small fake city would be a microcosm. It’s a huge (literally) difference from MACROcosm (obviously a different word) that represents the whole universe.
So what does Microcosm refer to in this context? Likely the ball/orb…thing on Metyr’s head (also where Metyr received signals from). This is backed up by Staff of the Great Beyond referring to the ball thing as the Microcosm raised aloft over the crux they form backed up again by the Maternal Staff saying the crystal ball on top of it saying it’s representative of a microcosm. Again, it’s pretty small and not elaborated on what’s actually in the microcosm and it’s not necessarily referring to anything that could mean a universe (or even the Lands Between). So as for what this could mean stat-wise…honestly, not much at all.
Also…the word micro is right there. Even if it was somehow the world being blasted at you every time Tarnished did the spell…there is literally no reason for you to assume the world is very big considering how small the spell is. Overall, there’s no reason to assume this spell/attack could mean anywhere close to universal levels of power and well, would just be micro.
Final note: Lastly, when Metyr is slain, the Microcosm seems to explode and cause a black hole and has Metyr’s corpse disappear. It is however lacking a lot of properties that would make it a black hole, such as spaghettification or spatial distortion and the Tarnished themselves are clearly not being sucked/forced in, breaking the rules of a regular black hole and not possible to calc a feat to and obviously, it is never referred to or called a black hole. The Microcosm is also never referred to as a star (only Metyr herself), so it can’t be argued as a star collapsing.
Becoming Elden Lord (and what it means for this fight)

You might be reading this blog and curious why the Tarnished becoming Elden Lord in several endings hasn’t been brought up yet. They’re changing the rules of the Lands Between to usher in a new age, so wouldn’t this mean they have concept manipulation? The Elden Ring can manipulate the rules of the world after all. Well…yes and no.
All the endings where the Tarnished becomes Elden Lord specify they become the lord of the Lands Between, so this makes it difficult to justify them having this power all the time in a neutral territory setting/somewhere else. When they become Elden Lord also, it’s much more about bringing in a new age with certain rules rather than anything that’d be applicable in a combat situation. Also, aside from the Age of Fracture, they all require a specific rune to achieve the desired ending, so it’s unlikely the Tarnished can just do whatever they want with this power. Going through them one by one:
Age of Fracture: The Tarnished mends the Elden Ring to continue the way things are without changing anything. Obviously, nothing changes.
Age of the Duskborn: This one’s more weird and up to interpretation. The rune says the new order will be one of Death restored. It’s possible that it gets rid of immortality in Elden Ring’s world and allows the cycle of life and death to occur to everyone. Link’s not an immortal though and this could affect the Tarnished too since their goal of being Elden Lord is over, so…
Age of Order: This is about bringing in a new age of stability and there’s “no more conflict between the fickleness of the gods no better than men.” This is more about…order and not really combat applicable.
Blessing of Despair: The Lands Between is now overtaken by a reviled curse. What the curse does is pretty vague, but the Seedbed Curse (which is needed to achieve this ending) potentially describes it as preventing dead souls from returning to the Erdtree. Again, not really combat applicable and Link isn’t part of Elden Ring’s world for this to mean anything.
Frenzied Flame ending has been explained in more detail in Tarnished’s abilities (to avoid making this section too long). We recommend going there for our thoughts on it. Ranni’s ending is…well her power and not the Tarnished’s, so we left it to the side (but hers is definitely more about changing order too). As you can see though, none of these endings seem to mean anything for the fight/needed specific runes to achieve them and even if they did, they seemed more tailored for the Lands Between in Elden Ring’s world rather than something that’s combat applicable in a neutral setting.
Elden Beast
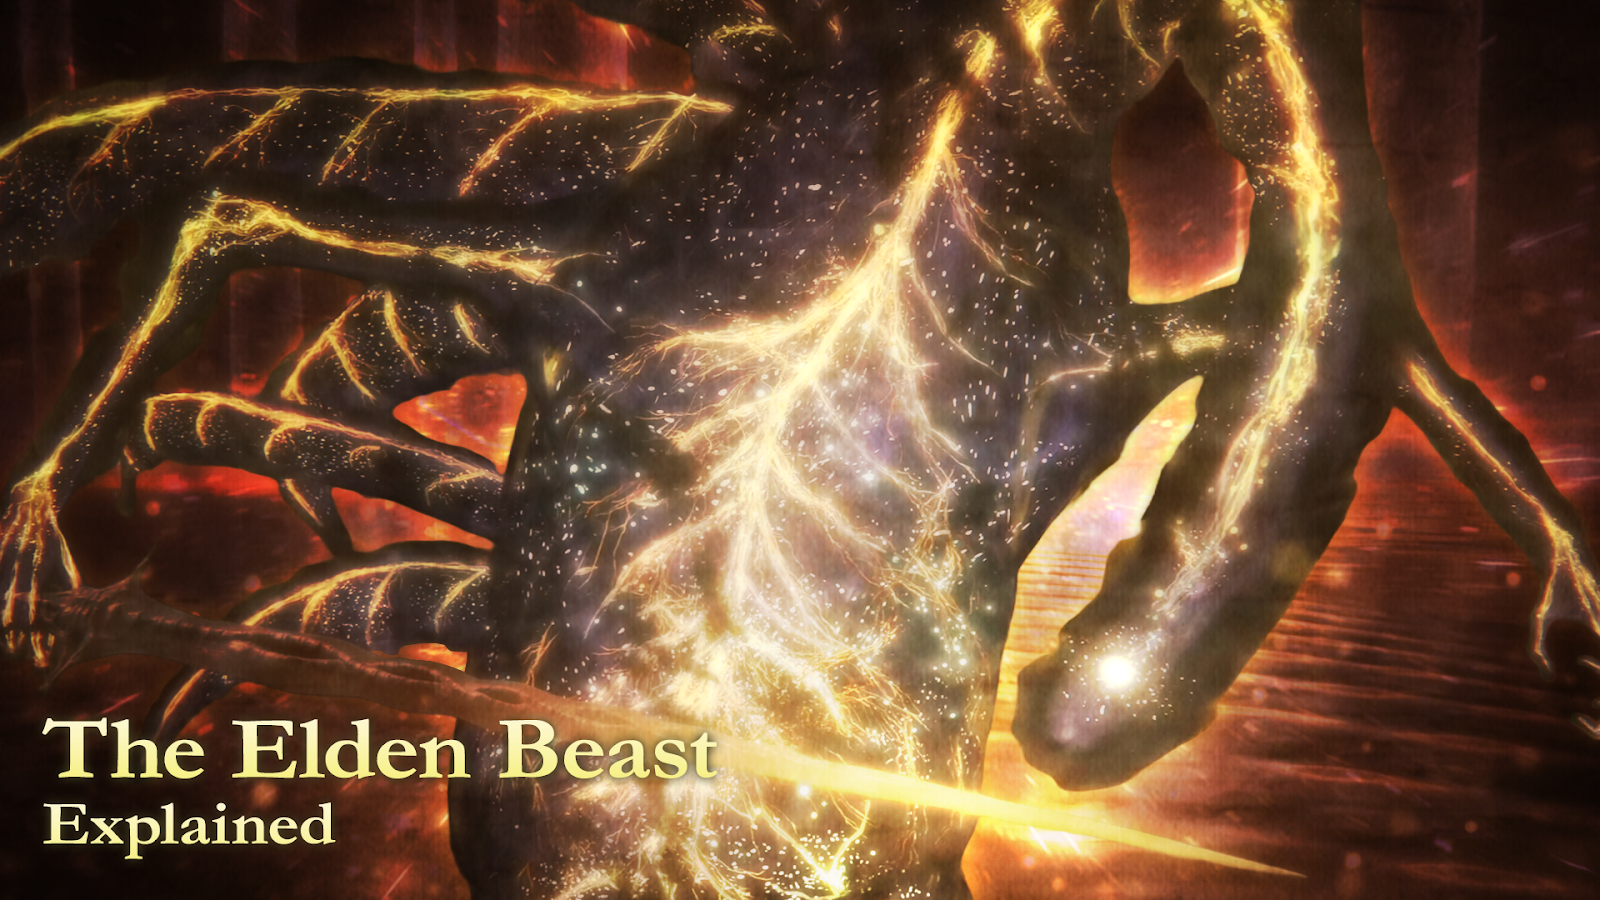
The final boss of Elden Ring that appears after you defeat Radagon. Because of the inherent vague nature of the beast, aside from Radahn’s “star” feat, it’s arguably the next contentious thing to talk about regarding Elden Ring in Vs debates. According to the Elden Stars spell, the Greater Will sent a golden star containing a beast which would later become the Elden Ring itself. It’s called a star, so it’s likely very similar to Astel (and it’s not supposed to mean it’s literally an actual real life star). The Elden Remembrance says it’s a vassal beast of the Greater Will and the “Living Incarnation of the Concept of Order.”
It being called a vassal means it does not scale to the Greater Will. They simply serve the Greater Will and below them in power, which makes any sort of scaling to them really iffy and likely invalid without concrete proof (especially since the GW sent them to the LB in the first place).
It being the Living Incarnation of Order is interesting to talk about in lore…but it doesn’t really mean much in terms of power because being a concept of “Order” doesn’t say anything about its destructive potential. It could refer to after defeating it, you can change the Land’s Betweens rules with the power of the Elden Ring for the various endings, but that doesn’t translate to straight up power.
Perhaps the more infamous thing it did is that before the boss fight starts it seems to warp the area and a starry sky appears. If you take the feat at face value, it’d be a multi-solar system level feat. This is a level far FAR above what Elden Ring has shown so far, so proving the feat with supporting evidence is extremely difficult and potentially makes this an outlier (though considering this is a top tier of the verse, this is less important). No one comments on the sky, there is no lore explaining what happened (even the artbook says nothing) and once the Elden Beast is defeated, it just…sorta disappears without explanation. So where do we stand? Well, let’s look a bit deeper into it.
A big problem already is that the Elden Beast does not actually use or interact with the starry sky background for any sort of attack. Even when it starts flying into the air and it makes the Elden Ring symbol for a big explosion, it’s using its own power rather than calling upon the stars from the background (and the explosion range is limited to the ring area and doesn’t reach that far). Even the “stars” it creates are incredibly small. The Nebula attack it does creates a star-like visual, but obviously is not the size of an actual star. Even the attack called literally Elden Stars has the same exact issue of the stars just not being very big at all. If the stars it creates are similar in size to the starry sky background it created before, which is definitely possible, this would make the feat far less impressive than it looks.
It is also totally possible that the starry sky is just an illusion. It’s similar to how Ranni made Rennala’s illusionary background like we established earlier. How so you may ask? The Elden Beast’s floor has a weird water effect you can walk on and a watery floor also appears in Rennala’s second phase. They both disappear in the exact same way upon both bosses’ defeat (aka with no real explanation whatsoever). The Elden Ring Book of Knowledge even describes the environment as similar to Rennala’s second phase, supporting the idea the background is just an illusion.
Lastly, remember Astel? As we have established, Astel is a star in Elden Ring’s world much like how the Elden Beast is. This could mean their powers are somewhat similar (obviously the Elden Beast is alot stronger in the story of course). This is important as pay attention to how the Elden Beast “makes” the arena. It seems to release purple mist with star sparkles, right? Now pay attention to how Astel teleports in its boss fight. It also uses purple mist with star sparkles. Considering their similar powers as “stars” in Elden Ring, it’s possible and also likely the Elden Beast just teleported themselves and the Tarnished to this space, making it impossible this means any sort of creation power. Backed up even further when Astel uses the purple mist with star sparkles again to summon meteors that explicitly uses a void to do so.
Overall, the starry sky it makes has too many conflicting issues for it to be considered a valid feat with no clear evidence of the area being real and with evidence suggesting the opposite and even if it was, it’s likely just a teleportation feat regardless. The Elden Beast is absolutely a top tier of the verse and is interesting to talk about lore wise, but it’s difficult to justify taking the feat it does at face value without taking into account context and evidence (and lack thereof proving what it makes is real.)
Small Message + Fight Script(s???) + More
Hey there everyone, thanks for reading so far! We’re almost done. A lot of us are very passionate Zelda and Elden Ring/Fromsoft fans and we wouldn’t have done this blog if we didn’t care so much. Of course at the end of the day, we made this with zero stakes in mind and for fun and it’s okay to (civilly and respectfully) disagree with our takes! We’re only human at the end of the day and we hope you can at least try to understand why we came to our conclusions. A lot of us put a lot of time into this and had a lot of fun making it. So much so, we actually have not just one, but TWO scripts for this matchup.
First script is by Blue Igneous! You may know him from other great fight scripts he’s made and this one will be exciting as well.
The second comes from TWILTY! This is their first time making one, but they had fun making it regardless! They want to give special thanks to therealcalhoward and Dammerung for helping out with ideas and editing! Could not have done this without them.
Finally, we actually have an animation of the fight’s ending by Lakuita! We’re very impressed by his talents, so please check out this short animation!
Hope you enjoy it!
Verdict
Stats
Link
Starting with everybody’s favorite fairy boy, we’ll go over strength first. In terms of lifting strength, Link is able to easily swing around large metal balls, weighing around 4.3 metric tons, and at his best can parry the momentum of a large stone the Talus throws, which rounds up to 85 thousand metric tons of force when striking his weapons. In terms of attack potency and durability, his best direct feat comes from breaking a large boulder with one swing, coming down to 0.6 tons of TNT.
Through scaling however, Link’s true strength lies. The Divine Beasts lasers can make a large hole in Hebra Mountain with their laser blasts, coming down to 2.2 megatons of TNT, with Calamity Ganon being able to survive 4 of these lasers simultaneously. And yet, Link is able to still harm him and survive his attacks. Divine Beast Rudania can also cause volcanic eruptions casually, which would support city level attack potency. Bosses like Colgera are able to cause mass scale blizzards covering around 70+ kilometers, which would require a condensation energy equivalent to 157 megatons of TNT. However, these all pale in comparison to the best feats of the verse, with Ganondorf being able to move the Blood Moon around the planet with his Malice/Gloom. Even looking at Calamity Ganondorf’s usage of it, the kinetic energy required to bring the moon to Earth would require energy upwards to 3 yottatons of TNT, and the Demon King Ganondorf’s usage upon his transformation can reach 804 yottatons to 7 ronnatons of TNT, which is Large Planet Level. This would scale physically, as Ganondorf accomplished both feats thanks to his Gloom, which he uses to augment and enhance his physical strikes in the final battle against Link, who even survives his Gloom directly attacking him. It should be fine to scale Link to the full output of this physically for his strength and durability.
One could argue him getting the fully yield of Dragon Ganondorf’s Blood Moon at about 13 - 69 ronnatons of TNT, which is Dwarf Star level, though it is worth noting Link doesn’t survive direct gloom attacks or strikes augmented by it from the dragon during the boss fight. Still, it could work as a high end.
For speed, it’s a lot simpler. Link can swing his sword several times during the duration of a lightning strike, but more impressively, he can shoot an arrow 2.1 times faster than light during a Flurry Rush, given the Zonai devices shooting out the light beams should be natural beams of light. At worst, his regular form would be 11.3% the speed of light downscaling from the Flurry Rush, but given Ganondorf can dodge his attacks during the Flurry Rush, and yet Link is able to still keep up with him in combat, it’s likely he can scale to the full faster than light value. Which wouldn’t be super inconsistent, as Zelda was able to outspeed legitimate lightspeed lasers at around 1.6 times faster than light, which would be good consistency.
In summary, Link is 804 yottatons - 7 ronnatons, possibly 13 - 69 ronnatons, and 1.6 times light speed to 2.1 times light speed
Tarnished
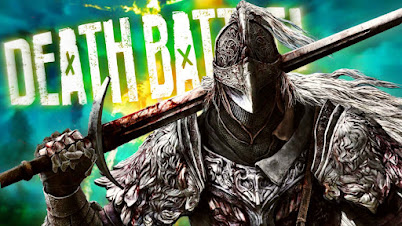
Unlike Link, the Tarnished’s best attack potency and durability feats come from their own direct stuff rather than scaling…sort of. Before that, let’s talk about his lifting strength. For direct feats, it generally peaks at knocking around Alexander, the walking jar man weighing around 3 metric tons. Through scaling to the Fire Giant, they can likely hit with around 8570 metric tons of force.
Now for direct feats, the Tarnished managed to set the gigantic 4km tall Erdtree on fire, requiring 170 - 405 megatons of TNT. If one were to extrapolate from the Age of the Duskborn ending, they managed to cover the whole Lands Between in fog, if not the whole planet. Since it covers the Erdtree, creating that much fog requires 66 gigatons of TNT. However, their best feat comes from the Frenzied Flame ending, where they burn the Lands Between and likely the whole planet. Assuming the planet has a similar composition to Earth, burning down the crust of the planet would require 2.9 exatons of TNT, which is solidly multi-continent level. This is the best feat for the Tarnished and the highest feat in the series…kind of.
The most relevant scaling demon for the Tarnished would be the demigod Radahn, who managed to halt the momentum of hundreds of comets/Astels and prevented them from falling down to Earth. Measuring the crater these comets left behind would range from 543 megatons - 5.8 gigatons of TNT. However, there’s a way to highball his feat (without assuming they are stars) using angular size. By assuming the meteors are around a planetary diameter away when we see them after his death to get their diameter, and directly measuring their on screen movement, the total kinetic energy of all the meteors would be 9.5 zettatons of TNT at absolute most, which is small planet level. This is a really big highball to calc the feat, since it’s visually inconsistent with the size of the craters they leave and angular sizing the diameter of the meteors means assuming their light trail is equivalent to their diameter, which isn’t always 100% accurate. Still, as a highball, we’ll include it. So the Tarnished can range from multi-continent at their safest to small planet at the absolute most. The Tarnished would scale physically either way as they can survive being hit by Radahn’s gravity magic, which is what halts the momentum of the comets in the first place.
For speed, this is a lot simpler. The Tarnished directly reacts to Radahn’s lightspeed sword slashes at 5.84% the speed of light. With a specific technique literally called Lightspeed Slash, they can travel at the speed of light for attack speed only, as there is no indication their reaction speed is on par with the technique.
In summary, the Tarnished is 2.9 exatons - 9.5 zettatons of TNT, with 5.84% light speed reaction speed and light speed attack speed
Comparison
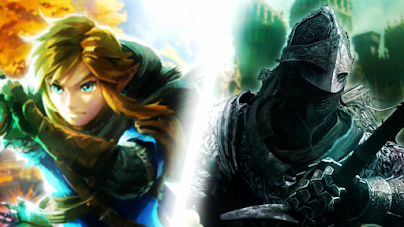
…Yeah this is pretty clear cut.
The Tarnished is ultimately outdone here. Tarnished would be weaker than Link from millions to billions of times, comparing Ganondorf’s Blood Moon moving to Radahn’s high end and the Frenzied Flame ending respectively. Lifting strength is also in Link’s favor, either by a little bit or by a lot, which means Link could easily pin the Tarnished down to land a fatal blow. For speed, even if we don’t scale Link’s regular speed to the Flurry Rush, he would be roughly 15 times faster than the Tarnished, comparing both their regular combat speeds, and Flurry Rush would make Link 2 times faster than the Lightspeed Slash, which gives him good enough time to avoid or counter it. While not significant compared to attack potency, it does ultimately mean Link would be able to land a fatal blow way more often. Of course, due to the Tarnished’s immortality, strength isn’t all that’s needed to win, but it does ensure that Tarnished can’t do much damage to Link in return.
Arsenal & Abilities
This part of the debate is probably the most lengthy and convoluted section of this match. Guess that’s what happens when you put these two RPG characters with two games (Shadow Of The Erdtree is a new game at this point shut up) against each other. So, we think it’s fair to start with the simple things first. Firstly, it’s fair to say that The Tarnished holds the edge in versatility due to just having a larger arsenal than Link. There’s over 300+ weapons in The Tarnished’s arsenal, ranging from swords and hammers to axes, bows, bombs, etc. Link has a massive arsenal on his own, but not nearly as gigantic as The Tarnished’s. Another advantage is that The Tarnished doesn’t need to worry about their weapon being damaged or broken. A key weakness in Link’s arsenal is that his weapons will break sooner or later, which is something The Tarnished doesn’t suffer from.
However, even though The Tarnished holds a massive arsenal, that isn’t a big deciding factor. Especially when, to be frank, 90% of The Tarnished’s arsenal, aside from a few items, is just countered by how powerful The Master Sword is. The Master Sword's strength and versatility allows it to more than make up for any weaknesses in Link's arsenal. It doesn’t break like the rest of Link's arsenal, can throw an AoE attack, and has a sealing ability (which we will give more detail on later). Now, what about that 10% The Tarnished has? Well, that would be The Tarnished’s bleed weapons and weapons with Destined Death in them. Both are weapon types that would still pose a threat to Link…but, when looking at their other items and weapons, they just don’t pose much of a threat.
Let's start with the Bleed/Hemorrhage weapons. If The Tarnished was capable of building up this status effect, it would do massive damage to Link. However, it's a big “if”. Bleed is something that takes effect after a bit of build up. It's not instant even with the several Ashes of War, Incantations, and weapon buffs The Tarnished has. It's also something Link can actually still survive. Bleed isn’t an insta kill effect. Even using the effect on the toughest bosses in Elden Ring doesn’t ensure victory, as it still only deals 15% of their max HP per successful bleed and bosses can still continue the fight or even kill The Tarnished. So with Link being so much more durable then The Tarnished, he would have considerably more HP, allowing him to survive the bleed damage and continue the fight. This is also assuming that Link doesn’t just instantly heal after being hit with the effect. There’s no lingering effects to bleed that says otherwise, even The Tarnished can just instantly heal if they’re hit with the effect by enemies with bleed weapons. So while it can still do some damage, it’s not something The Tarnished can rely on.
Now on to the other big weapon and that’s Destined Death. The Tarnished has a few weapons which hold The Rune of Death which, thanks to Godwyn, we know destroy souls and can even lower max HP with the black flames. So does that mean The Tarnished can just destroy Link’s soul? Well, to put it simply, no. See, while Destined Death can destroy souls, it's questionable if it’s a ‘Dura Neg’. In order for the Rune of Death to destroy Godwyn’s soul, Ranni needed to create weapons so that the Black Knives could kill him first. Even though Godwyn’s body “lived on”, Ranni also had to sacrifice her own body with the Rune of Death at the exact same time as her spirit lived on, indicating it must destroy both body and soul for it to fully work. So it's not something The Tarnished can point at Link and destroy his soul right then and there. Though even if The Tarnished could kill Link with the weapons in the first place, it's highly unlikely they would actually destroy Link’s soul. In Tears of The Kingdom, Link can obtain fairies which can revive him. There are also Gloom weapons (More on Gloom in a bit) in TOTK, which have the special ability of reaping people’s souls from their body. If Link were to die by a Gloom weapon, then the fairies could still bring him back, even recovering hearts/max HP lost to Gloom damage (seem familiar?). It's not really explained how the fairies can do this, but it's there nonetheless. Which would mean that Link could still come back to continue the fight if they died to a weapon with Destined Death in it.
The Tarnished’s arsenal isn’t just limited to weapons. They possess many other items they can use in combat. But a lot of them are either useless or are something Link has as well. For example, The Tarnished’s throwing knives aren’t gonna be much use here for obvious reasons, although their pots and perfume bottles can do some damage and leave effects like fire, ice, and poison, which could make things tricky for Link…if it weren’t for Link’s armor sets and foods giving him a strong resistance to those effects. That’s not to say he resists all of them outright, especially the pots which leave Scarlet Rot, but Link can still fight them off for a long period of time, which is more than enough. Also, other status effects like Death Blight wouldn’t be of any use, as it only works on other Tarnished, and Link is very much not a Tarnished. Even Eternal Sleep isn’t a reliable option as that also requires buildup and in Elden Ring, one can raise your Focus by raising your Mind to resist such a troublesome effect and Link has certainly done so (more on this in a bit).
A big argument for The Tarnished potentially beating Link is their ability to build up the Scarlet Rot status effect on Link, which would be super dangerous. This is because of the number of effects Scarlet Rot has, like body destruction, mind manipulation, and life drain, all of which are very strong abilities. Though, as mentioned earlier, Link does still have a resistance to it thanks to a little thing called Gloom. Thanks to Ganon, Gloom became a very dangerous substance that Link has encountered with all throughout TOTK. It also holds properties such as body destruction/corrosion (it’s how Link lost his arm lol) and life drain. It also holds other properties as well such as weapon destruction, capable of spreading diseases, and as mentioned earlier weapons with Gloom can reap souls from peoples bodies, hmmm sounds familiar? There are a few similarities with Gloom and Scarlet Rot and their effects which can make them somewhat similar and because of that Link should have a notable resistance to Scarlet Rot.
Link can stay in piles of Gloom for a decent period of time and has armors and foods that make that resistance stronger. Though one effect that is missing that we bring a counter towards is mind manipulation. Link does resist it, but it’s not because of Gloom, but instead because of Muddle Buds. Muddle Buds have an effect which messes with the person's head via disorienting them which Link can resist, and thus should be able to fight off the Scarlet Rot’s mind manipulation. Now we do want to clarify that this doesn’t mean Link is outright immune to Scarlet Rot. Even though Link can touch Gloom for a while and fight off its effects, after longer contact with it, Link can lose even more health, and can even die, showing he doesn’t have a full resistance to it. This is also assuming that The Tarnished is able to successfully cause the full build up of Scarlet Rot on Link. This is a similar thing with Bleed, as the effect isn’t instant and The Tarnished needs to build it up, which isn’t something that can reliably happen with the reasons mentioned earlier. Still, the fact Link can resist it so well at all (especially considering Gloom invades your body with just one touch) makes it an unreliable wincon.
So The Tarnished’s weapons don’t do much for them. What about their spells? The Tarnished has a bunch of them, which actually gives them a lot of options for AoE and battlefield control as some of the spells leave lingering effects Link can run into. A notable spell that can be useful is Gravity Magic, as some of the spells can drag Link towards The Tarnished for an easy hit. While a lot of them can give Link some trouble, especially spells that leave Scarlet Rot, it’s still important to note that The Tarnished only has a limited amount of FP before they can’t use any more spells and need to refill their FP bar with a flask or rest at a sight of Grace. And, of course, Link can still hit back with his own list of abilities.
Link himself has a few AoE options such as his Master Sword sending out a projectile which he can spam so long as he is at full HP, bombs he can throw thanks to the Sheikah Slate (which he has unlimited uses of), and Urbosa’s Fury and Riju’s Sage ability both allowing Link to send lighting AoE at The Tarnished. Link can also use Stasis and Recall, to hard counter the Tarnished’s spells. With Stasis, Link can hit the spell while it’s stopped and send it back full force at The Tarnished, or with Recall, make it so the attack never happened in the first place. Link can also just use Stasis on The Tarnished and stop them in place, even before they get a chance to move, leaving them open to an easy attack. Daruk's protection and Sidon’s ability to give Link a water shield also gives Link some added protection so that he could survive the spells head on if they were to land.
And Link himself has his own battlefield control via Auto Build. With Auto Build, Link can build basically anything he wants. He can build stuff like cars and planes for mobility, build contraptions that can send out rockets, and a torture devise, as many Korok seeds have shown us. Really, we can be here all day explaining everything Link can build with autobuild and the many advantages it can grant Link. If you want to see the full potential of this ability just read the TOTK Reddit. Though similar to The Tarnished’s spells, Link still has a limited battery powering all these things - however, it lasts a very VERY long time. Even with a giant battery, Link will still run low and need to recharge it with another battery, or just turn off the vehicles for a little while.
So The Tarnished’s weapons don’t really work and Link has ways around their spells. What now? Well, let’s look at The Tarnished’s many summons. The Tarnished has a number of summons, which range from animals from the Lands Between, knights, all with their own sets of skills, and cute little jellyfish. But while that’s great and all, there’s one big problem with The Tarnished’s summons, they can only send out one set of summons at a time. If they want to summon something else they would need to go to a Site of Grace and switch them out. Link, on the other hand, doesn’t have that issue, as the 5 Sages can all fight in combat at the same time.
And frankly, the Sages are also just a lot more useful than The Tarnished’s summons. This stems from the fact that each Sage has a unique ability that can aid Link. We mentioned some of them earlier, such as Sidon’s ability to give Link an extra layer of protection and Riju’s lighting AoE attack. But there’s other ones as well, such as Yunobo’s, which allows Link to send a projectile to quite literally roll over The Tarnished and their summons, Tulin’s ability to give Link a boost of air when gliding along with Revali’s Gale, which sends Link flying in the air. This gives Link an extra bit of mobility and a leg up in combat, given The Tarnished rarely, if ever, fights someone flying that’s also sending down projectiles. Finally, Mineru on her own would make the battle go in Link’s favor, given that she’s a freaking mech which can have addons that range from swords, flamethrowers, and rockets that can attack The Tarnished. It’s fair to note that these summons are not invincible. As shown with Ganon in the final battle of TOTK, they can be overpowered and put out of the fight. Though something like this is unlikely to happen in this fight, as The Tarnished is not nearly as powerful as Link or even Ganon.
So after going through all this one question must be going through everyone’s mind. How the fuck can Link even fully kill The Tarnished? The Tarnished’s respawns is one of the biggest things keeping them in this fight as everytime they die they will just come back to life at a Site of Grace. Keep in mind this is assuming The Tarnished can come back to life in a reasonable timeframe as it’s debatable that The Tarnished coming back to life is instantaneous. In Elden Ring, if The Tarnished dies during the night, it’s shown that it will become day when they respawn, showing that it's likely possible it will take quite a bit for The Tarnished to come back to life. This would make it inapplicable to combat, as Link would have already walked away thinking he killed them successfully or even if the fight doesn’t end, give him time to relax and resupply. But let’s say The Tarnished can instantly come back to continue the fight, now what?
Well surprisingly The Hero of The Wild has three, yes three different ways to fully kill The Tarnished to end the fight. So let’s go over them one by one starting with…
Sealing
The first way is via The Master Sword’s sealing ability. In Skyward Sword, the blade was able to seal away Demise and end his evil. Keep in mind that the sealing ability is just limited to evil spirits, which would allow The Tarnished to prevent it from working if they chose not to become The Lord of The Frenzied Flame, as they’re not innately a being of pure evil and hatred such as Demise. This is shown in Ocarina of Time as Ganon tricked The Hero of Time into being sealed away by the sword, showing that it can seal anyone it chooses. Now a fair question is if Link can even do the ability given it was never used in the Wild Era games.
Well that is actually explained well in the BTV for that. As a quick summary, while the Hero of the Sky didn’t do it on his own, Fi still takes control and can use the ability. It’s a natural ability of the Master Sword rather than anything this version of Link had to learn. Fi would reasonably do so here as well for the Hero of the Wild. Both Link and Fi are not dumb and would catch on quickly that something is up with The Tarnished constantly coming back, and would try other methods to take them down. And if successful, The Tarnished would not have an answer to this, as sealing is not something The Tarnished encountered. Even Demise couldn’t break out, and needed to resort to resurrection to free himself, which took hundreds of years to take place.
Recalling The Tarnished
Probably the most debatable method is Link recalling The Tarnished out of existence. In TOTK, Link rewound Zelda from an ancient dragon to her human form before she turned into said dragon. Keep in mind that Zelda was in that form for over thousands of years, and while we don’t have a canon age for The Tarnished, it’s very unlikely they’re that old. So, this led to people believing that Link can essentially rewind The Tarnished out of existence, which is something that would take down The Tarnished, as they would never have been born in the first place. The reason it’s debatable is because, as explained in BTV, it’s something that would be considered a big last resort if Link goes for it. So, if Link sees nothing else is working, then maybe he would, but it’s not something that should be argued. Though if Link were to use it, yes, The Tarnished would fully die to it.
Link killing The Tarnished REALLY HARD
Now we’re on to the third and most reliable method, that Link can kill The Tarnished enough times to stop them from coming back. Reading that might feel weird, The Tarnished and many other Souls protagonists’ main trait is that they will always come back no matter how many times they die. Well, that still remains true, it’s just a very limited version of that compared to characters like The Chosen Undead and Wolf. In Elden Ring, the reason why The Tarnished can keep coming back is because of Grace, which was given to him by Marika and the Greater Will so they could become the next Elden Lord. It’s also in the lore that Marika can take away The Tarnished’s Grace.
There are other characters in Elden Ring who are also Tarnished that had their Grace taken away due to being deemed useless by Marika. This is a big thing to note, as Link would be considered a pointless fight in Marika's mind. Think about it, no one in the Lands Between has heard of or seen Link before, and he doesn’t hold an important item like a Great Rune that The Tarnished would need on their quest. So, when Marika sees that The Tarnished has abandoned their quest to hurl themselves into a needless, seemingly unwinnable fight, she would reasonably deem The Tarnished useless and take away their Grace so that another Tarnished could hopefully complete her quest.
Even if this fight were to take place after The Tarnished became Elden Lord, and thus completing Marika’s quest, The Tarnished’s Grace isn’t safe. Other Elden Lords such as Godfrey had their grace taken away because Marika deemed him useless, there's no reason to believe The Tarnished would be an exception. So now we know that The Tarnished can fully die because of this, but now it comes down to one question. Can Link make Marika essentially rage quit? Well yes, and quite easily, actually even if it took a very very long time.
That’s because, again, Link is so much stronger and faster then The Tarnished to the point that any interaction between them would start and end with Link hitting The Tarnished once and killing them. Even though The Tarnished have ways of healing via their flasks and spells, it’s not gonna help when their opponent is billions of times stronger than them. Link’s ancient arrows also speed up the process as they’re dura neg. Sure, they don’t have stuff like Existence Erase, but they can still be useful as it will still instantly kill The Tarnished and make Marika leave quicker.
So, now we have 3 ways that Link can win the fight in the end, all of which he can successfully do, because of his stat advantages, and because Link has ways to retry if he messes up. If Link were to get hit and badly wounded somehow, he could just eat a meal that could heal him and take away any little damage The Tarnished does, and if The Tarnished is successful in killing Link, as unlikely as that is, it wouldn’t end the fight as Link also has extra lives, almost 7 to be exact. This is because of Mipha’s Grace and the fairies Link can collect. Holding up to 6 fairies in BOTW, along with the 1 extra life via Mipha’s Grace, that would mean that The Tarnished needs to kill Link 8 times to fully kill him. Now, while it's not nearly the amount that The Tarnished has, it still means that Link can make a few mistakes before striking gold and taking down The Tarnished.
Overall, while there is a lot to talk about in this section, when looking at everything, Link just has the right answers to The Tarnished’s kit and has methods of getting over The Tarnished’s biggest thing keeping them in the fight. Huh this reminds us of a similar match with a souls character. Wonder if that has a banger episode-
Tertiary Factors
In terms of pure skill, neither have a distinct advantage. You might assume the Tarnished at first because they’ve mastered learning several different weapon types and magical spells that can range in the hundreds, but we’re looking at the quality here, not the quantity and Link has also mastered every weapon and ability he’s come across. He’s also mastered the ability to focus to the point time slows down, a master marksman with his bow and arrows, shield surfing (okay this isn’t THAT useful, but come on, it’s cool) and a mechanical genius in using Ultrahand/Autobuild to build all sorts of useful contraptions, so he can definitely make up with the quantity. To be clear though, the Tarnished is absolutely a skilled warrior and master of all in Elden Ring, but the same could be said for Link in both Breath of the Wild/Tears of the Kingdom. Link is also a very creative fighter, being able to use all sorts of tactics when you realize he can stop time with Stasis, Recall projectiles back at enemies, being able to take the fight to the skies with Revali’s Gale (aerial combat is something the Tarnished has always struggled with) and so on.
Experience however is a bit of a different story. While we don’t know how long the Tarnished has been doing this, we do know they were part of the Tarnished group banished with Godfrey to the Badlands to wage war. Considering nothing explicitly states they did anything noteworthy before the events of the game and they start with the bare essentials regardless of which starting class is picked, it’s safe to assume their best experience comes from the main game. The Tarnished’s journey in Elden Ring is incredibly tough, fighting all sorts of Demigods like Radahn and Malenia who have fought for many years, dragons, monsters and even the Elden Lord Godfrey himself, who also has been around for many years as well. The exact time frame of all this happening is unknown, but assuming all the events took place in say a year, doing all that is certainly very impressive and this is of course taking into account their journey in the Shadow Realm as well, fighting even more powerful characters like Messmer, Rellana and even Radahn again, this time powered by Miquella.
However, Link has been doing this ever since he was a child, even defeating adults at four years old and he’s only gotten better since becoming Zelda’s appointed knight and ending a literal hundred year calamity. He saves Hyrule again four years later, more or less being a skilled fighter for his whole life now. He’s fought all sorts of monsters like Colgera, Queen Gibdo, Hinoxes, Gleeoks and so much too that threatened the stability of Hyrule, the Calamity Blights that killed all the extremely skilled champions, various Yiga clan members including Blademasters and defeated master warriors who have been around for a long time as well like Monk Maz Koshia and even Ganondorf himself. The latter is especially impressive considering he wiped the floor with Rauru and the Sages (the former is a Zonai that ancient Hylians mistook for actual gods and was forced to use a special seal instead), spread his Gloom all over the world and the depths and raised a huge army of monsters by himself, but Link defeated him by himself with his own power and skill. Link has journeyed across Hyrule completely not once, but twice and even explored the skies and the large depths. Even large armies with armed soldiers are no match for him as he can send them flying with ease as seen in Age of Calamity. Experience definitely goes to Link.
The most interesting thing to talk about however is their playstyles and how they interact with one another. The Tarnished, while a skilled warrior, also relies on learning boss patterns, understanding openings and adapting to their opponent’s skillset, using their many revives to eventually figure the enemy down to defeat them. On paper, this sounds like a smart idea. However, Link on the other hand is an incredibly smart fighter as well and would easily notice the Tarnished adapting to his moveset, never let the same trick from Tarnished work more than once and do something else in his huge kit to throw them off. He’d probably not even give the Tarnished a chance to adapt if he just used Stasis to freeze them in time and do whatever he wants then. All of this is ignoring the obvious power and speed advantage Link has, someone the Tarnished has never really fought against before. Like many Links before him, the Hero of the Wild is a puzzle solver who also analyzes his opponent’s behavior and moveset and always tries and succeeds at figuring out an opponent’s weakness. Given enough time, Link would definitely figure out something is going on with the Tarnished’s revives and realize he’d need to do something more permanently (like sealing as mentioned before).
Conclusion

Advantages:
Has the stat trinity by a wide margin, even when highballing the Tarnished
Ancient Arrow will one shot no matter what
The Master Sword triumphs over the majority of the Tarnished’s arsenal
Resists most of the Tarnished’s hax including Scarlet Rot and Destined Death
Stasis will stop the Tarnished in their tracks, letting Link kill them in whatever way they want
Can end the fight by sealing
Will always have the numbers advantage with his summons
Autobuild grants Link battlefield control
Has way more options for healing
Likely the smarter and more experienced fighter
Much better at aerial combat
Breath of the Wild and Tears of the Kingdom are amazing games that deserve all the GOTY awards they got (Age of Calamity is cool too)
Gets bitches
Disadvantages:
Doesn’t have as many revives compared to The Tarnished
No true defense against Bleed
Scarlet Rot could still do damage if given time to buildup
Putting the Tarnished down permanently could require Link to be more smart about it
Less weapons overall and his weapons can break (but it’s perfectly fine as a gameplay mechanic, y’all are just mean)
Gets endlessly shipped with his married best friend (SIDON HAS A FISH WIFE LEAVE HIM ALONE)
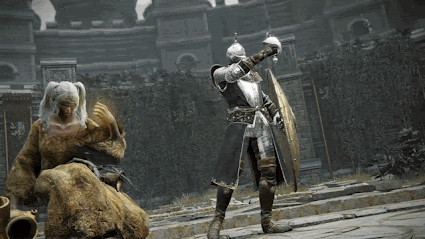
"The fallen leaves tell a story. Of how a Tarnished became Elden Lord, in our home, across the fog, the lands between. Our seed will look back upon us and recall. An Age of Fracture." -Elden Ring Narrator
Advantages:
Has a wider pool of weapons and spells they can use
Grace allows them to keep coming back to the fight after death…
Has a bigger number of summons they can choose…
Bleed is their best option to deal damage
Could still do damage if other status effects like Scarlet Rot can buildup
Likely resists Gloom weapons if Link fuses them
Their weapons don’t break lmao
Elden Ring is an amazing game that deserves all the GOTY awards it got (Shadow of the Erdtree is a fantastic expansion as well)
Actually put the ring on it with a waifu unlike Link (NINTENDO JUST MAKE LINK X ZELDA CANON ITS SO OBVIOUS-)
Cosplayers pop the hell off for this game damn
Disadvantages:
Loses in the stat trinity by a fairly big margin
…but if they die enough times Marika can take away their Grace leaving them with no respawns
Can quickly run out of flasks for healing
Almost all their weapons and abilities get countered one way or another
Cannot reliably build up status effects like Eternal Sleep due to the speed difference
Madness and Scarlet Rot are unreliable as wincons due to Link resisting them
…Can only summon out one spirit ash at a time compared to Link having all 5 of his available anytime
Not as experienced
Has no real answer to sealing
Cannot call out Link for having no bitches
While the Tarnished is certainly powerful, being able to defeat Radahn who could hold up “stars” in Elden Ring and lighting the Earth on fire, Link simply had them outmatched by defeating Ganondorf who had the power to move moons, resulting in large planet to even dwarf star levels of power, making him at least millions if not billions of times stronger. He’d always be at least two times faster too if not many more so being able to react at two times the speed of light compared to the Tarnished’s only 5% of it or absolute best, only one times the speed of light.
The Tarnished had some really devastating abilities such as Bleed, Scarlet Rot and Destined Death, but it’s nothing Link hasn’t seen before that he couldn’t counter and he has his powerful skills such as Stasis, the Ancient Arrow, everything related to Autobuild and the Master Sword which frankly outclasses the majority of the Tarnished’s weapons. The Tarnished isn’t invincible and will run out of the Guidance of Grace eventually (even if it takes a while), meaning they can’t just brute force a victory…if Link already hasn’t sealed or rewinded them away, putting the brakes on the Tarnished’s revives.
We know it can seem strange that someone from the more gothic, serious world that fought near godlike beings could come up short here, but that distinction mostly matters in Elden Ring’s world and the thing is, Link has done the same in his games, especially against Ganondorf, one of the most terrifying opponents in the Zelda universe. We have to compare these two directly and sometimes this means the fairy boy from the more vibrant game just has the edge in this fight. Link’s also a genius too in combat, so he’d definitely figure out a way to put the Tarnished down permanently sooner than later.
The Tarnished is tenacity personified and certainly had some powerful weapons, tools, tricks and techniques, but Link’s resistances and counters, his own powerful hax and powers, the versatility of the Master Sword, superior speed, greater level of power and ways to end the Tarnished once and for all won this bout.
In the end, while The Tarnished might not have been made From Soft stuff, they simply couldn’t put a Ring on it as Link Teared him down in this Breath-taking fight.
The winner is Link, the Hero of the Wild.
Final Tally
Link (11): Blue Igneous, bladeworksmaster, Dammerung, Flip, Hi Hi, Pasbros, radioactivecaffeine, Rina Antiqua, therealcalhoward, TWILTY, Yerm
The Tarnished (3): Coach Boomer, Lakuita, therealgnomechompski
Next Time…


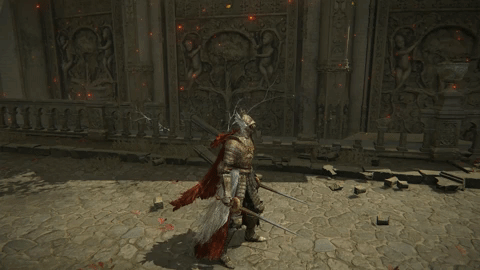
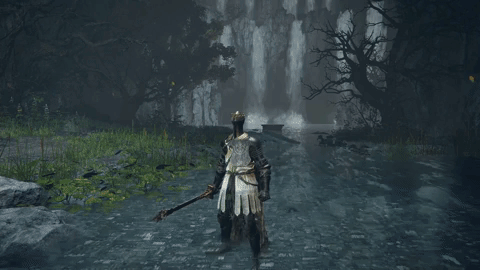
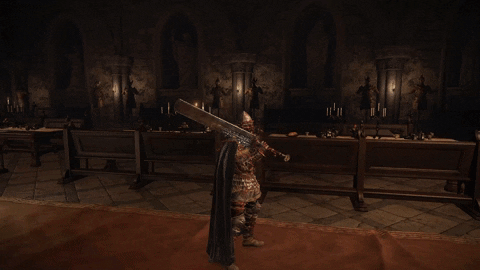
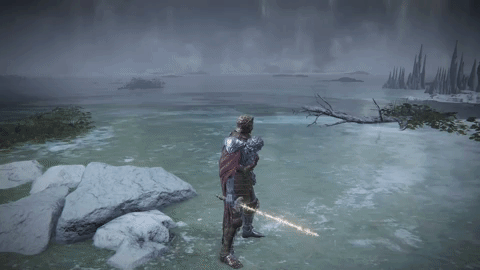
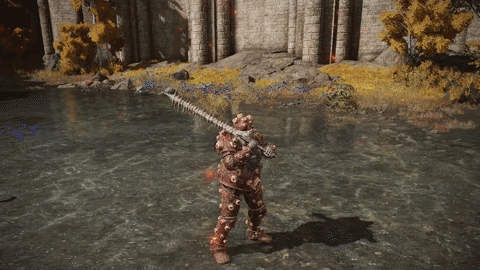
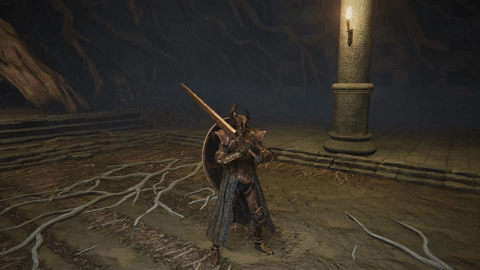
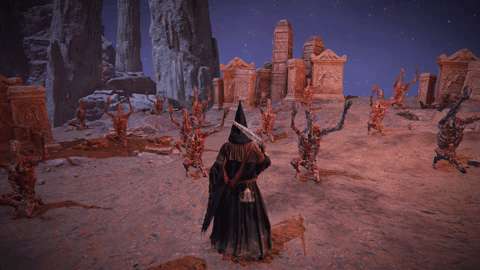
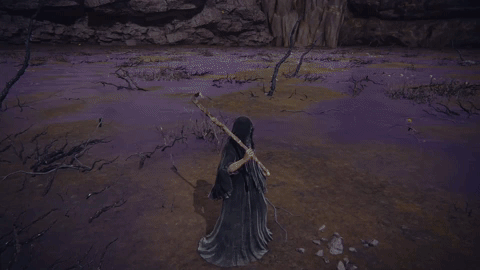
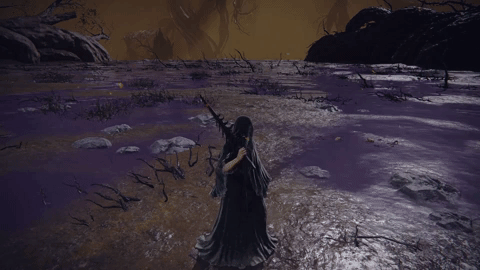
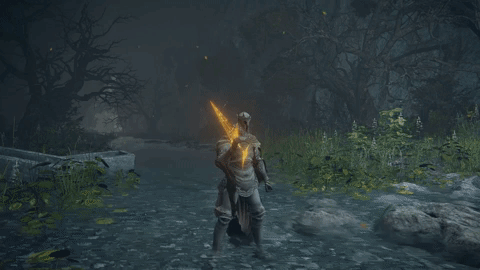
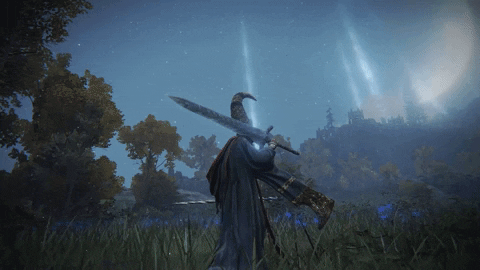
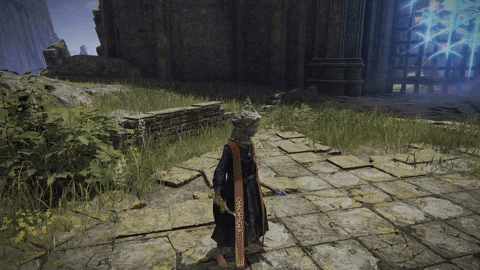
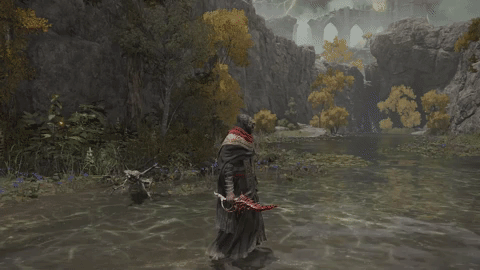
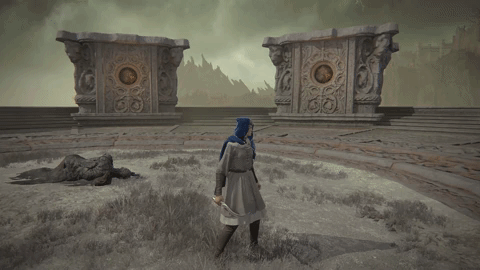
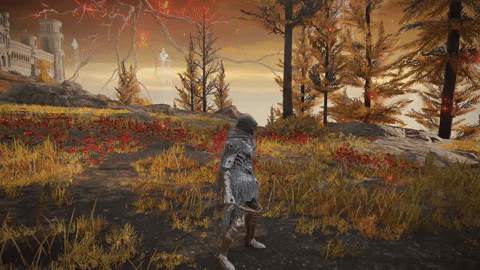
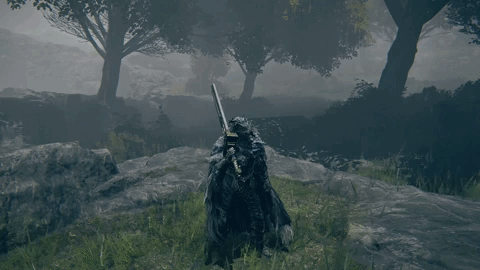
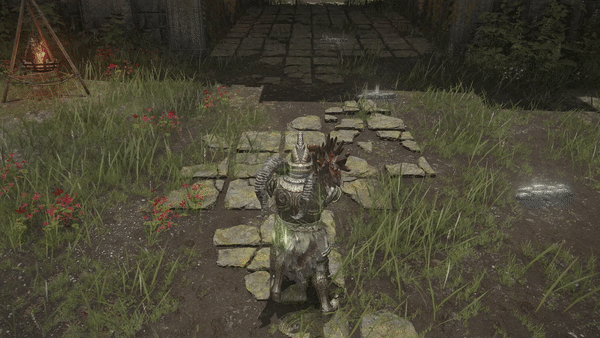
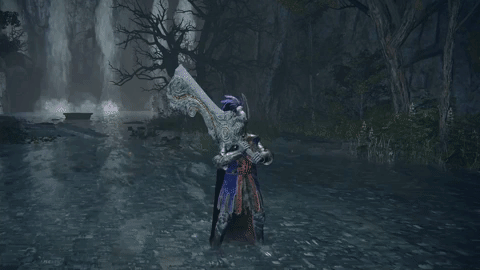
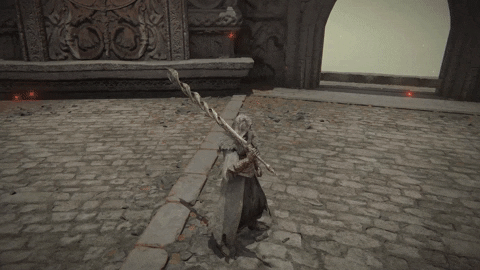
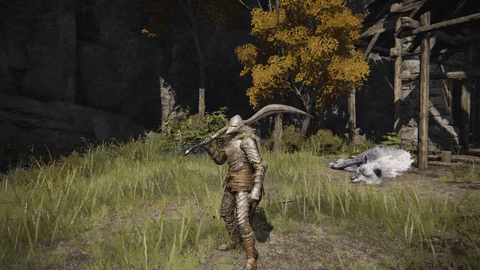
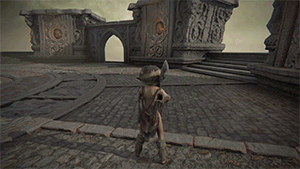
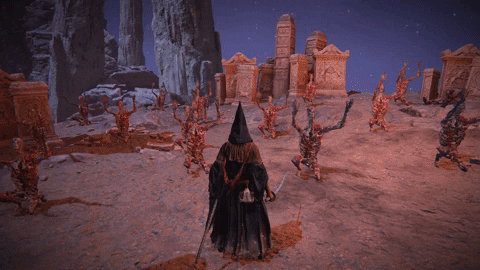
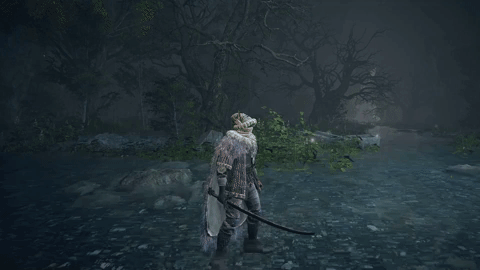
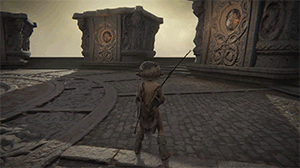
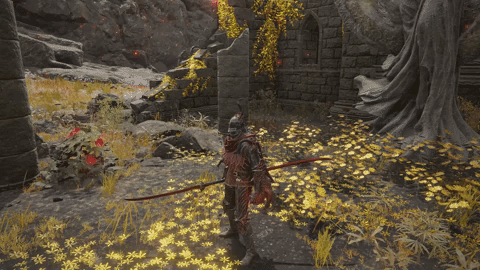
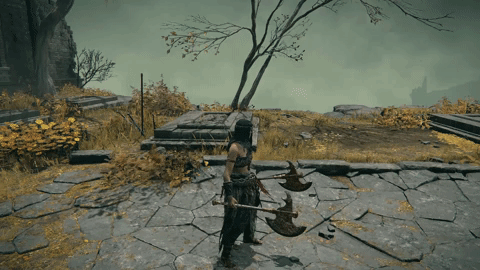
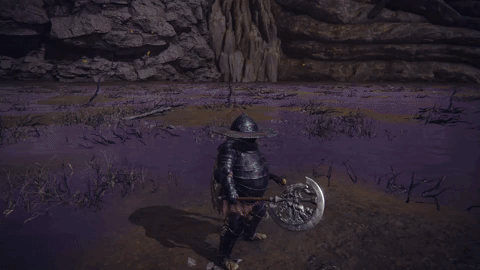
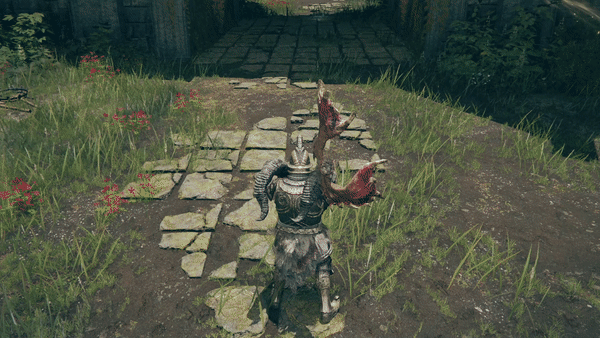
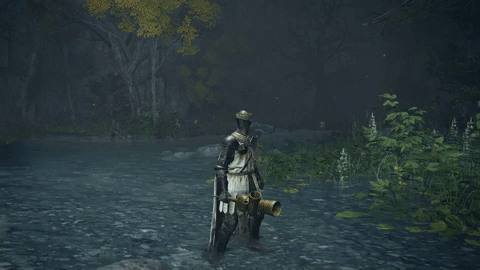
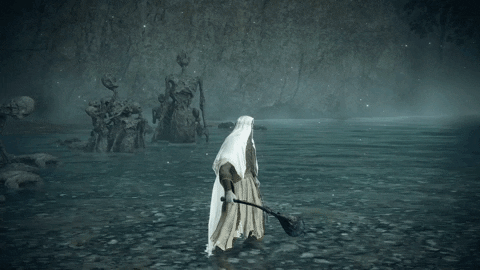
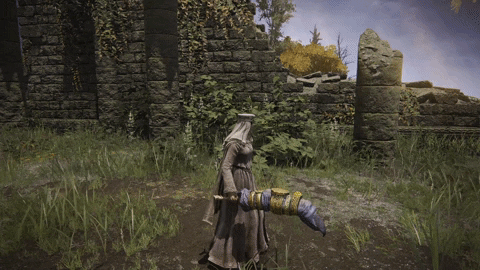
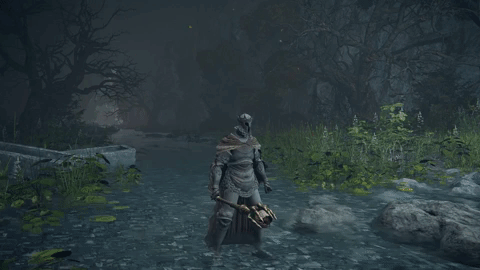
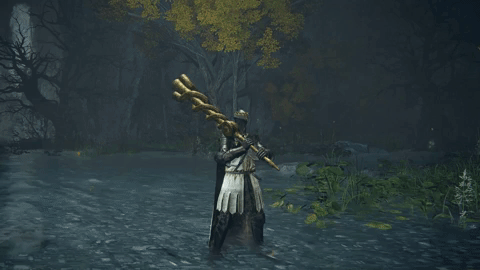
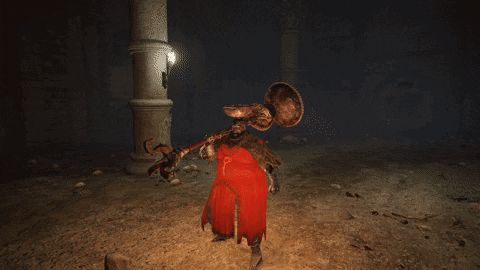
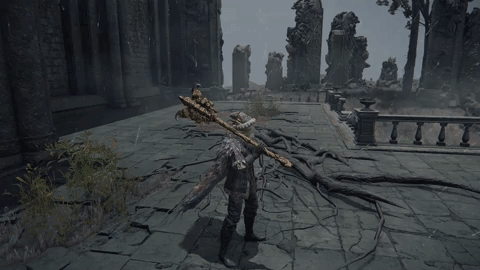
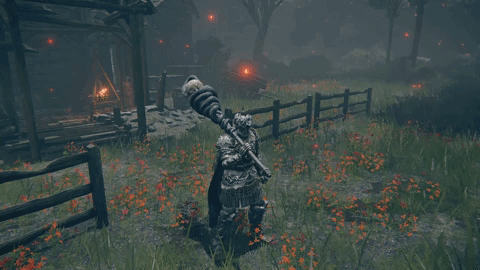
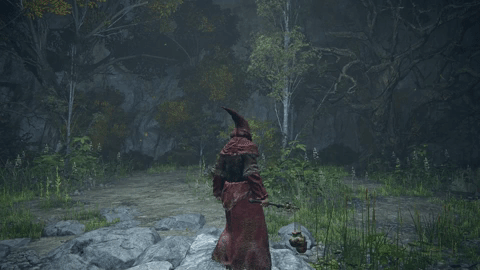
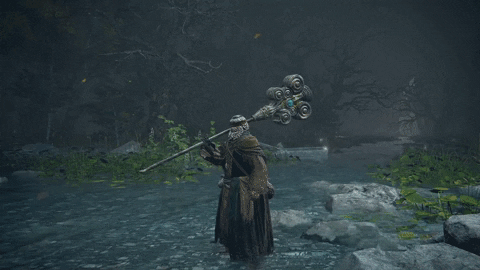
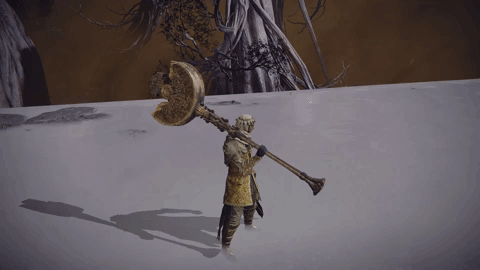
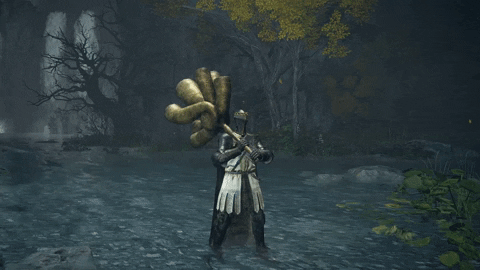
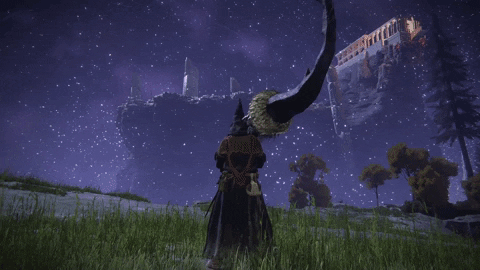
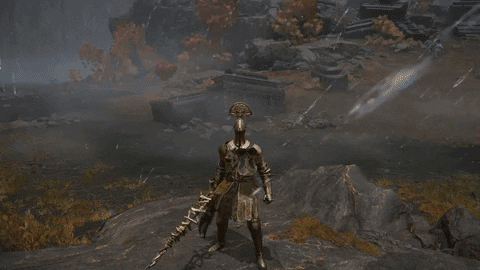
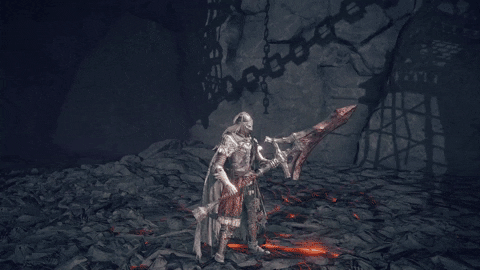
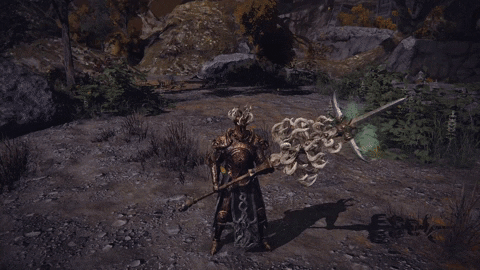
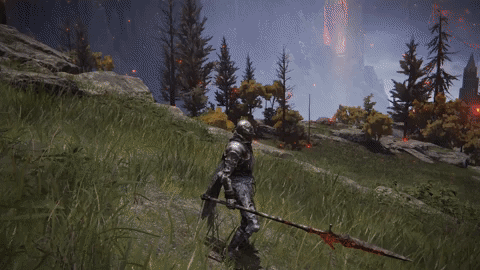
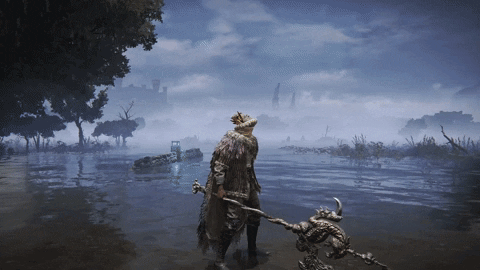
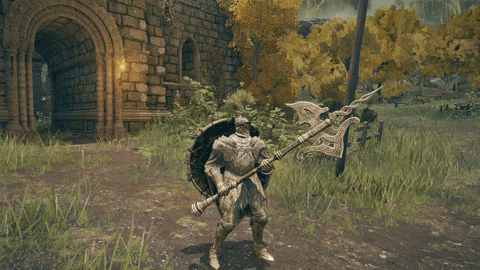
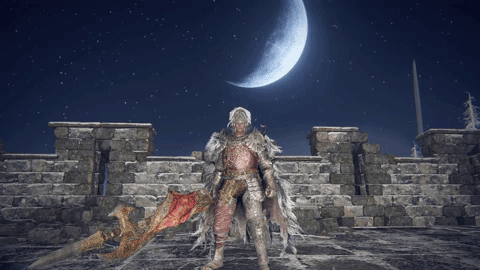
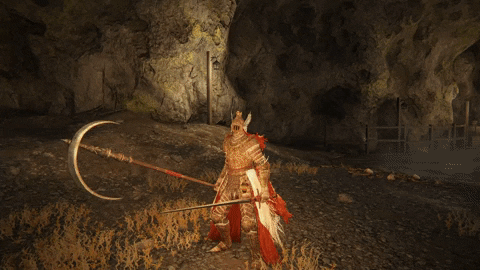
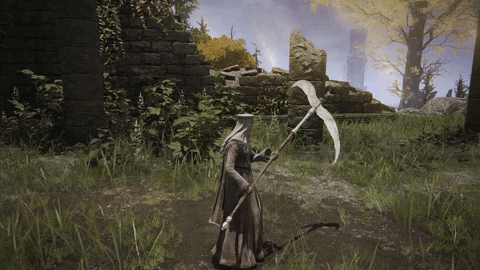
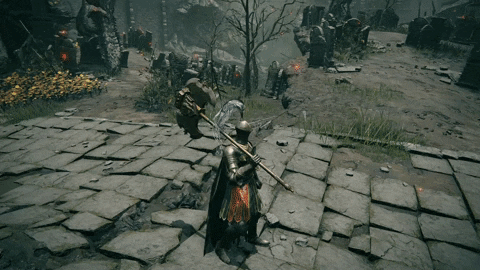
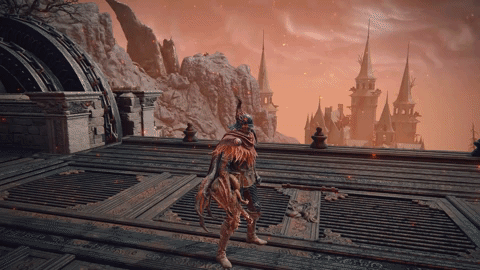
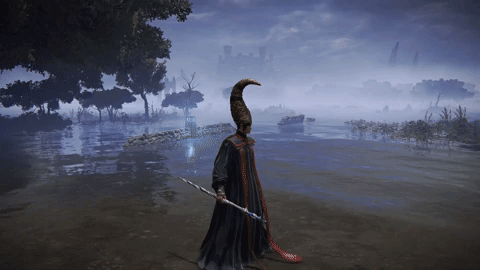
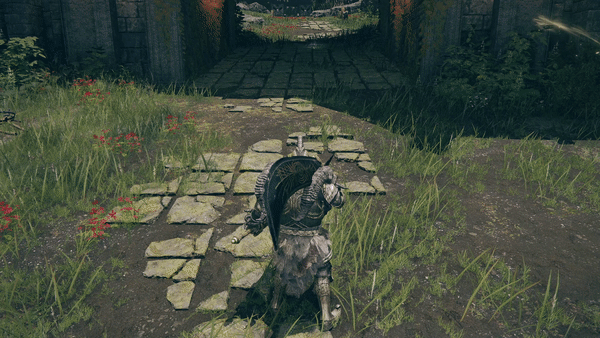
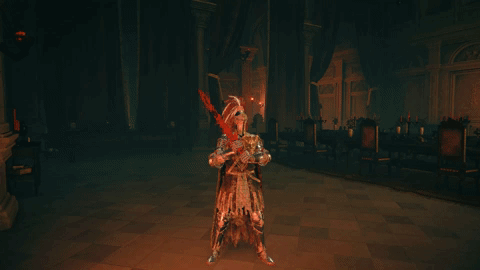
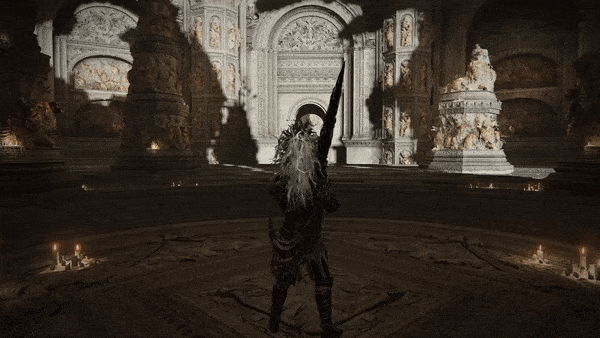
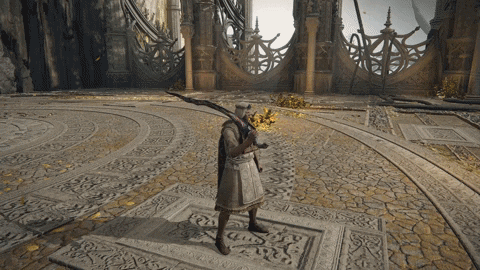
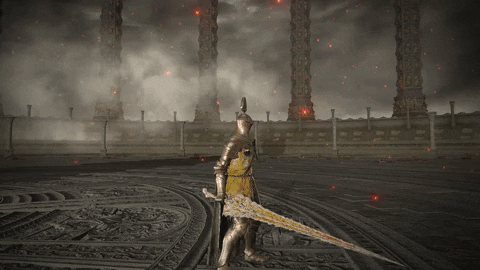
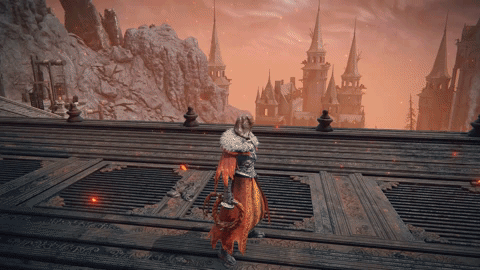
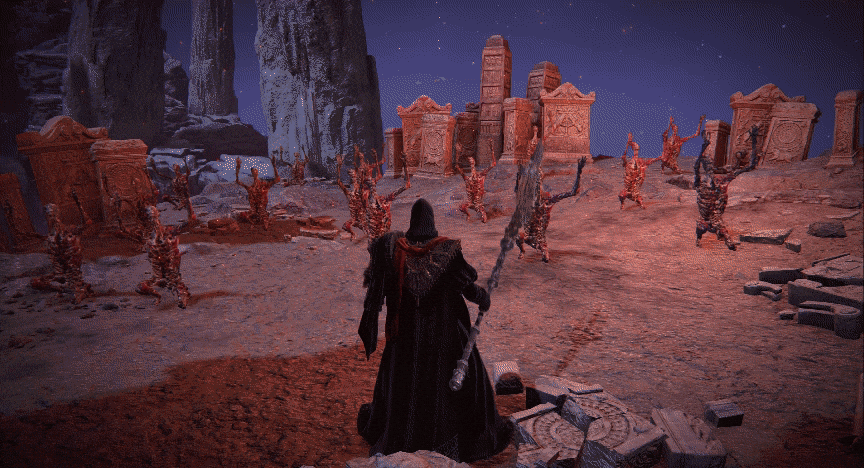
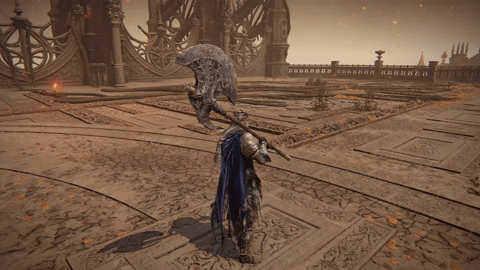
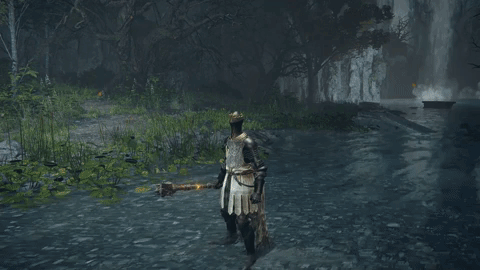
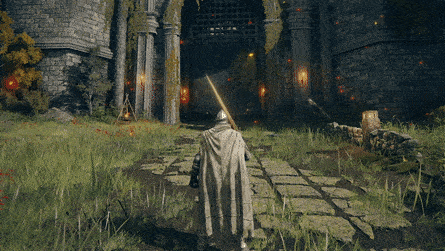
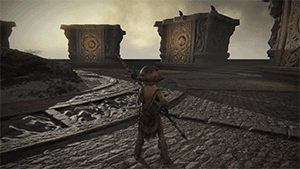
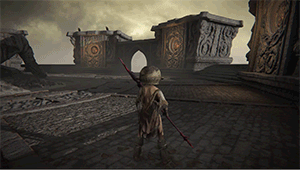
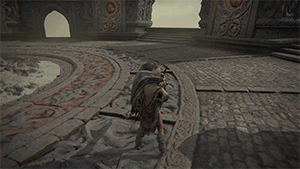
.gif)
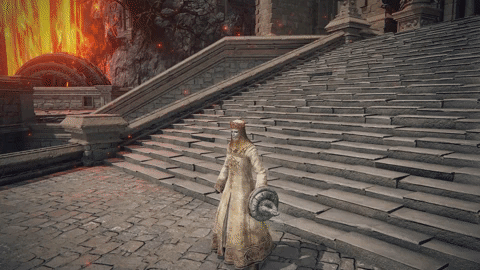
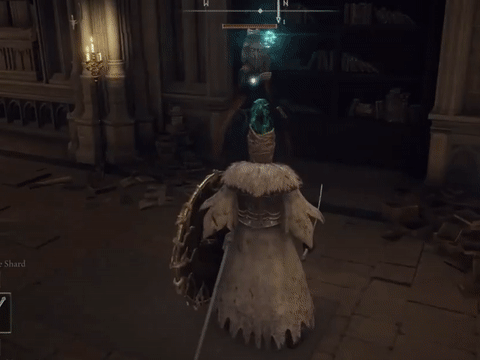
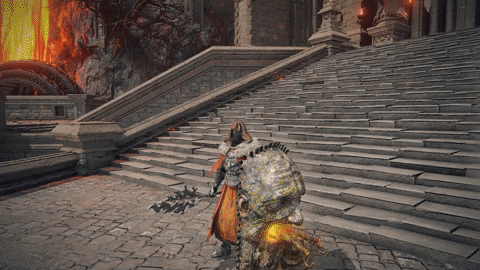
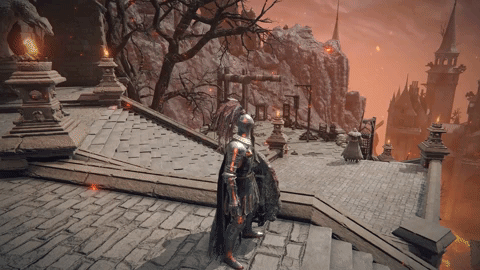
Fantastic blog! Happy Link won tbh lol.
ReplyDeleteWell y'all certainly put a lot of work into this. Very comprehensive. I appreciate you taking the time to analyze the oblivion weapons and their effects vs Ganon's ability to resurrect his minions in order to determine whether or not they could be considered existence erasure. A few notes though:
ReplyDelete1) The items from other Zelda games are for all intensive purposes meant to be the same items from the games they came from. They all make explicit references to the games they came from, such as with the Fierce Deity Set (Hell, that one's in-game descriptions even describe giving BoTW Link the power of the MM Fierce Deity Link). BOTW Link ultimately didn't really need it, and this blog was already quite comprehensive regardless, but it worth noting.
2) Getting off topic, but I don't personally agree with "Vaati created a universe/pocket dimension" to be particularly valid. I remember a Prima Guide saying that Vaati simply warped him and Link to a specific location, not created it. While those type of guides are not official by any means, it's the only explanation for the feat we're ever given, at least to my knowledge. Though apparently one of the Death Battle researchers sees merit to the feat, so what do I know.
Oh, and if you all are ever interested in doing fights with other Zelda characters (Cough, Ganon vs Dracula, cough, Ice King vs Skull Kid), I do find it helpful to create a tier list to prioritize sources of information when it comes to Zelda characters. For me, my tier list would go something like:
Most important: The games themselves (Duh).
Secondary (Canon so long as they don't contradict in-game information): Developer Interviews, Hyrule Historia, Nintendo Power (Former Nintendo Power employees are involved in Zelda development), Hyrule Warriors 1 (Anouma basically said the characters pulled from time are meant to be the same characters from the original games they appeared in), and anything that was approved or made by anyone in the Zelda Development Team.
Least important (Don't use unless it explains something that that's unexplained by the games and secondary sources AND doesn't contradict what happens in the games or any information in secondary sources). Prima Guides and Zelda.com are the immediate examples.
Also, I personally don't see much of an issue with universal BOTW Link considering Majora threatened to destroy Termina, and I remember that there are sources clarifying that Termina is the name of the parallel universe, not just the planet. Keep in mind Master Sword > OOT Ganon > Majora just via the fact that the Light Arrows can hurt Majora but can only stun Ganon while the Master Sword is repeatedly emphasized to be the only weapon capable of seriously harming him. LOL
Still, all around great blog, guys. Looking forward to Stan Smith vs Sterling Archer.
*but it is worth noting.
DeleteDarn typo.